Oh, the sheer joy of a perfect, delicate dessert! I know what you’re thinking: meringue is tricky. I spent years battling crying meringue, runny meringue, and meringue that just wouldn’t crisp up. It felt like witchcraft! But I’m here to tell you that failure ends today because I finally cracked the code for truly foolproof light, airy meringue cookies. This guide focuses on the simple French method, and trust me, once you see those gorgeous whites turn into stiff, glossy peaks, you’ll be hooked. We’re aiming for that incredible texture: a super crisp exterior that gives way to that dreamy, melt-in-your-mouth center. Get out your whisk; we’re making magic!
Why This is the Best Easy Meringue Cookies Recipe for Beginners
I truly believe this is the best easy meringue cookies recipe out there, especially if you think you’ve got a meringue curse! Forget complicated Swiss or Italian methods; we’re sticking with the straightforward French technique here. Trust me when I say this is a no fail meringue technique when you follow my instructions exactly. It turns egg whites and sugar into something amazing with hardly any effort. This simple approach means even a total beginner meringue recipe baker can end up with light, airy cookies the first time out. It’s honestly so satisfying! You can find more great easy meringue cookies recipe tips right here on the site.
Achieving That Perfect Crispy Meringue Cookies Texture
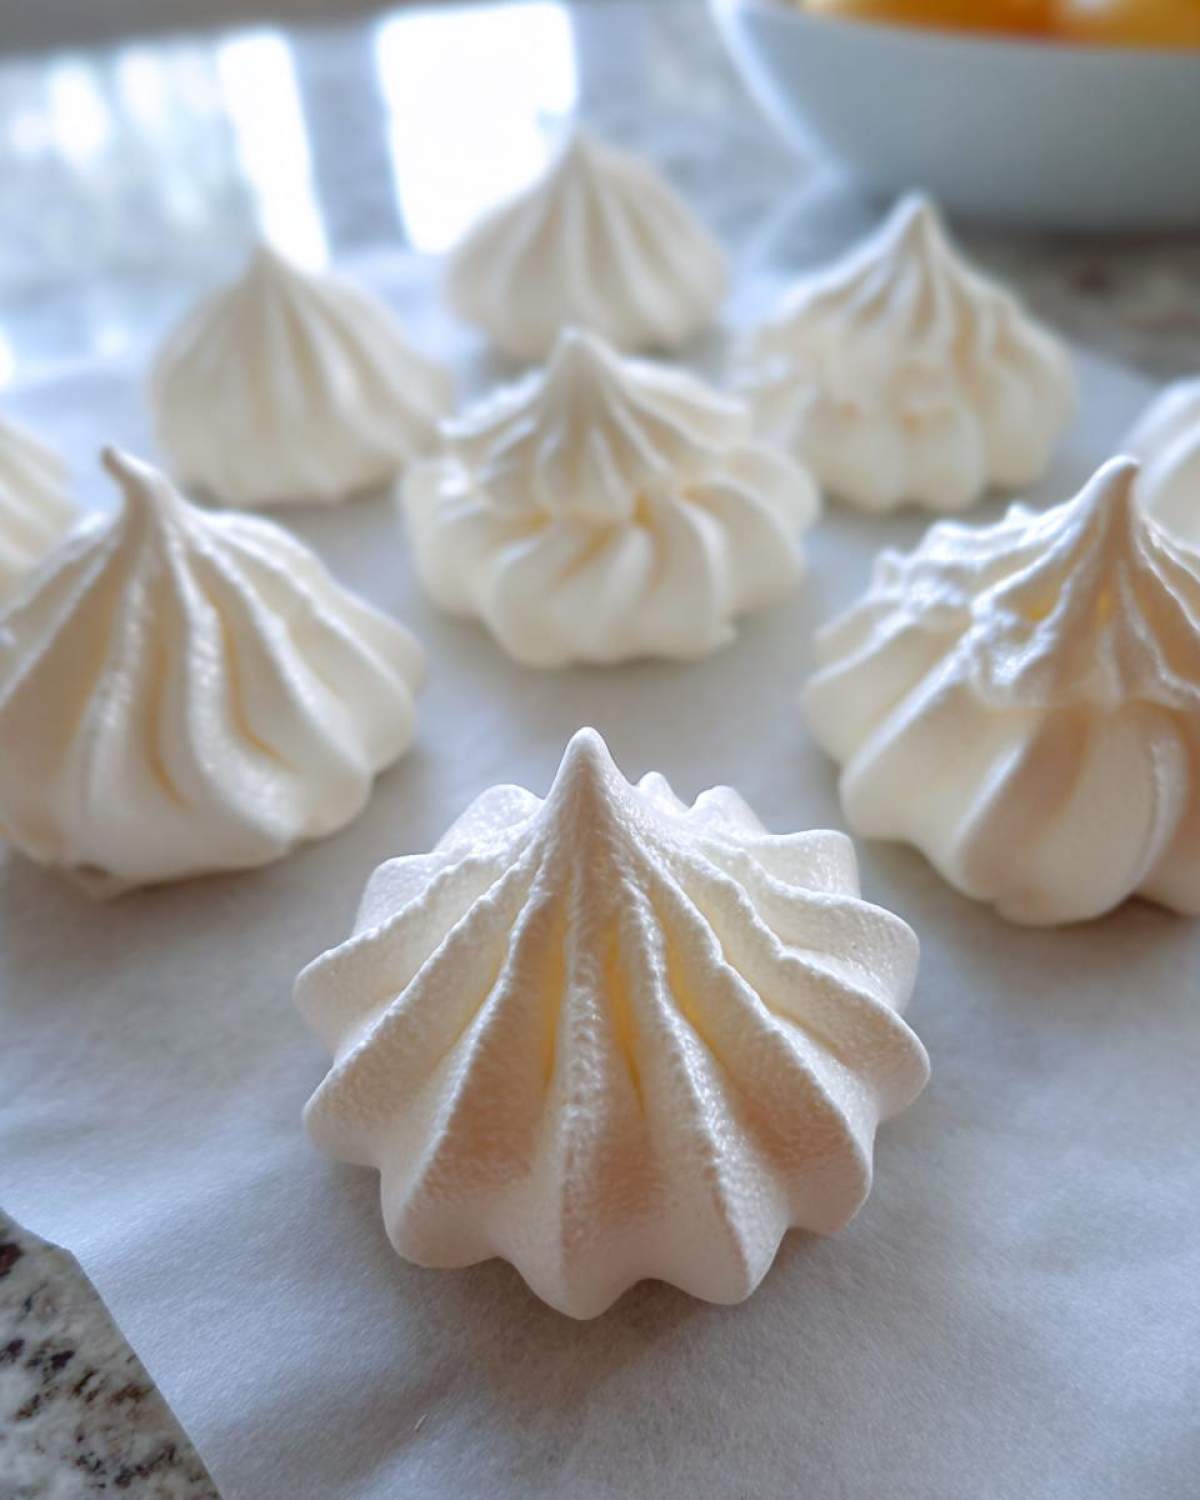
That signature snap when you bite down? That’s what we’re after! We want those crispy meringue cookies shells that immediately shatter, revealing that soft, chewy center. That incredible sensation is known as the melt in your mouth meringue experience. The secret isn’t just the whipping, though. Nope. It comes down to patience during the bake. We need to bake them low and slow, basically drying them out in the oven instead of actually cooking them. That low temperature keeps them perfectly white and stops them from collapsing.
Ingredients for Foolproof French Meringue Cookies
When making meringue, your ingredients need to be perfectly prepared; this is where we build that expert foundation. For these cookies, we need room temperature egg whites—they whip up so much fluffier that way! And please, grab the superfine sugar, sometimes called caster sugar. It dissolves faster, which is key for a smooth mixture. You’ll notice that this recipe is naturally a wonderful gluten free dessert option!
Ingredient Notes and Substitutions for Meringue Cookies
Listen up: the most important thing you can do before starting is make sure your mixing bowl and whisk attachments are absolutely spotless. Any hint of grease or egg yolk, and those egg whites just won’t whip up into sturdy towers—it’s impossible! If you don’t have superfine sugar on hand, don’t panic. I often make my own just before I start whipping. Just toss your regular granulated sugar into your food processor and pulse it for about 30 seconds. That’s it! You’ve created the perfect sugar for these delicate meringue cookies.
Mastering the No Fail Meringue Technique for Perfect Meringue Cookies
Okay, this is the moment of truth! This whole process hinges on whipping those egg whites until they are absolutely perfect. If you don’t nail this part, you won’t get those incredible, light airy cookies we are aiming for. We start by getting the clean bowl going with the egg whites and that little bit of cream of tartar. That cream of tartar is just my secret handshake with the science gods to make sure the whites behave! If you love these ideas, wait until you see my pattern for making snowman meringue cookies later this winter!
Whipping Egg Whites: The Crucial First Stage
Put your mixer on medium speed—don’t go crazy yet! We are watching for soft peaks. That means when you lift the whisk, the little tips curve over gently, kind of like waves on the ocean. This stage takes maybe three or four minutes, and you must use a truly grease-free bowl. I seriously clean my bowl with a squeeze of lemon juice and wipe it dry before I even start. It sounds obsessive, but it’s what guarantees success here. No grease equals volume!
Adding Sugar Gradually for Glossy Meringue Cookies
Now, we introduce the sugar, but baby steps, people! You add it *one tablespoon at a time*. Seriously, put the bowl down, turn the mixer to medium-high, add one spoonful, let it incorporate for about 30 seconds, then add the next. If you dump it all in at once, the sugar will weigh down the air we just worked so hard to build. Once that last spoonful is in, crank the mixer up high! You want stiff, glossy peaks that stick straight up when you lift that whisk. To check for perfection, just pinch a little meringue between your thumb and forefinger. If you feel any grittiness, keep beating until that sugar dissolves completely. That smoothness is what makes them look professional and ensures they pipe beautifully when you figure out how to pipe meringue.
Piping and Baking Your Delicate Baked Goods Meringue Cookies
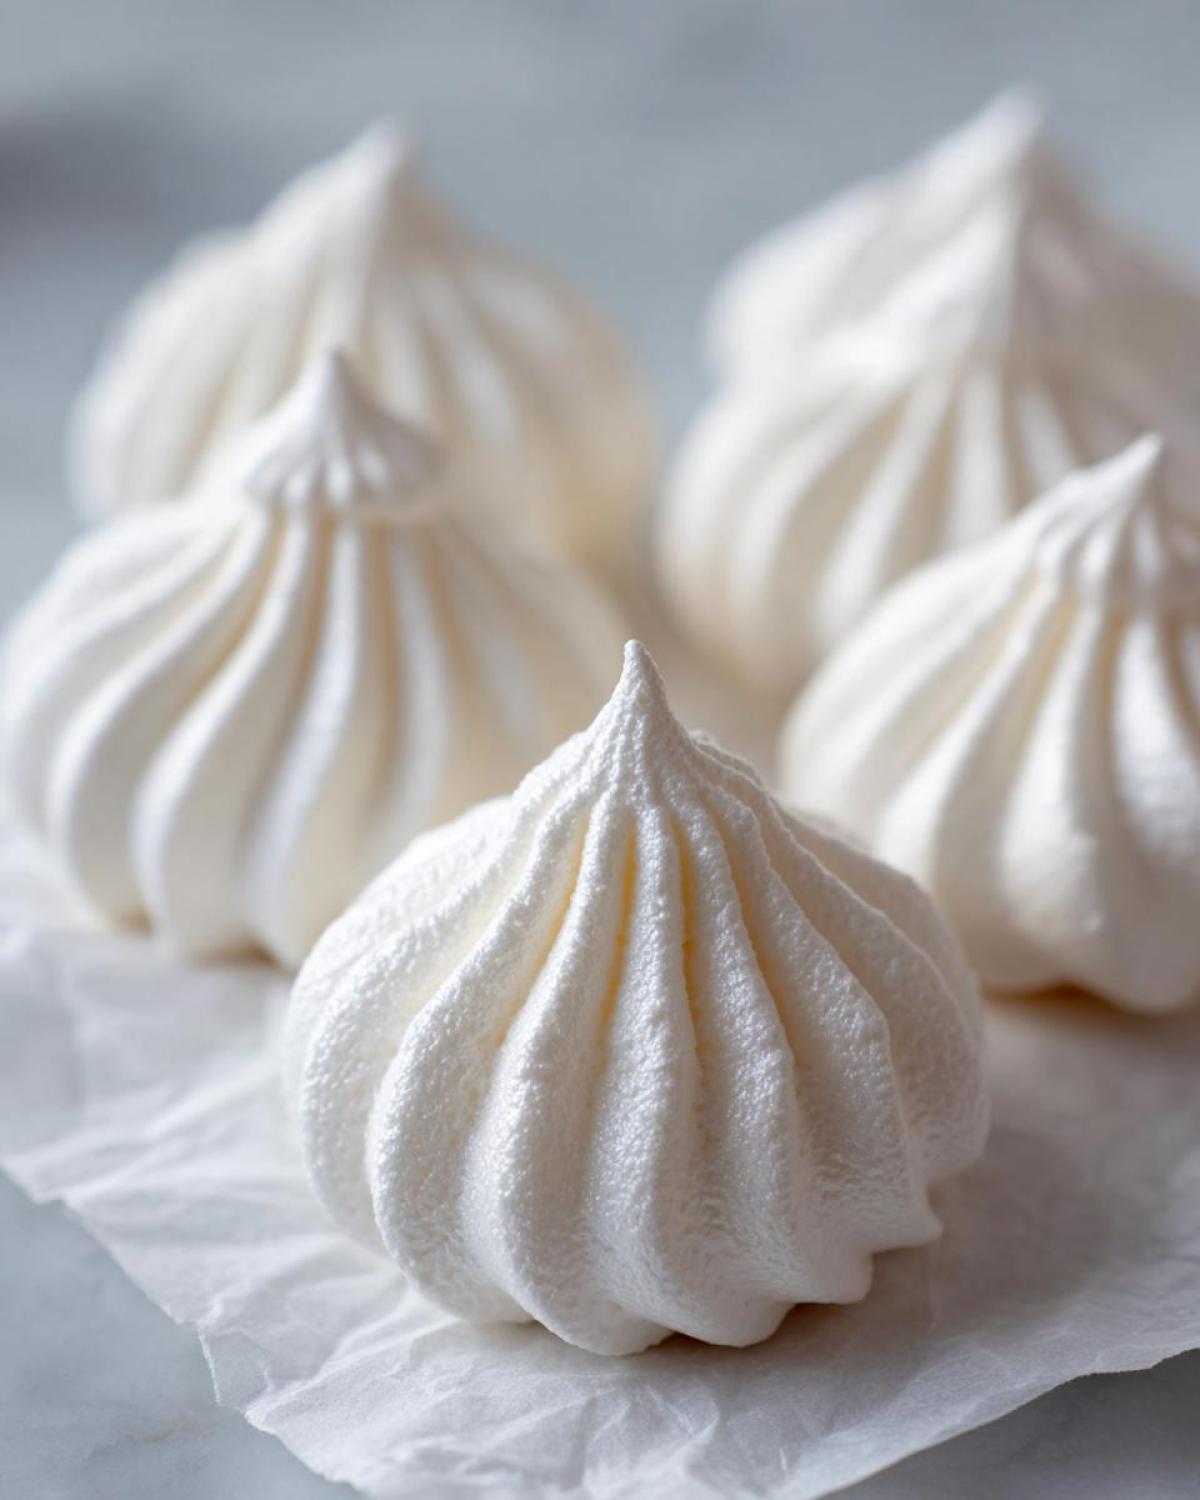
Once you have that beautiful, shiny, stiff meringue, it’s time to turn it into one of those lovely, delicate baked goods! I always reach for my piping bag fitted with a large star tip because I love those fancy swirls, which look so elegant on a platter. But hey, if you don’t have one, don’t stress! Two spoons work just fine to create rustic dollops, which I think are charming in their own way. Remember, these are low ingredient cookies, so the look really counts!
The baking part is where most people panic because they burn them or they leak sugar everywhere. My recipe calls for a super low temperature—we’re only preheating to 200 degrees Fahrenheit. We bake them until they look dry and lift easily off the parchment paper, which usually takes about an hour and a half. If you prefer checking out how others manage frosting textures, here is a great read on cookie icing recipe dries firm.
The Essential Cooling Process for Meringue Kisses Recipe
You think you’re done baking after 90 minutes, right? Nope! This next step is pure trust building for your meringue kisses recipe. When the baking time is up, you shut the oven door completely, turn the heat off, and gently wedge a wooden spoon into the door so it stays propped open just a crack. We want the temperature to drop slowly, protecting those delicate centers. If you rush them out into the room temperature air, they will crack immediately—we don’t want cracked cookies!
You need to leave them in that warm, propped-open oven for at least another hour until the oven is totally cool. This slow, gentle drying is what guarantees that signature crisp shell and preserves that soft, delightful, melt in your mouth meringue texture inside. Handle them gently once they are cooled; they are light as air!
Meringue Cookie Variations and Simple Sweet Treats Ideas
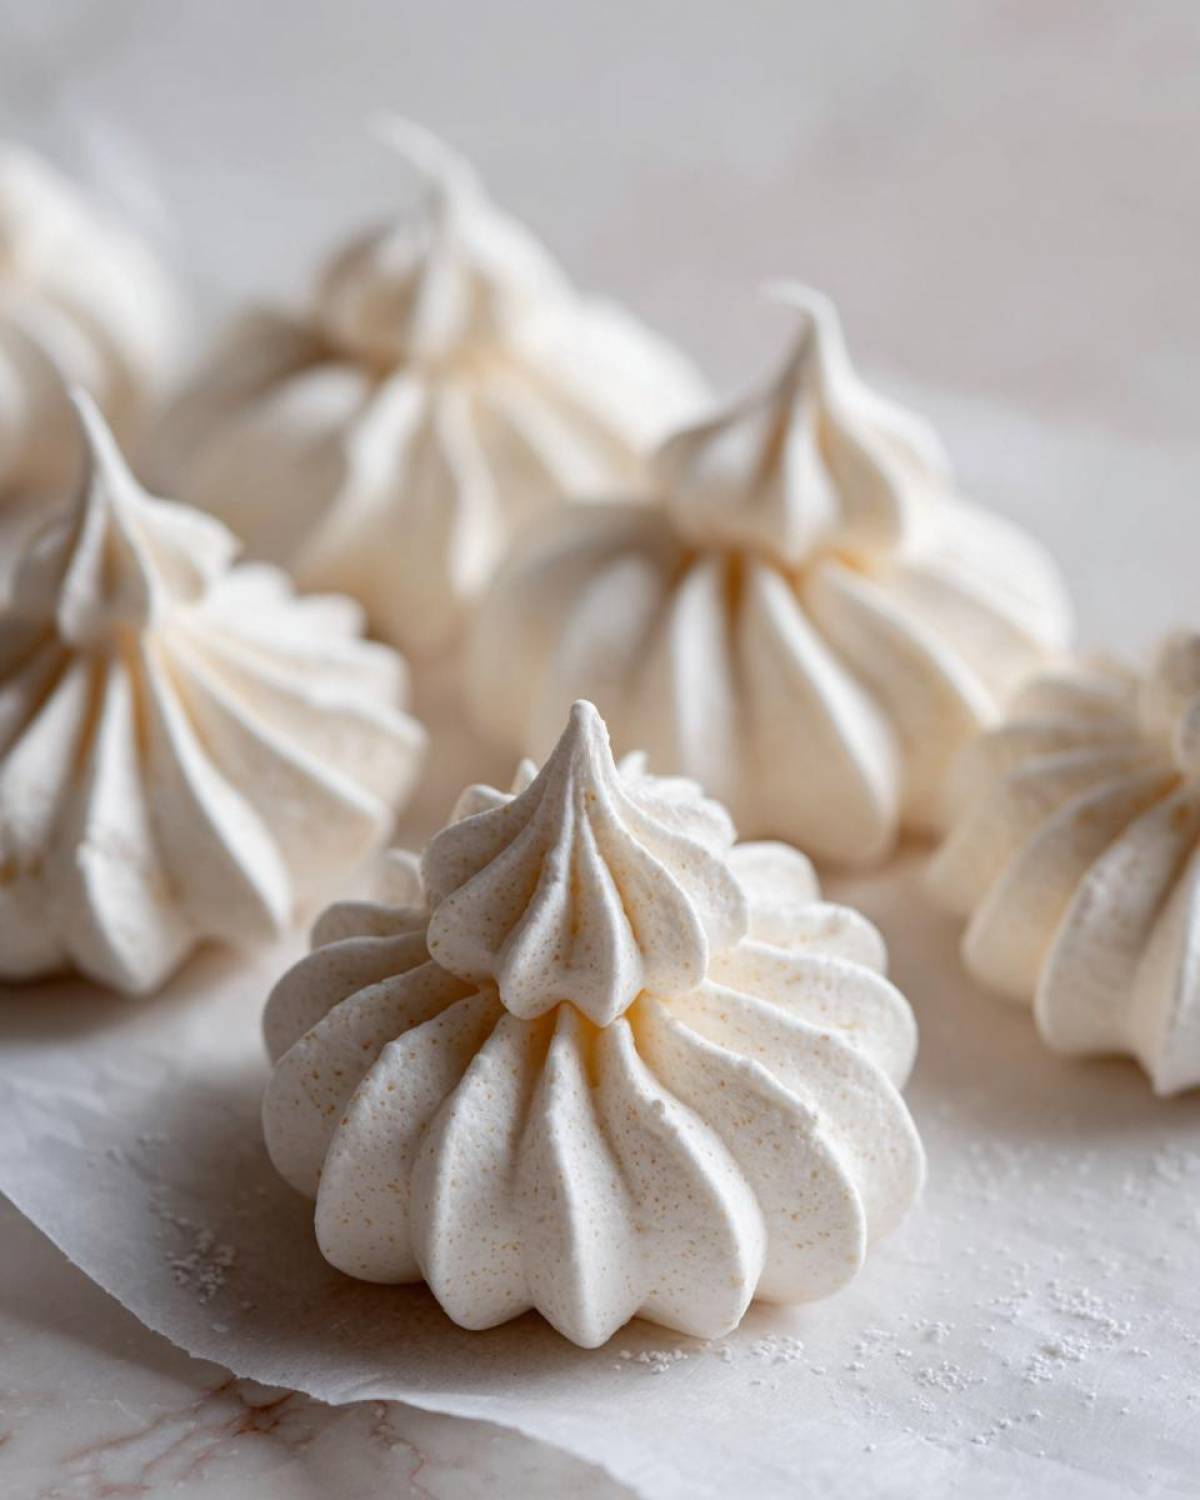
Even though this basic recipe stands strong as a fantastic quick dessert idea, it’s also the perfect blank canvas for playing around! If you want to turn these into something truly special, you can gently fold in flavor right after you achieve those stiff peaks. I love adding just a tiny bit of strawberry powder for a beautiful pink color and a fun, fruity taste. Or, for chocolate lovers, carefully fold in some mini chocolate chips!
These little beauties make incredible holiday cookie recipes additions, too. Imagine piping them white and then swirling in a tiny bit of crushed candy cane dust right before baking. They look so elegant on a platter, proving you don’t need a lot of ingredients for truly **elegant desserts**. They are so light, you can make a huge batch without feeling guilty!
Storage and Serving Suggestions for Elegant Desserts
So you’ve made the most beautiful, delicate, and light airy cookies! Now, let’s keep them perfect. Humidity is the sworn enemy of crispy meringue. You absolutely must store your meringue cookies in a completely airtight container. If you plan to serve them within a day or two, room temperature is fine, but if it’s a humid week, keep them sealed tight on the counter. Never put them in the fridge—that moisture will turn your crisp shells soft instantly!

These look so pretty, too! They are honestly some of my favorite elegant desserts for a nice gathering. They look amazing stacked high on a tiered stand. Or, if you’re just having a quiet afternoon, they are the perfect simple sweet treats alongside a strong cup of coffee. Sometimes I even crush them up and sprinkle them over creamy desserts, like a fancy, sweet crunch on top. They really are delicious any way you serve them!
Troubleshooting Common Meringue Cookie Issues
If you followed my steps, your meringue cookies should be perfect, but let’s talk about what happens when things go sideways—because they do! The most common issue is weeping, where little beads of syrup form on the surface. That nearly always means one thing: you didn’t beat the sugar in long enough, and the sugar crystals didn’t dissolve. Remember that grit test I mentioned? Do that!
If your meringue just won’t stiffen up, halt everything and check for any trace of grease in your bowl or whisk. Seriously, scrub it down again! Finally, if you live somewhere super humid, your cookies might stay slightly sticky. That means you need to maximize that oven-drying time, or perhaps try baking on a day when the weather is drier. Humidity hates crispness!
Nutritional Snapshot of Homemade Meringue Cookies
Now, I know that when you’re making these beautiful, fluffy meringue cookies, you probably aren’t thinking about macros, but still, it’s good to know what you’re eating! Because these are basically whipped egg whites and sugar, they are surprisingly light on everything except the carbs. I ran the numbers on our recipe based on making about 24 cookies, and the results are pretty neat!
Keep in mind that these are just estimates, of course. Exact values can change based on the size of your eggs or how much vanilla you pour in—I always seem to pour a little extra! But this gives you a good baseline for these sweet little clouds.
Here’s the breakdown for one single serving (that’s one of those light airy cookies):
- Serving Size: 1 cookie
- Calories: 45
- Sugar: 10g
- Sodium: 5mg
- Fat: 0g
- Protein: 1g
- Cholesterol: 0mg
See? Almost negligible fat! That’s why they are such a great option when you need a little something sweet but want to keep things light. Pair a few of these with a scoop of fruit sorbet for a dazzling, low-fat finish to any meal!
Share Your Perfect Meringue Cookies Creations
Well, that’s it! You’ve done it! You’ve mastered the **no fail meringue technique** and created those beautiful, crispy **meringue cookies**. I sincerely hope you love them! If you need to reach out with questions, you can always use our contact form!
If you followed the steps—especially the slow cooling—please come back and give this recipe five stars in the comments below! I absolutely love seeing pictures of your gorgeous creations, so feel free to tag me on social media when you share those **light airy cookies**. If you had any hitches or questions, drop a comment down below, and I’ll get right back to you. Happy baking, sweet friends!
Print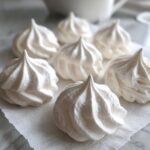
Foolproof Easy French Meringue Cookies
- Total Time: 105 min
- Yield: About 24 cookies 1x
- Diet: Gluten Free
Description
Make light, airy meringue cookies with a crisp exterior and a melt-in-your-mouth center using this simple French meringue technique.
Ingredients
- 4 large egg whites, room temperature
- 1 cup superfine granulated sugar (caster sugar)
- 1 teaspoon vanilla extract
- 1/4 teaspoon cream of tartar
- Pinch of salt
Instructions
- Preheat your oven to 200 degrees Fahrenheit (95 degrees Celsius). Line two baking sheets with parchment paper.
- Place the egg whites and cream of tartar in a very clean, grease-free mixing bowl. Beat on medium speed until soft peaks form.
- Gradually add the superfine sugar, one tablespoon at a time, while continuing to beat the mixture on medium-high speed. Wait about 30 seconds between each sugar addition.
- Once all the sugar is added, increase the speed to high. Beat until the meringue is very stiff, glossy, and holds firm peaks when you lift the whisk. Rub a small amount between your fingers; if it feels gritty, continue beating until the sugar dissolves completely.
- Beat in the vanilla extract.
- Transfer the meringue to a piping bag fitted with a large star tip (or use two spoons for rustic dollops). Pipe small kisses or rounds onto the prepared baking sheets.
- Bake for 1 hour and 15 minutes to 1 hour and 30 minutes. The cookies should look dry and lift easily from the parchment paper.
- Turn off the oven, prop the door open slightly with a wooden spoon, and let the meringue cookies cool completely inside the oven for at least 1 hour, or until the oven is cold. This drying process ensures crispness.
Notes
- Ensure your mixing bowl and whisk attachments are completely free of any grease or yolk; this prevents the egg whites from whipping properly.
- For flavored variations, gently fold in 1/2 teaspoon of strawberry powder or 1/4 cup of mini chocolate chips after the meringue reaches stiff peaks.
- If you do not have superfine sugar, pulse regular granulated sugar in a food processor for 30 seconds.
- Prep Time: 15 min
- Cook Time: 90 min
- Category: Dessert
- Method: Baking
- Cuisine: French
Nutrition
- Serving Size: 1 cookie
- Calories: 45
- Sugar: 10
- Sodium: 5
- Fat: 0
- Saturated Fat: 0
- Unsaturated Fat: 0
- Trans Fat: 0
- Carbohydrates: 11
- Fiber: 0
- Protein: 1
- Cholesterol: 0