The Perfect Cookie Icing Recipe for Festive Decorating
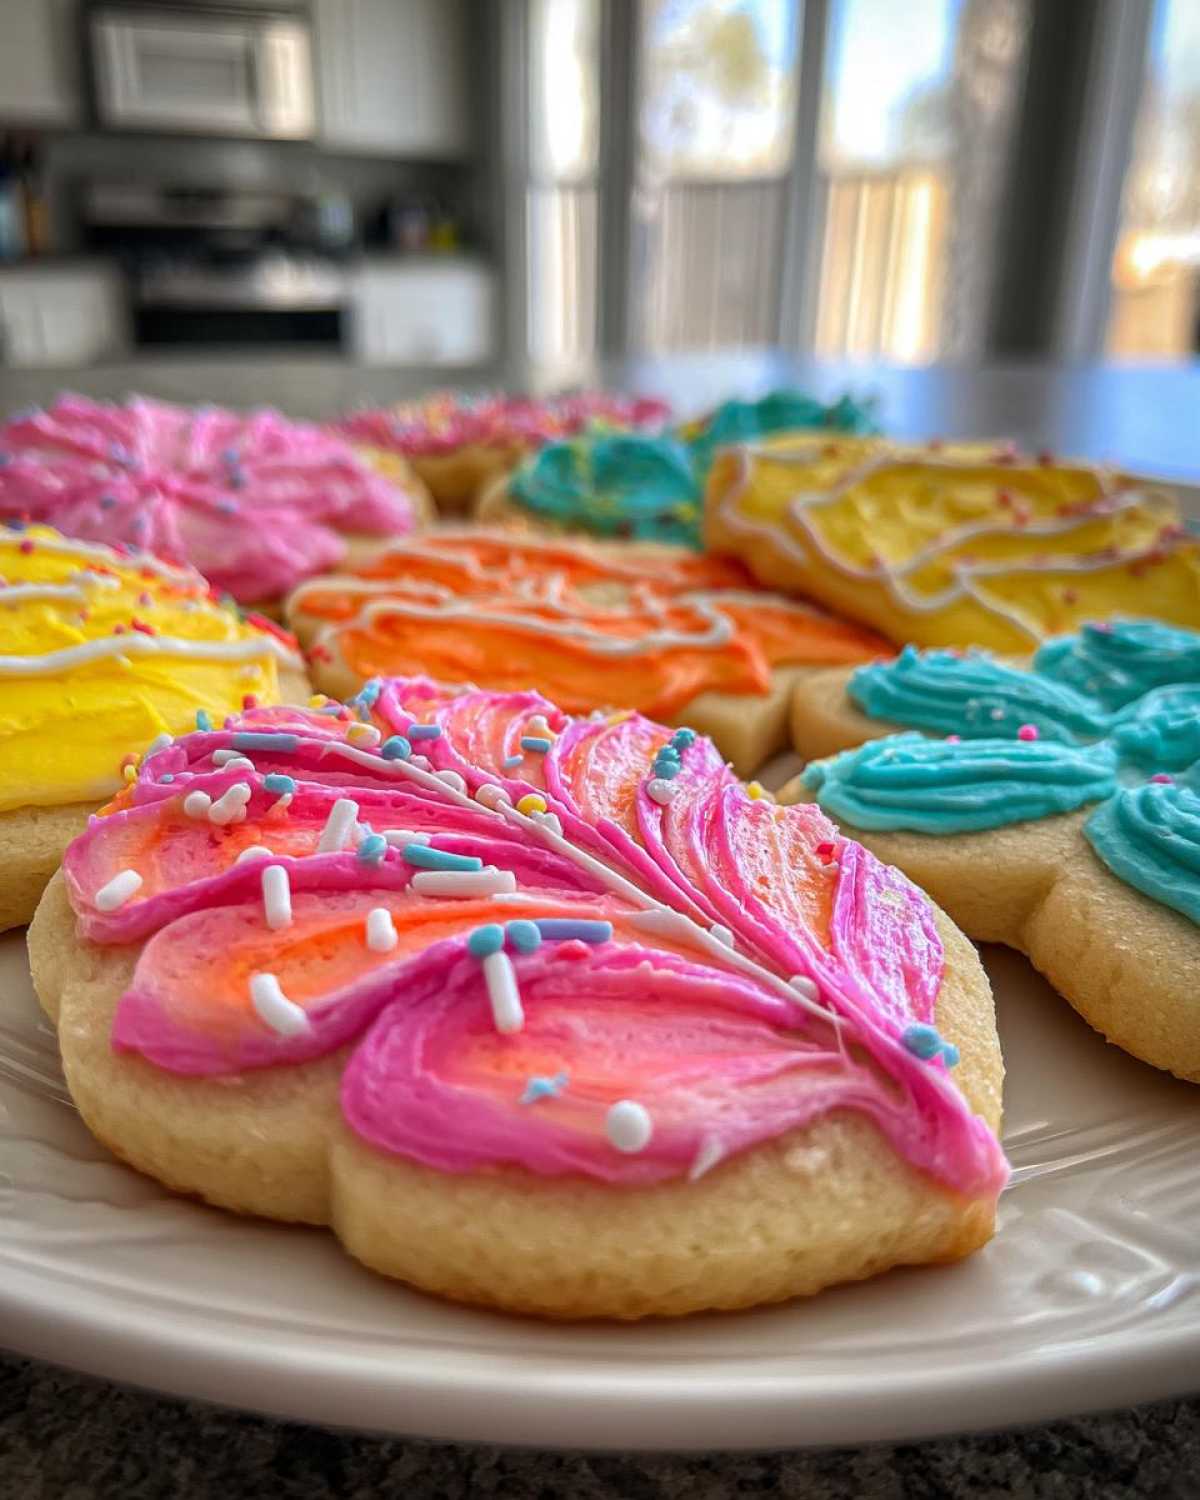
Welcome, friends, to our kitchen stage! I’m Sara, Liam’s muse, and I’m so happy you’re here. Liam used to cook like a scientist. Seriously, everything was perfect but quiet. Then I came along, bringing the happy chaos. Now, our food has soul. We’re sharing our favorite cookie icing recipe today. This one is magic for cut-out cookies. It dries firm and keeps that beautiful, glossy finish. It’s exactly what you need for holiday cookies or birthday treats.
This isn’t just any sweet topping. It’s the result of our quest for decorating perfection. We needed something that looked professional but felt easy to make. This recipe delivers that smooth shell every time. It holds up to stacking too!
Why This Cookie Icing Recipe Works So Well
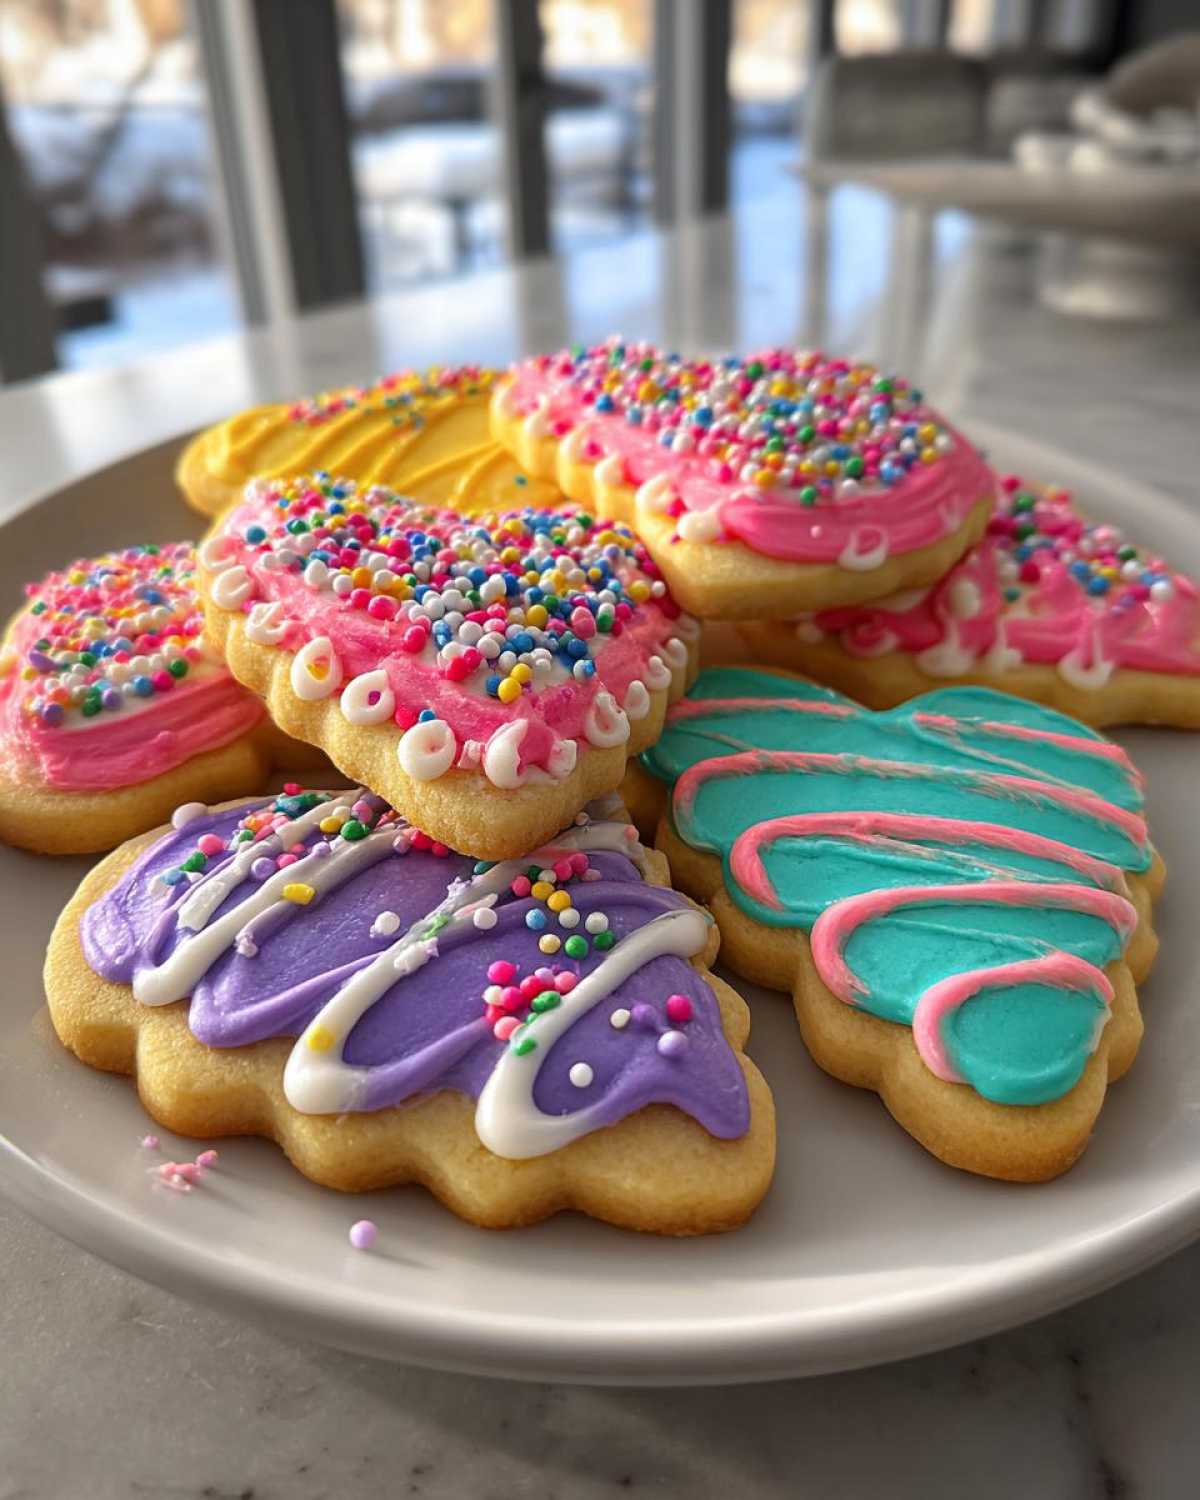
Are you new to decorating? Don’t sweat it. This icing is wonderfully beginner-friendly. You’ll get that smooth, professional look easily. I love how shiny it gets too. Seriously, the gloss factor is high here. Best of all, it dries rock solid. That means you can stack your beautiful cookies high. They won’t smudge or stick together. That’s a huge win for gifting or storing your art.
Our Journey to Finding the Best Cookie Icing Recipe
Liam used to measure everything down to the milligram. His early icing was stiff, almost like concrete. I reminded him that cooking should be fun, not rigid. We started playing with stabilizers. We wanted that firmness without the fuss of traditional royal icing sometimes requires. This version is the sweet spot. It’s our shared creation: his precision, my joy. It just works.
Ingredients for Your Firm Drying Cookie Icing Recipe
Alright, let’s get down to the building blocks. Making a great cookie icing recipe is all about good ingredients. I keep these things stocked now. You only need four things for this simple, strong icing. It’s amazing what these few items can do. Precision matters here, so grab your measuring cups!
Essential Components of This Cookie Icing Recipe
Every part plays a role in getting that perfect, hard shell. Think of meringue powder as our secret weapon. It gives us structure without the worry of raw eggs. Here are the exact amounts we use:
Powdered Sugar
You need exactly four cups of this fine sugar. Sift it first if you see any lumps. Lumps make for sad, bumpy icing. We want smooth sailing here.
Meringue Powder
Measure out three generous tablespoons. This powder is key. It makes the icing set up hard and safe. It replaces those tricky raw egg whites.
Warm Water
Start with five tablespoons of warm water. We add this very slowly. You control the final texture with the water amount.
Vanilla Extract
One teaspoon of vanilla adds a lovely background note. If you want pure white icing, skip this part. It is totally optional.
Step-by-Step Instructions for Your Cookie Icing Recipe
Now for the fun part. Following these steps ensures your cookie icing recipe turns out just right. We mix low and slow first. Then we crank up the speed for that beautiful shine. Precision in mixing equals perfect cookies later.
Mixing the Base Cookie Icing Recipe
Grab a big bowl for your mixer. Add the powdered sugar and meringue powder first. Whisk them together well by hand. This prevents dry pockets later on. Next, start adding the warm water. Add it one tablespoon at a time. Mix everything slowly on low speed. This keeps the sugar from flying everywhere. Don’t rush this initial step.
Achieving the Perfect Icing Consistency
Once the dry stuff is mostly wet, turn the mixer up. Beat it high for five to seven full minutes. You’ll see it transform. It gets thick, smooth, and super glossy. That gloss means success! Test it now. For piping edges, it should hold a soft peak. Want to flood the middle? Add water slowly. Keep adding drops until it flows off a spoon. It should flow slowly, not run away.

Coloring and Decorating with Your Cookie Icing Recipe
If you need color, divide the icing now. Only use gel food coloring. Liquid coloring breaks the texture easily. Use the icing right away for best results. Always outline your cookies first. Let that edge set up for about fifteen minutes. Then, flood the centers with your thinner icing. This two-step process prevents bleeding. Patience is key here while they dry.
Tips for Success with Your Cookie Icing Recipe
Even the best cookie icing recipe can hit a snag. Don’t worry if your first batch seems off. A few tricks save the day, I promise. I’ve learned these lessons the hard way. Now I want to share the shortcuts. These tips keep your decorating fun, not frustrating.
Controlling the Cookie Icing Consistency
Consistency is everything when decorating. If your flood icing is too thick, it won’t spread nicely. You need to thin it just a bit. Add water very, very slowly. I mean half a teaspoon at a time. Mix it gently after each addition. You want it pourable, not watery. Remember, thick icing hides flaws better. Thin icing flows fast.
Drying Time and Durability
This icing is designed to set up hard. That’s what makes it so great for presents. Expect drying time to take between four to eight hours. Humidity plays a big role here. If it’s rainy, it takes longer. Don’t try to rush it in the oven. Just let them sit at room temperature. They’ll be firm enough to stack then. This durability is why I love this recipe so much.
Ingredient Notes and Substitutions for Cookie Icing
Sometimes we run out of something specific. That’s okay for this cookie icing recipe. We can usually make a quick swap. Knowing why each ingredient matters helps too. Let’s talk about keeping this icing perfect.
Why Meringue Powder is Key in This Cookie Icing Recipe
Meringue powder is our structure builder. It acts as a stabilizer for the icing. This powder makes the icing dry firm and strong. It gives us that beautiful, hard shell finish. Plus, it’s safer than using raw egg whites. That’s a big plus for me.
Coloring Agents
When you color this icing, stick to gels. Gel food coloring is concentrated color. Liquid drops add too much water quickly. Too much water ruins the drying time. Keep the liquid out of your icing mix. Gel colors keep the texture just right.
Frequently Asked Questions About This Cookie Icing Recipe
I know you might have questions buzzing around. Decorating can feel tricky sometimes! I’ve gathered a few common queries about our favorite cookie icing recipe. Let’s clear up any last bits of confusion.
Does This Cookie Icing Recipe Need to Rest?
That’s a great question about readiness! The icing itself is ready to use right after beating. You don’t need a rest period for the mixed icing. However, the *cookies* need time. Let the decorated cookies rest completely. This resting allows the icing to harden properly. This is not a quick-set frosting!
How Long Does This Cookie Icing Last?
If you have leftovers, don’t toss them out! Store unused icing tightly. Press plastic wrap right onto the surface. This stops air from getting in and making it crusty. It stays good for several days this way. If it gets too thick later, thin it slightly with a few drops of water. It’s a fantastic royal icing alternative that stores well.
Will this firm drying icing work for piping borders? Yes, absolutely! Just make sure your initial mix was thick enough. If it seems too soft after storage, just beat it again briefly. A quick whip brings back the gloss and body. You want that nice structure for sharp lines.
What to Serve With Your Decorated Cookies
You’ve made edible art! Now, how should you enjoy these tiny masterpieces? Decorated sugar cookies pair wonderfully with warm drinks. Think about a cozy afternoon treat.
A simple cup of black coffee cuts the sweetness nicely. Hot herbal tea is also a lovely choice. My favorite? A mug of warm spiced cider. It smells incredible. These drinks balance the sugar perfectly. Enjoy the moment you created this beauty!
Estimated Nutritional Data for This Cookie Icing Recipe
We are bakers, not nutritionists, remember? Liam’s technical side loves data. So, here’s the rundown. This is only an estimate for the icing itself. It’s based on standard ingredient calculations. Please treat these numbers as a general guide only.
This data reflects one serving size. That serving is about a quarter cup of the mixed icing. We need this for transparency. It helps you know what you’re working with!
- Serving Size: 1/4 cup of icing
- Calories: Around 180
- Sugar: Roughly 45 grams
- Total Fat: 0 grams
- Carbohydrates: About 45 grams
Since this is mostly sugar and meringue powder, the fat content is minimal. It’s a sweet treat, for sure! This lets you focus on the fun decorating part.
Share Your Masterpiece Cookie Icing Creations
We poured our hearts into this recipe. Now, it’s your turn to shine! Did this cookie icing recipe work magic for you? Please leave a comment below. Tell us how your decorations turned out. We love seeing your edible art.
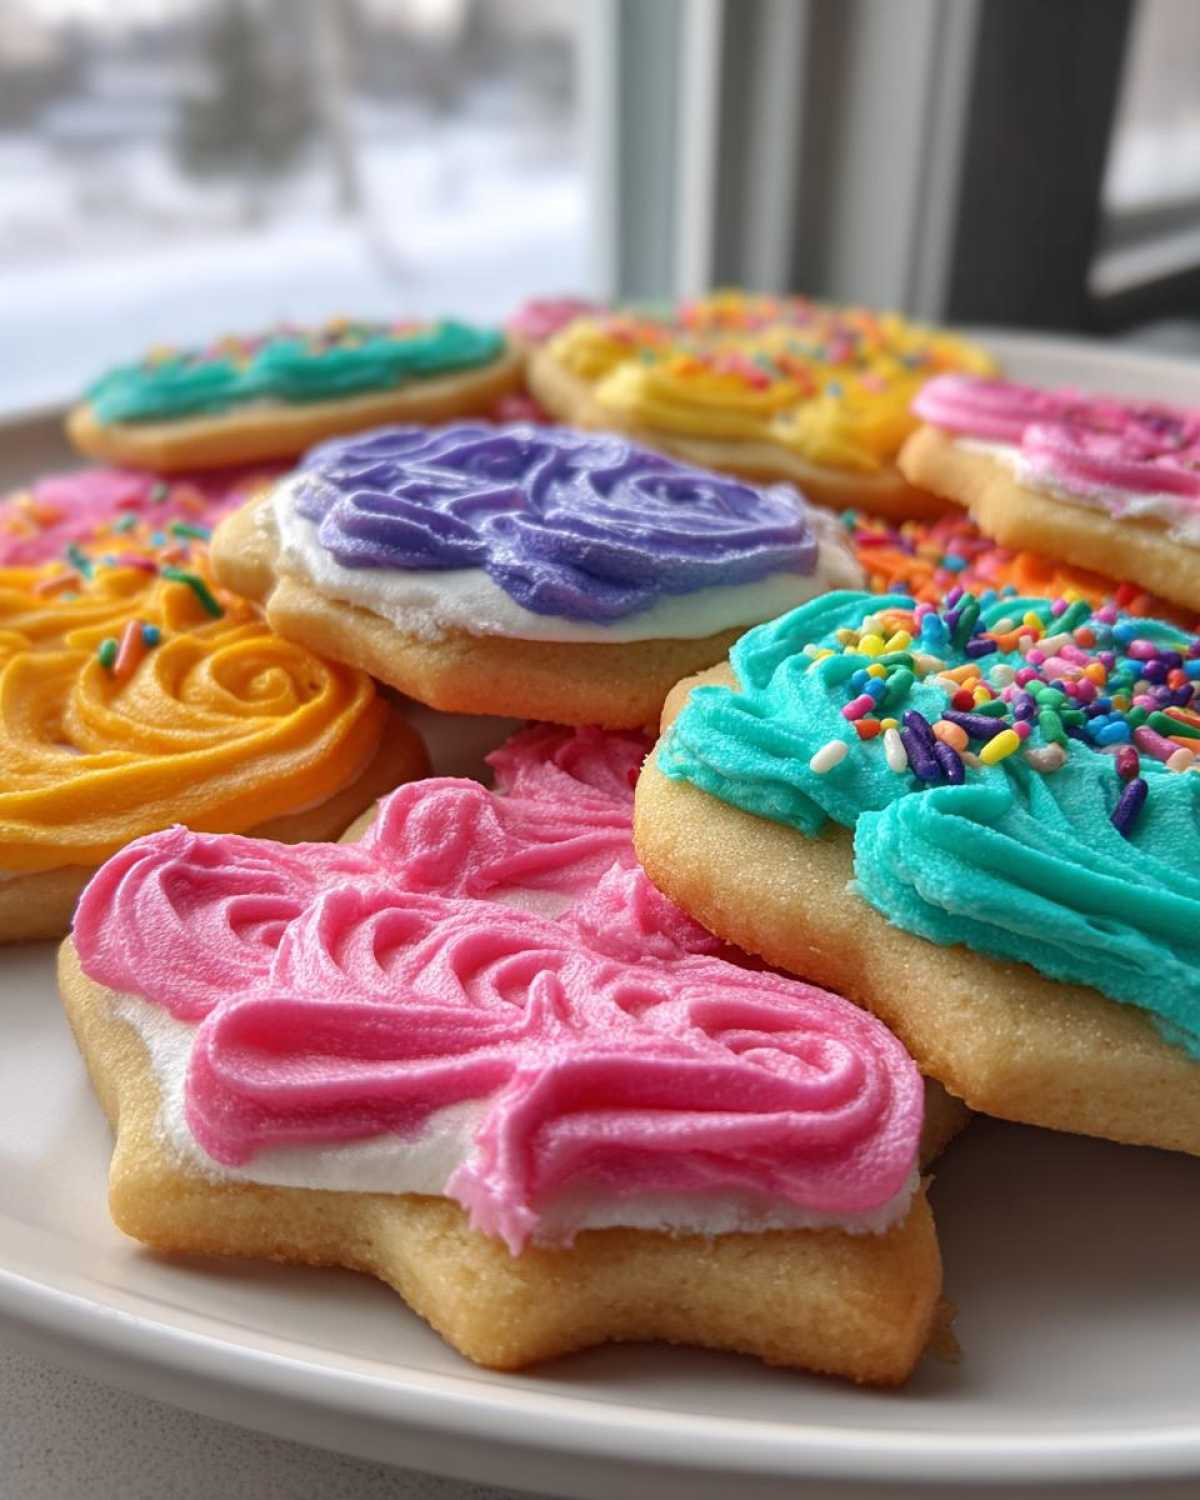
Rate this recipe if you loved it. Share pictures of your cookies online. Show off that firm, glossy finish you achieved. Come join our creative kitchen family!
Print
Amazing 4-Minute Cookie Icing Recipe That Dries Firm
- Total Time: 10 minutes plus drying time
- Yield: Enough icing to cover approximately 2 dozen standard-sized cookies
- Diet: Vegetarian
Description
This recipe delivers a perfect, beginner-friendly sugar cookie icing that dries firm and smooth, ideal for decorating cut-out cookies for any occasion. It gives you a glossy finish that stacks well.
Ingredients
- Powdered Sugar: 4 cups
- Meringue Powder: 3 tablespoons
- Water (warm): 5-6 tablespoons
- Vanilla Extract: 1 teaspoon (optional)
Instructions
- In a large bowl, whisk together the powdered sugar and meringue powder until fully combined.
- Gradually add the warm water, one tablespoon at a time, mixing slowly with a hand mixer or stand mixer on low speed.
- Once the dry ingredients are mostly incorporated, add the vanilla extract, if using.
- Increase the mixer speed to medium-high and beat for 5 to 7 minutes. The icing will become very thick, smooth, and glossy.
- Test the consistency. For outlining, the icing should hold a soft peak. For flooding, you may need to add a few more drops of water until it flows slowly off a spoon.
- Divide the icing into bowls for coloring with gel food coloring, if desired.
- Use the icing immediately. Outline your cookies first, then allow the outline to set for 10-15 minutes before flooding the centers.
- Let the cookies dry completely at room temperature. This usually takes 4-8 hours, depending on humidity.
Notes
- Always use gel food coloring; liquid coloring can thin the icing too much.
- If the icing seems too thick for flooding, add water sparingly, half a teaspoon at a time.
- Store unused icing covered tightly with plastic wrap pressed directly onto the surface to prevent drying.
- This icing sets hard, making it perfect for stacking or packaging decorated cookies.
- Prep Time: 10 minutes
- Cook Time: 0 minutes
- Category: Baking Decoration
- Method: Mixing/Beating
- Cuisine: American
Nutrition
- Serving Size: 1/4 cup of icing
- Calories: 180
- Sugar: 45g
- Sodium: 10mg
- Fat: 0g
- Saturated Fat: 0g
- Unsaturated Fat: 0g
- Trans Fat: 0g
- Carbohydrates: 45g
- Fiber: 0g
- Protein: 1g
- Cholesterol: 0mg