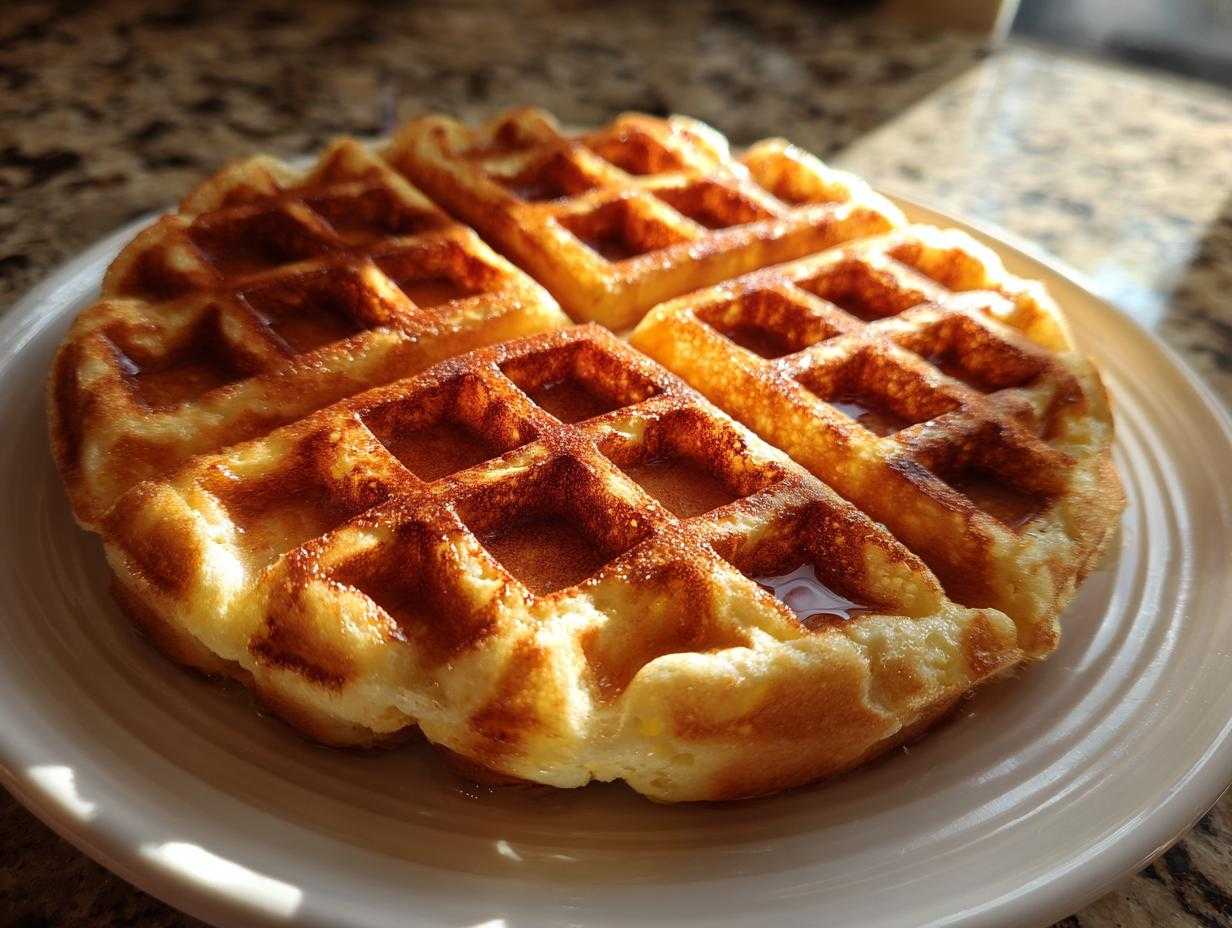
Oh, you know that feeling. It’s late, or maybe it’s Saturday morning, and nothing—absolutely nothing—will cure that craving except sinking your teeth into one of those iconic, perfectly crisp, slightly salty Waffle House waffles. I spent what felt like a hundred weekends trying to nail that *exact* texture at home. I swear, my kitchen nearly ended up coated in flour dust! But I finally got it right. This isn’t just any waffle recipe; this is my hard-won, perfected copycat version that delivers that signature gold-brown crust and the impossibly fluffy middle that makes the waffle house waffle legendary.
Why This Copycat Waffle House Waffle Recipe Works (The Secrets)
You watch the line cooks work, and it looks so simple, right? Just pour and close. But making that genuinely authentic diner waffle at home took me ages! I went through batches that were too cakey, and others that just turned soggy three minutes after resting. The magic really lies in two specific things: the buttermilk and the fat choice.
When I first tried making these, I used regular milk and ended up with something closer to a fluffy pancake. Yuck! It wasn’t until I switched to buttermilk that I finally got that beautiful, slightly tangy flavor and the tender crumb that melts in your mouth. Trust me, don’t skip the buttermilk; it’s non-negotiable for this specific flavor profile. I even have a great little apple cobbler recipe, but this waffle needs that slight acidity!
The Importance of Buttermilk for the Waffle House Waffle Texture
That delightful tang comes directly from the buttermilk reacting with the baking soda in the dry mix. This chemical reaction creates C02 bubbles super fast, giving you that signature light internal structure. It tenderizes the flour proteins beautifully, which is exactly what we want for a soft bite.
Achieving the Signature Crisp Exterior
Here’s another big secret that separates a sad homemade waffle from a great diner one: the fat! Butter tastes amazing, yes, but it raises the melting point and doesn’t create as sturdy a crust. Waffle House uses vegetable oil, and for copycat greatness, so should you! The oil gets hotter and helps steam the batter quickly, hardening that outside layer while keeping the inside impossibly tender. Make sure your iron is ripping hot before that first pour!
Ingredients for Authentic Waffle House Waffle Batter
This list is short, which is what I love most about this recipe. You probably have most of these things sitting in your pantry right now. For this copycat recipe to work its genuine magic, you need to stick to the measurements—especially with the leavening agents. I got a little too excited the first time and added extra baking powder, and the waffles just puffed up and collapsed! We are aiming for structure here.
If you are looking for some other pancake-adjacent ideas after you master these, check out my easy fluffy oatmeal pancakes recipe!
Here is exactly what you need for about six to eight perfect waffles:
- 2 cups all-purpose flour (scoop and level it, don’t pack it in!)
- 2 tablespoons granulated sugar
- 1 tablespoon baking powder
- 1 teaspoon baking soda
- 1 teaspoon salt
- 1 1/2 cups buttermilk (remember, this is key!)
- 2 large eggs, lightly whisked
- 1/2 cup vegetable oil (the hero behind the crispness!)
- 1 teaspoon vanilla extract
**How to Make Waffle House Waffles at Home** Instructions
Now that you have the right ingredients, the process is honestly super fast—think speed you’d see in a real diner! The most important thing here is honoring the batter. If you overwork it one bit, you’ve lost that light, crispy texture we’re chasing. Don’t worry if your final batter looks a little lumpy; those little lumps are your friends because they mean you haven’t developed the gluten.
Before anything else, you have to preheat that waffle iron completely. If you put the batter in too early, the outside won’t crisp up right away. Get it hot, maybe give it a quick spray of non-stick, and then work quickly!
Mixing the Dry and Wet Components for Your **Waffle House Waffle**
We start with the dry stuff. Whisk your flour, sugar, baking powder, soda, and salt in your biggest bowl. Next, grab a separate bowl and whisk the buttermilk, eggs, oil, and vanilla until they look friendly together. Pour the wet ingredients right into the dry ingredients. I use a whisk at first, but once the flour starts to disappear, I switch to a spatula. Fold until *just* combined! Seriously, stop mixing when you see a few streaks of flour still hanging around. If you want gooey goodness, try my best soft gooey cinnamon buns recipe, but these waffles need that minimal mixing commitment.
Cooking the Perfect **Waffle House Waffle**
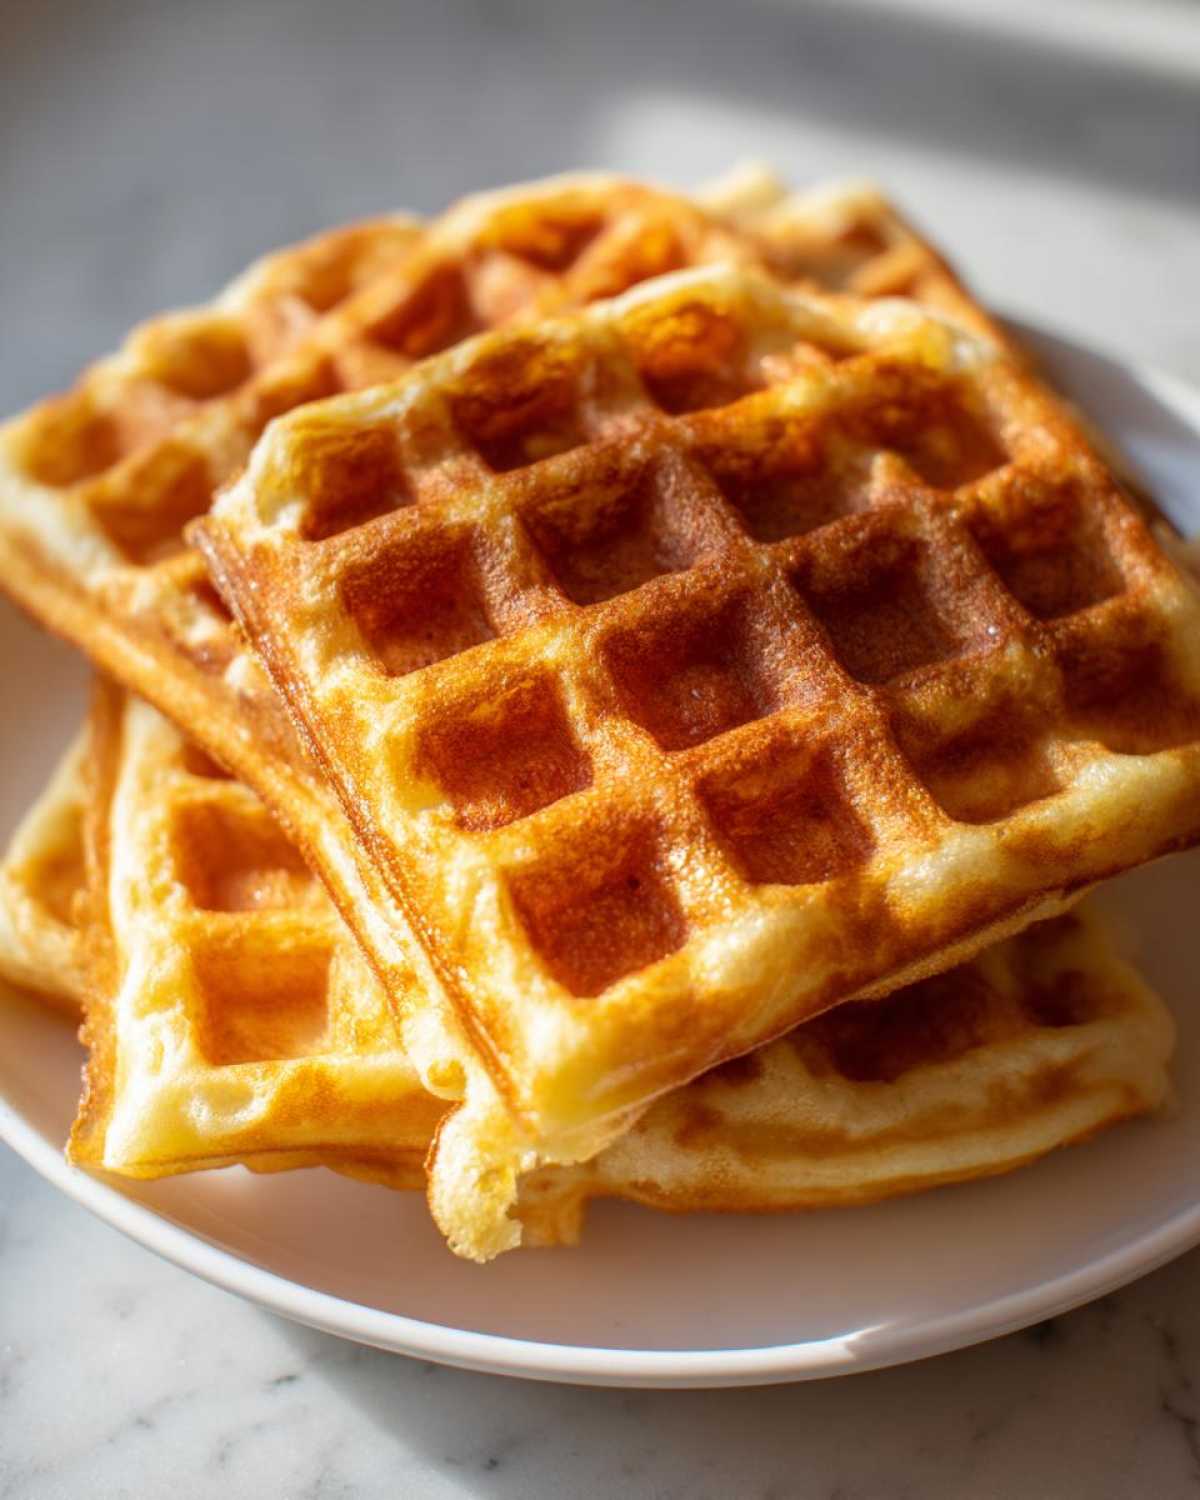
Ladle or pour your batter onto the scorching hot iron. You don’t want to fill it to the absolute brim, or you’ll have batter oozing everywhere (I learned that the hard way!). Shut the lid and let it do its thing—usually three to five minutes, depending on your machine. Wait until that beautiful steam slows down and the indicator light tells you you’re done. Look for that deep, even golden brown color, which means it’s crisp! If you have a ton of batter, pull finished ones onto a wire rack so they stay crisp while you finish the batch.
Tips for the **Best Waffle House Waffle Recipe** Results
If you follow the recipe exactly, you’ll be delighted, but if you want to bump this up to true professional level, I have a couple of little tricks I picked up. First off, let those eggs and that buttermilk hang out on the counter for about 20 minutes before you start mixing. Room temperature ingredients combine much more smoothly, which helps keep the batter consistent.
My biggest tip, though, is what you do *after* they come off the iron. If you stack them right on a plate, the steam gets trapped, and you end up with soft bottoms. Nobody wants that! I always slide my finished waffles onto a wire rack set inside a baking sheet. Then, I keep that sheet in a warm oven—around 200°F—while I finish the rest of the batter. It keeps them toasty warm and lets any extra steam escape. It works every time, just like when I make my easy homemade naan bread!
Serving Suggestions for Your **Homemade Waffles Like Waffle House**
Okay, you’ve got the golden-brown, crispy discs of joy staring up at you—what now? While the real Waffle House experience usually involves a pat of butter melting into those deep pockets and a river of their signature syrup, you absolutely can dress these babies up for a weekend feast. Don’t be afraid to go a little extra when you’ve worked this hard on batter structure!
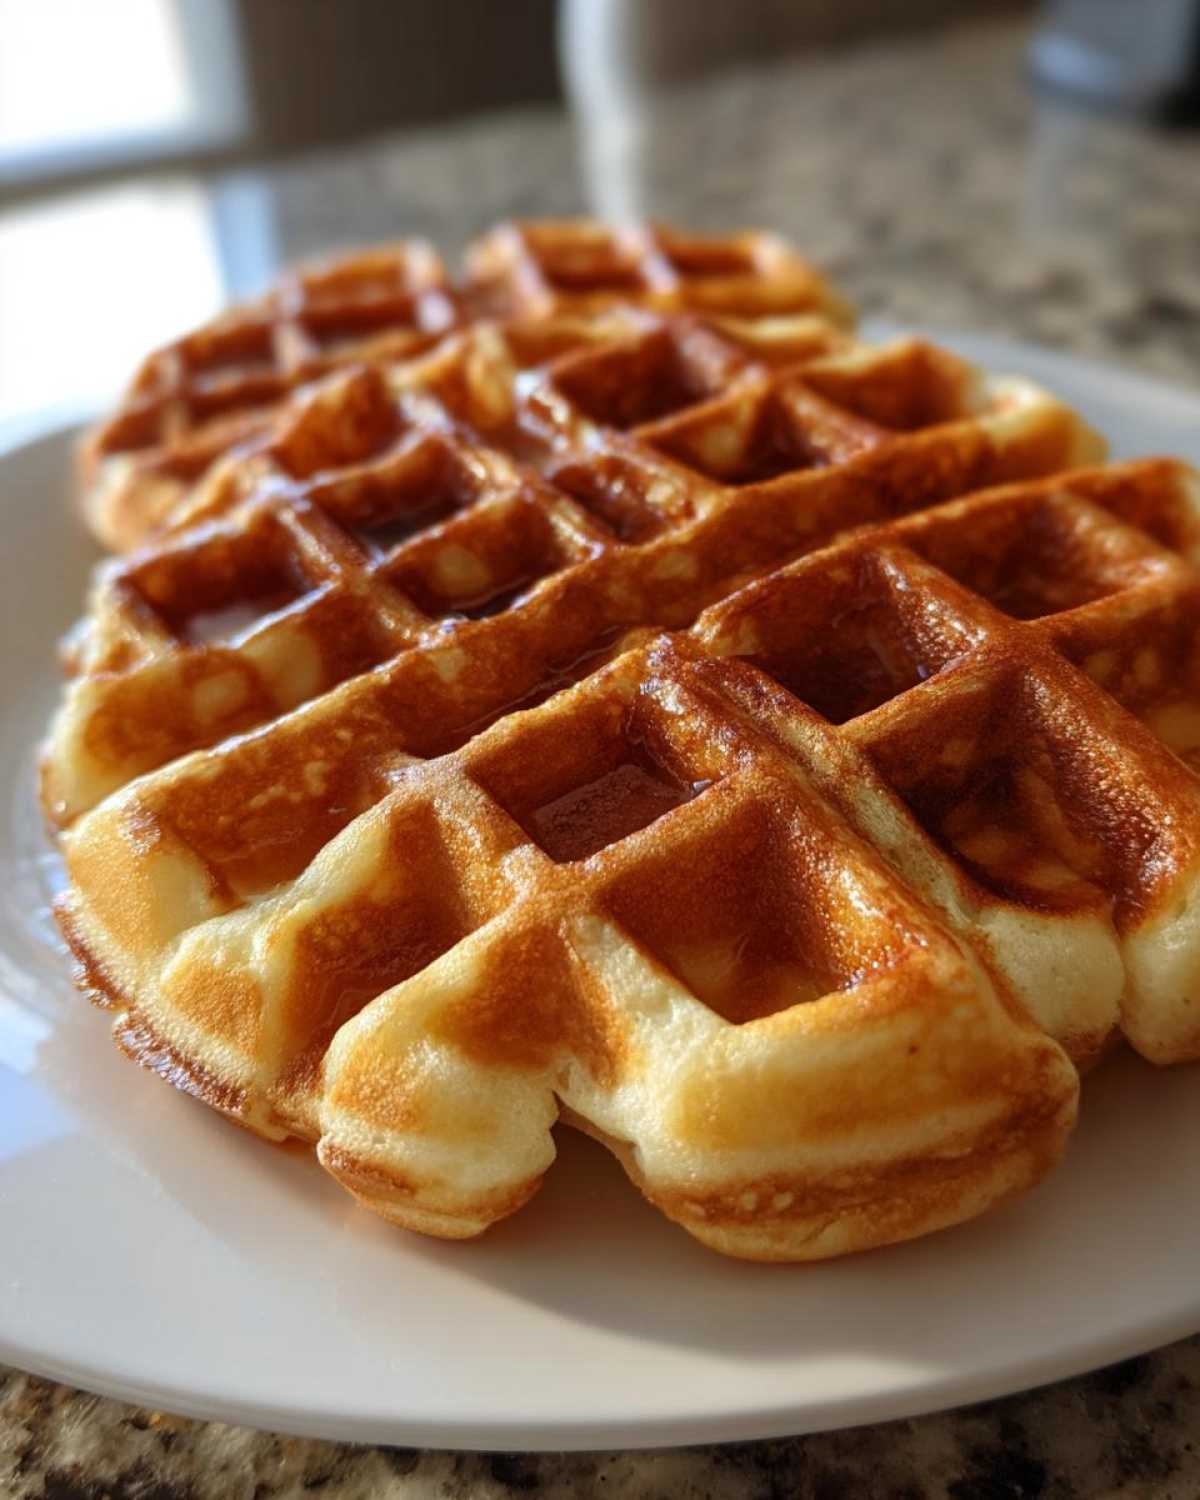
Classic is always best, of course. Real melted butter and warm maple syrup. But if you want to give it a little flair, think about those toppings they offer that make you feel like you’re truly indulging. A big dollop of fresh whipped cream paired with sliced berries is fantastic. Or, if you’re feeling extra decadent, you can toss some toasted pecans into the batter right before you cook the last batch—that’s almost like having my maple pecan french toast roll-ups flavor profile, but in waffle form!
They are sturdy enough to handle anything, so layer on the fruit, cover ’em in powdered sugar, or keep it simple. Either way, serve them immediately while they are shatteringly crisp outside!
Storage and Reheating Instructions for **Waffle House Style Breakfast**
Nobody wants to finish these incredible waffles in one sitting, but let’s be honest: the microwave is the enemy of the crispy waffle. It just makes them sad and chewy! If you are smart about leftovers right when they come off the iron, you can enjoy these beauties again tomorrow without losing that signature crispness.
For storage, let the waffles cool completely on a wire rack first—never seal them when they are hot, or they’ll steam themselves into submission. Once cool, layer them in an airtight container. They should last about three days in the fridge perfectly fine. If you need to keep them longer, wrap them individually in plastic wrap and then pop them into a freezer bag. They freeze beautifully for up to two months!
When it’s time to reheat, avoid the microwave unless you are in a massive hurry. If you must use it, use short bursts and they will still be edible, but they won’t be truly crispy. The toaster is your absolute best bet for resurrecting breakfast! Pop a frozen or refrigerated waffle in the toaster slots until it’s heated through and the edges have that familiar bite again. If you’re reheating a big batch, spread them out on a baking sheet and warm them in a 350°F oven for about 8 minutes. It mimics that initial hot-iron cooking environment. Speaking of warming things up, have you ever tried my easy cinnamon baked apples recipe? Great side dish for the next morning!
Ingredient Notes and Substitutions for **Crispy Buttermilk Waffles Recipe**
I know, I know. Sometimes you’re ready to make these amazing diner-style waffles, but you peek in the fridge and realize you’re fresh out of buttermilk. Don’t panic and don’t reach for regular carton milk right away! The buttermilk is essential because of that perfect acid level, but you can absolutely fake it in a pinch. If you have regular milk, just add one tablespoon of white vinegar or lemon juice to a measuring cup and fill it up to the 1 1/2 cup line with milk. Let that sit for about five minutes. It’ll curdle up a bit, and voilà—you have your homemade sour stuff!
Now, let’s talk fats again. I stress vegetable oil for that crispness because it stays liquid and coats the batter edges perfectly without adding too much moisture back in. Can you use melted butter? Sure, but know that it will give you a slightly softer, richer waffle—less like the Waffle House experience and more like a classic Belgian waffle. If you are out of oil entirely, you can use a neutral flavor like canola oil, but please, avoid strongly flavored oils like olive oil; that taste is not welcome here!
If you ever need a basic homemade staple that requires no eggs or dairy, you have to try my easy foolproof 5 ingredient homemade mayonnaise. It’s shockingly simple, though not applicable to waffles, of course!
Frequently Asked Questions About Making the **Waffle House Waffle**
I get asked something about these waffles almost every time someone tries the recipe for the first time. People are so nostalgic for that diner flavor, and I totally get it! I’ve gathered the most common questions here so you can be totally prepped before you even turn on that iron. If you’ve mastered these breakfast beauties, maybe shake things up later with my easy creamy chicken taco soup recipe for dinner!
Can I make the **Waffle House Copycat Secrets** batter ahead of time?
You really, really shouldn’t. I tried it once, thinking I’d save time on a Sunday morning, and it was a disaster! The baking powder and soda start working their magic the second they hit that wet buttermilk. If you wait even an hour, the bubbles settle, and you end up with waffles that are flat and dense when you try to cook them. Mix it right before you are ready to cook your first batch for the best results.
What kind of waffle iron works best for these?
You don’t need one of those giant industrial machines they have in the restaurant! Any standard home waffle iron will work just fine, whether it’s round or square. The secret is making sure the plates are fully heated before you pour. If your iron makes deep pockets, you might need a tiny bit more batter, but generally, these are designed to be a bit thinner than a thick Belgian waffle, creating those lovely thin, crispy edges we love.
What makes these **Diner Style Waffles** different from Belgian waffles?
Oh, that’s an easy distinction once you know the tricks! Belgian waffles are often much thicker, usually have deep, deep pockets, and they are often made with a yeast-risen batter or egg whites folded in for maximum airiness. Our **Waffle House Waffle** copycat is thinner, relies on baking soda/powder for lift, and uses vegetable oil to get that iconic, almost shattering crispness on the outside. It’s all about that perfect contrast in texture!
Estimated Nutritional Data for One **Waffle House Waffle**
I’ve done the calorie counting so you don’t have to sweat it while you’re slathering on the butter! Since this recipe uses oil instead of heavy cream or tons of added butter, they actually aren’t as heavy as some of those fancy, thick Belgian waffle recipes out there. This is important to know when you’re loading up your plate for that perfect Waffle House style breakfast.
Keep in mind, these numbers are just an estimate based purely on the ingredients listed above, and they don’t include whatever incredible toppings you pile on top—so if you’re adding a cup of whipped cream and a mountain of syrup, things change fast! If you are looking for something warm and comforting that skips the breakfast route, you absolutely have to try my turmeric golden milk latte recipe.
Here is what you can generally expect from one single, perfect, **Waffle House Waffle**:
- Serving Size: 1 waffle
- Calories: Around 280
- Fat: 12g (Only 2g of that is saturated fat, which is great!)
- Carbohydrates: 38g
- Protein: 8g
- Sugar: About 5g
- Sodium: 450mg (That slight saltiness is part of the charm!)
- Cholesterol: 55mg
So there you have it! They are a wonderfully balanced choice for a weekend treat. Enjoy every single bite—you earned making these spectacular copycat waffles!
Print
Copycat Waffle House Waffles
- Total Time: 30 min
- Yield: 6 to 8 waffles 1x
- Diet: Vegetarian
Description
Make authentic, crispy on the outside and fluffy on the inside Waffle House style waffles at home using this straightforward recipe.
Ingredients
- 2 cups all-purpose flour
- 2 tablespoons granulated sugar
- 1 tablespoon baking powder
- 1 teaspoon baking soda
- 1 teaspoon salt
- 1 1/2 cups buttermilk
- 2 large eggs
- 1/2 cup vegetable oil
- 1 teaspoon vanilla extract
Instructions
- Preheat your waffle iron according to the manufacturer’s directions. Lightly grease the plates if necessary.
- In a large bowl, whisk together the flour, sugar, baking powder, baking soda, and salt.
- In a separate medium bowl, whisk together the buttermilk, eggs, vegetable oil, and vanilla extract until combined.
- Pour the wet ingredients into the dry ingredients. Mix gently with a whisk or spatula until just combined. Do not overmix; a few small lumps are acceptable for a tender waffle.
- Pour the batter onto the hot waffle iron, using the amount recommended for your specific iron to fill it without overflowing.
- Cook according to your waffle iron’s instructions until the waffle is golden brown and crisp, usually 3 to 5 minutes.
- Carefully remove the waffle and serve immediately, or keep warm on a wire rack in a 200°F oven while you cook the remaining batter.
Notes
- For the best texture, do not overmix the batter. Overmixing develops gluten, resulting in tough waffles.
- Using buttermilk is key to achieving the slight tang and tender interior characteristic of Waffle House waffles.
- If you prefer a slightly thinner batter, add 1 to 2 tablespoons of milk or water until the desired consistency is reached.
- Prep Time: 10 min
- Cook Time: 4 min per batch
- Category: Breakfast
- Method: Waffle Iron
- Cuisine: American
Nutrition
- Serving Size: 1 waffle
- Calories: 280
- Sugar: 5
- Sodium: 450
- Fat: 12
- Saturated Fat: 2
- Unsaturated Fat: 10
- Trans Fat: 0
- Carbohydrates: 38
- Fiber: 1
- Protein: 8
- Cholesterol: 55