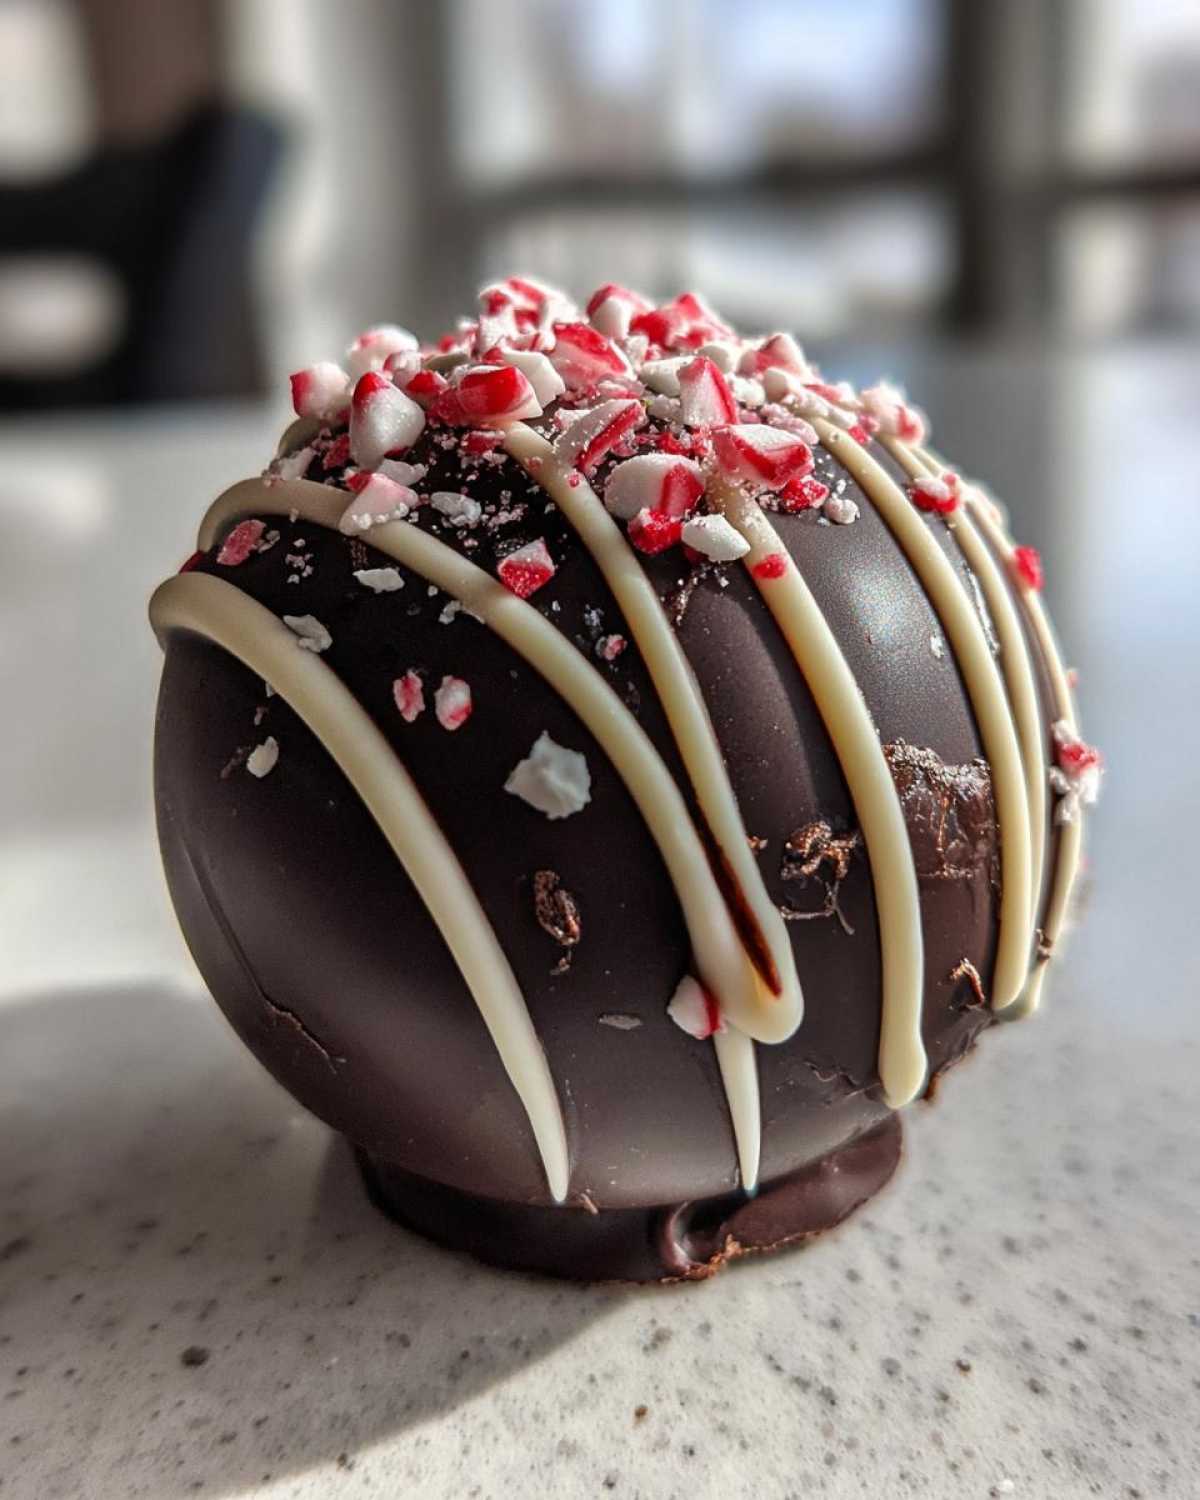
Bake Up Some Joy with Peppermint Hot Chocolate Bombs
Are you ready for a little kitchen magic? I mean real, edible magic. We are talking about the kind that bursts open! These Peppermint Hot Chocolate Bombs deliver that perfect, explosive holiday treat. Liam usually needs perfect lines. I, his muse, usually push for fun chaos. This recipe is our happy medium. It blends his precision with my love for playful joy. You get stunning chocolate spheres. Inside waits a hidden treasure of cocoa and mint. Get ready to make your next mug of hot cocoa an event. It’s truly a recipe for connection.
Why You Will Love Making Peppermint Hot Chocolate Bombs
These treats are pure kitchen delight. They bring so much fun to winter evenings. Why should you make these right now?
- The payoff is truly explosive.
- Prep time is surprisingly quick.
- They make amazing, simple gifts.
- Everyone loves watching them melt.
Quick Assembly for Last-Minute Magic
You can whip these up fast. Total time is under an hour. That’s great for busy days. You don’t need hours of fuss.
The Ultimate Kid-Friendly Holiday Activity
Kids adore the whole process. They love filling the chocolate shells. Watching the hot milk melt them is pure joy. It’s family fun guaranteed.
Gather Your Supplies for Peppermint Hot Chocolate Bombs
Making these decadent Peppermint Hot Chocolate Bombs needs a few special things. You can’t just use any old bowl here. Good tools make this process smoother. They help you get those perfect chocolate spheres. Let’s look at what you need first.
Essential Tools for Perfect Chocolate Spheres
- A silicone sphere mold works best.
- You need a double boiler setup.
- A small pastry brush is helpful.
- A microwave-safe bowl works too.
- A slightly warm plate for sealing.
Ingredients for Your Peppermint Hot Chocolate Bombs
Now for the fun part. Gathering our goodies! Getting the right amounts matters here. I always lay everything out first. This keeps me calm when things move fast. We need good chocolate for a great shell.
Chocolate Base and Filling Components
- 12 ounces semi-sweet chocolate, chopped.
- 1 cup white chocolate, chopped.
- 1 cup semi-sweet chocolate chips.
- 1/2 cup mini marshmallows.
Flavor Accents for the Peppermint Hot Chocolate Bombs
These bits make the taste pop.
- 1 teaspoon peppermint extract goes in the mix.
- 1/4 cup crushed peppermint candies for flair.
Step-by-Step Guide: Creating Your Peppermint Hot Chocolate Bombs
Time to make some actual magic happen. Remember what I said about Liam’s precision? This is where it shines. Follow these steps closely. You’ll get perfect chocolate spheres.
Melting and Initial Chocolate Shell Layering
Melt your semi-sweet chocolate first. Use a double boiler or short microwave bursts. Stir until it’s smooth like silk. Next, grab your silicone mold. Brush a thin layer inside each half-sphere. Don’t leave any spots bare. Pop those shells into the fridge now. Let them chill for ten minutes until firm.
Building Strength: The Second Chocolate Layer
A single coat won’t hold up. We need strong shells. Apply a second layer of chocolate now. Focus hard on the edges. This makes the rims thick and sturdy. Chill everything again. Wait until the shells are totally hard.
Filling and Sealing Your Peppermint Hot Chocolate Bombs
Gently pop the firm shells out now. Fill half of them up. Use chocolate chips, marshmallows, and peppermint. Now, heat a clean plate slightly. Touch the rim of an empty shell to the warm plate. Just briefly melt that edge a bit. Quickly press that melted rim onto a filled shell. Seal them tight to form a full sphere. Wipe off any extra mess.
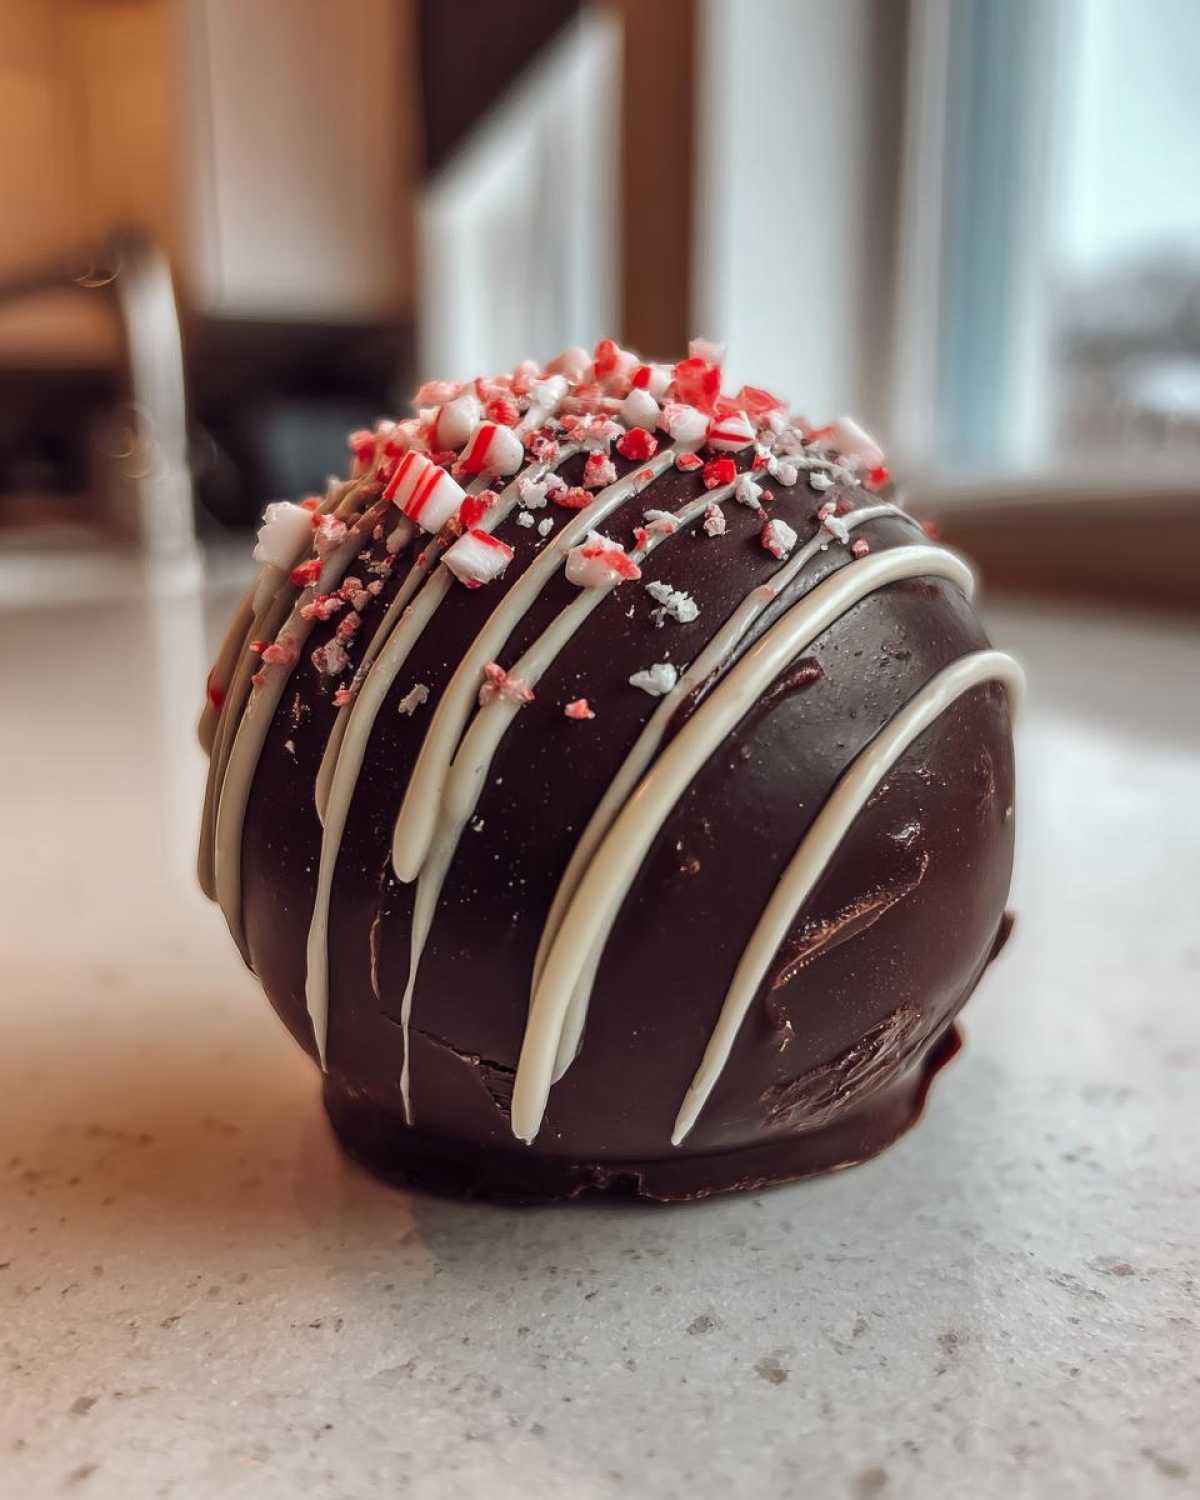
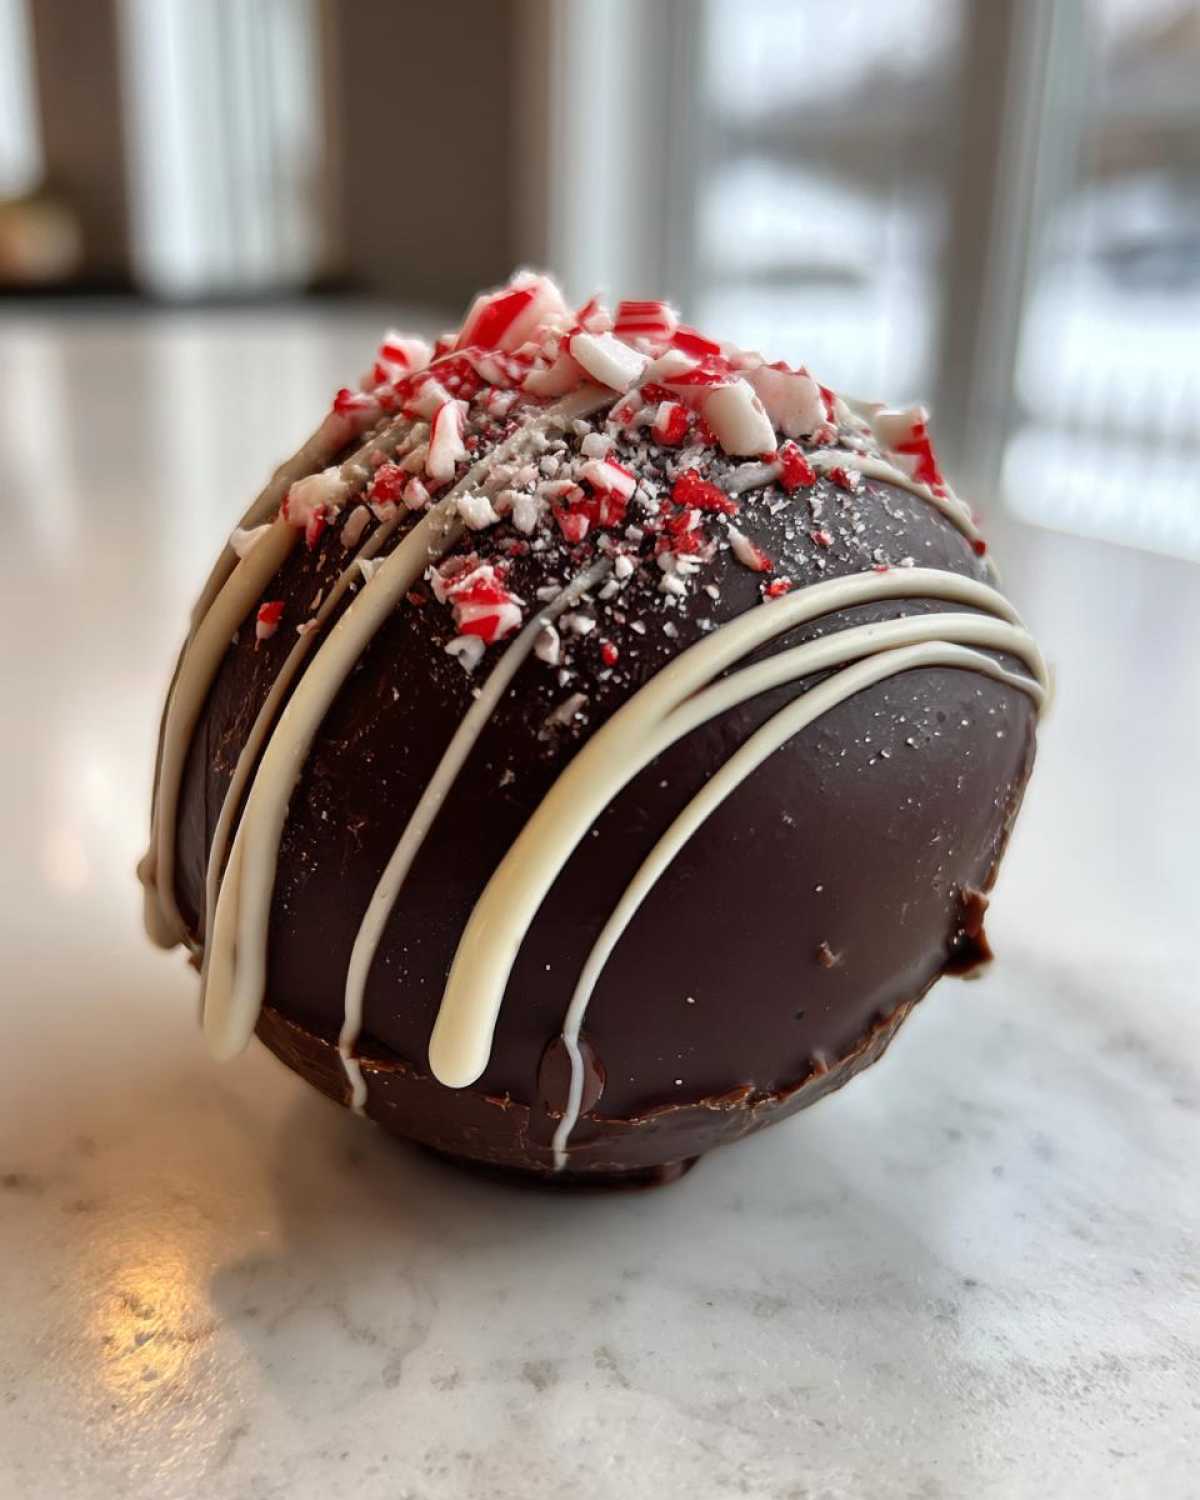
Decorating the Finished Peppermint Hot Chocolate Bombs
Melt your white chocolate separately. Drizzle it over the sealed bombs. Make pretty patterns if you want. Sprinkle more crushed peppermint on top. Let these decorations set completely. Now your explosive treats are ready to go!
Tips from Sara and Liam for Perfect Peppermint Hot Chocolate Bombs
We’ve made hundreds of these by now. Trust me, we’ve seen every chocolate disaster possible! Getting these Peppermint Hot Chocolate Bombs right takes a little practice. Don’t worry if your first batch is wobbly. Liam learned this the hard way.
Working Quickly During Assembly
Speed is your best friend here. Once you start sealing the halves, move fast. Your hands warm up the chocolate quickly. If you pause too long, the shells get soft. Soft shells collapse on themselves, which is no good for our cocoa explosion later.
Troubleshooting Chocolate Consistency
Sometimes chocolate seizes. It looks grainy and awful. Don’t throw it out! I learned this trick from an old baker friend. Add a tiny bit of coconut oil. Stir it in gently. This often smooths the chocolate right out. It saves your batch every time.
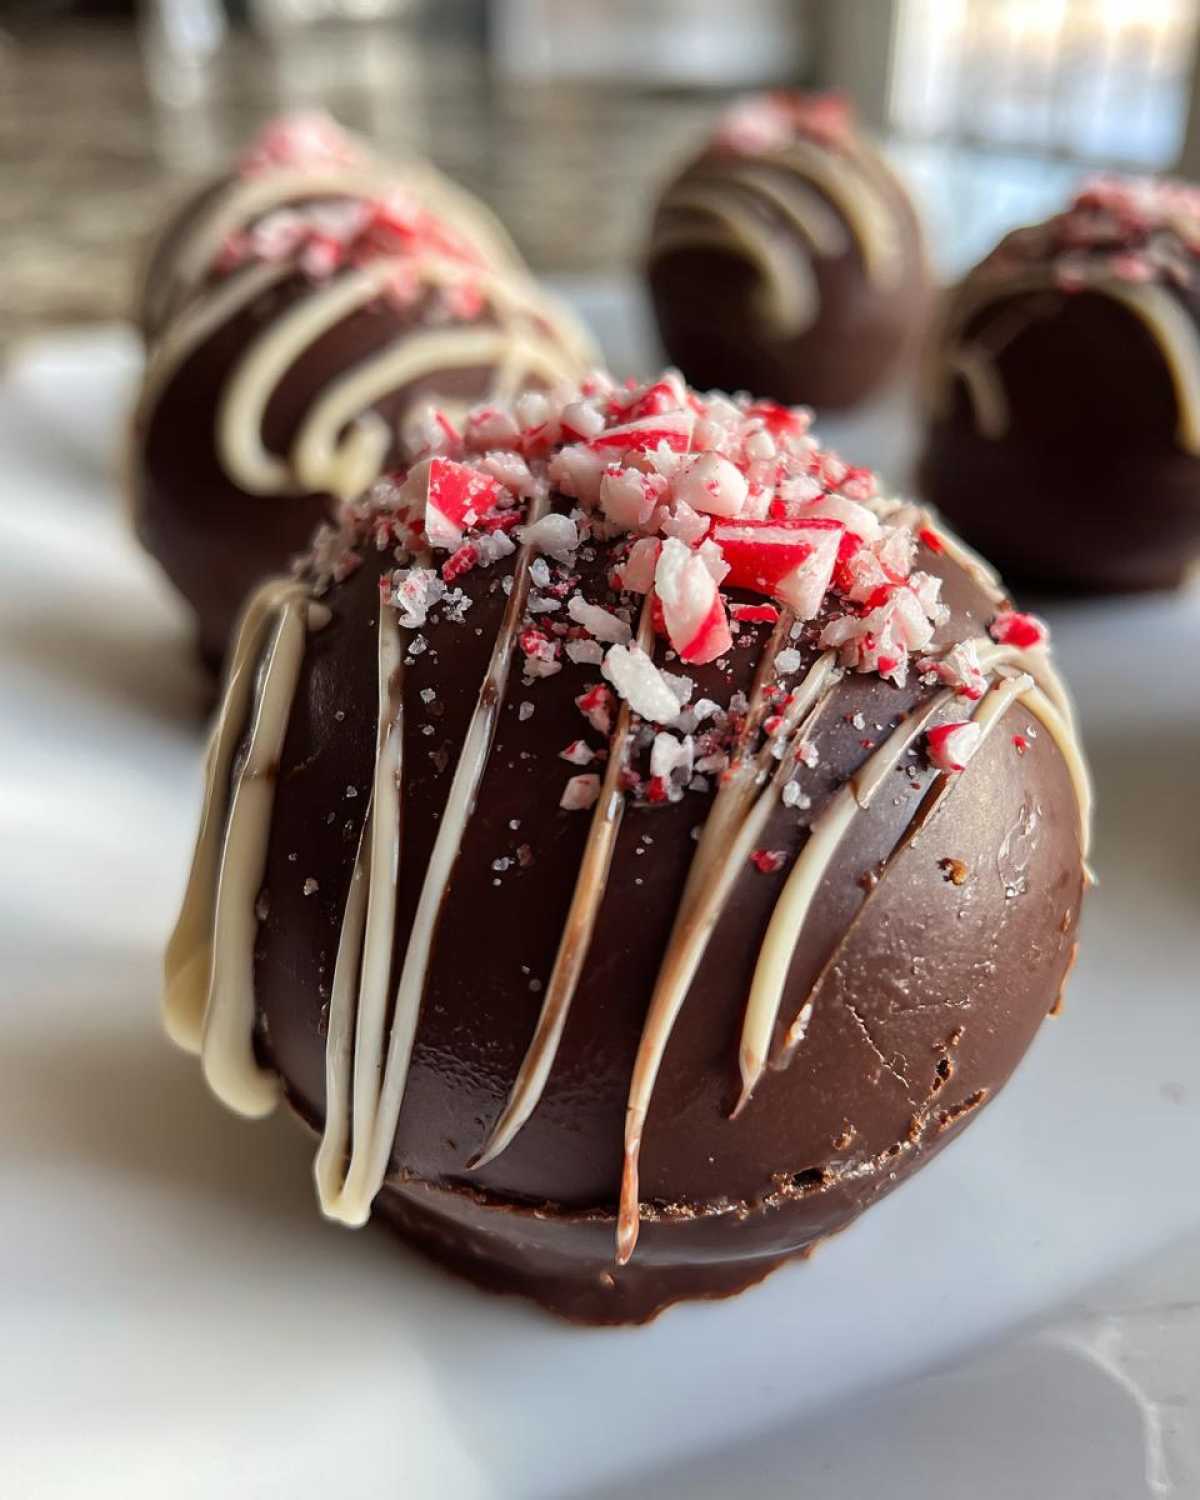
Serving and Storing Your Peppermint Hot Chocolate Bombs
The moment of truth is finally here! Using your beautiful chocolate spheres is simple. But there’s a right way to get that big “wow” factor. Keep these treats cool until you’re ready to serve them. They really shine when they are fresh.
How to Achieve the Explosive Cocoa Moment
Place one bomb right into your favorite mug. Get your milk piping hot, not boiling. Pour the hot milk slowly over the top. Watch the chocolate melt away fast. The center bursts open right there. Stir well to mix the melted chocolate.
Frequently Asked Questions About Peppermint Hot Chocolate Bombs
We get asked a lot of questions. Cooking should be fun, not confusing. Here are a few quick answers about your chocolate spheres.
Can I Substitute the Chocolate Type?
Yes, you absolutely can. Semi-sweet is my favorite here. It balances the mint well. If you like sweeter drinks, use milk chocolate instead. It works just as beautifully for your Holiday Cocoa base.
How Long Do These Peppermint Hot Chocolate Bombs Last?
Store them in a cool, dry spot. Keep them away from sunlight too. They last well for about two weeks. They are best enjoyed fresh, though!
What Kind of Mold Works Best?
Silicone molds give the best results. Look for a smooth sphere shape. Hard plastic molds can crack the shells. Smooth molds mean easy release every time.
Understanding the Nutrition in Your Peppermint Hot Chocolate Bombs
We focus on flavor, not counting calories, honestly! But knowing the basics helps. These estimates are based on one bomb serving size.
- Calories are around 200 per bomb.
- Fat content is approximately 14 grams.
- Sugar sits near 18 grams total.
Remember, these figures are just good guesses. Actual counts can change based on your chocolate brand.
Share Your Culinary Performance
Did your kitchen stage light up tonight? I hope so! We love seeing your creations. Did you nail the seal? Tell us about your explosive moment. Rate this recipe below. Share your photos with us. Let’s keep the joy flowing!
Print
5 Shocking Peppermint Hot Chocolate Bombs Secrets
- Total Time: 35 minutes
- Yield: About 10-12 bombs 1x
- Diet: Vegetarian
Description
Create fun, festive Peppermint Hot Chocolate Bombs perfect for a holiday treat. These edible surprises melt in hot milk to deliver a rich chocolate and mint experience.
Ingredients
- 10 ounces chocolate, melting wafers or good quality chocolate, chopped
- 1/2 cup hot cocoa mix
- 1/4 cup crushed peppermint candies or candy canes
- Marshmallows
- Peppermint extract (optional)
Instructions
- Melt the chocolate using a double boiler or microwave in short bursts, stirring until smooth.
- Use a silicone sphere mold (about 2 inches wide). Spoon a small amount of melted chocolate into the bottom half of each mold cavity.
- Use the back of a small spoon to spread the chocolate up the sides of the mold, creating a shell. Ensure the chocolate is thick enough to hold its shape.
- Place the molds in the refrigerator for about 10 minutes until the chocolate is set.
- Gently remove the hardened chocolate shells from the mold.
- Warm a flat plate slightly. Take one chocolate shell and quickly touch the rim onto the warm plate to slightly melt the edge.
- Place the melted-rim shell onto a piece of parchment paper.
- Fill the shell halfway with hot cocoa mix, a few marshmallows, and a pinch of crushed peppermint. Add a tiny drop of peppermint extract if desired.
- Take a second chocolate shell. Slightly melt its rim on the warm plate.
- Carefully place the second shell on top of the filled shell to seal the bomb, pressing gently to join the edges.
- Decorate the outside of the bomb with extra melted chocolate drizzle and more crushed peppermint.
- Allow the bombs to set completely before using.
- To serve, place one bomb in a mug and pour very hot milk over it. Stir until melted and enjoy the burst of flavor.
Notes
- Use high-quality melting chocolate for the best shine and snap.
- If you don’t have a sphere mold, you can make chocolate cups instead.
- Crush your peppermint candies finely for even distribution.
- Store the completed bombs in a cool, dry place away from direct sunlight.
- Prep Time: 30 minutes
- Cook Time: 5 minutes
- Category: Dessert
- Method: Molding and Melting
- Cuisine: American
Nutrition
- Serving Size: 1 bomb
- Calories: Estimate based on ingredients
- Sugar: Estimate based on ingredients
- Sodium: Estimate based on ingredients
- Fat: Estimate based on ingredients
- Saturated Fat: Estimate based on ingredients
- Unsaturated Fat: Estimate based on ingredients
- Trans Fat: Estimate based on ingredients
- Carbohydrates: Estimate based on ingredients
- Fiber: Estimate based on ingredients
- Protein: Estimate based on ingredients
- Cholesterol: Estimate based on ingredients