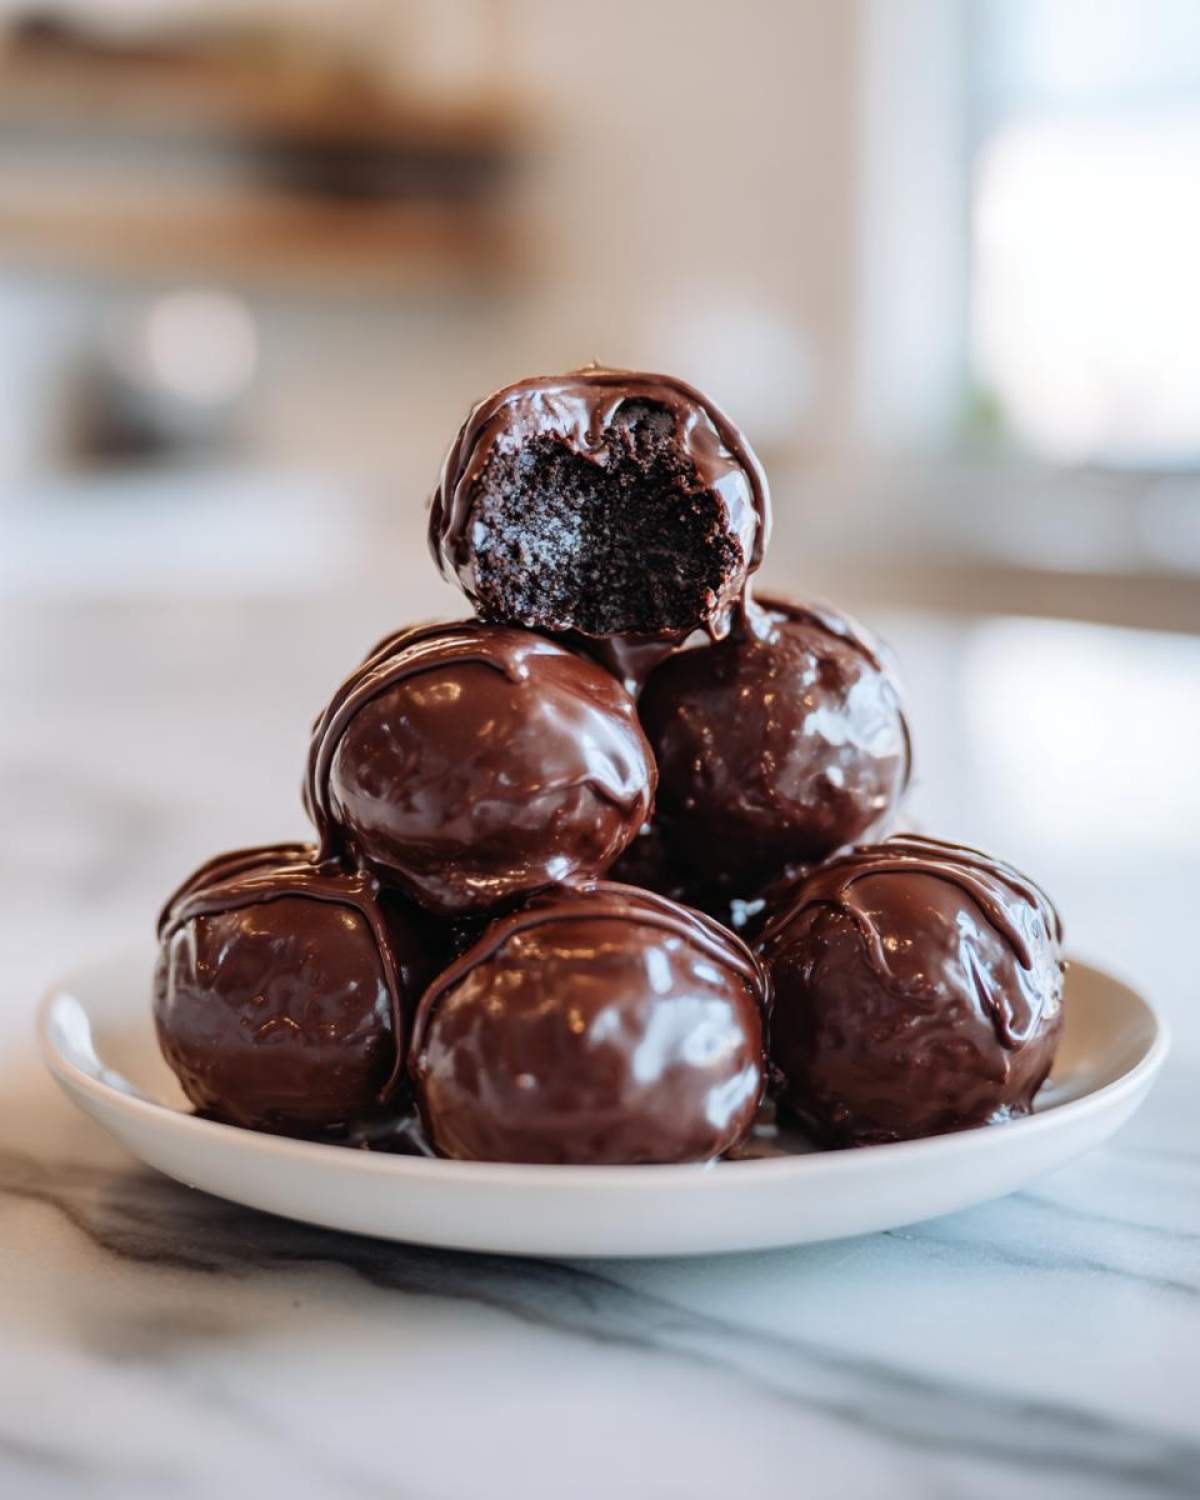
Sometimes you just need a moment of pure, decadent silence, right? And for me, that moment always involves chocolate, cream, and crunchy cookie bits mashed together until they submit to my will. Forget the oven, forget the mess—these are the easiest, no-bake oreo balls you will ever, ever make. Seriously, if you can push a button on a food processor, you’re basically a baking professional!
I’ve been making these chocolate covered Oreo bites since high school when I needed a massive batch of something quick for a charity event. They were an instant hit, and now I consider the basic three-ingredient formula my secret weapon for instant gratification. I’ve tweaked the chilling time and the chocolate coating method over the years, not because the recipe needed it, but because I needed to make absolutely sure they were perfect every single time. Trust me, these homemade chocolate confections are addictive!
Why You Will Make These Oreo Balls Again and Again
Honestly, these little spheres of joy are the biggest payoff for the least amount of effort in my entire recipe file. They are truly the ultimate quick sweet fix when that craving hits! I keep coming back to them, and I know you will too once you see how simple they are.
- They are genuinely a Simple 3 Ingredient Dessert—just Oreos, cream cheese, and chocolate separating you from bliss.
- Zero oven time! That’s right, we skip the heat entirely, making these the perfect No Oven Dessert Idea for hot days or when your oven is already packed with something else.
- They are incredibly versatile; they look fancy but they’re actually just Easy Truffle Recipe staples that disappear fast at any gathering.
- The chill time is short, meaning you can go from pantry raid to plate in under an hour if you’re quick!
- These are fantastic Make Ahead Party Food. They survive beautifully in the fridge, just waiting for their moment to shine.
- Everyone loves them! Kids, grown-ups, picky eaters—these are undisputed Crowd Pleasing Sweets every single time.
If you love this kind of easy, no-fuss treat, you absolutely have to check out my recipe for No Bake Peanut Butter Energy Bites next. They’re just as fast!
Gathering Ingredients for Your Oreo Balls
Okay, this is the best part because we’re keeping things super lean here. I’ve always believed that if a recipe only has three stars, you have to let those stars shine! We aren’t working with a giant shopping list, so make sure what you grab is good quality, especially the chocolate.
Here is exactly what you need to grab for about 30 of these Simple Chocolate Dipped Cookies:
- One full package (that’s 14.3 ounces, usually!) of Oreo cookies. And yes, you want the ones with the white filling!
- 8 ounces of cream cheese. This absolutely has to be softened up before you start mixing.
- 16 ounces of semi-sweet chocolate melting wafers or chips.
If you want to see how to turn that chocolate into something even more brilliant, check out my recipe for Easy 3 Ingredient Chocolate Fudge—same chocolate, different delicious outcome!
Ingredient Notes and Substitutions for Oreo Balls
Let’s talk ingredients for a second, because while it’s simple, detail matters. For the cookies, you must use the standard ones; skip the Double Stuf editions because they throw off the moisture ratio drastically. The cream cheese *must* be room temperature so it mixes cleanly—cold cream cheese makes crumbly dough, and crumbs are hard to roll! For the coating, I swear by melting wafers; they harden smoothly and perfectly. If you use chocolate chips, you might need to add a teaspoon of coconut oil to help them stay glossy and dip-friendly.
Step-by-Step Guide to Perfect Oreo Balls
Now for the fun part—turning humble cookies into stunning little nuggets of joy! The whole process is surprisingly fast, which is why I always have these Quick Cookie Truffles on hand. The key, I’ve learned through a few sticky disasters, is making sure everything is mixed *just* right before we move on to the chocolate bath.
Before we dive in, if you don’t have a food processor, don’t you dare think you can’t make these! Just toss those Oreos into a sturdy zip-top bag and get to work with a heavy rolling pin. Seriously work that bag over until they are fine crumbs. I’ve done it this way plenty of times; it’s good for stress relief, too!
For a deeper dive into no-bake cookie miracles, you should bookmark my No-Bake Oreo Dirt Cake recipe!
Forming and Chilling the Oreo Balls Dough
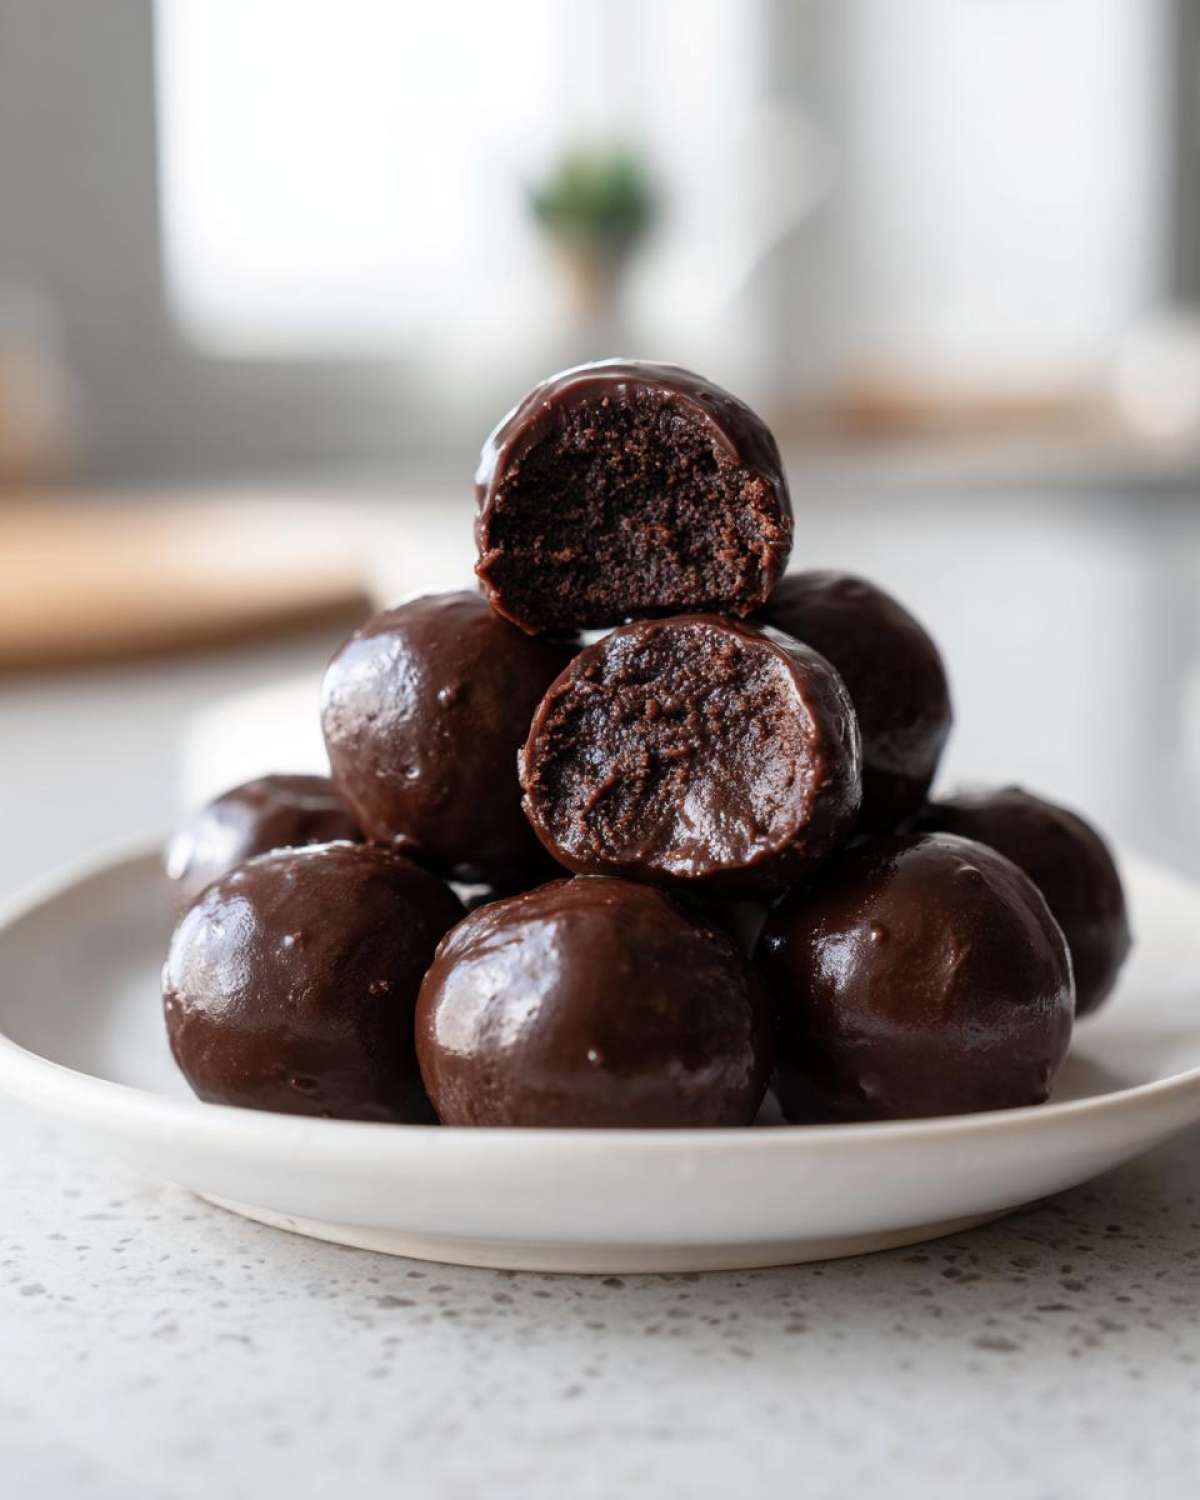
Once your cookies are crumbs, toss them right into a bowl with that soft cream cheese. I always use my hands for this part because you need to really feel when it’s combined. Squish and mix until it feels like thick, uniform playdough—no dry spots allowed! Roll those babies into about one-inch balls. I line a sheet pan with parchment paper—it makes cleanup a breeze later. Pop that whole tray into the fridge for at least 30 minutes. Chilling is non-negotiable; it stops them from melting into flat puddles when they hit that hot chocolate.
Mastering the Chocolate Coating for Your Oreo Balls
Melting the chocolate is where most people panic, but it’s easy if you are gentle! If you’re microwaving, use short 30-second bursts, stirring between each one. Stop heating when there are still a few tiny lumps left; the residual heat will melt those right out. Don’t try to rush it, or you’ll end up with grainy, seized chocolate, and that’s just sad. Use a fork to dip each chilled ball—make sure it’s fully submerged! Lift it out, let the extra coating drip back in, and then set it back on the parchment. If you use a toothpick to hold it, pull it out very gently right away and smooth the tiny hole with a dab of chocolate. They need a quick 15 minutes back in the fridge to set nicely.
Tips for Making the Best Party Dessert Balls
You’ve got the dough rolled, and they are chilling, but a few little tricks can take your simple oreo balls from ‘good’ to ‘wait, who made these incredible Festive Oreo Desserts?!’ These are the little secrets I picked up from making massive batches for every single holiday party for the last decade.
First, uniformity is the key to professional looks, even if you are in a rush. I always use a small cookie scoop—the one for mini muffins, maybe—to measure out the dough before rolling. This ensures every single ball dries at the same rate and looks beautiful next to its neighbors on the platter. Consistency really makes these Bite Sized Oreo Treats shine!
When it comes to the chocolate coating, the secret to a marble-free, super glossy finish isn’t just melting it right, but letting it cool just slightly before dipping. If the chocolate is scalding hot, it just runs right off the chilled balls. Once it cools just a minute or two, it grabs the cold surface better and gives you a thicker, richer coat. That thickness is what stops them from getting sticky on the platter!
Also, don’t try to move them around too much once they are back on the parchment paper. If you need to speed up the setting process—because you are absolutely running late for the party—pop the whole sheet pan into the freezer for about 10 minutes. They’ll harden fast enough that you can stack them carefully in an airtight container without fear of smearing that beautiful chocolate. These truly are the perfect Cookie Exchange Favorites because they look gorgeous, but they are secretly just three ingredients!
If you love decorating holiday treats, you absolutely need to see how cute you can make them by swapping out that chocolate for colored candy melts! Check out my Reindeer Oreo Truffles for a fun, festive twist!
Storage and Make Ahead Tips for Your Oreo Balls
The best thing about these delightful no bake Oreo delights is that you really can—and maybe should—make them ahead of time! Since they are packed with cream cheese, the fridge is their best friend. I generally keep my batch in an airtight container in the refrigerator and they stay perfectly fresh for up to two full weeks. Talk about stress-free party planning!
If you’re making them for Christmas or a big event, you can absolutely freeze them, too! Just make sure that chocolate coating is totally firm first. They freeze beautifully for about two months. If you are looking for another incredible make-ahead pie that needs no baking, you have to try my Candy Cane Chocolate Pie recipe!
Variations on Classic Oreo Balls
While the classic black and white version of these cream cheese truffles is absolutely flawless—the perfect decadent Oreo dessert—sometimes you just need to switch things up! Who says you can’t have a little fun with a recipe that is already this easy? I love keeping a few different decorative ideas in rotation, especially when I’m making huge batches for neighbors or for a big cookie exchange.
It’s often the coating that does most of the heavy lifting here. You can use white chocolate wafers to make them look like little snowballs, or grab some colored candy melts for holidays. Think pink for Valentine’s Day or green for St. Patrick’s Day! You don’t even need to change the filling inside to totally change the look of your Homemade Chocolate Confections.
But if you want to change the actual flavor inside, yes, you absolutely can! I’ve done this so many times. For a little burst of something extra, I’ll add about half a teaspoon of peppermint extract right in with the cream cheese. That makes a fantastic holiday treat. Or, if you’re feeling brave, swap out the Oreos entirely. Try using Golden Oreos for a lighter, buttery taste profile—those give you these amazing, pale-yellow no bake Oreo delights that look completely different!
If you’re interested in even more fun ways to use Oreos in layered desserts, you have to see my recipe for the Red Velvet Cheesecake Recipe with Layered Oreo—it’s truly spectacular and feels way more complicated than it is!
Serving Suggestions for These Bite Sized Oreo Treats
Once you get these beautiful little truffles set and cool, you have to think about presentation! They are so perfect because they require zero fuss but still look incredibly elegant on a platter. These are definitely my go-to when I need Cookie Exchange Favorites that people rave about, but I don’t have time to mess with fussy piping.
Presentation wise, I always try to vary the height on my dessert table. Since these Party Dessert Balls sit low, I place them next to something taller, like cute little clusters of strawberries or maybe my recipe for Peppermint Hot Chocolate Bombs during the winter holidays. The contrast makes everything pop!

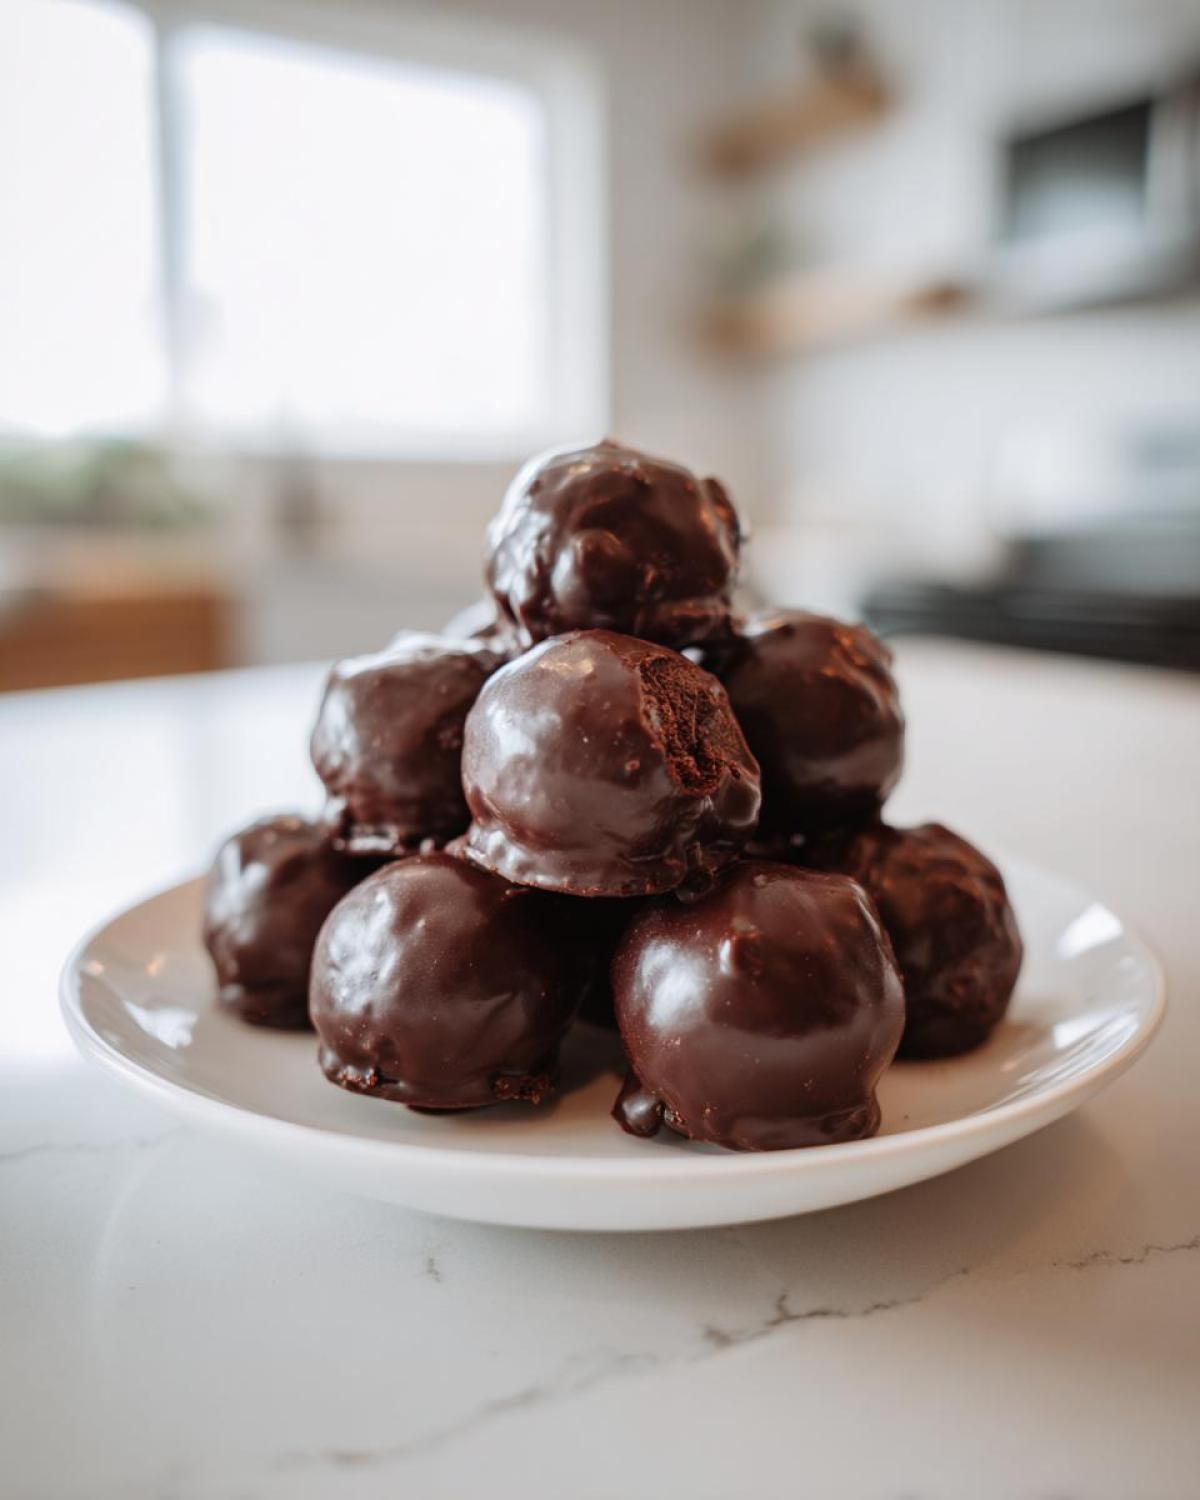
For a casual gathering, they are fantastic lined up on a simple white serving dish with small squares of parchment paper underneath each one—just to keep the chocolate from sticking to the platter during a long party. For a more formal setting, they look amazing nestled inside mini, dark-colored paper cupcake liners. It makes them easy to grab without getting your fingers messy too, which everyone appreciates!
Pairing them up is simple, too! They are obviously divine with a tall glass of cold milk, but if you’re serving them after dinner, they go perfectly with a strong cup of coffee or even a small espresso shot. The richness of the chocolate and the sweet cream filling cuts through the coffee beautifully. Honestly, these oreo balls can handle anything you throw at them!
Frequently Asked Questions About Oreo Balls
You’ve got the recipe down, but sometimes you just have those little worries pop up right when you’re about to mix everything. Don’t sweat it! That’s why I’ve gathered the most common things people ask me about achieving the ultimate success with these no bake Oreo delights. Most of the concerns are around texture—which makes sense since we aren’t baking them!
If you managed to get through the recipe and are looking for another amazing, easy chocolate treat, you should bookmark my Easy Chocolate Eclair Cake Recipe for later!
Can I make Oreo Balls without cream cheese?
Oh, honey, please don’t try this! The cream cheese isn’t just for flavor, though it does add that lovely little tang that balances the sweetness. It is the essential binder! Without it, you just have pulverized cookies, and when you try to roll them, they’ll just turn into dry, sad dust. For this specific Easy Truffle Recipe, that cream cheese acts like the glue that holds everything together so they don’t just crumble apart once they leave the fridge. There’s no substitution that works quite as perfectly here.
How long do Oreo Balls last in the fridge?
Because of that dairy element—the cream cheese—you need to keep these refrigerated. The good news is they keep wonderfully! I find that these oreo balls are absolutely perfect for up to 10 days in an airtight container in the fridge. They might actually taste better on day two after all those flavors have really had a chance to mingle. They might get slightly softer after about a week, but they still taste amazing. Just make sure your container is sealed tight so they don’t start tasting like whatever else is lurking in your fridge!
Nutritional Estimates for Oreo Balls
Look, let’s be real for a second. These oreo balls are pure, unadulterated joy wrapped in dark chocolate. They are a treat, not a health food, okay? So, please take these numbers with a giant grain of salt—they are just rough estimates based on the standard ingredients list I gave you, coming out to about 30 servings.
When I look at these numbers, I just think, ‘Worth it!’ Sometimes you just need that Decadent Oreo Dessert fix, and that’s totally fine. If you want to see how to make something a little closer to guilt-free (but still chocolatey!), check out my recipe for Easy Cream Cheese Brownies, they come out a little lighter!
Here’s the breakdown for just one little sphere:
- Serving Size: 1 ball
- Calories: About 150
- Sugar: Roughly 15 grams (it’s chocolate and cookies, after all!)
- Sodium: Around 80 mg
- Total Fat: About 9 grams
- Saturated Fat: 5 grams
- Carbohydrates: 16 grams
- Protein: A tiny boost at 2 grams
These estimates assume you are using standard semi-sweet chocolate wafers and regular Oreo cookies. If you switch to dark chocolate or use white chocolate, the fat and sugar numbers will definitely shift a bit. Enjoy them responsibly, especially when setting out plates for everyone!
Print
Classic No-Bake Oreo Balls
- Total Time: 25 min
- Yield: About 30 balls 1x
- Diet: Vegetarian
Description
Make simple, decadent Oreo balls using only three ingredients. These no-bake truffles are perfect for parties or holiday gifting.
Ingredients
- 1 package (14.3 oz) Oreo cookies
- 8 oz cream cheese, softened
- 16 oz semi-sweet chocolate melting wafers or chips
Instructions
- Place all Oreo cookies, filling included, into a food processor. Pulse until you have fine crumbs.
- Transfer the crumbs to a medium bowl. Add the softened cream cheese. Mix with a rubber spatula or clean hands until the mixture is fully combined and forms a dough.
- Roll the dough into small balls, about 1 inch in diameter. Place the balls on a baking sheet lined with parchment paper.
- Chill the balls in the refrigerator for at least 30 minutes to firm up.
- Melt the chocolate wafers according to package directions. You can use a double boiler or microwave in 30-second intervals, stirring between each interval.
- Dip each chilled Oreo ball into the melted chocolate, ensuring it is fully coated. Use a fork to lift the ball out, letting excess chocolate drip back into the bowl.
- Return the coated balls to the parchment-lined baking sheet.
- Refrigerate the finished Oreo balls for about 15 minutes, or until the chocolate coating is set.
Notes
- If you do not have a food processor, place cookies in a large zip-top bag and crush them thoroughly with a rolling pin.
- For easier dipping, insert a toothpick into the ball before dipping, then remove the toothpick and smooth the hole with a small amount of melted chocolate.
- You can substitute dark or white chocolate for the semi-sweet coating.
- Prep Time: 20 min
- Cook Time: 5 min
- Category: Dessert
- Method: No Bake
- Cuisine: American
Nutrition
- Serving Size: 1 ball
- Calories: 150
- Sugar: 15
- Sodium: 80
- Fat: 9
- Saturated Fat: 5
- Unsaturated Fat: 4
- Trans Fat: 0
- Carbohydrates: 16
- Fiber: 0
- Protein: 2
- Cholesterol: 10