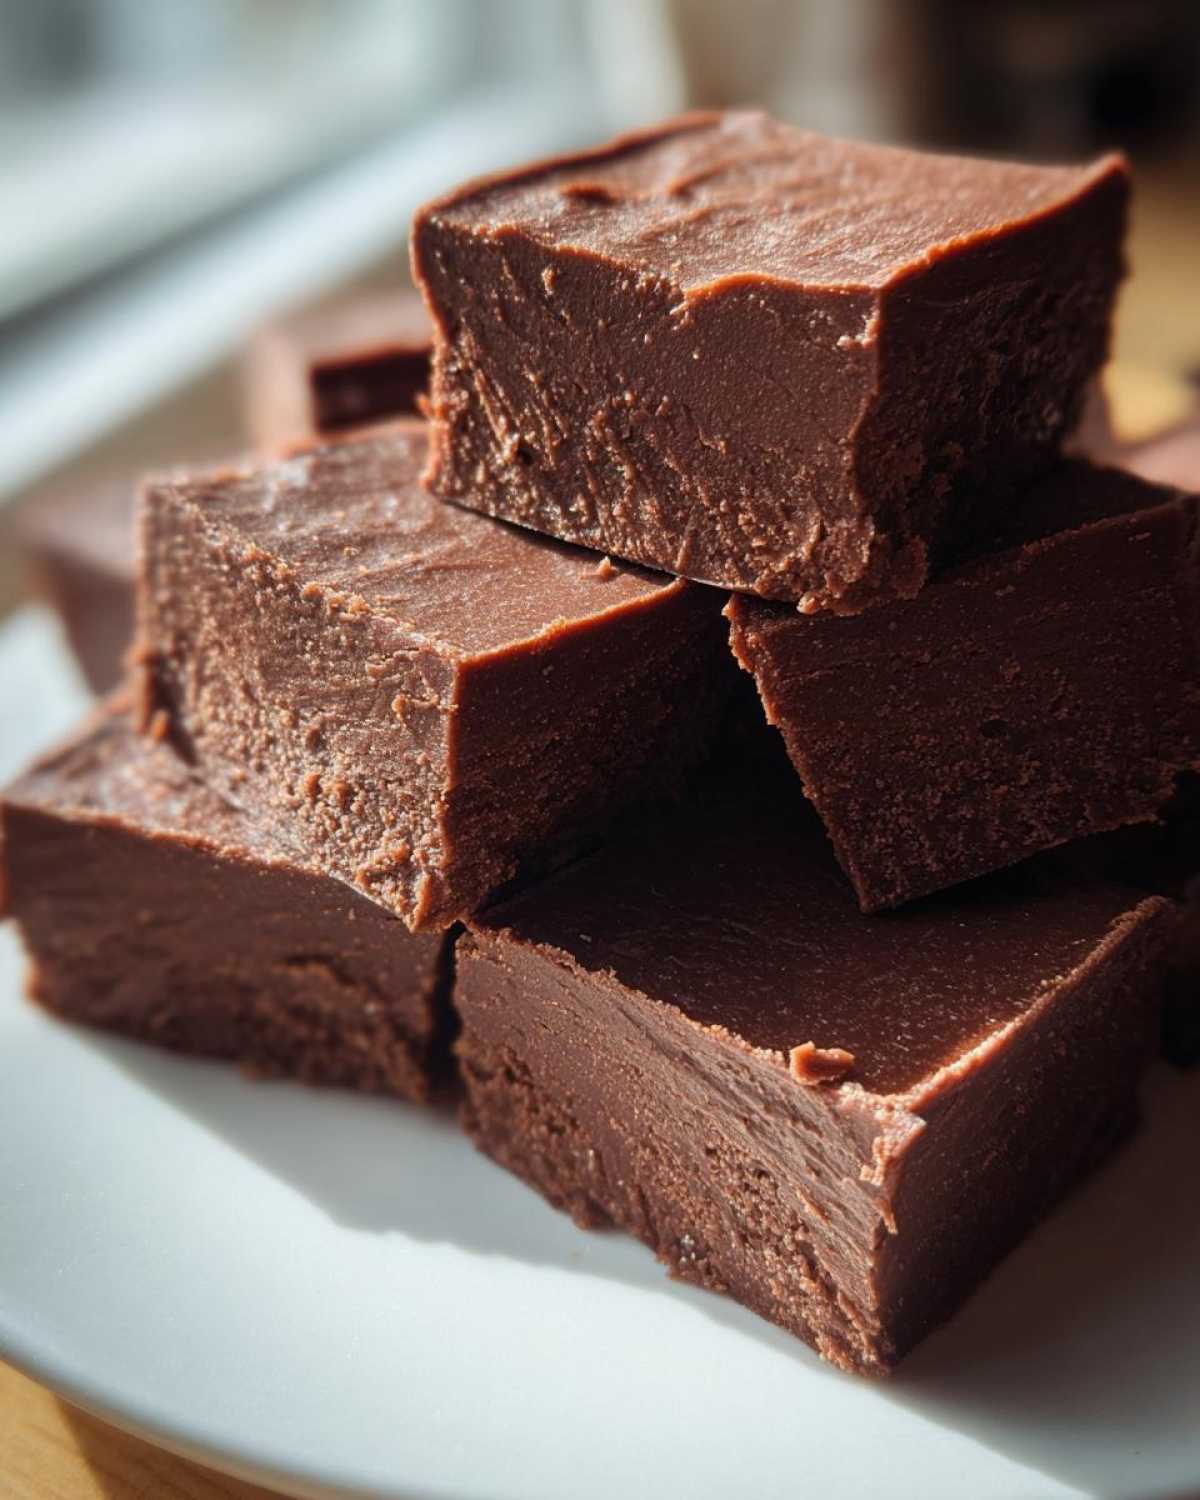
The Ultimate Foolproof 3-Ingredient Chocolate Fudge Recipe
Are you craving something sweet right now? I get it! Sometimes you need a rich dessert fast. That is why I want to share our absolute favorite quick chocolate fudge recipe. It is seriously a lifesaver.
This recipe uses just three simple ingredients. You get that decadent, creamy texture every single time. No fussing with candy thermometers here! I’m Sara, and when I first started cooking with my husband Liam, I needed foolproof recipes like this.
It turned my serious cooking time into fun performances. This no-fail method creates the best homemade fudge. You will love making this treat.
Why You’ll Love This Quick Fudge
This dessert is pure magic for busy cooks like me. It delivers huge flavor with almost no effort. You deserve easy, delicious treats.
Here is why this recipe is already a family favorite:
- It is incredibly fast to make.
- You only need three main items.
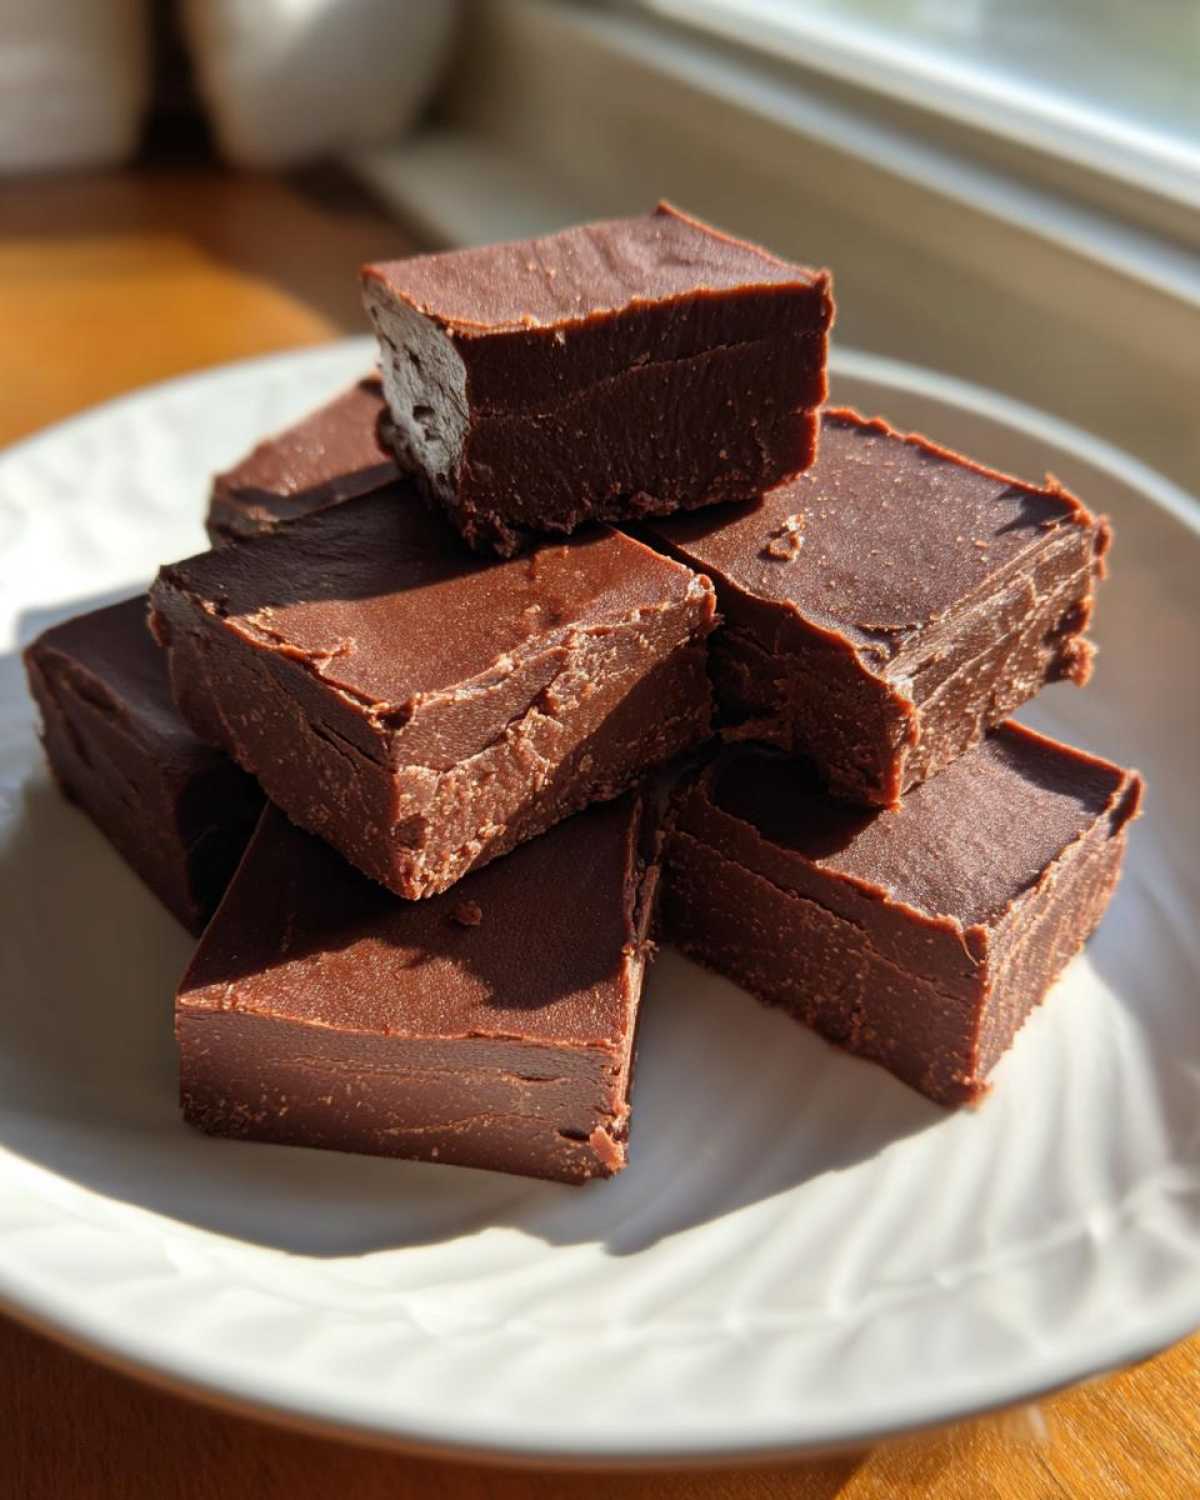
- The texture is perfectly creamy and rich.
- It makes fantastic, easy gifts for anyone.
This simple chocolate fudge always disappears fast.
Fast Prep Time for Perfect Fudge
We are talking five minutes of active prep time. That is amazing! I just combine the milk and chips. Then, the microwave does all the heavy lifting. You are done mixing before your coffee even cools down. It is kitchen spontaneity at its best.
Ingredients for Your Easy Fudge
Gathering what you need is simple here. We keep the ingredient list short. This makes making great fudge very accessible. You likely have most of this already!
- One 14-ounce can sweetened condensed milk.
- Two cups of semi-sweet chocolate chips.
- One teaspoon of pure vanilla extract.
Ingredient Clarity and Quality
Getting these details right matters a lot. Please use one full 14-ounce can of condensed milk. Do not open it beforehand.
For the chips, use good quality semi-sweet chocolate. Better chips mean better flavor in your finished fudge. The vanilla extract should be the real stuff, not imitation. This small step makes a big difference.
Equipment You Need for This Fudge Recipe
You don’t need much gear for this speedy dessert. Liam usually tries to use every pot in the kitchen. I try to keep it simple for you!
Having the right tools makes this easy fudge even quicker. Here is what you should grab before starting:
- An 8×8 inch baking pan.
- Parchment paper for lining.
- A microwave-safe mixing bowl.
- A sturdy rubber spatula for stirring.
- A sharp knife for cutting squares later.
That is truly it for making this delightful fudge. See? No fancy gadgets required!
Step-by-Step Instructions to Make Creamy Fudge
Now for the fun part, turning simple ingredients into magic. I promise this process is quick. We are aiming for smooth, luxurious chocolate fudge. Follow these steps closely. You’ll have a wonderful dessert ready soon.
Preparing Your Pan for Perfect Fudge Release
First, grab that 8×8 inch pan. Line it completely with parchment paper. Make sure you leave an overhang on the sides. This overhang acts like little handles later. It lets you lift the entire slab of fudge out easily. Trust me on this step!
Melting Chocolate for Smooth Fudge
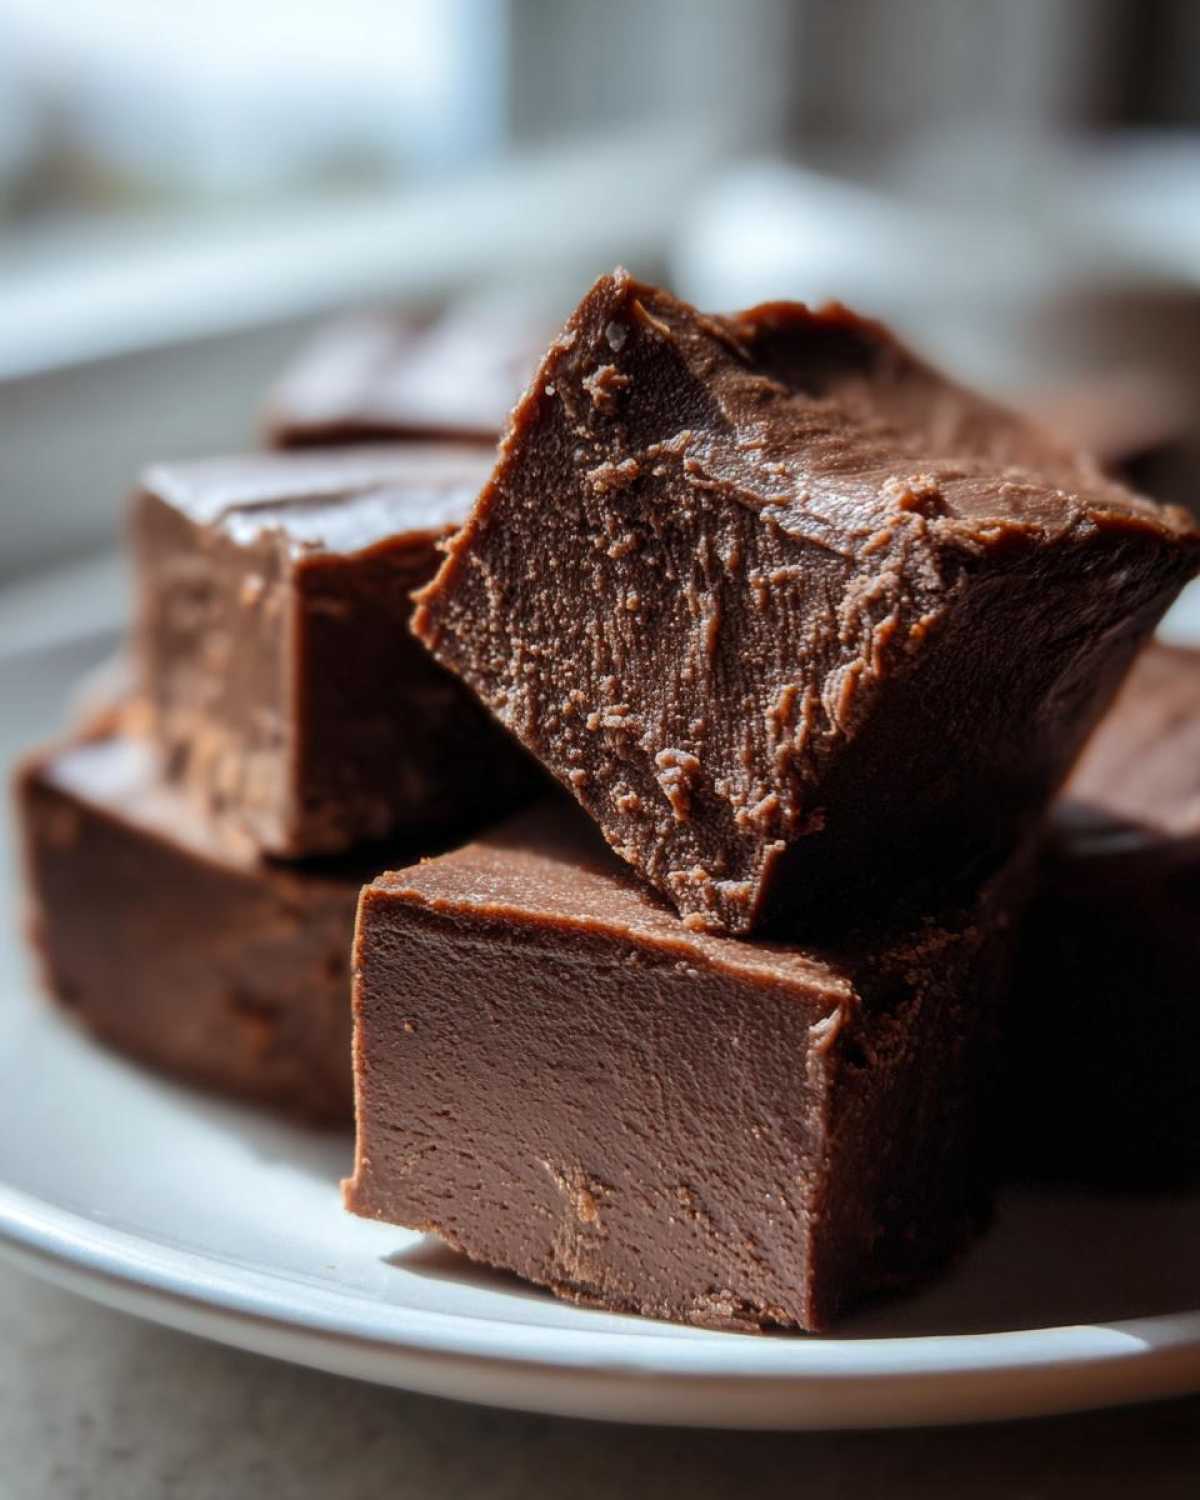
Next, combine the condensed milk and chocolate chips in your bowl. Put the bowl in the microwave. Heat it on high power. Use short, 30-second bursts. Stop and stir well after every burst. You’ll see it melt slowly. This usually takes about 60 to 90 seconds total. Stop heating when it looks almost smooth. Stirring finishes the job. This prevents graininess in your final fudge. Do not rush this part!
Once smooth, stir in the vanilla extract quickly. Mix until everything is beautifully combined. Pour this rich mixture right into your prepared pan. Spread it out evenly with your spatula. This ensures consistent thickness for every piece of fudge.
Setting and Cutting Your Homemade Fudge
The hardest part is waiting now. Pop the pan into the refrigerator. You need at least two hours for it to set firmly. This chilling time is crucial. It lets the mixture firm up properly.
When firm, use those parchment paper handles. Lift the whole block out onto a cutting board. Use a sharp knife to cut it into about sixteen squares. Enjoy this amazing homemade fudge right away!
Tips for Making the Best Fudge Every Time
Even simple recipes need a little love. I want your results to be perfect every time you make this fudge. Liam learned this the hard way once!
A common issue is grainy texture. This happens if you overheat the mixture. Remember my advice on melting. Stir often during those short microwave bursts.
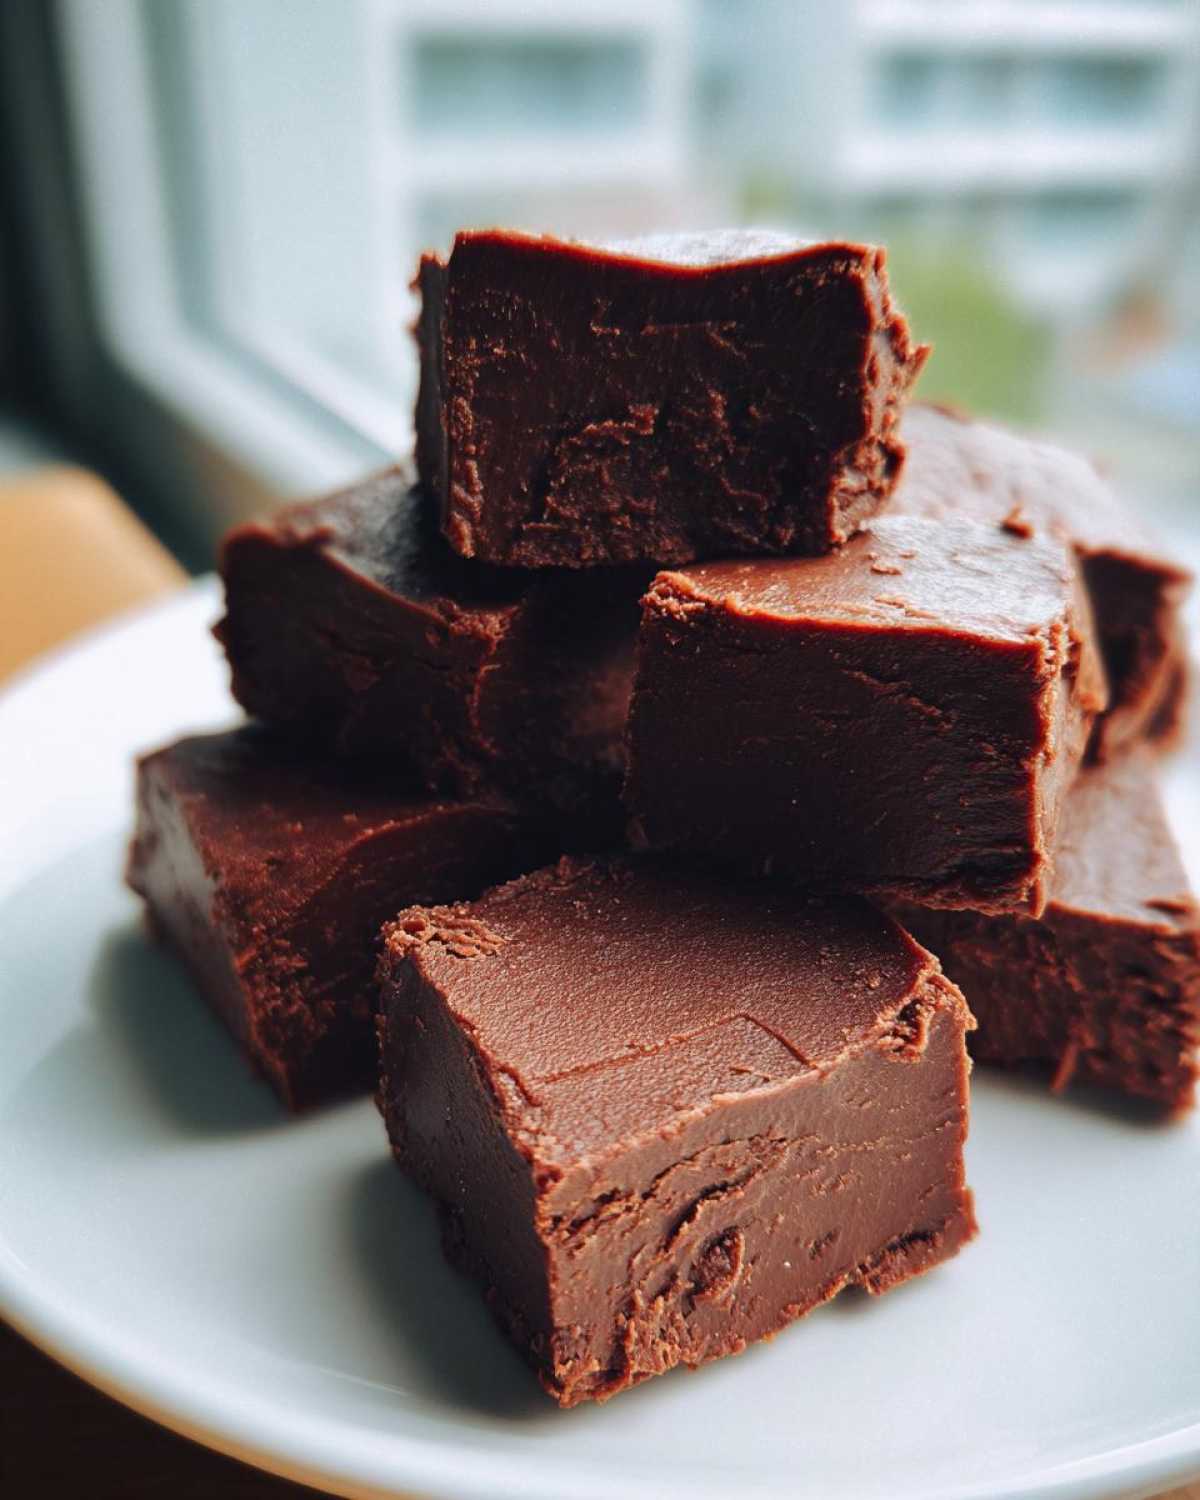
If you want a richer taste, swap the chips. Use dark chocolate chips instead of semi-sweet. This deepens the chocolate flavor profile nicely.
For another flavor dimension, consider adding flaky sea salt on top. It balances the sweetness beautifully. This simple addition elevates the whole experience.
Always chill it long enough. Two hours minimum is my rule. Patience makes the best final product.
Delicious Fudge Variations and Substitutions
Once you master the basic version, it’s time to play! Don’t be afraid to experiment a little. That is how we find new favorites here at Child Recipe.
This simple base is surprisingly versatile. You can make small changes easily. This lets you create a whole new batch of custom fudge.
Think of these changes as adding new notes to our kitchen symphony. They make the experience richer and more fun.
Peanut Butter Fudge Swirl Option
Want a salty-sweet punch? Try a peanut butter swirl. You can substitute half the chocolate chips. Use peanut butter chips instead of half the semi-sweet.
When the mixture is smooth, swirl in a half cup of creamy peanut butter. Don’t mix it completely. Leave ribbons of flavor throughout. This yields wonderful peanut butter fudge.
Adjusting Chocolate Intensity
Do you prefer a deep, dark bite? Switch out the chips entirely. Use dark chocolate chips for a stronger taste.
This gives your chocolate fudge a more intense flavor. It cuts through the sweetness slightly. It’s amazing how a simple chip swap changes everything.
Serving Suggestions for Your Homemade Fudge
Once your beautiful fudge is set, it’s time to share it! Remember, for us, cooking is about connection and joy. How you present this treat matters.
Don’t worry about fancy platters. Keep it simple and heartfelt. My favorite way is cutting squares unevenly. It looks more homemade and loved.
Try these ideas for serving:
- Dust lightly with powdered sugar. It looks snowy and sweet.
- Serve alongside a strong cup of coffee. The bitterness balances the richness.
- Stack squares on a small plate for guests. Make it look abundant.
- Wrap individual pieces in small squares of wax paper. Perfect for gifting!
Presentation should feel warm, not stiff. Let the deliciousness speak for itself.
Storing and Reheating Your Fudge
Once you have perfected your creamy dessert, storage is key. We want this homemade fudge to taste fresh later too. Luckily, it keeps very well.
You should store this type of fudge in an airtight container. This keeps out excess air and moisture. Air is the enemy of good texture. Food storage guidelines can help ensure safety.
Refrigeration is the best long-term option. It stays firm and delicious in the fridge. It lasts nicely for about two weeks this way. I often make a double batch just for later!
Can you keep it on the counter? Yes, for a short time. If your kitchen is cool, it will last a few days. If it gets warm, it softens too much. I’d avoid leaving it out too long.
Do you need to reheat it? Never, really. This fudge is best served cool or at room temperature. Heating it will just turn it back into liquid chocolate sauce. We want firm squares!
If it feels too hard straight from the fridge, just let it sit out. Five to ten minutes usually softens it perfectly. Then, it’s ready to enjoy.
Frequently Asked Questions About Quick Fudge
I know you might have questions after watching us whip this up so fast. Cooking should be fun, not stressful! Here are some common things readers ask me about this easy fudge.
We want you to feel confident in your kitchen performance. Let’s clear up any confusion now before you start mixing.
This simple recipe makes great results predictable. So ask away about your quick fudge!
Can I use a double boiler instead of the microwave for this fudge
Absolutely, you can! If you prefer traditional melting, go for it. Place your ingredients in the top of a double boiler. Heat gently over simmering water. Stir constantly until smooth. It will take a little longer than the microwave. But it gives you great control.
How do I know if my fudge is too firm or too soft
This is all about the chill time. After two hours, test it gently. It should feel firm to the touch. It shouldn’t stick to your fingers much at all. If it feels gooey, give it another 30 minutes in the cold. Too firm usually means it sat too long. Let it warm up slightly on the counter first. It should yield easily when you cut it.
Nutritional Information Disclaimer for This Fudge Recipe
Like I always tell Liam, the final dish is a performance. Every ingredient choice matters.
The numbers you see on recipes are just guides. They help us understand what we are eating generally. But they aren’t exact science for your kitchen.
The nutrition facts listed here are estimates only. They are calculated using standard product databases. Your exact brand choices change things.
For example, using dark chocolate chips changes the sugar content. Using different brands of condensed milk also shifts the totals. Please keep this in mind.
These values do not account for variations in serving size either. We all cut squares differently, right? Enjoy the treat!
Share Your Culinary Performance
We poured our hearts into this simple chocolate fudge recipe. Now, it’s your turn to take the stage! Did you try this quick treat? If you are looking for other quick holiday sweets, check out our no bake peppermint bark cheesecake.
I want to hear all about your kitchen show. Did you add a swirl? How did it taste?
Please leave a comment below telling us what happened. Rate the recipe when you can. Sharing your experience inspires us so much. Bravo to you!
Print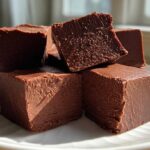
Amazing fudge: 3 awesome steps
- Total Time: 125 minutes
- Yield: About 16 squares 1x
- Diet: Vegetarian
Description
This is a simple, classic chocolate fudge recipe that requires only three ingredients and minimal preparation time. It delivers a creamy, rich texture perfect for holidays or gifting, inspired by the joy of cooking together.
Ingredients
- 1 (14 ounce) can sweetened condensed milk
- 2 cups semi-sweet chocolate chips
- 1 teaspoon vanilla extract
Instructions
- Line an 8×8 inch baking pan with parchment paper, leaving an overhang on the sides for easy removal.
- Combine the sweetened condensed milk and chocolate chips in a microwave-safe bowl.
- Microwave on high in 30-second intervals, stirring well after each interval, until the chocolate is completely melted and the mixture is smooth. This usually takes 60 to 90 seconds total.
- Stir in the vanilla extract until fully incorporated.
- Pour the fudge mixture into the prepared baking pan. Spread evenly.
- Refrigerate for at least 2 hours, or until firm.
- Use the parchment paper overhang to lift the fudge from the pan. Cut into squares before serving.
Notes
- For a peanut butter variation, substitute half the chocolate chips with peanut butter chips.
- If you prefer a richer chocolate flavor, use dark chocolate chips instead of semi-sweet.
- Do not overheat the mixture when melting, as this can cause the fudge to become grainy. Stirring frequently prevents this.
- Prep Time: 5 minutes
- Cook Time: 2 minutes
- Category: Dessert
- Method: Microwave
- Cuisine: American
Nutrition
- Serving Size: 1 square
- Calories: 180
- Sugar: 22g
- Sodium: 35mg
- Fat: 9g
- Saturated Fat: 6g
- Unsaturated Fat: 3g
- Trans Fat: 0g
- Carbohydrates: 25g
- Fiber: 1g
- Protein: 3g
- Cholesterol: 10mg