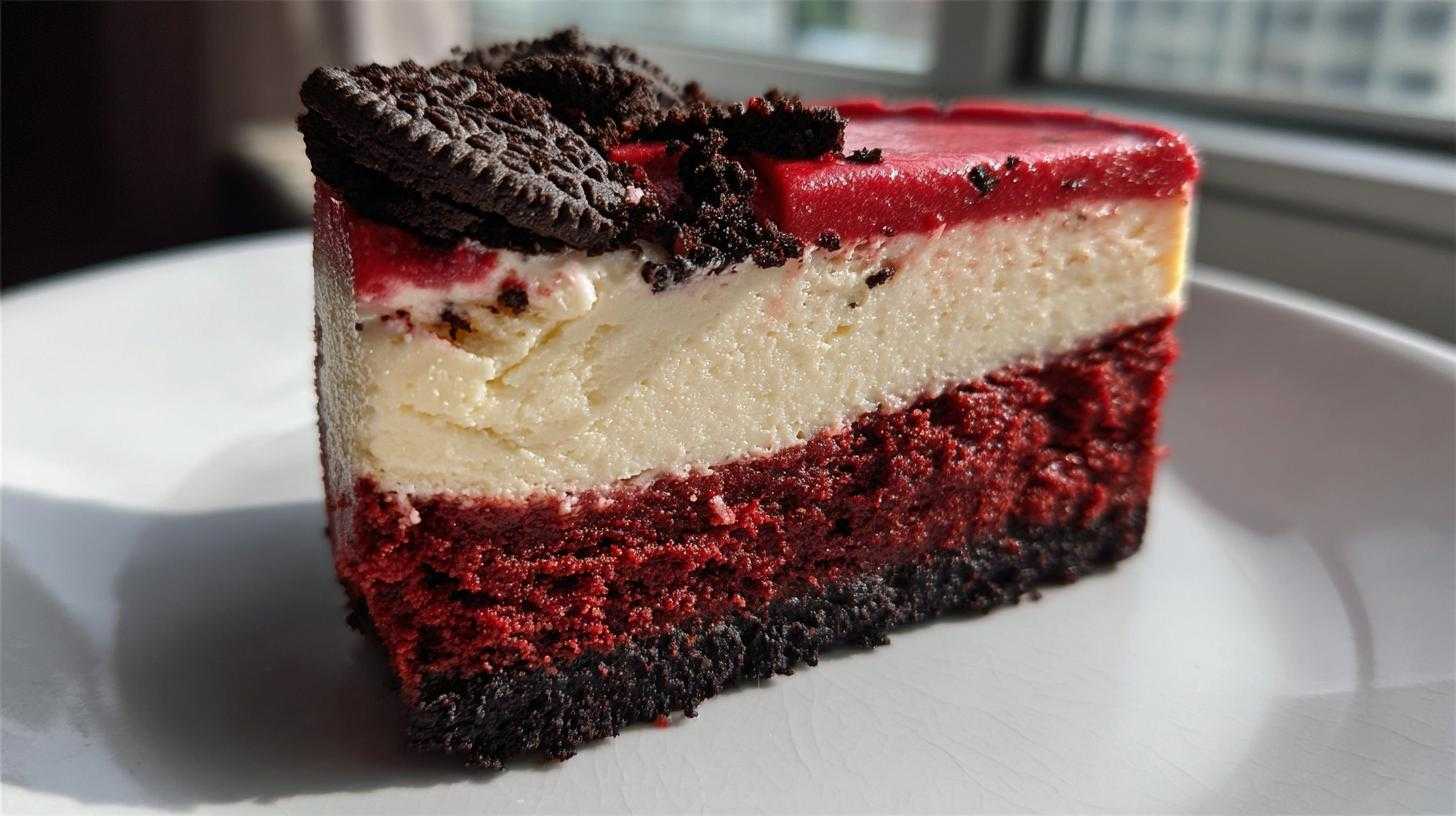
Welcome to Child Recipe: Crafting Your Showstopping red velvet cheesecake
Are you ready for a dessert that stops the show?
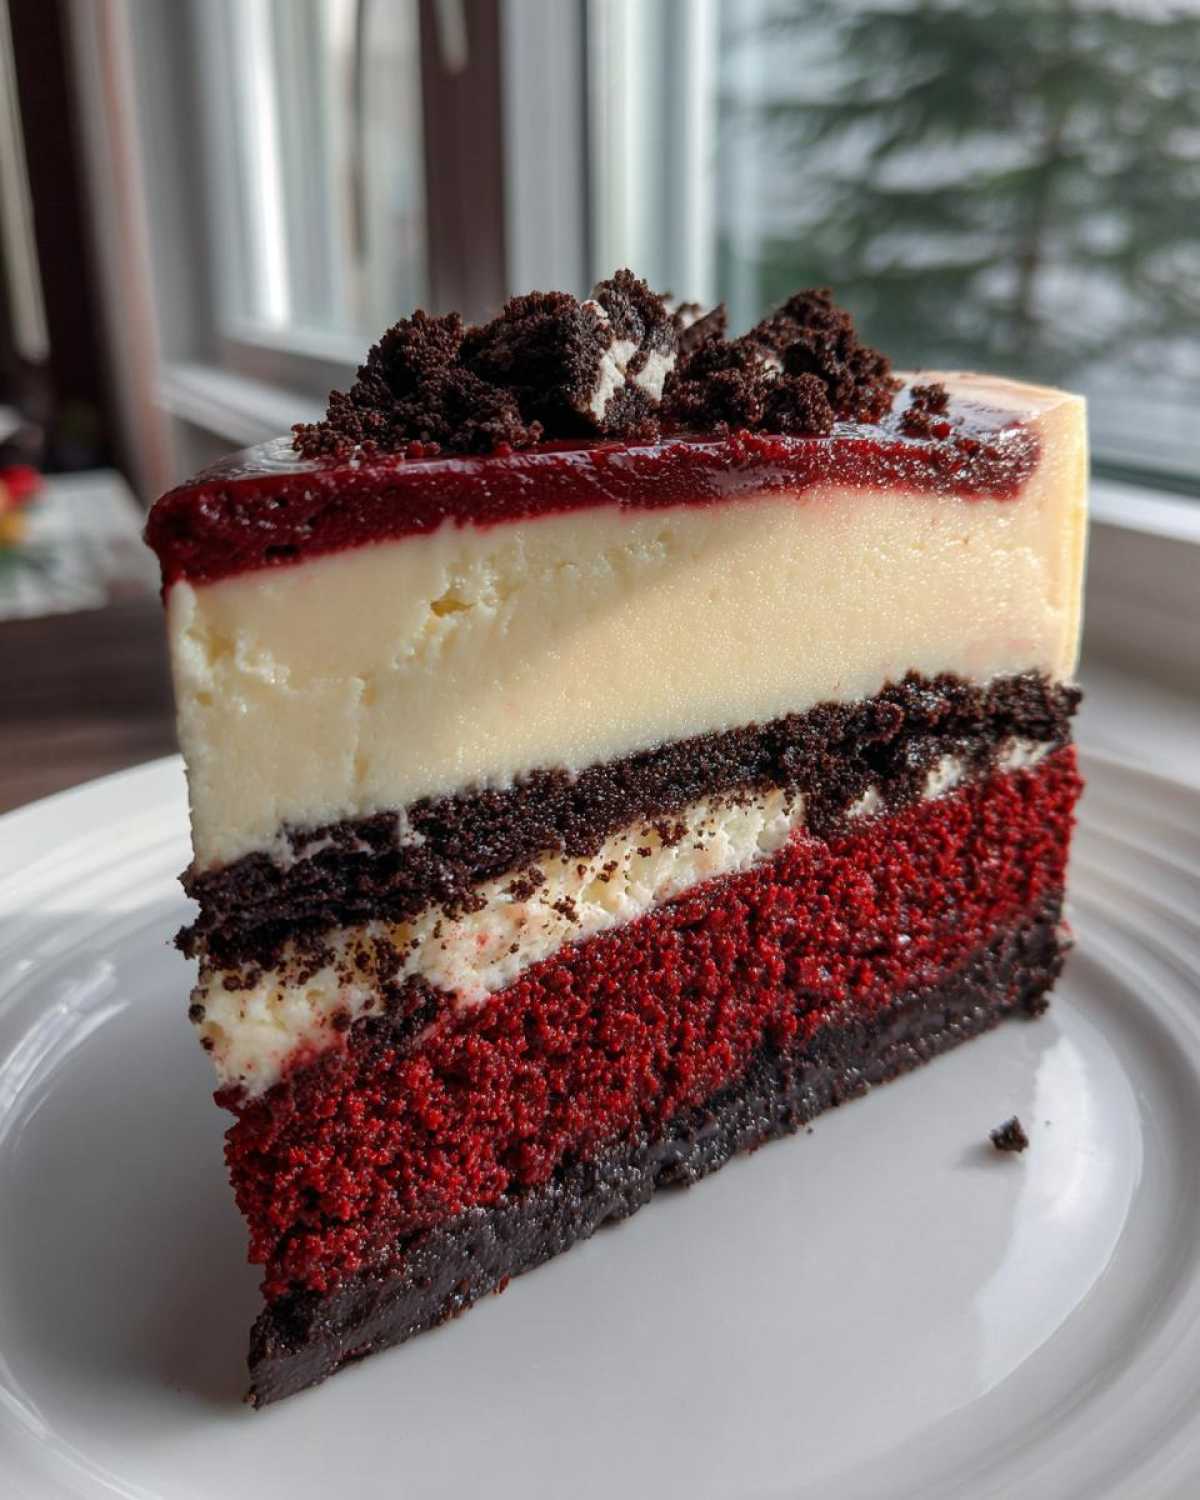
This incredible red velvet cheesecake is pure edible drama.
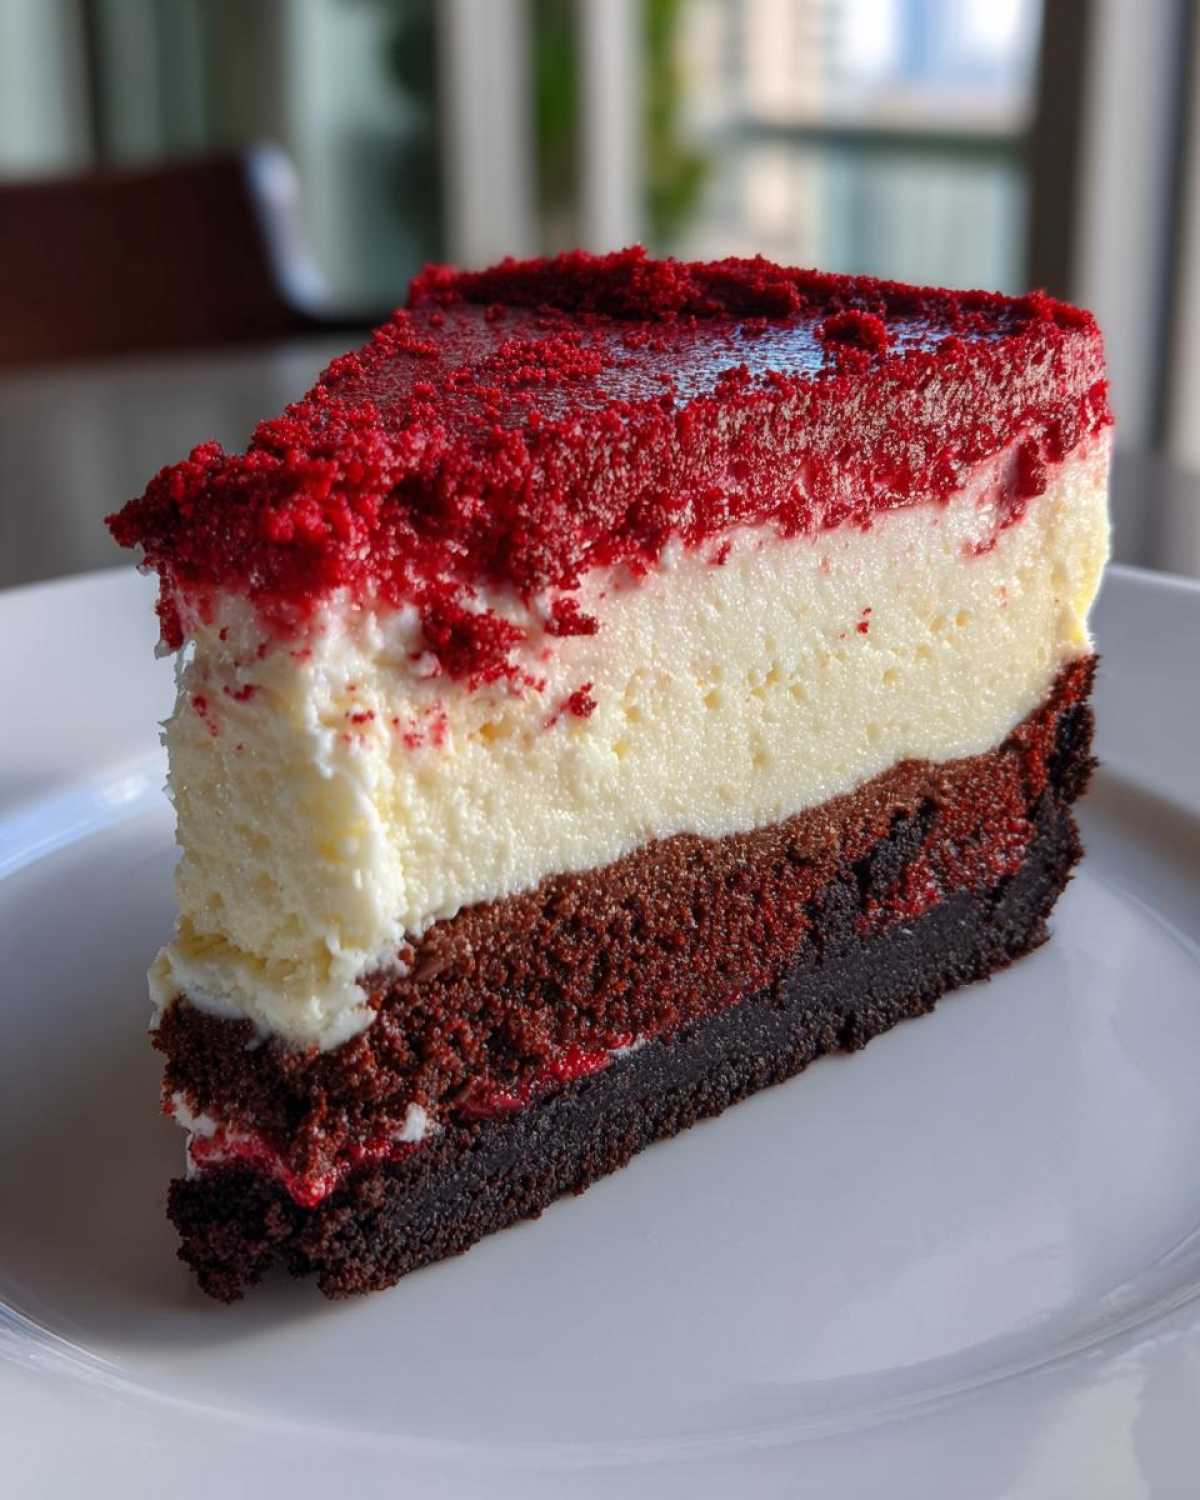
It’s rich, it’s layered, and it’s stunningly beautiful.
Liam, my husband, brings the kitchen precision here.
I, Sara, bring the messy, joyful inspiration.
We’re sharing our best recipe for this decadent treat.
Why You’ll Love This Decadent red velvet cheesecake
This layered beauty isn’t just a dessert.
It’s a true centerpiece for any gathering.
You’ll adore this recipe for a few reasons:
- It features that popular, crisp Oreo crust.
- The texture is unbelievably smooth and rich.
- It’s truly a showstopping visual masterpiece.
The Perfect Combination of Textures
Imagine the dark, crunchy Oreo base first.
Then comes the tender red velvet cake part.
It all melts into that cool, creamy cheesecake layer.
The contrast is simply divine, I promise!
Simple Steps for a Gourmet red velvet cheesecake
Don’t let the layers scare you away.
Liam breaks down every step clearly.
You get gourmet results without the fuss.
You can totally master this impressive bake.
Equipment Needed for Your red velvet cheesecake
Getting set up matters for success here.
This bake needs a few special items.
Preparing your tools builds confidence.
It helps us achieve that smooth texture.
Essential Baking Gear
- You absolutely need a 9-inch springform pan.
- Grab heavy-duty aluminum foil for wrapping.
- A large roasting pan is key for the water bath.
- Standard mixing bowls and a hand mixer work well.
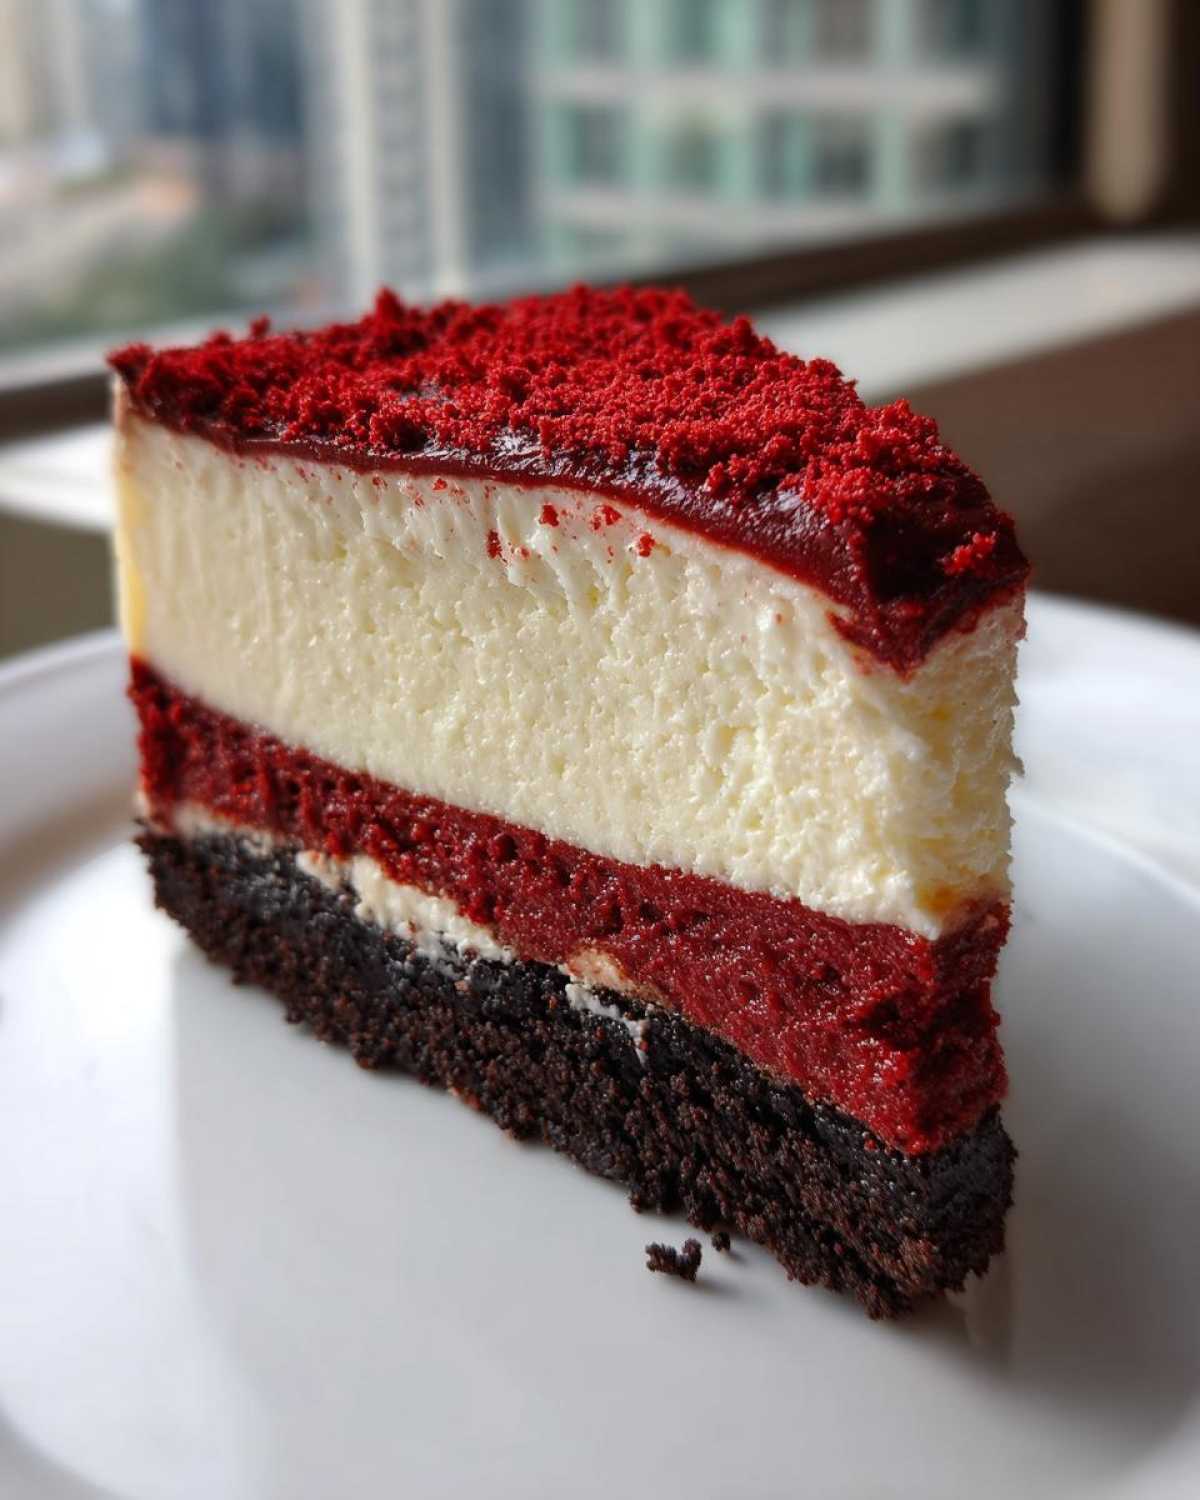
Ingredients for the Ultimate red velvet cheesecake
Gathering your ingredients is like setting the stage.
Quality components make this dessert shine.
We separate everything by its layer, you see.
This keeps the process organized and quick.
Have your cream cheese fully softened, please.
It’s vital for that luxurious, smooth filling.
Components for the Crisp Oreo Crust
- Mix 1 1/2 cups crushed Oreo cookies.
- Add 1/4 cup melted unsalted butter to that.
- Press this mixture firmly into the bottom.
Ingredients for the Red Velvet Cake Layer
- You need 1 1/2 cups all-purpose flour.
- Use 1 cup granulated sugar for sweetness.
- Don’t forget 1 teaspoon baking soda.
- Mix in 1/2 teaspoon salt and cocoa powder.
- We use 1/2 cup buttermilk and oil here.
- One teaspoon vanilla and white vinegar go in.
- Two large eggs complete this cake batter.
- Use 1 tablespoon of red food coloring.
Components for the Smooth Cheesecake Filling
- Start with two 8-ounce packages of cream cheese.
- Whip with 3/4 cup granulated sugar until smooth.
- Beat in two large eggs, one at a time.
- Add 1 teaspoon vanilla and 1/2 teaspoon vinegar.
- Keep your hands gentle when mixing this part.
Step-by-Step Instructions for Layered red velvet cheesecake
Now for the fun part: putting this beauty together!
Follow these steps exactly for success.
We build this dessert layer by delicious layer.
Preparing the Base and Oven
First, get your oven warmed up to 350°F.
Wrap that 9-inch springform pan tightly in foil.
This foil protects it in the coming water bath.
Mix your Oreos and melted butter well.
Press that crust firmly into the pan bottom.
Bake the crust for just 10 minutes, then cool it.
Creating the Red Velvet Cake Layer
In one big bowl, whisk the dry stuff together.
Flour, sugar, cocoa, soda, and salt go there.
In another bowl, mix your wet ingredients.
Buttermilk, oil, vinegar, and coloring combine.
Add the wet mix to the dry ingredients now.
Mix only until they are just combined, okay?
Beat in the eggs one by one after that.
Pour this red batter over your cooled crust.
Mixing the Creamy Cheesecake Filling
Beat the softened cream cheese and sugar first.
You want this mixture perfectly smooth.
Add the eggs one at a time, gently folding.
Then stir in the vanilla and the vinegar quickly.
Remember, don’t overmix the cheesecake batter!
Overmixing brings in too much air, yuck.
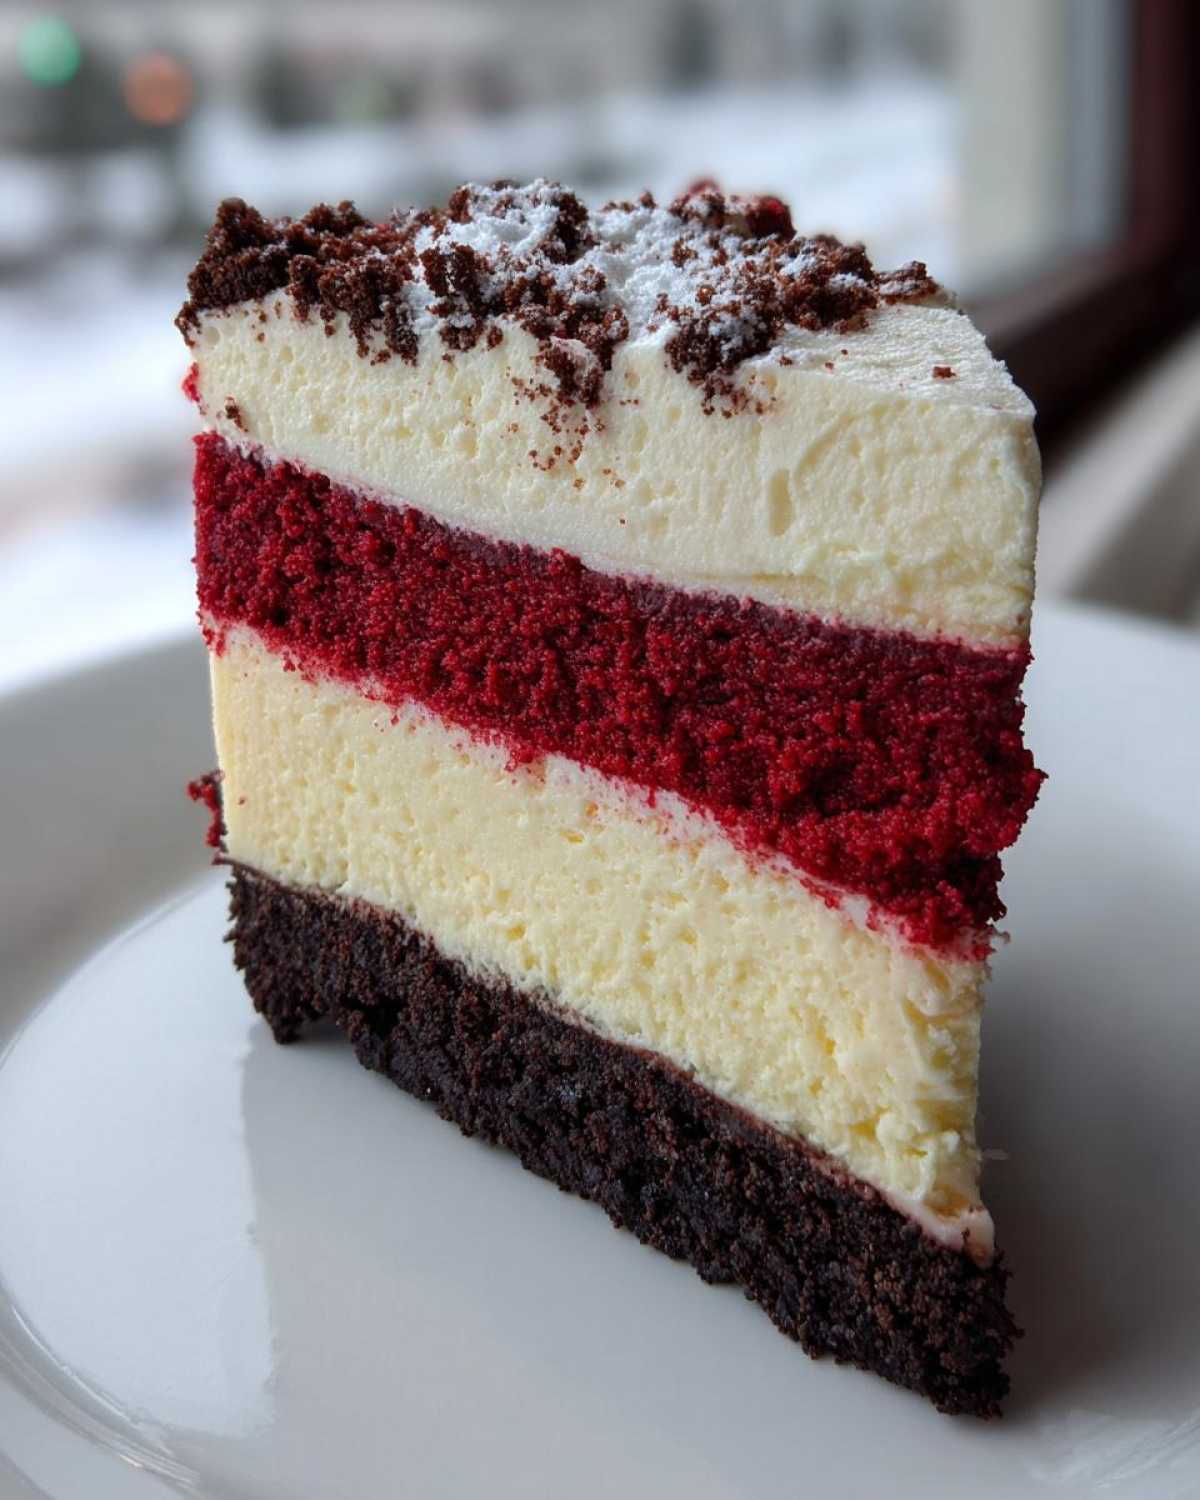
Assembling and Baking the red velvet cheesecake
Gently pour that cheesecake mixture right on top.
It should float nicely over the red velvet cake.
Place the foil-wrapped pan inside a larger pan.
Carefully pour hot water halfway up the sides.
Bake this creation for 60 to 75 minutes total.
The edges should look set, with a slight jiggle center.
Cooling for a Crack-Free red velvet cheesecake
This slow cooling prevents those awful cracks.
Turn the oven off completely right away.
Prop the oven door open just a little bit.
Let it sit inside for a full hour like that.
Then take it out to cool on a wire rack.
Chill it overnight for the best flavor, seriously.
Tips for Achieving the Best red velvet cheesecake
Even Liam sometimes forgets these small details.
They make the biggest difference in texture, though.
A truly smooth, creamy result is the goal here.
Follow these little secrets for perfection.
Your layered cheesecake will thank you for it.
Ingredient Temperature Matters
This is my biggest tip, honestly.
Your cream cheese must be fully softened first.
Room temperature eggs blend so much better too.
Cold ingredients make lumpy cheesecake filling.
Lumps ruin that beautiful, smooth mouthfeel.
Color Intensity Secrets
We want that amazing, bold red color.
Liquid food coloring can water down the batter.
I always tell Liam to grab the gel coloring.
Gel gives you a deeper, richer red hue.
It helps make this dessert truly showstopping.
Storage and Reheating Your red velvet cheesecake
This dessert tastes even better the next day!
Proper storage keeps it tasting fresh.
We want that amazing flavor to last longer.
Chilling is non-negotiable for this treat.
Keeping Your Leftover red velvet cheesecake Fresh
Cover the pan tightly after slicing.
Use plastic wrap or an airtight container.
Keep it refrigerated for up to four days.
Never leave this cheesecake out too long.
It stays best when served nicely chilled.
Frequently Asked Questions About red velvet cheesecake
We get so many questions after our shows!
Here are the top things people ask us.
I hope these help your baking adventure.
Let’s talk about making the best red velvet.
Can I make this red velvet cheesecake without a water bath?
Honestly, I really don’t recommend skipping it.
The water bath provides gentle, even heat.
Without it, your cheesecake might crack badly.
It also helps achieve that smooth texture we love.
What is the best way to frost this layered cheesecake?
A classic cream cheese frosting is perfect.
It echoes the filling’s tangy, sweet flavor.
Whip up a batch once the cake is cold.
Frost the top generously before serving.
How far in advance can I bake this showstopping dessert?
This actually improves after chilling overnight.
The flavors really marry together well then.
You can safely bake it up to two days ahead.
Keep it well covered in the fridge until serving.
Share Your Culinary Performance
Did you bring the jazz hands to this bake?
We truly love seeing your creations.
Share photos of your red velvet cheesecake.
Tell us how your show went!
Your feedback inspires our next performance.
Print
Bold 1-Hour red velvet cheesecake Bliss
- Total Time: 7 hours 45 minutes (includes cooling and chilling)
- Yield: 10 servings
- Diet: Vegetarian
Description
Create a showstopping, layered Red Velvet Cheesecake featuring a rich red velvet cake base, a smooth, decadent cheesecake filling, and a crisp Oreo crust. This recipe brings gourmet artistry to your kitchen, inspired by the joy of shared culinary experiences.
Ingredients
- For the Oreo Crust: 1 1/2 cups crushed Oreo cookies, 1/4 cup melted unsalted butter
- For the Red Velvet Cake Layer: 1 1/2 cups all-purpose flour, 1 cup granulated sugar, 1 teaspoon baking soda, 1/2 teaspoon salt, 1 tablespoon unsweetened cocoa powder, 1 teaspoon white vinegar, 1 teaspoon vanilla extract, 1/2 cup buttermilk, 1/2 cup vegetable oil, 2 large eggs, 1 tablespoon red food coloring
- For the Cheesecake Layer: 2 (8 ounce) packages cream cheese softened, 3/4 cup granulated sugar, 2 large eggs, 1 teaspoon vanilla extract, 1/2 teaspoon white vinegar
Instructions
- Preheat your oven to 350°F (175°C). Wrap the outside of a 9-inch springform pan tightly with heavy-duty aluminum foil for a water bath.
- Prepare the crust: Mix crushed Oreos and melted butter. Press firmly into the bottom of the prepared springform pan. Bake for 10 minutes. Set aside to cool slightly.
- Prepare the red velvet cake batter: In a large bowl, whisk together flour, sugar, baking soda, cocoa powder, and salt. In a separate bowl, mix buttermilk, oil, vinegar, vanilla, and red food coloring. Add the wet ingredients to the dry ingredients and mix until just combined. Beat in the eggs one at a time.
- Pour the red velvet cake batter evenly over the cooled Oreo crust.
- Prepare the cheesecake filling: Beat the softened cream cheese and sugar until smooth. Beat in the eggs one at a time, followed by the vanilla and vinegar. Do not overmix.
- Gently pour the cheesecake batter over the red velvet cake layer.
- Create a water bath: Place the foil-wrapped springform pan inside a larger roasting pan. Carefully pour hot water into the roasting pan until it reaches halfway up the sides of the springform pan.
- Bake for 60 to 75 minutes, or until the edges of the cheesecake are set but the center still has a slight jiggle.
- Turn off the oven, crack the door open, and let the cheesecake cool inside the oven for 1 hour. This prevents sudden temperature changes that cause cracking.
- Remove from the water bath, remove the foil, and cool completely on a wire rack. Refrigerate for at least 6 hours, preferably overnight, before serving.
Notes
- For an extra bold red color, use high-quality gel food coloring instead of liquid drops.
- If you want a smoother texture, bring your cream cheese and eggs to room temperature before mixing.
- Serving this chilled enhances the contrast between the cake and the creamy filling.
- Prep Time: 30 minutes
- Cook Time: 75 minutes
- Category: Dessert
- Method: Baking (Water Bath)
- Cuisine: American
Nutrition
- Serving Size: 1 slice
- Calories: 550
- Sugar: 45g
- Sodium: 350mg
- Fat: 35g
- Saturated Fat: 20g
- Unsaturated Fat: 15g
- Trans Fat: 1g
- Carbohydrates: 55g
- Fiber: 2g
- Protein: 10g
- Cholesterol: 130mg