Oh man, are you craving that rich, dense, melt-in-your-mouth candy bliss but dreading the bubbling sugar science? I totally get it! For years, I chased that perfect, creamy fudge texture only to end up with something grainy or rock-hard. It was honestly depressing, especially around the holidays. Well, stop the stress! This recipe is my absolute gold standard now. I’m sharing the easiest, creamiest fudge you will *ever* make. Seriously, it only needs three ingredients and, hold onto your hats, you don’t even need a candy thermometer. Count on this foolproof method to deliver that luscious texture every single time.
Why This Easy 3-Ingredient Fudge is the Best Homemade Fudge Recipe
Look, I’ve been there. The double boiler incident of 2018 felt like a chocolate disaster movie happening right on my stovetop thanks to trying to make Old Fashioned Candy the traditional way. Boiling sugar and praying over a thermometer? No thanks! That’s why I’m sticking to this method for my Homemade Fudge Recipe. It’s honestly the kind of recipe you keep in your back pocket when you need a decadent treat fast. It beats nearly every fancy, complicated recipe I’ve ever tried when it comes to pure, straightforward deliciousness.
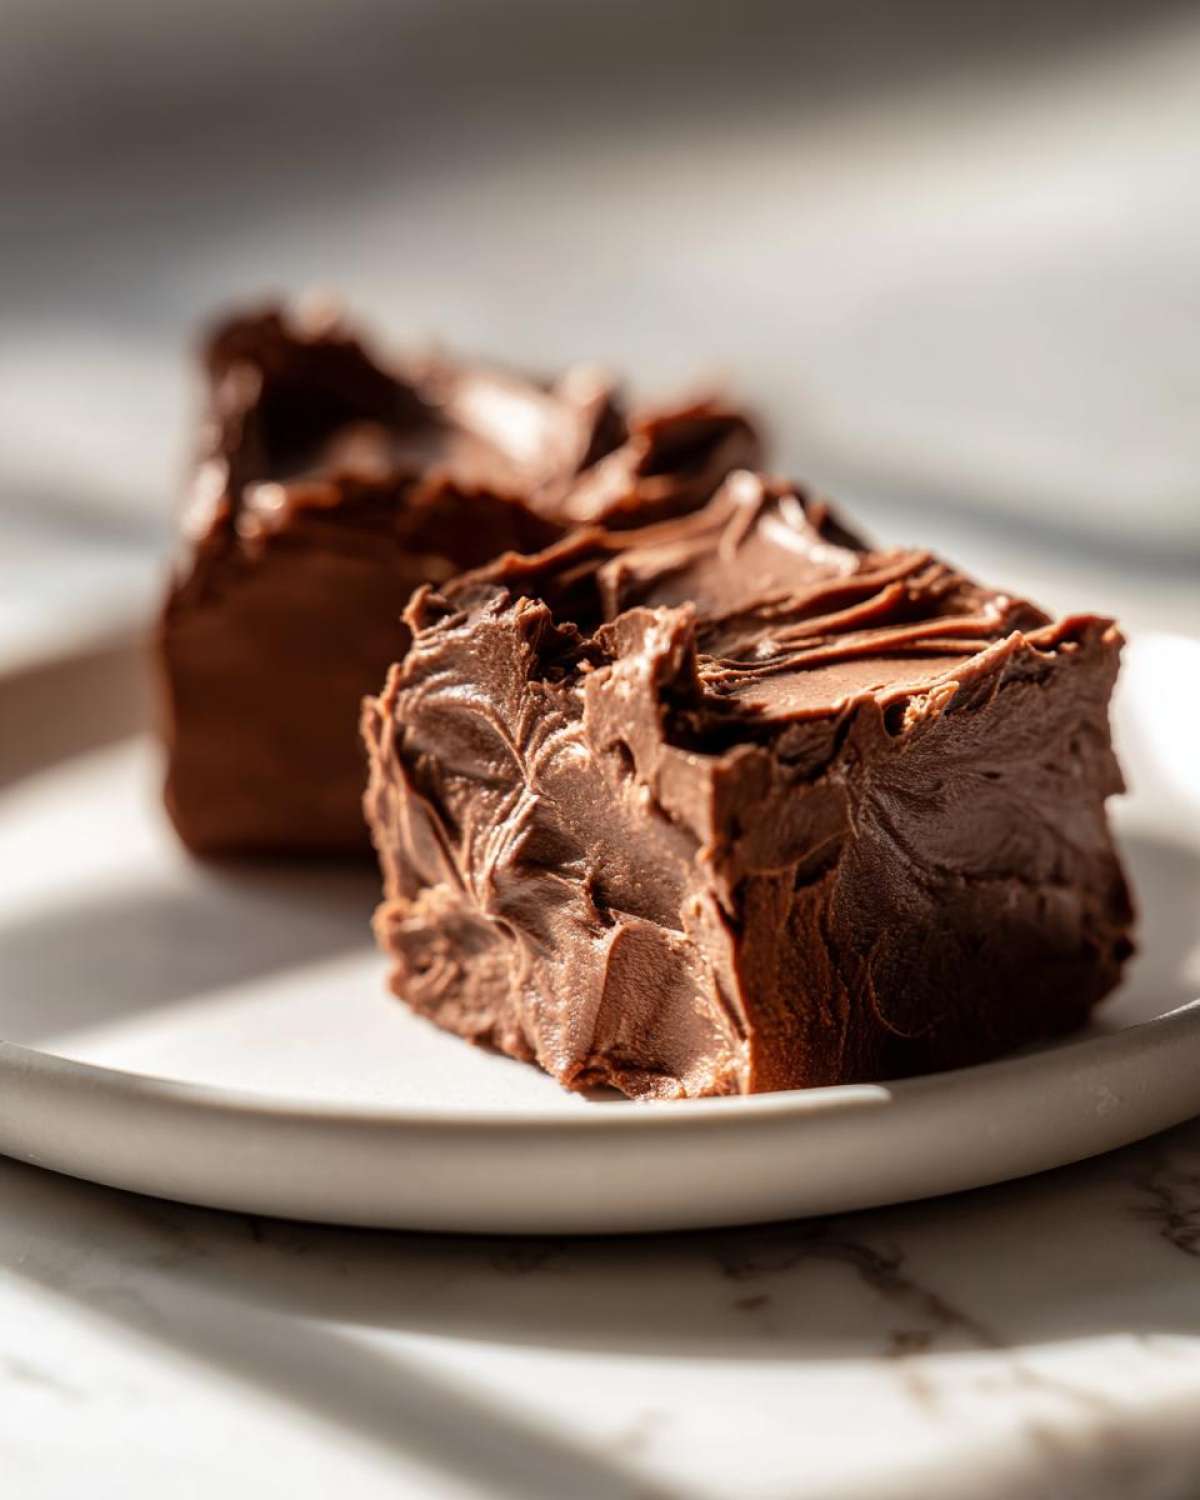
This is the best solution for anyone wanting true Creamy Fudge Texture without the fuss. If you’ve ever wanted to try your hand at making Chocolate Candy Making but got scared off by the sticky pots and specialized equipment, I have good news for you. This simple method delivers on every promise: rich, thick, and so smoothly decadent it practically dissolves the second it hits your tongue. Check out my quick walkthrough on how to start making this easy chocolate fudge if you want to see the base recipe in action!
Achieving That Perfect Creamy Fudge Texture Without a Thermometer
The secret weapon here is twofold, really. You’ve got the sweetened condensed milk acting as your sugar base, and the marshmallow cream is pure magic. Marshmallow cream is already stabilized and sweet, so when you gently fold it in, it prevents those big sugar crystals from forming. That means zero graininess, guaranteed smooth results every time. It’s cheating, but in the best possible way for a truly wonderful Melts in Your Mouth Dessert.
Quick Dessert Status: From Pantry to Party Candy Ideas in Minutes
When I say this is fast, I mean it! The actual hands-on time is about ten minutes, and the cooking/melting takes maybe five minutes if you use the microwave. That means you can whip up Party Candy Ideas just an hour before guests arrive. If you need a Last Minute Dessert that looks like you spent hours slaving over it, this No Bake Fudge is your answer. Who knew a Quick Dessert could taste this intensely chocolatey?
Gathering Ingredients for Your Smooth Fudge Tutorial
Okay, now that you’re convinced you don’t need a chemistry degree to make amazing fudge, let’s talk about gathering what you need. Don’t wander off to the store until you double-check your pantry! Because this Homemade Fudge Recipe is so simple, almost everyone has most of this on hand. Seriously, you should only need three things for the base recipe. I always grab my 8×8 pan first and line it immediately with parchment paper—remember to leave those little handles hanging over the sides! That’s your ticket to easy removal later. This prep step is non-negotiable for success, trust me.
Ingredient Notes and Simple Fudge Variations
The core list is chocolate chips, sweetened condensed milk, and marshmallow cream. Simple, right? But here’s where we get fun with Fudge Variations! If you want a white chocolate version, just swap the semi-sweet chips for white chocolate chips—that makes for a beautiful vanilla base. Now, for my favorite diversion: Peanut Butter Fudge! Right before you fold in that marshmallow fluff, just stir in about half a cup of creamy peanut butter with the melted chocolate mixture. It gives you that incredible salty-sweet combination that everyone devours at parties. It’s amazing how far three ingredients can take you!
How to Prepare Easy Fudge: Step-by-Step Instructions
Following the recipe is one thing, but knowing *how* to follow the recipe is what separates the good fudge from the great one, you know? Don’t panic about the instructions; they are designed to be stress-free, but pay close attention to timing, especially when using the microwave. I’m walking you through these steps just like I would if you were standing right here in my kitchen. Remember that parchment-lined pan we prepped? That’s sitting right next to me, ready for the goodness.
We combine the chocolate chips and that sweet, thick condensed milk. Then comes the crucial part: the heat. If you throw this into a high-powered microwave blast, you risk seizing up those beautiful chocolate chips, and guess what? Grainy fudge. Nobody wants that! We are aiming for perfect smoothness here, so be patient.
Melting the Base for Decadent Chocolate Treats
When you zap this mixture, always run your microwave at 50% power for the first 60 seconds. This is how we gently coax the chocolate and milk to combine without overheating. Stir it well after that minute—and I mean *really* stir until you see it starting to look shiny. Then, keep going in short, thirty-second bursts. Stop microwaving the instant it’s smooth; if you see a few tiny lumps, that’s fine because the residual heat will take care of them as you stir. This gentleness is key to achieving smooth, perfect Decadent Chocolate Treats.
Setting and Cutting Your No Bake Fudge
Once it’s silky smooth, gently fold in that marshmallow cream. I mean gently—just enough so you don’t see white streaks anymore. Overmixing this part can deflate the air bubbles that are helping keep everything creamy. Pour it right into your prepared 8×8 pan and smooth the top with an offset spatula. Then, it’s into the fridge for at least two hours. This chill time is essential! If you try to cut it warm, you’ll drag the knife and ruin the clean square shape. Wait until it’s rock solid before lifting it out by those parchment handles. You can learn more about quick preparation techniques when you check out my 30-Minute Honey Garlic Chicken Recipe, which also prioritizes speed!
Tips for Success Making Perfect Fudge Every Time
Okay, look, even with the easiest recipe on the planet, sometimes things go a little sideways, right? So here are my top hacks for making sure your fudge turns out pristine. First, if your chocolate mixture seems a little stiff while melting, don’t be tempted to add milk or extra cream! That ruins the setting chemistry. Instead, just toss it back in the microwave for ten more seconds. Secondly, when incorporating the marshmallow cream, use a rubber spatula and fold, fold, fold gently. You want it incorporated, but you don’t want to beat the air out of it, which is what leads back to a dense, less creamy result.
Also, resist the urge to peek at it while it sets in the fridge. Every time you open that door, you risk dropping the temperature too quickly, which can sometimes lead to a slightly duller shine on the surface. If you find your knife drags when cutting, your fudge wasn’t chilled long enough—just pop the whole slab back in for another 30 minutes. Following these little tricks guarantees you get that flawlessly smooth texture that makes people wonder if you bought it from a gourmet candy shop!
Storage & Reheating Instructions for Your Fudge
You made it! Now you have to keep this glorious fudge perfect until you serve it. The absolute best best way to store this creamy treat is right in the same airtight container you cut it in, layered with wax paper between the layers if you stack them. Keep the container in the refrigerator. Because we used marshmallow cream, it stays incredibly soft, so the fridge keeps its shape perfectly.
Now, here’s the important part: please, please, please do not try to reheat this! Unlike brownies, fudge doesn’t respond well to warming up, and you’ll end up with a melted chocolate puddle. If you pull it straight from the fridge, let the squares sit on the counter for about ten minutes before serving to let the texture soften up just a tiny bit. That’s all the warming it needs!
Serving Suggestions for This Simple Sweets Recipe
This fudge is so satisfying that half the battle is deciding how to present it! Since this recipe makes about 36 small squares, they are perfect for portion control—or, you know, just for saving some for later. For Holiday Fudge Gifts, I like to tie a little ribbon around stacks of four squares wrapped in clear cellophane bags. If you’re doing a big dessert buffet, serving them alongside something bright, like a slice of no-bake candy cane pie, offers a nice textural contrast. Even just cutting them into small, neat diamonds makes them look surprisingly fancy!
Frequently Asked Questions About Making Fudge
I always get so many questions when people first try this recipe because it feels like it shouldn’t work with just three ingredients! But trust me, these few key points will help you nail that perfect result. It’s all about respecting what the chocolate is trying to do!
Can I make this fudge without marshmallow cream?
That’s a tough one! You technically can, but it won’t be this recipe. If you’re craving something that leans more towards that slow-cooked, Old Fashioned Candy flavor, you’d skip the marshmallow cream and use evaporated milk, but then you absolutely need a candy thermometer to hit the soft-ball stage. For this specific Easy Fudge recipe, the marshmallow cream is essential; it’s what stabilizes the whole thing and gives you that soft, decadent texture without worrying about boiling anything.
How do I get rid of grainy fudge texture?
Graininess happens when the sugar separates or crystallizes. The number one rule here is gentle, gentle mixing once the chocolate is melted. When you fold in that marshmallow cream, don’t use a whisk or beat it vigorously! Use a rubber spatula and just fold until they are barely combined. Also, make sure your chocolate base is completely smooth from the microwave *before* you add any fluff whatsoever. If the base is already grainy when you pour it in the pan, the cream can’t fix that! If you want to see another fun dessert variation, check out my thoughts on the Holiday Jello Poke Cake.

Estimated Nutritional Data for One Square of Fudge
So, if you managed to stop at just one square—which, bless your willpower, I rarely do—here’s the rundown on what’s in this little slice of heaven. Remember, because this is homemade, these numbers are just close estimates, okay? The exact brand of chocolate chips you grab or the specific type of marshmallow cream can shift things around just a little bit.
I always put a little disclaimer here because I’m a baker, not a certified nutritionist! For the full details and the official site disclaimer, you can check out that section over on our official disclaimer page. But for a quick look at what you’re indulging in:
- Serving Size: 1 square
- Calories: 145
- Sugar: 18g (Yep, it’s candy!)
- Fat: 7g
- Protein: 2g
- Carbohydrates: 21g
See? Pretty straightforward for something that tastes this decadent. Honestly, knowing it’s only four simple ingredients makes me feel way better about licking the spatula afterward. Enjoy that knowledge!
Share Your Creamy Fudge Results
Alright, fantastic baker, you’ve survived the chocolate marathon and now you have the best, creamiest fudge sitting on your counter! Don’t keep all that deliciousness a secret! I absolutely *love* hearing when one of my simple recipes works its magic for you. Seriously, finding out you enjoyed this makes my whole week.
If you made this quick dessert, please jump down to the comments section and leave me a rating—five stars if it made your mouth water, but I want to hear all about it either way! Tell me if you tried the peanut butter swirl or stuck to the classic chocolate. And if you took a gorgeous picture of your perfectly smooth squares, snap it up and tag me on social media! Seeing your successful Homemade Fudge always brings me so much joy. Happy snacking, and get ready for compliments!
Print
Easy 3-Ingredient Marshmallow Cream Fudge
- Total Time: 15 min
- Yield: 36 small squares 1x
- Diet: Vegetarian
Description
Make rich, smooth fudge quickly using only three ingredients. This no-bake recipe avoids candy thermometers and guarantees a creamy texture perfect for gifting or snacking.
Ingredients
- 1 (14 ounce) can sweetened condensed milk
- 2 cups (about 12 ounces) semi-sweet chocolate chips
- 1 cup marshmallow cream (or marshmallow fluff)
Instructions
- Line an 8×8 inch baking pan with parchment paper, leaving an overhang on two sides for easy removal. Lightly grease the paper.
- In a medium, microwave-safe bowl, combine the chocolate chips and sweetened condensed milk.
- Microwave on 50% power for 60 seconds. Stir well. Continue microwaving in 30-second intervals, stirring thoroughly after each interval, until the mixture is completely smooth and melted. Do not overheat.
- Remove the melted chocolate mixture from the microwave. Gently fold in the marshmallow cream until just combined. Do not overmix.
- Pour the fudge mixture into the prepared pan and spread evenly.
- Refrigerate for at least 2 hours, or until firm.
- Use the parchment overhang to lift the fudge from the pan. Cut into small squares before serving.
Notes
- For vanilla fudge, substitute white chocolate chips for the semi-sweet chips.
- For peanut butter fudge, stir in 1/2 cup of creamy peanut butter with the marshmallow cream.
- If you do not have a microwave, melt the chocolate and milk in a double boiler over low heat, stirring constantly.
- Prep Time: 10 min
- Cook Time: 5 min
- Category: Dessert
- Method: No Bake
- Cuisine: American
Nutrition
- Serving Size: 1 square
- Calories: 145
- Sugar: 18
- Sodium: 35
- Fat: 7
- Saturated Fat: 4
- Unsaturated Fat: 3
- Trans Fat: 0
- Carbohydrates: 21
- Fiber: 1
- Protein: 2
- Cholesterol: 10