Are you ready for some serious dessert cheer? I’m Sara, and I’m so glad you stopped by Child Recipe. My kitchen is usually a happy mess. Liam likes precision. This recipe changed everything for us. We needed something fun. Something loud. Something that screams happy holidays!
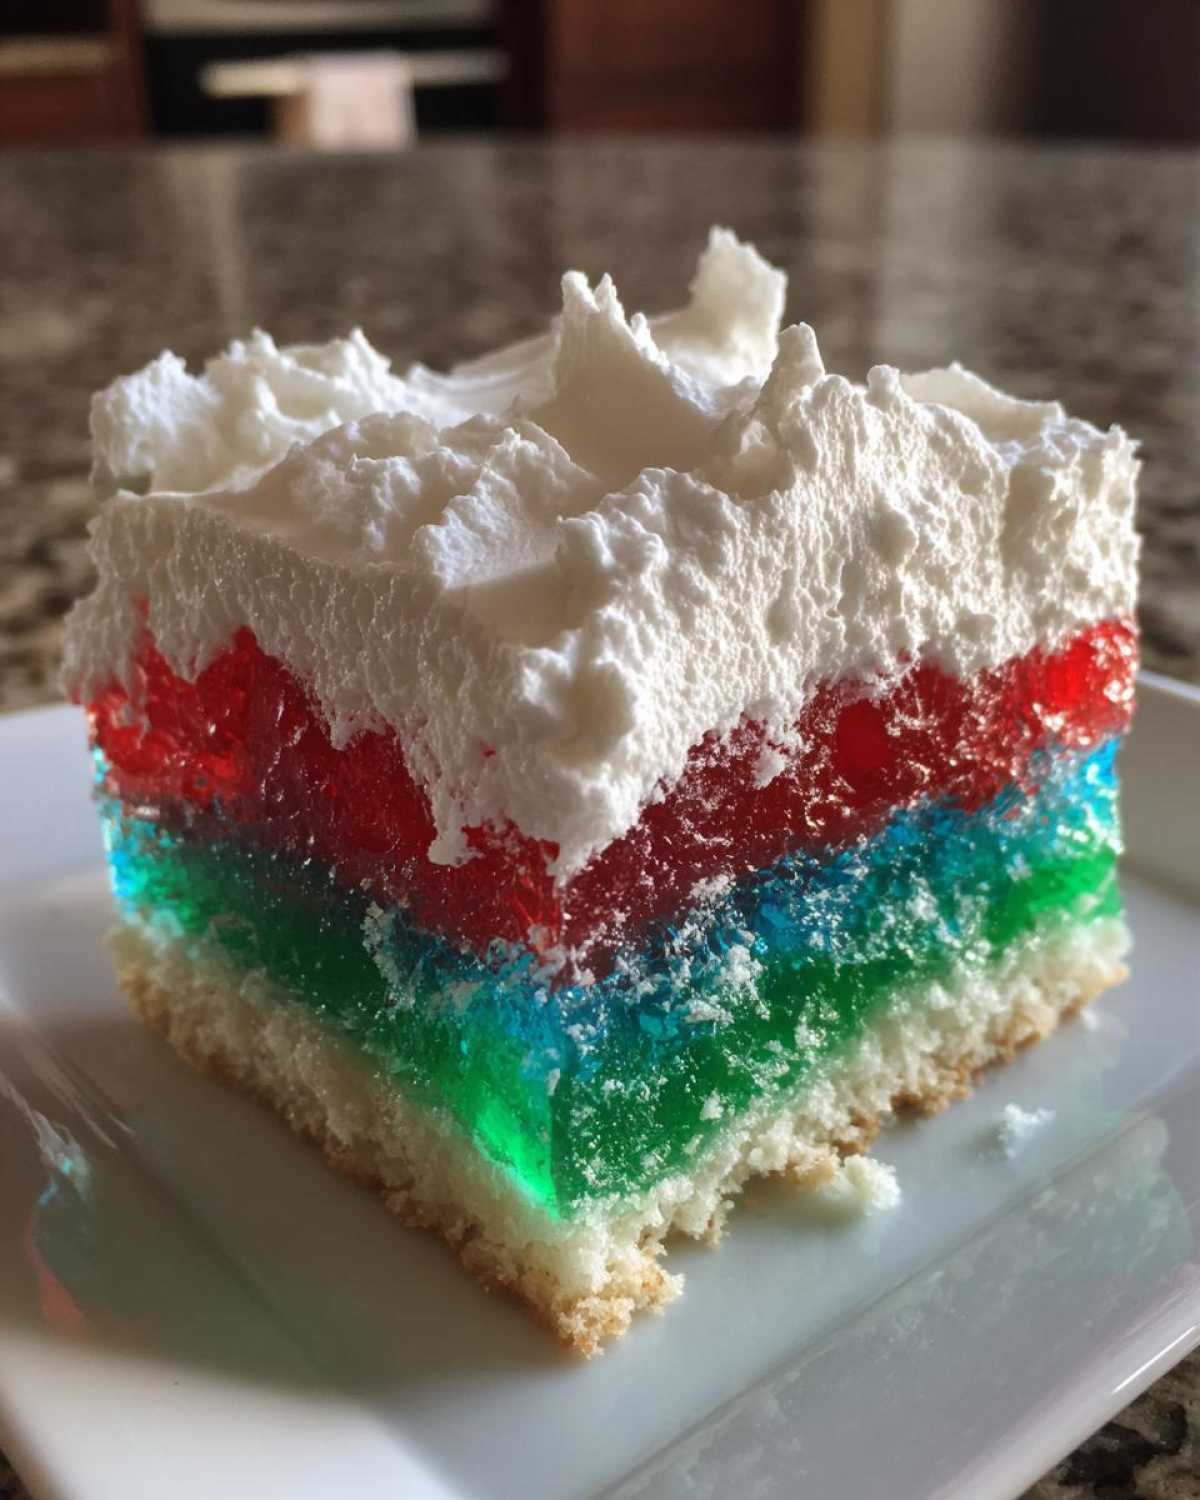
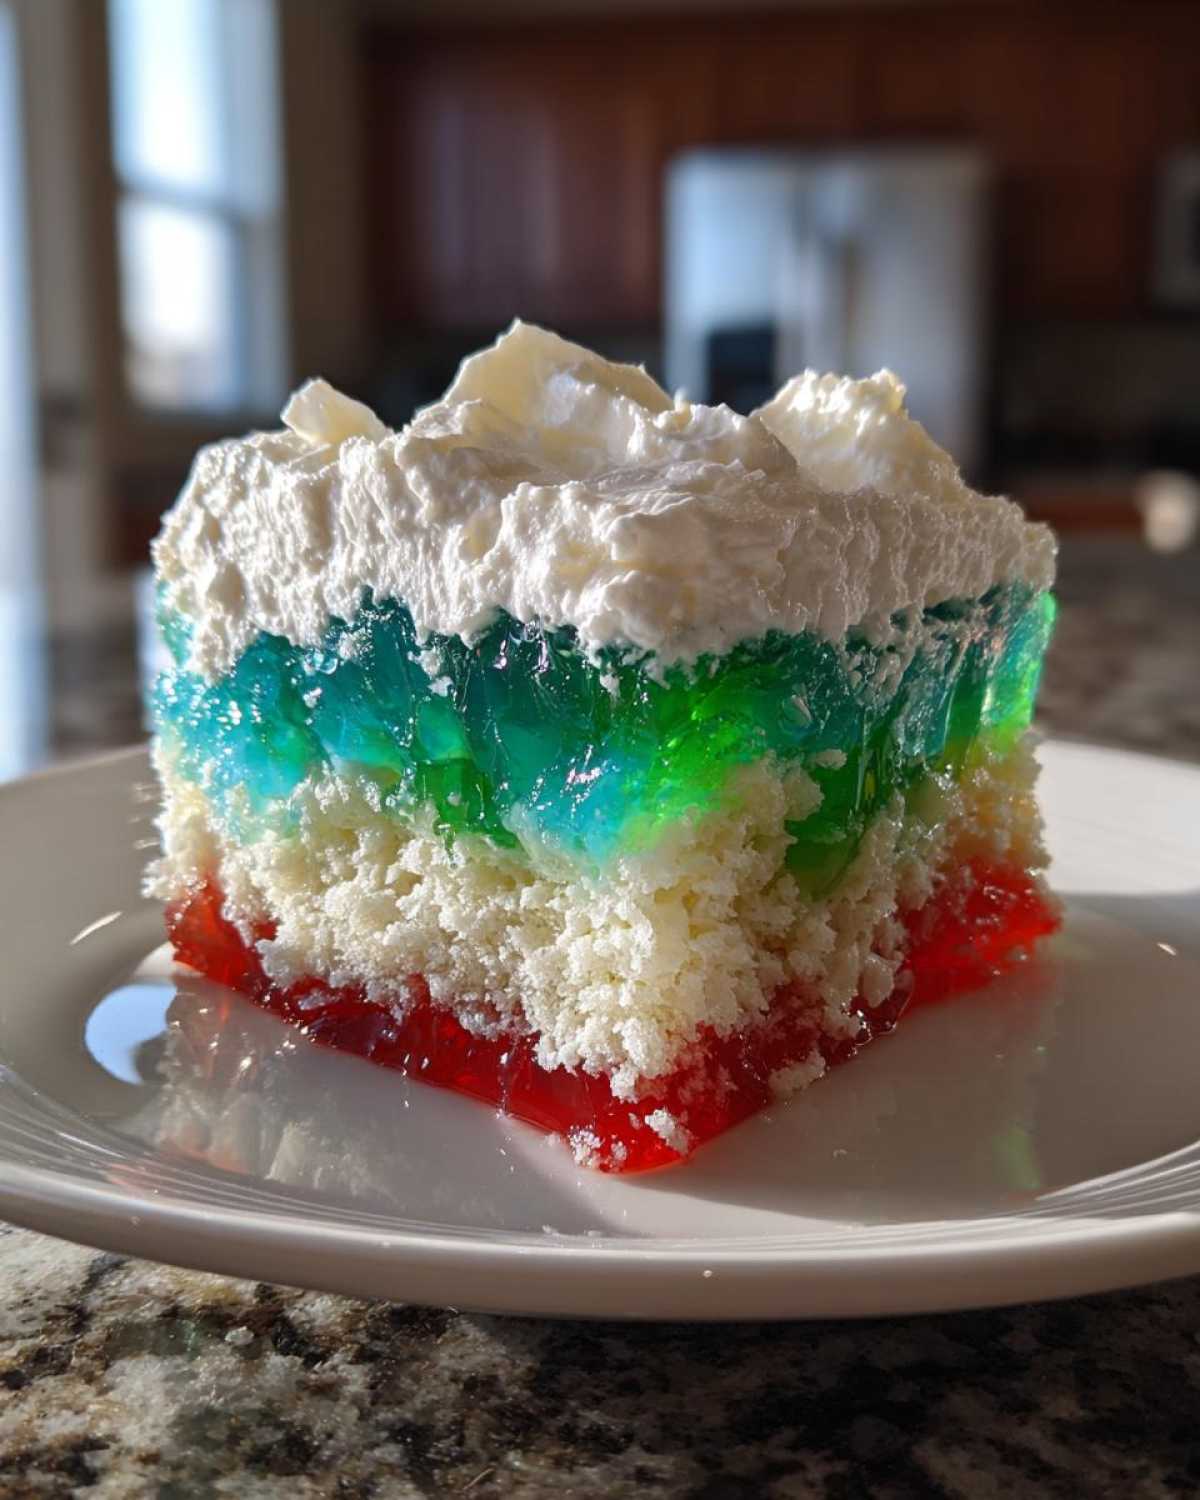
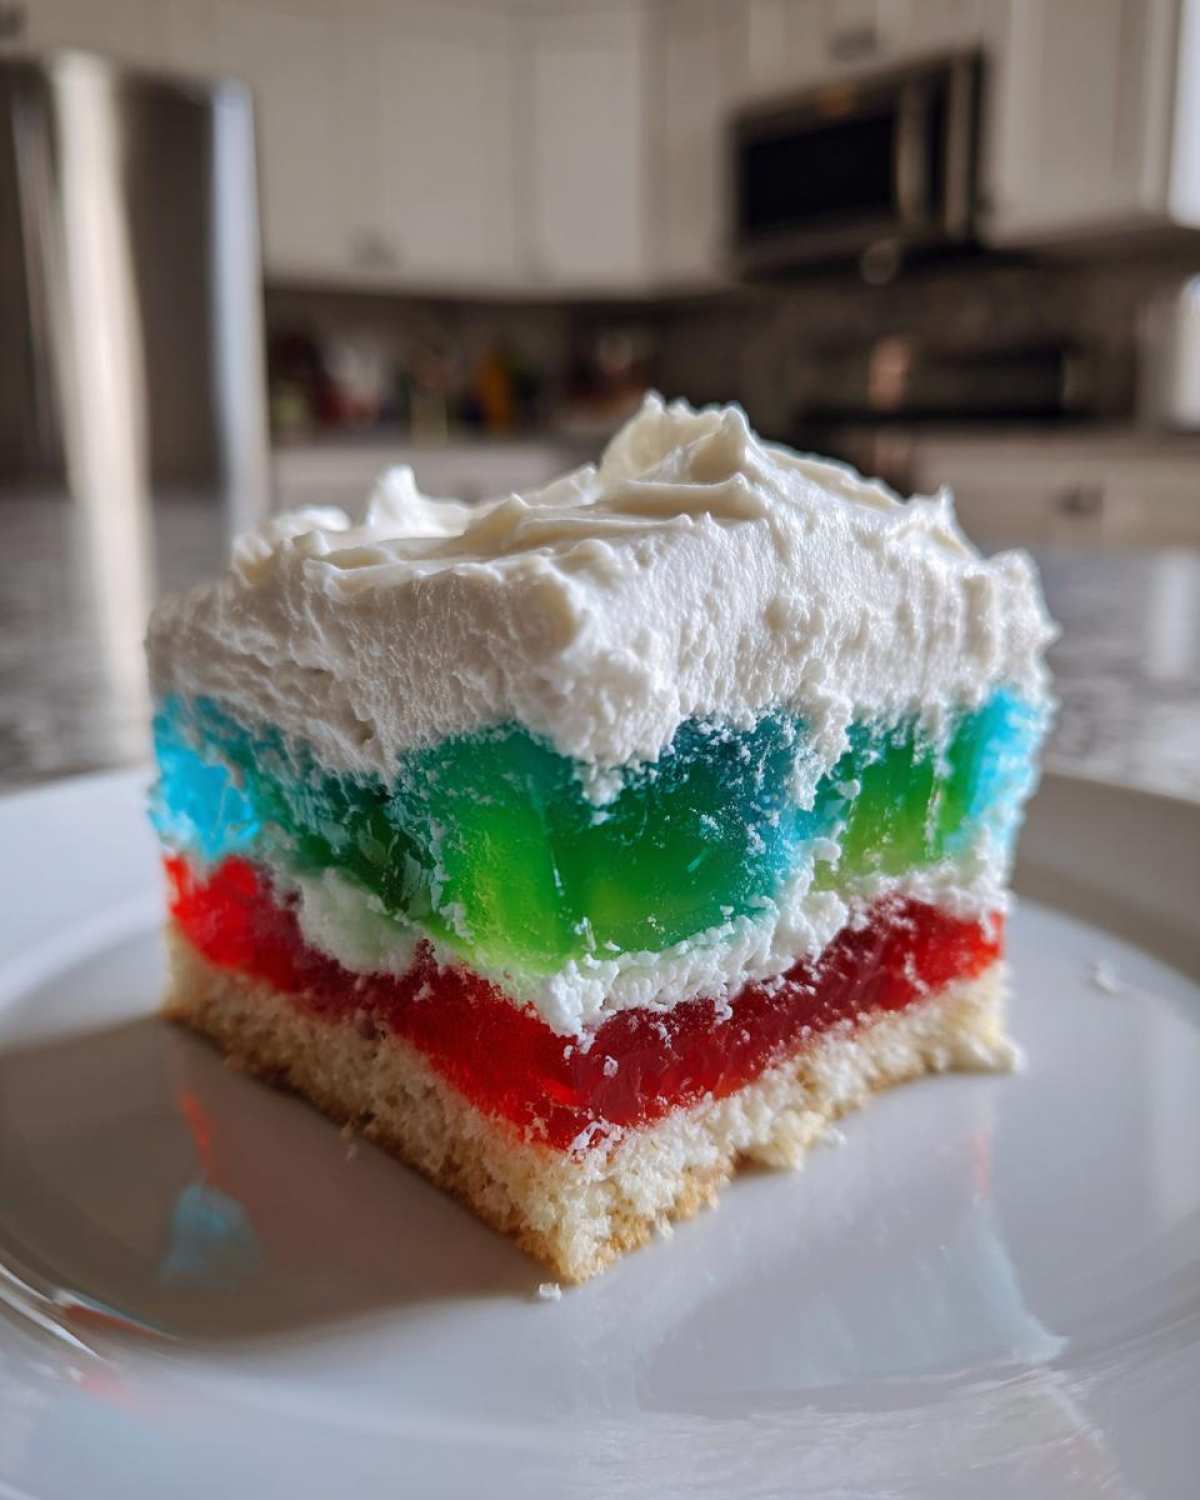
This Holiday Jello Poke Cake brings pure, unadulterated joy to any table. It’s the perfect retro Christmas dessert. Seriously, the colors alone make you smile. It’s easy, it’s bright, and it tastes like a happy memory. Let’s dive into making this showstopper.

Why You’ll Love This Holiday Jello Poke Cake
This dessert is pure magic, folks. It’s simple fun. You get big flavor with little fuss. I promise you’ll adore making it.
- It sets up super fast.
- The colors look so festive.
- It’s a total crowd-pleaser recipe.
Quick Assembly for Busy Hosts
We use a standard cake mix. That saves you so much time. Layering the Jello is simple too. It’s assembly, not complex baking. You get maximum impact for minimal effort.
A True Retro Christmas Dessert
This cake reminds me of childhood parties. It’s pure nostalgia on a plate. Thinking about this Jello Cake just makes me happy. It brings that playful spirit back.
Equipment Needed for Your Holiday Jello Poke Cake
Gathering your tools first helps things flow. Cooking should feel smooth, not frantic. We need just a few simple things here.
Baking and Poking Tools
- You need one 9×13 inch baking pan.
- Grab a sturdy fork or wooden spoon handle.
- The oven mitts are a must-have item.
Mixing and Serving Gear
We need a few bowls for the Jello. Measuring cups are necessary for water. You will want an offset spatula too. It helps spread the topping nicely.
Gather Your Ingredients for the Holiday Jello Poke Cake
Let’s talk about what we need. Getting ingredients ready is key. Clarity here makes the rest easy. This Holiday Jello Poke Cake needs bright colors.
Cake Base Components
Start with one box of white cake mix. Check the box top for details. You need the eggs, oil, and water listed there. Mix it up just like normal.
Flavoring the Holiday Jello Poke Cake Layers
Grab three small boxes of Jello powder. Pick bright, contrasting flavors. Remember the trick here. Use only half the cold water listed. This makes the flavor strong.
Creamy Topping Ingredients
You need one can of sweetened condensed milk. Also grab one cup of whipped topping. I sometimes thin the milk slightly. Just add a splash of water or milk.
Step-by-Step Instructions for Your Holiday Jello Poke Cake
Now for the fun part! Let’s get this colorful creation assembled. Follow these steps closely. Cooking with feeling means paying attention now.
Baking the Cake Base
First, whip up that white cake mix. Follow the package directions exactly. Pour the final batter into your 9×13 pan. Bake it according to the box timing. Let the cake cool just a bit after it comes out.
Creating the Poke Holes for the Holiday Jello Poke Cake
This step is super important, friends. While the cake is still quite warm, grab your wooden spoon handle. Poke holes all over the surface. Make them about one inch apart. Warm cake drinks up the Jello better.
Preparing and Setting the Jello
Prep each Jello flavor separately. Use boiling water first, just like normal. Then, swap the cold water for only half the amount. This concentrates the flavor nicely. Pour each Jello mixture slowly over the holes. Try to alternate your colors evenly across the top.
Setting and Layering the Holiday Jello Poke Cake
Time for patience now. Pop the cake into the fridge. Let it chill for three to four hours minimum. The Jello needs to be totally set firm. Once firm, mix the condensed milk. Drizzle that sweet mixture evenly over the Jello layer.
Finishing and Final Chilling
Grab your whipped topping now. Spread it smoothly over the milk layer. It should look like a fluffy white cloud. Return the whole thing to the fridge. Chill it again until you’re ready to serve. Slice it up and watch the colors shine!
Tips for Perfecting Your Holiday Jello Poke Cake
Even simple recipes need a little love, you know? I’ve learned a few things over the years. These small tricks make a big difference. They turn a good cake into a great memory.
Jello Absorption Secrets
Listen up, this is key to great flavor. You must poke those holes when the cake is warm. If it cools too much, the Jello just sits there. Use the back of a wooden spoon. Make sure your pokes go deep enough. You want that sweet liquid to soak right in.
Achieving Bright Holiday Colors
Sometimes the standard Jello colors feel a bit pale. I like bright colors for Christmas. If you want that really pop, add a tiny drop of food coloring. Mix the color right into your prepared Jello. A little bit goes a long way here. It makes the final slice look spectacular!
Ingredient Notes and Substitutions for the Holiday Jello Poke Cake
Don’t sweat the small stuff here. Substitutions are totally fine sometimes. This recipe is forgiving, which I love. We can change things up easily for this Holiday Jello Poke Cake.
Jello Flavor Combinations
For Christmas, think red and green. Try cherry and lime flavors. Blue and raspberry also look great together. Pick vivid, contrasting colors always.
Whipped Topping Choices
I used store-bought topping here. It’s fast and holds its shape well. If you have time, make fresh whipped cream. Fold in a tiny bit of powdered sugar. It tastes richer, honestly.
Frequently Asked Questions About This Retro Christmas Dessert
I know you might have questions, friend. Cooking should be fun, not confusing. Here are some quick answers about this colorful treat.
Can I make this Holiday Jello Poke Cake ahead of time?
Yes, you totally can! Make it one day ahead. Store it covered in the fridge. It stays moist and delicious. Do not make it more than a day early though. The cake texture changes slightly.
What size holes should I use for the Jello?
I prefer using the handle tip of a wooden spoon. It makes a nice wide hole. A regular dinner fork works too. Make sure the holes are deep. They should reach down into the cake layer.
How long does the cake need to chill before serving?
The initial Jello set needs three to four hours. That is the minimum time, really. For the best results, chill it for six hours. Or even overnight works great for this Poke Cake. Everything firms up nicely then.
Storing and Serving Your Holiday Jello Poke Cake
After all that happy effort, we want leftovers to stay perfect. This dessert loves the cold. Keep it chilled until the very last second. That keeps the layers firm and fresh.
Best Practices for Refrigeration
Cover your pan tightly with plastic wrap. This stops the whipped topping from drying out. Try to serve it straight from the fridge. Cold temperatures keep the Jello set nicely. This Holiday Jello Poke Cake tastes best very cold.
Estimated Nutritional Data for One Slice of Holiday Jello Poke Cake
Now, let’s talk nutrition, sort of. I’m a baker, not a nutritionist, right? Liam always jokes about my math skills. So, take these numbers with a pinch of salt. For general information on dessert nutrition, you can check resources like the Nutrition.gov website.
Since we are dealing with cake mix and sweetened condensed milk, this is a treat. It’s for parties and celebrations. This is not an everyday food item, that’s for sure!
The following details are just estimates for one slice. They help you plan, but they aren’t exact science. We focused on making this the best tasting Holiday Jello Poke Cake.
- Serving Size: 1 slice
- Calories: Estimate around 350-400 kcal
- Sugar: Expect a high amount, maybe 40g
- Fat: Likely near 15g total fat
- Carbohydrates: Will be substantial, around 55g
- Protein: Estimate around 4g per serving
Remember, these are just rough guidelines. Homemade whipped cream changes the fat content. Use this data for general awareness only.
Share Your Culinary Performance
Did you make this bright, happy cake? If you are looking for other fun, easy holiday recipes, check out our guide on classic tiramisu for a different kind of festive treat.
I’d love to see your colorful creation. Snap a picture of your dessert!
Share how you brought the joy to your table.
Tell us about your kitchen adventures below.
We love seeing your connection through food.
Print
3 Amazing Holiday Jello Poke Cake Secrets
- Total Time: 4 hours 50 minutes
- Yield: 12 servings 1x
- Diet: Vegetarian
Description
Create a fun, festive Holiday Jello Poke Cake perfect for Christmas gatherings. This recipe brings a playful, joyful spirit to your dessert table, reminding you to cook with feeling.
Ingredients
- 1 box (15.25 oz) white cake mix
- Ingredients required for cake mix (eggs, oil, water)
- 1 small box (3 oz) lime or lemon Jello powder
- 1 small box (3 oz) strawberry or raspberry Jello powder
- 1 small box (3 oz) blue Jello powder
- 1 cup boiling water
- 1/2 cup cold water
- 1 can (14 oz) sweetened condensed milk
- 1 cup whipped topping (or homemade whipped cream)
- Food coloring (optional, for brighter colors)
Instructions
- Prepare the white cake mix according to package directions. Pour batter into a 9×13 inch baking pan.
- Bake the cake as directed on the package. Let the cake cool slightly after removing it from the oven.
- While the cake is still warm, use the handle of a wooden spoon or a fork to poke holes all over the surface of the cake, about 1 inch apart.
- In separate bowls, prepare each flavor of Jello according to the package instructions, but use only 1/2 cup of cold water instead of the full amount listed on the box for a more concentrated flavor.
- Pour each prepared Jello mixture slowly over the holes in the cake, ensuring the liquid settles into the holes. If you are using multiple colors, alternate pouring them evenly across the cake surface.
- Refrigerate the cake for at least 3 to 4 hours, or until the Jello is completely set.
- Once the Jello is firm, mix the can of sweetened condensed milk with 1/4 cup of water (or milk) to thin slightly if desired. Drizzle this mixture evenly over the top of the set Jello layer.
- Spread the whipped topping evenly over the sweetened condensed milk layer.
- Chill the cake again until ready to serve. Cut into squares and enjoy the festive colors.
Notes
- You can use any three bright, contrasting Jello flavors to match your holiday theme.
- For an extra festive look, sprinkle colored sugar or small candies over the whipped topping before serving.
- Make sure the cake is still warm when poking the holes for the best absorption of the Jello liquid.
- Prep Time: 20 minutes
- Cook Time: 30 minutes
- Category: Dessert
- Method: Bake and Set
- Cuisine: American
Nutrition
- Serving Size: 1 slice
- Calories: Estimate needed
- Sugar: Estimate needed
- Sodium: Estimate needed
- Fat: Estimate needed
- Saturated Fat: Estimate needed
- Unsaturated Fat: Estimate needed
- Trans Fat: Estimate needed
- Carbohydrates: Estimate needed
- Fiber: Estimate needed
- Protein: Estimate needed
- Cholesterol: Estimate needed