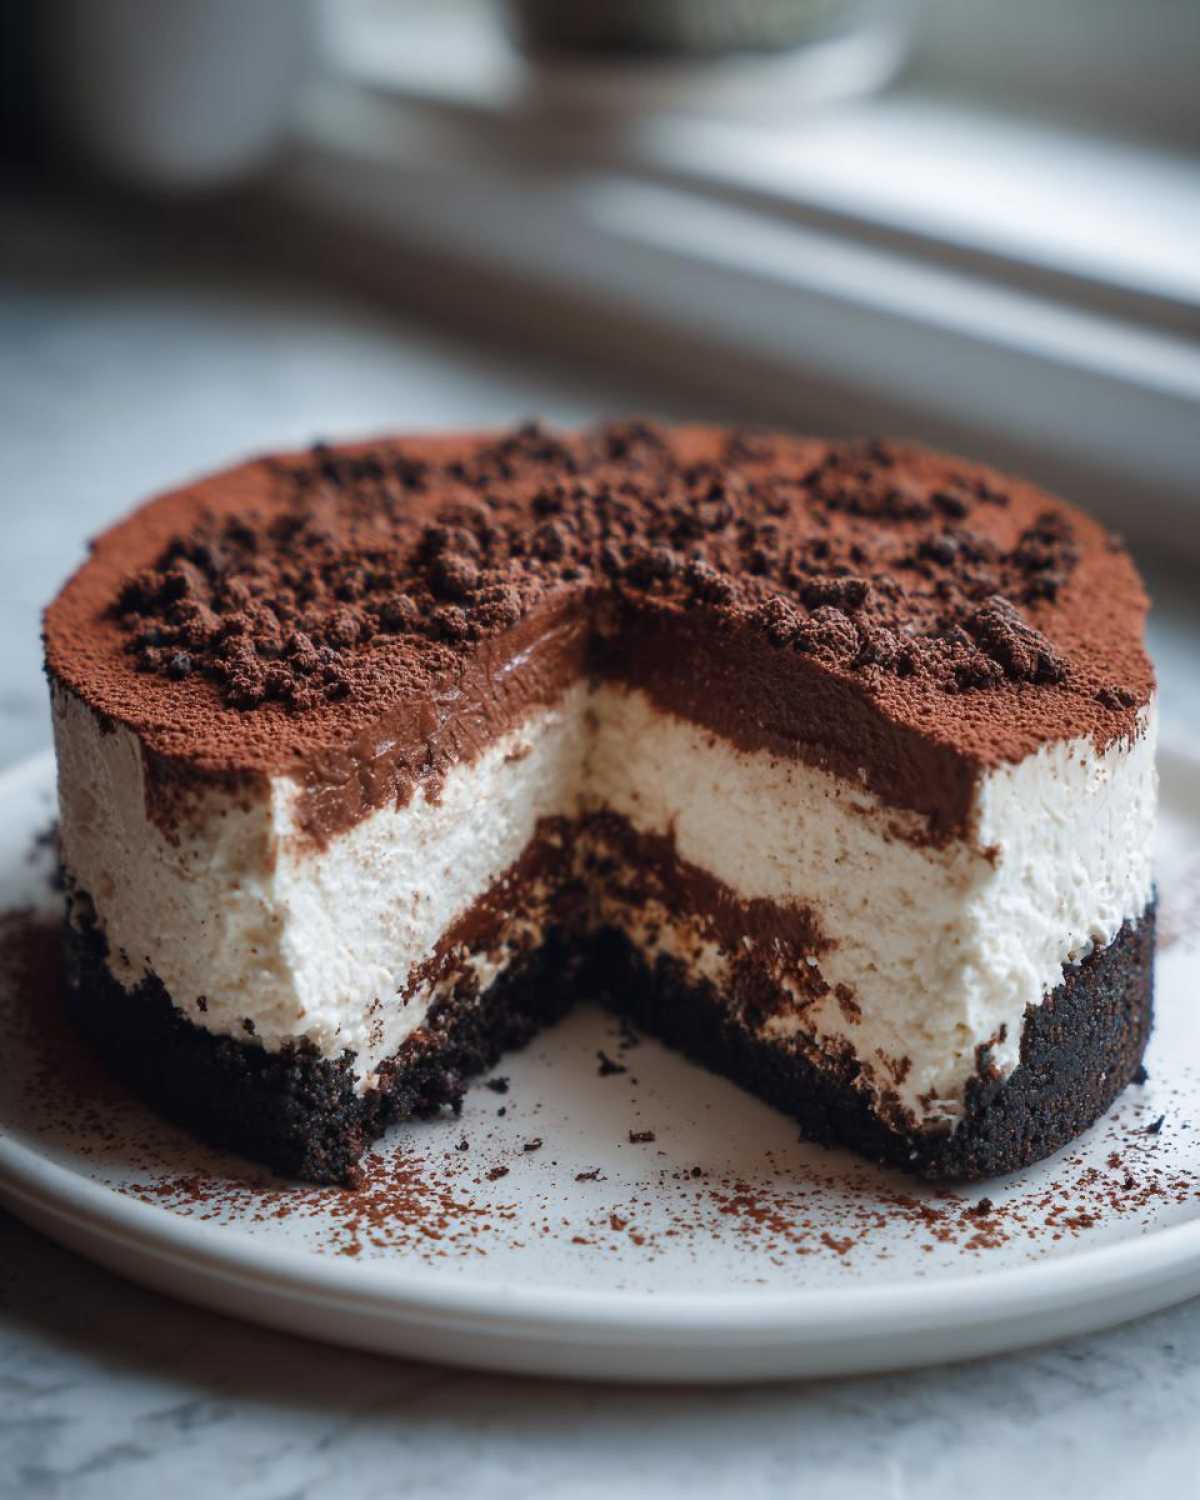
Okay, let’s talk about my absolute favorite kind of dessert: the show-stopping mashup! You know, when two amazing things decide to move in together and create something spectacular? That’s exactly what happened when the rich, velvety world of Tiramisu met the cool, decadent structure of a classic cheesecake. That’s how we got this No Bake Tiramisu Cheesecake, and trust me, this is the one you want in your life.
Forget fiddly ovens; this beauty comes together quickly, chilling itself into perfection while you go about your day. The espresso soaks into the crust, the mascarpone keeps the filling unbelievably silky, and that final dusting of cocoa? Perfection. I make this for every single dinner party because I can prepare it the day before, and it always vanishes first. It’s my secret weapon for looking like a dessert genius with minimal effort!
Why This No Bake Tiramisu Cheesecake Recipe Works So Well
There are so many ways to tackle the Tiramisu Cheesecake hybrid, but I stick to this one religiously because it just *works*. It’s the easiest impressive dessert you’ll ever make, seriously. Why I love it so much comes down to a few key things that make this our go-to recipe:
- No oven means no fuss, no cracked tops, and zero stress before a party! It’s the ultimate Easy Make Ahead Dessert.
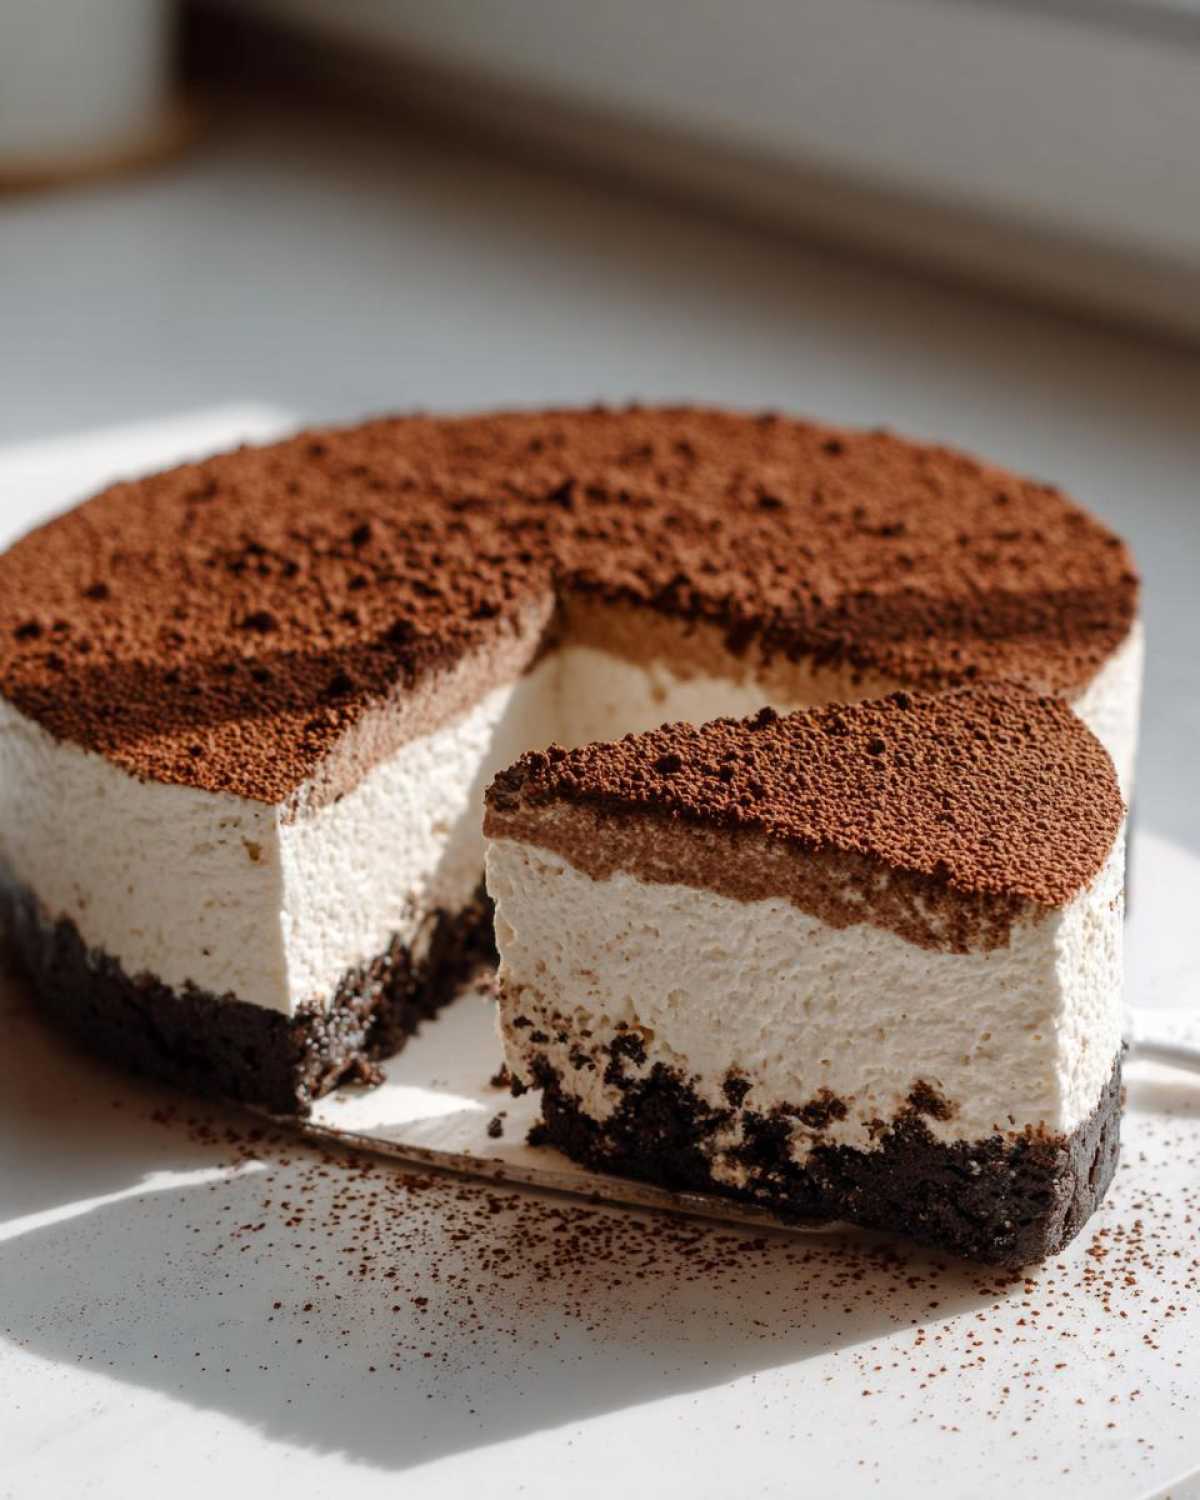
- We skip the traditional ladyfingers for a rich chocolate cookie crust, which is just divine next to the creamy filling.
- We use real mascarpone cheese, which gives this Mascarpone Cheesecake Recipe that signature, luxurious, melt-in-your-mouth quality that you can’t get with just cream cheese alone.
- The strong espresso soak gives you that deep, bold Espresso Desserts punch we all crave!
Gathering Ingredients for Your No Bake Tiramisu Cheesecake
Before we even think about mixing, we need our cast of culinary characters assembled! For this spectacular dessert mashup, what you buy really matters, especially when we’re relying on quality flavor from the coffee and the cheeses. Don’t substitute the mascarpone—it’s essential for that authentic texture. Remember, everything needs to be ready before assembly starts, so make sure your espresso is brewed hours ahead of time!
For the Chocolate Cookie Crust
This is the foundation, so we need something sturdy and flavorful to hold up all that creamy goodness. We’re using chocolate cookies here to keep that Tiramisu vibe going strong! You’ll need:
- 1 1/2 cups chocolate cookie crumbs (your favorite sandwich cookie works great!)
- 1/4 cup granulated sugar
- 6 tablespoons unsalted butter, melted (make sure it’s completely melted!)
For the Creamy Tiramisu Cheesecake Filling
This is where the magic happens! Texture and deep coffee flavor come from combining these elements carefully. Read those notes on softening your dairy—it’s crucial for a smooth No Bake Tiramisu Cheesecake.
- 16 ounces cream cheese, softened (leave it out long enough!)
- 8 ounces mascarpone cheese, softened (the star of the show!)
- 1 cup powdered sugar
- 1 teaspoon vanilla extract
- 1/2 cup strong brewed espresso, cooled completely
- 2 tablespoons coffee liqueur (if you want that authentic kick)
- 1 cup heavy whipping cream
Oh, and we can’t forget the final touch! You’ll need about 1/4 cup cocoa powder for dusting right before serving. That deep, unsweetened cocoa balances everything out perfectly.
Step-by-Step Instructions for the Ultimate Tiramisu Dessert
Okay, the best part! Our total time for this creamy wonder is roughly 6 hours and 25 minutes, but most of that is just waiting time—prep only takes about 25 minutes. This recipe is all about layering texture, so follow these steps exactly to get that perfect, indulgent bite every time. We’re building a masterpiece here!
Preparing the Chocolate Cookie Crust Base
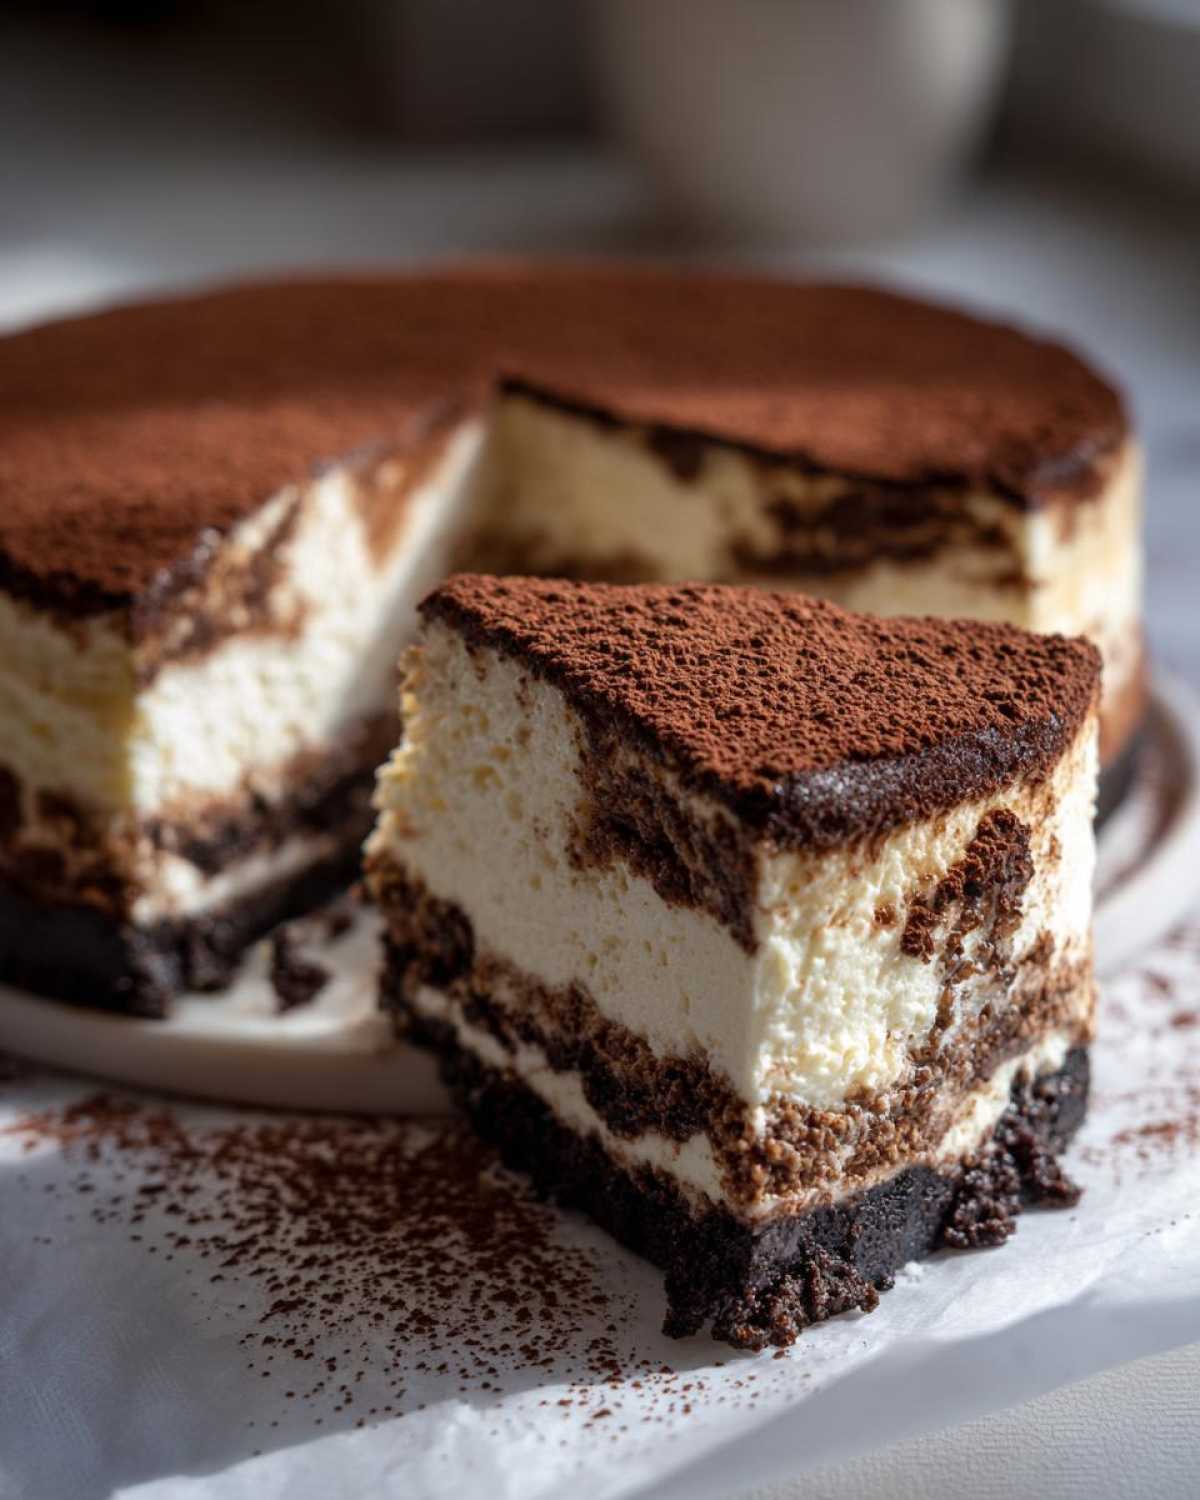
First up, grab that crust mixture you made! We need to make sure this base is rock solid because it holds up a creamy, heavy filling. Dump your crumbly mix into that 9-inch springform pan. Use the bottom of a measuring cup or just the flat bottom of your hand to press it down really firmly and evenly across the base. You want it packed down tight! Once it’s smooth, pop that pan into the fridge for a good 20 minutes to set up while you tackle the filling. This initial chill is key for a solid Layered Cheesecake foundation.
Creating the Silky Coffee Flavored Cheesecake Filling
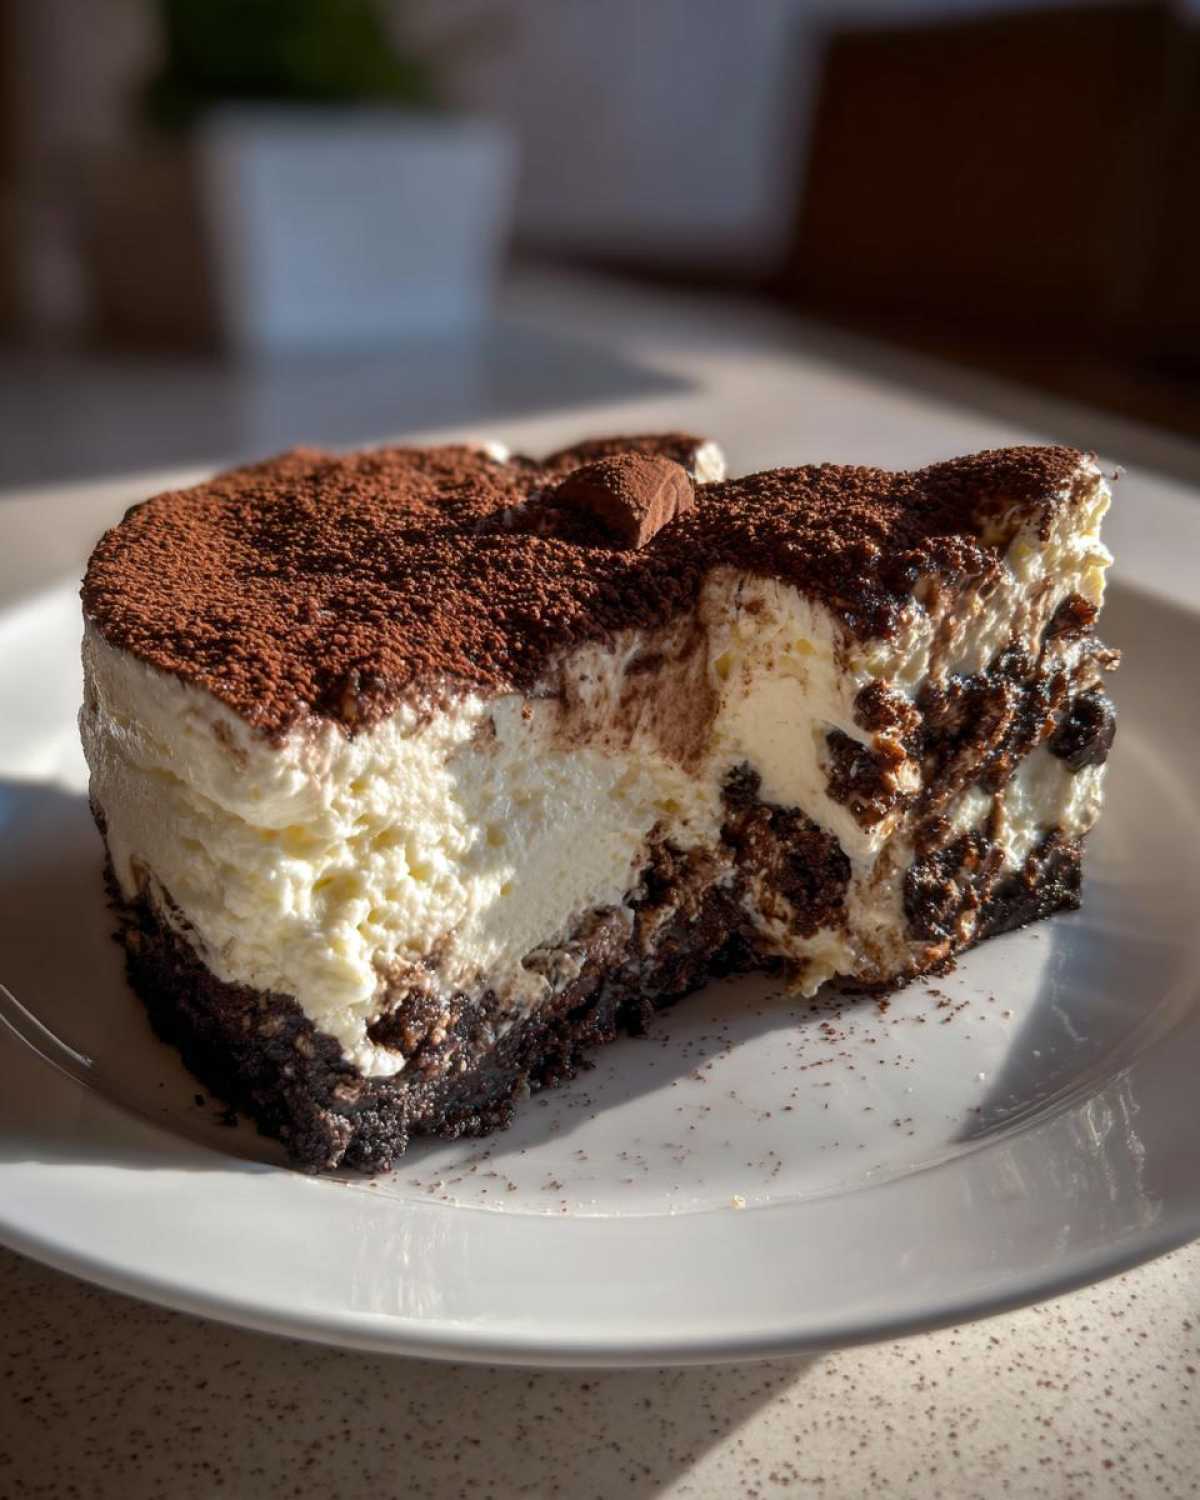
In your biggest, cleanest bowl, beat those softened cream cheese and mascarpone cheeses together until they look smooth as glass—no lumps allowed! Slowly beat in your powdered sugar and vanilla. Now, in a separate bowl, whip that heavy cream until stiff peaks form. Don’t skimp on this part; those stiff peaks are what give us our structure! Gently fold that whipped cream into your cheese mixture. Separately, stir your cooled espresso and liqueur together (if using). Fold just *half* of that espresso mix into the filling until it’s *just* combined, then pour the whole mixture over that chilled crust. Drizzle the rest of the coffee liquid lightly on top and swirl it with a knife for a pretty effect!
Chilling and Finishing Your Tiramisu Cheesecake
Now, the hard part: waiting! Cover the pan loosely and stick it in the refrigerator. We need a minimum of six hours, but honestly, overnight is where this Coffee Flavored Cheesecake truly transforms. When you’re ready to serve, carefully release the springform ring. Peel that plastic wrap off and then, take a fine mesh sieve, and dust the ENTIRE top generously with cocoa powder. That dark, matte cocoa finish against the pale, creamy filling is what screams “Tiramisu!”
Tips for Perfecting Your No Bake Tiramisu Cheesecake
You know, even though this is a ‘no bake’ recipe, there are little secrets that stop it from becoming a floppy mess! I’ve learned a few things over the years trying to nail that perfect balance between light and set. If you follow these small tricks, your Tiramisu Cheesecake Recipe will be a total showstopper every single time you make it.
First off, the coffee flavor: if you absolutely can’t get your hands on strong espresso or skip the liqueur, I have a backup plan. Mix about one teaspoon of instant espresso powder right into the half-cup of cooled liquid espresso you plan on folding in. It really amps up that coffee aroma without changing the liquid volume in the batter. Trust me, don’t skip this boost!
The second thing I watch like a hawk is the heavy whipping cream. You are aiming for stiff peaks, and I mean stiff! When you lift that whisk, the cream should stand up straight—if it flops over, it’s not ready. If you under-whip it, it won’t hold up the weight of the cheese mixture, and you end up with soup instead of filling. Spend an extra minute whipping that cream until it looks like perfect white clouds.
Although this recipe is super forgiving, I’ve noticed that if I use that gelatin trick my aunt taught me—dissolving one teaspoon of unflavored gelatin in a tiny bit of hot water and folding that in *before* the whipped cream—it gives the final product a slightly firmer, cleaner slice. It’s optional, but great if you’re nervous about unmolding it or if your kitchen runs a little warm.
Finally, about the cheese: make sure your cream cheese and mascarpone are truly at room temperature. If they are even slightly cold, you’ll never get that smooth batter we are aiming for. Cold dairy equals lumps, and nobody wants a lumpy Creamy Cheesecake Recipes filling!
Variations on the Classic Tiramisu Cheesecake Recipe
You know, as much as I adore this classic No Bake Tiramisu Cheesecake, sometimes I get the itch to mix things up! It’s such a versatile base that you can pivot easily into totally different flavor territory. Think of this recipe as your launching pad for your own kitchen adventures. The structure we build here—the chocolate crust, the creamy base—is sturdy enough for fun experiments!
My favorite swap, especially if I’m craving a different kind of coffee note, is playing with the booze. Instead of that standard coffee liqueur, I sometimes go straight for a splash of Kahlúa—it adds a deep, rich sweetness that pairs beautifully with the chocolate, turning it into a genuine Kahlua Cheesecake Recipe variation. You only need a tablespoon or two, but wow, does it make a difference!
Another easy win is swapping out the base crumbs. If you aren’t a huge fan of dark chocolate with your coffee flavor, try using vanilla wafer crumbs or even crushed Biscoff cookies! Vanilla wafers give you a lighter, almost classic Tiramisu look and taste, leaning more towards that traditional Italian Inspired Desserts profile. Just make sure you slightly reduce the granulated sugar in the crust if the cookies you pick are already very sweet.
Now, I’m a die-hard fan of the no-bake approach because of how easy it is, but if you’re feeling brave and you want that dense, slightly firmer texture, you can absolutely bake this version! The main difference when going for a Baked Tiramisu Cheesecake is that you’ll likely need to add an egg or two for stability, and you absolutely must use a water bath to keep that top smooth. For me, the ease of this chilled, silky version wins out every time, but I admire anyone who wants to fire up the oven!
Storage and Make-Ahead Advice for Your Tiramisu Cheesecake
This, my friends, is what makes the No Bake Tiramisu Cheesecake the ultimate party secret weapon! Because there’s no egg custard, it’s fantastic for planning ahead. I always aim to make this the day before serving, giving those coffee flavors plenty of time to deepen into that rich, lovely profile.
It keeps beautifully in the fridge, tightly covered, for up to four days. Just don’t dust it with cocoa powder until right before you slice it, or the moisture will make the cocoa look patchy. If you need to stash it longer, it freezes amazingly well! Wrap the whole cheesecake (after it’s fully set!) tightly in plastic wrap and foil. When you’re ready to eat it, thaw it overnight in the fridge. Wait until it’s fully thawed before you unwrap it and do that final snowy dusting of cocoa powder. Easy peasy!
Frequently Asked Questions About Tiramisu Cheesecake
I always get questions about this dessert because people aren’t quite sure how to handle the coffee element or the structure. Since this tiramisu cheesecake is a hybrid, it’s natural to wonder about the details! Here are the things I hear most often when friends ask for my secrets to this Coffee Flavored Cheesecake.
Can I use instant coffee instead of brewed espresso?
Yes, you totally can! If you don’t have a good espresso maker or just need a faster option for your No Bake Tiramisu Cheesecake, just dissolve 1 to 2 teaspoons of instant espresso powder into the 1/2 cup of hot water (instead of espresso). Make sure it cools completely before you mix it into the filling, though! Instant coffee can sometimes be a bit more bitter, so start with less and taste as you go.
Do I need a springform pan?
For a beautiful presentation, a 9-inch springform pan truly is the best tool for the job. Because this is a soft, no-bake filling, trying to pry it out of a standard cake pan usually ends in disaster—you end up squishing the sides! The springform pan lets you release the ring intact, leaving you with those perfect, smooth sides that look amazing under the cocoa powder. If you make Decadent Cheesecake Bars, though, a regular lined 9×13 pan works fine!
How do I make this recipe alcoholic or non-alcoholic?
The coffee liqueur is totally optional! For an adult version, 2 tablespoons of coffee liqueur or even dark rum adds lovely complexity. If you are making this for all ages, simply leave it out. To keep that subtle flavor boost and moisture, I recommend adding 1 teaspoon of instant espresso powder to the liquid espresso, just like I mentioned above. It keeps the overall flavor balanced without any booze!
Can I substitute the chocolate crust?
Absolutely! While I adore pairing the dark chocolate cookie crumbs with the creamy filling—it really echoes those cocoa notes—you can use vanilla wafers or even graham crackers if you prefer. If you swap to vanilla wafers, you might want to add a teaspoon of cocoa powder to the melted butter/sugar mix just to give that crust a little more depth of flavor, turning it more into a traditional Ladyfinger Dessert style base!
Estimated Nutrition Facts for This Creamy Cheesecake Recipes
You know I always get asked about the damage these indulgence desserts do, haha! When you’re making something this rich with butter, cream cheese, and mascarpone, the numbers add up quickly. These are just estimates for one slice based on the ingredients listed for this Creamy Cheesecake Recipes, so take them with a pinch (or a spoonful!) of salt.
This rich No Bake Tiramisu Cheesecake clocks in around 450 calories per slice, but remember, the real goodness is in the joy it brings, not the grams of fat!
Here is the quick breakdown of what you can typically expect:
| Component | Amount (Per Slice) |
|---|---|
| Calories | 450 |
| Fat | 32g |
| Saturated Fat | 18g |
| Carbohydrates | 38g |
| Sugar | 35g |
| Protein | 7g |
Remember, we’re eating this amazing Dessert Mashup for the flavor, not for a low-fat diet! If you are watching sugar, remember that most of it comes directly from the powdered sugar and the chocolate crust, so you can slightly adjust those sections if you need to.
Share Your Experience Making This Tiramisu Cheesecake
Now that you have the secrets to my favorite show-stopping No Bake Tiramisu Cheesecake, I really want to know how it turned out for you! Baking is always a conversation starter, and I love hearing about your own little twists on this classic Dessert Mashup.
Did you stick to the pure espresso flavor, or did you sneak in some rum? Did your chocolate cookie crust turn out perfectly crisp? Don’t keep your successes (or your little oopsies!) to yourself. Head down to the comments section below and leave this recipe a rating—five stars if it disappeared in five minutes, right?
Seriously though, sharing is caring! Let me know if you made any tweaks, especially if you tried using different cookies for the base. I might even add your brilliant idea to my next batch for this ultimate Tiramisu Cheesecake Recipe!
Print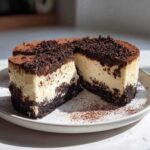
No Bake Tiramisu Cheesecake
- Total Time: 6 hr 25 min
- Yield: 10 servings 1x
- Diet: Vegetarian
Description
A creamy, no-bake cheesecake combining mascarpone cheese, espresso flavor, and a chocolate cookie crust, topped with cocoa powder.
Ingredients
- 1 1/2 cups chocolate cookie crumbs
- 1/4 cup granulated sugar
- 6 tablespoons unsalted butter, melted
- 16 ounces cream cheese, softened
- 8 ounces mascarpone cheese, softened
- 1 cup powdered sugar
- 1 teaspoon vanilla extract
- 1/2 cup strong brewed espresso, cooled
- 2 tablespoons coffee liqueur (optional)
- 1 cup heavy whipping cream
- 1/4 cup cocoa powder, for dusting
Instructions
- Combine chocolate cookie crumbs, 1/4 cup granulated sugar, and melted butter in a bowl. Press the mixture firmly into the bottom of a 9-inch springform pan. Chill the crust for 20 minutes.
- In a large bowl, beat the softened cream cheese and mascarpone cheese until smooth.
- Gradually beat in the powdered sugar and vanilla extract until fully combined.
- In a separate bowl, whip the heavy whipping cream until stiff peaks form. Gently fold the whipped cream into the cream cheese mixture.
- Mix the cooled espresso and coffee liqueur (if using) together. Gently fold half of the espresso mixture into the cheesecake filling until just combined.
- Pour the filling over the chilled crust and smooth the top. Drizzle the remaining espresso mixture lightly over the top layer. Swirl gently with a knife if desired.
- Cover the pan loosely with plastic wrap and refrigerate for at least 6 hours, or preferably overnight, until firm.
- Before serving, carefully remove the springform ring and dust the top generously with cocoa powder.
Notes
- Use high-quality, strong espresso for the best coffee flavor.
- If you do not use coffee liqueur, add 1 teaspoon of instant espresso powder to the liquid espresso.
- For a firmer texture, you can add 1 teaspoon of unflavored gelatin dissolved in 2 tablespoons of hot water to the cream cheese mixture before folding in the whipped cream.
- Prep Time: 25 min
- Cook Time: 0 min
- Category: Dessert
- Method: No Bake
- Cuisine: Italian Inspired
Nutrition
- Serving Size: 1 slice
- Calories: 450
- Sugar: 35g
- Sodium: 250mg
- Fat: 32g
- Saturated Fat: 18g
- Unsaturated Fat: 14g
- Trans Fat: 0.5g
- Carbohydrates: 38g
- Fiber: 2g
- Protein: 7g
- Cholesterol: 95mg