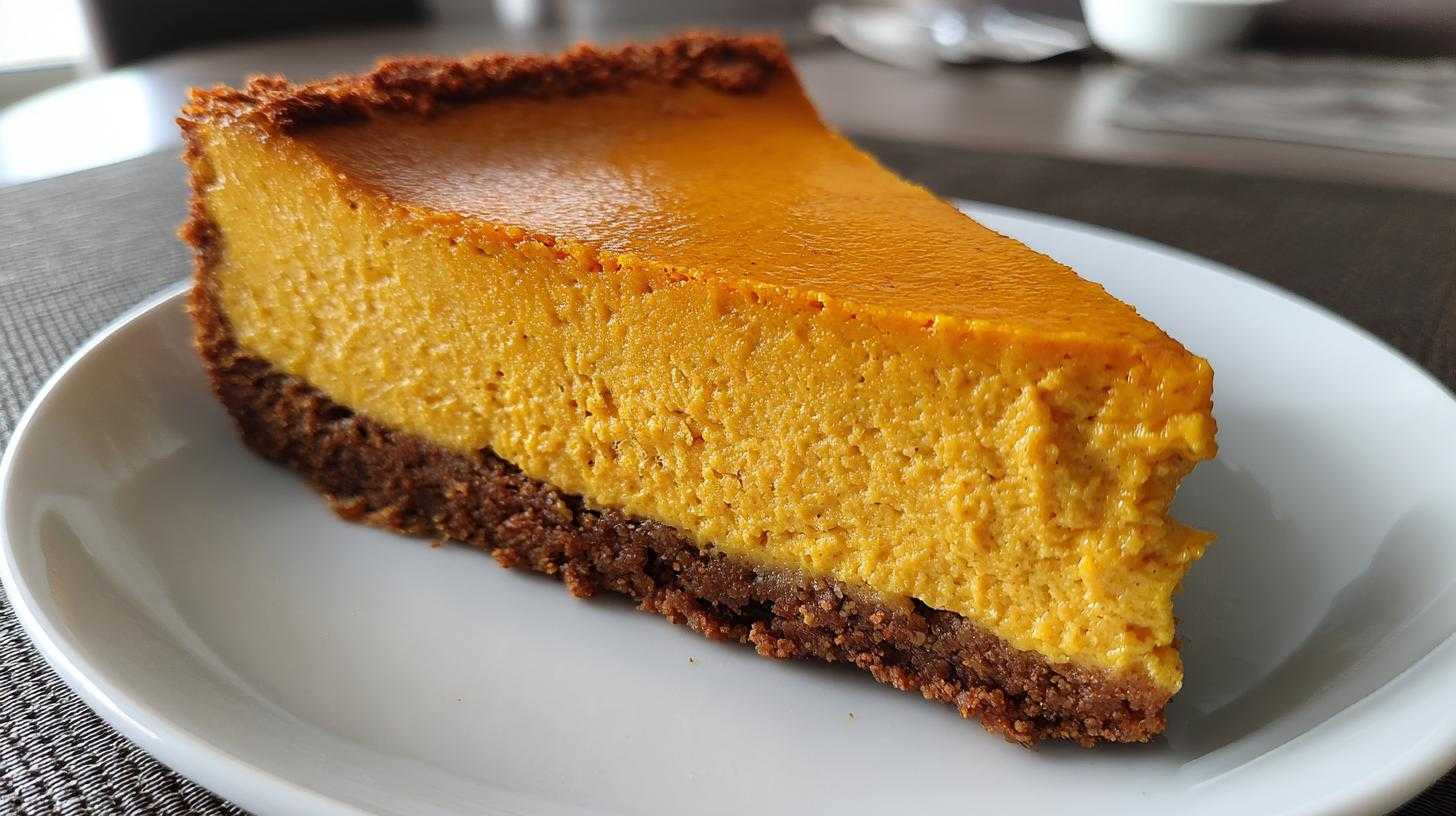
A Cozy Introduction to Baked Creamy Pumpkin Cheesecake
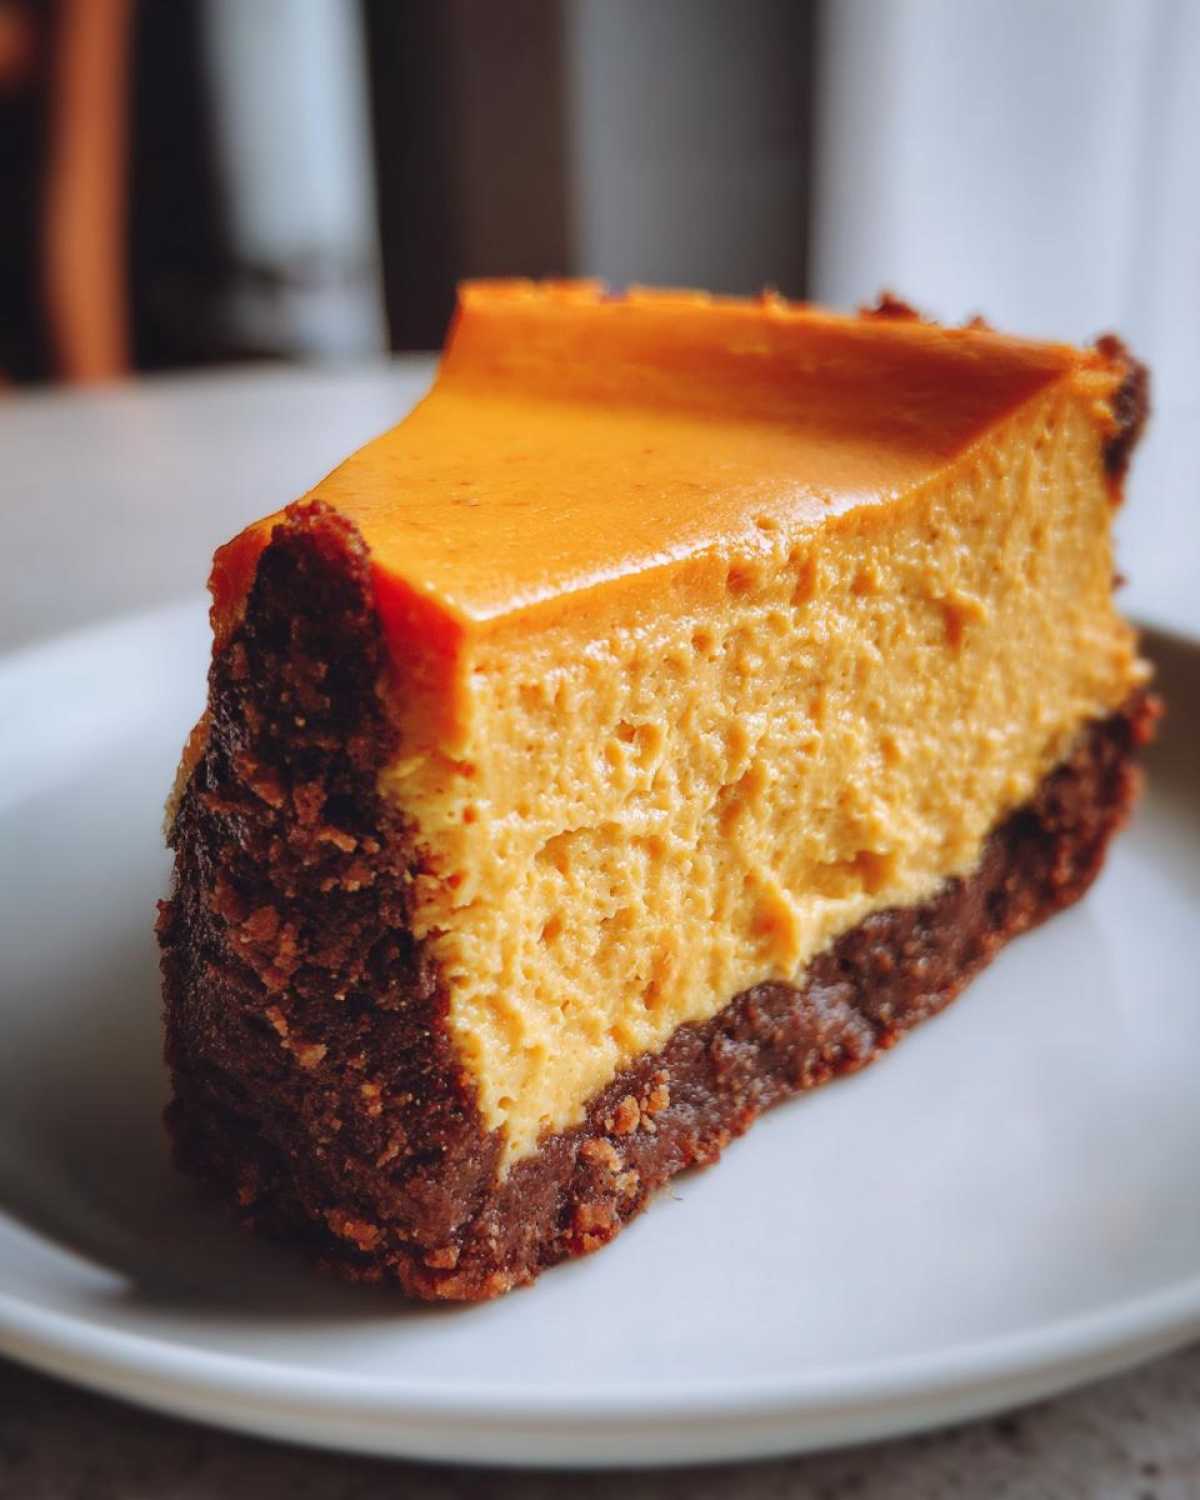
Fall is here, bringing that crisp air. I just love that feeling. We always make a special dessert. Today, I’m sharing our favorite baked pumpkin cheesecake. This recipe boasts a spiced gingersnap crust. It’s truly special. Liam used to bake everything perfectly. His kitchen felt too serious sometimes. I came in like a whirlwind. I reminded him to cook with heart. This creamy pumpkin cheesecake shows our perfect blend. It’s technical art meets pure joy. Get ready for the best fall treat!
Our Story: Turning Technical Precision into Joyful Pumpkin Cheesecake
When I first met Liam, his skills were amazing. He measured everything exactly right. His baking was flawless, yes. But it lacked that little spark. It needed some soul, you know?
I, Sara, am much messier. I bake with feeling, not just rules. I think food should tell a happy story. This recipe is proof of that. Liam perfected the creamy texture. I insisted on that gingersnap crust. It’s our collaboration on a plate. We made this dessert together. It captures our whole kitchen philosophy. It’s about that sweet spot. Find the balance between craft and fun. That’s our secret sauce.
What Makes This Pumpkin Cheesecake Special
This dessert feels like a warm hug. It’s perfect for any autumn gathering. We think it’s the best holiday centerpiece. It combines rich flavor with a comforting spice blend. It’s far beyond your average store-bought treat.
Why You’ll Love This Creamy Pumpkin Cheesecake
- The texture is unbelievably smooth and creamy.
- That gingersnap crust adds a wonderful spiced snap.
- The slow bake method keeps cracks away nicely.
- It tastes exactly like a cozy Thanksgiving evening.
Gathering Ingredients for Your Pumpkin Cheesecake
Gathering supplies is the first fun step. Getting ready makes baking easier later. We separate our list clearly. You need ingredients for the crust first. Then we prep the rich filling. This amazing pumpkin cheesecake needs quality items.
Spiced Gingersnap Crust Components
- 1 1/2 cups gingersnap cookie crumbs
- 6 tablespoons unsalted butter, melted
- 1/4 cup granulated sugar (for crust)
The Creamy Pumpkin Cheesecake Filling
- 3 (8 ounce) packages cream cheese, softened
- 1 (15 ounce) can pure pumpkin puree
- 3 large eggs
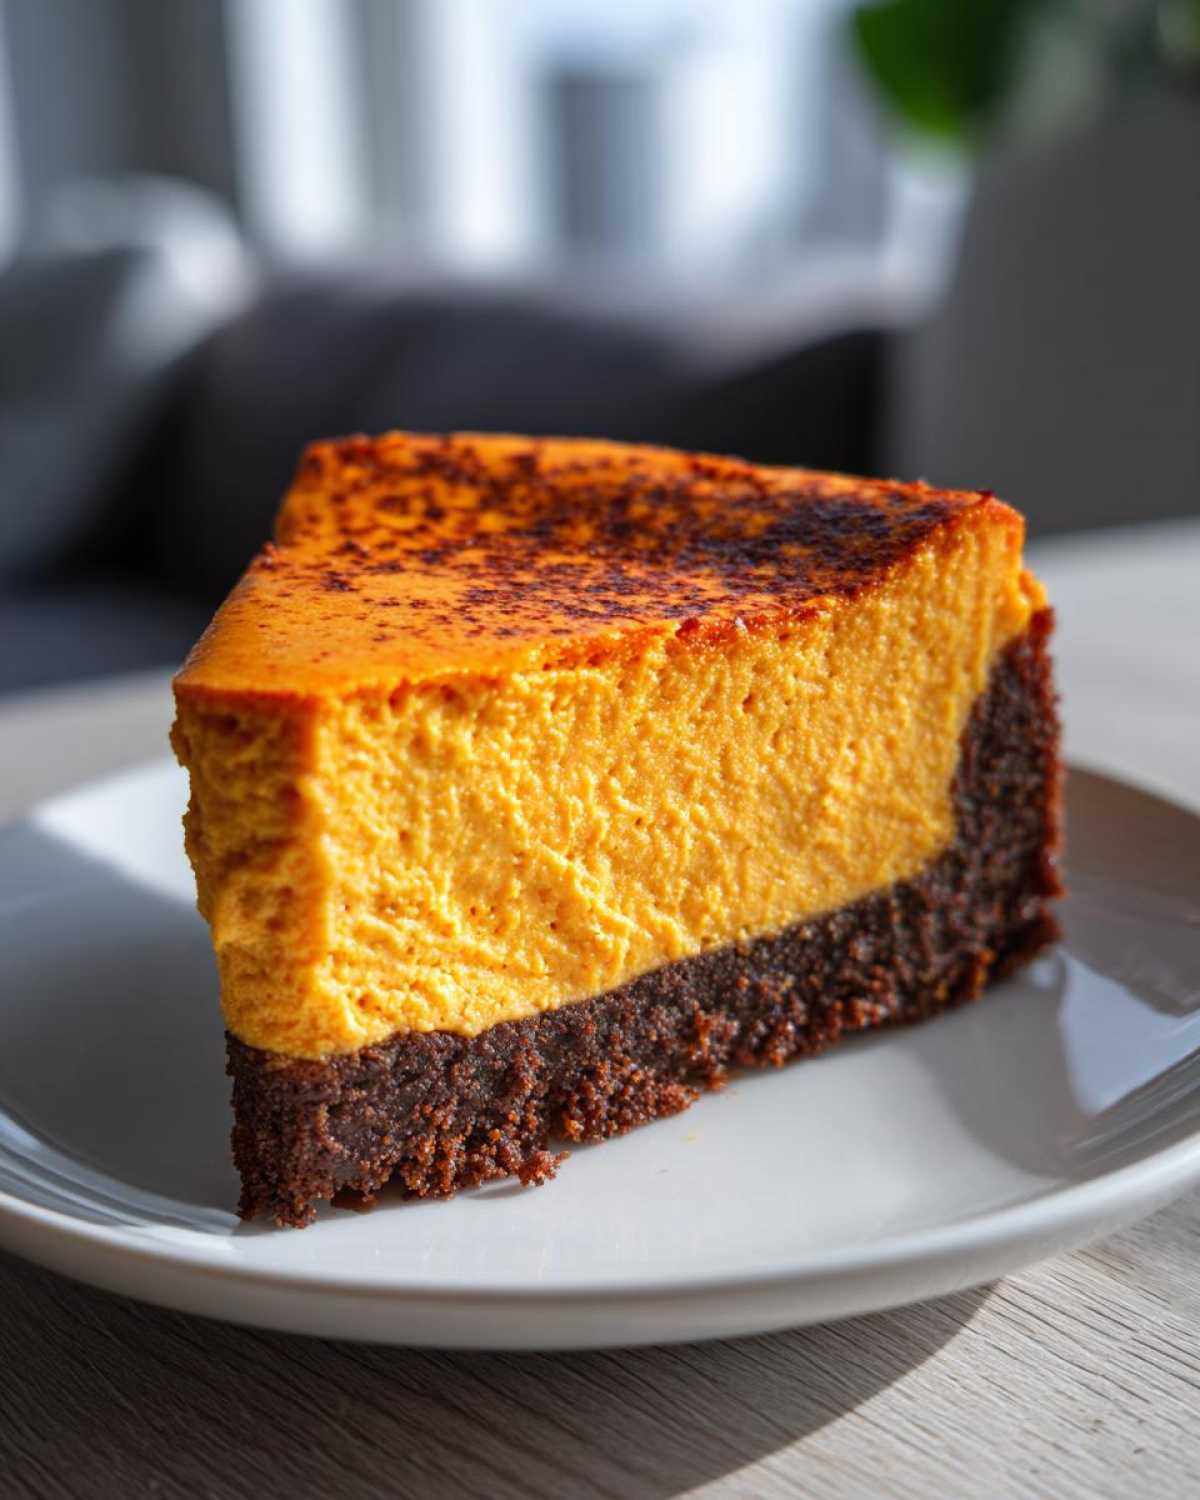
Essential Equipment for Perfect Pumpkin Cheesecake
Okay, let’s talk tools. Having the right gear matters here. Liam insists on precision. I just want things to work easily. For this baked beauty, a few items are non-negotiable. Don’t skip prepping your pan correctly. That foil wrapping is your shield against water leaks. Trust me on this part. A good mixer makes the filling smooth.
Tools for Success
- A 9-inch springform pan is a must-have item.
- Use heavy-duty aluminum foil for wrapping the pan base.
- An electric mixer beats the cream cheese perfectly smooth.
- You also need a large roasting pan for the water bath.
- Make sure you have parchment paper on hand, too.
Step-by-Step Instructions for Your Pumpkin Cheesecake
Now for the fun part, friends. This is where we turn ingredients into magic. Follow these steps closely. Liam demands precision here. I promise, the results are worth the effort. We are making a beautiful baked pumpkin cheesecake today.
Preparing the Gingersnap Crust for This Pumpkin Cheesecake
First thing, crank that oven to 350 degrees F. Wrap your springform pan bottom tightly. Use heavy-duty foil, please. Mix your crumbs and sugar well. Pour in that melted butter slowly. Press the mix firmly into the pan base. Bake this crust for eight minutes exactly. Then pull it out to cool a bit. Lower the oven heat to 325 degrees F next.
Mixing the Creamy Filling Components
Get your cream cheese super soft first. Beat it until it looks like silk. Then slowly add the main sugar amount. After that, mix in all the spices. Stir in the pumpkin puree gently. Now for the eggs. Add them one by one only. Mix just until they disappear. Stop mixing right there. Overmixing causes cracks later on.
Baking the Pumpkin Cheesecake with a Water Bath
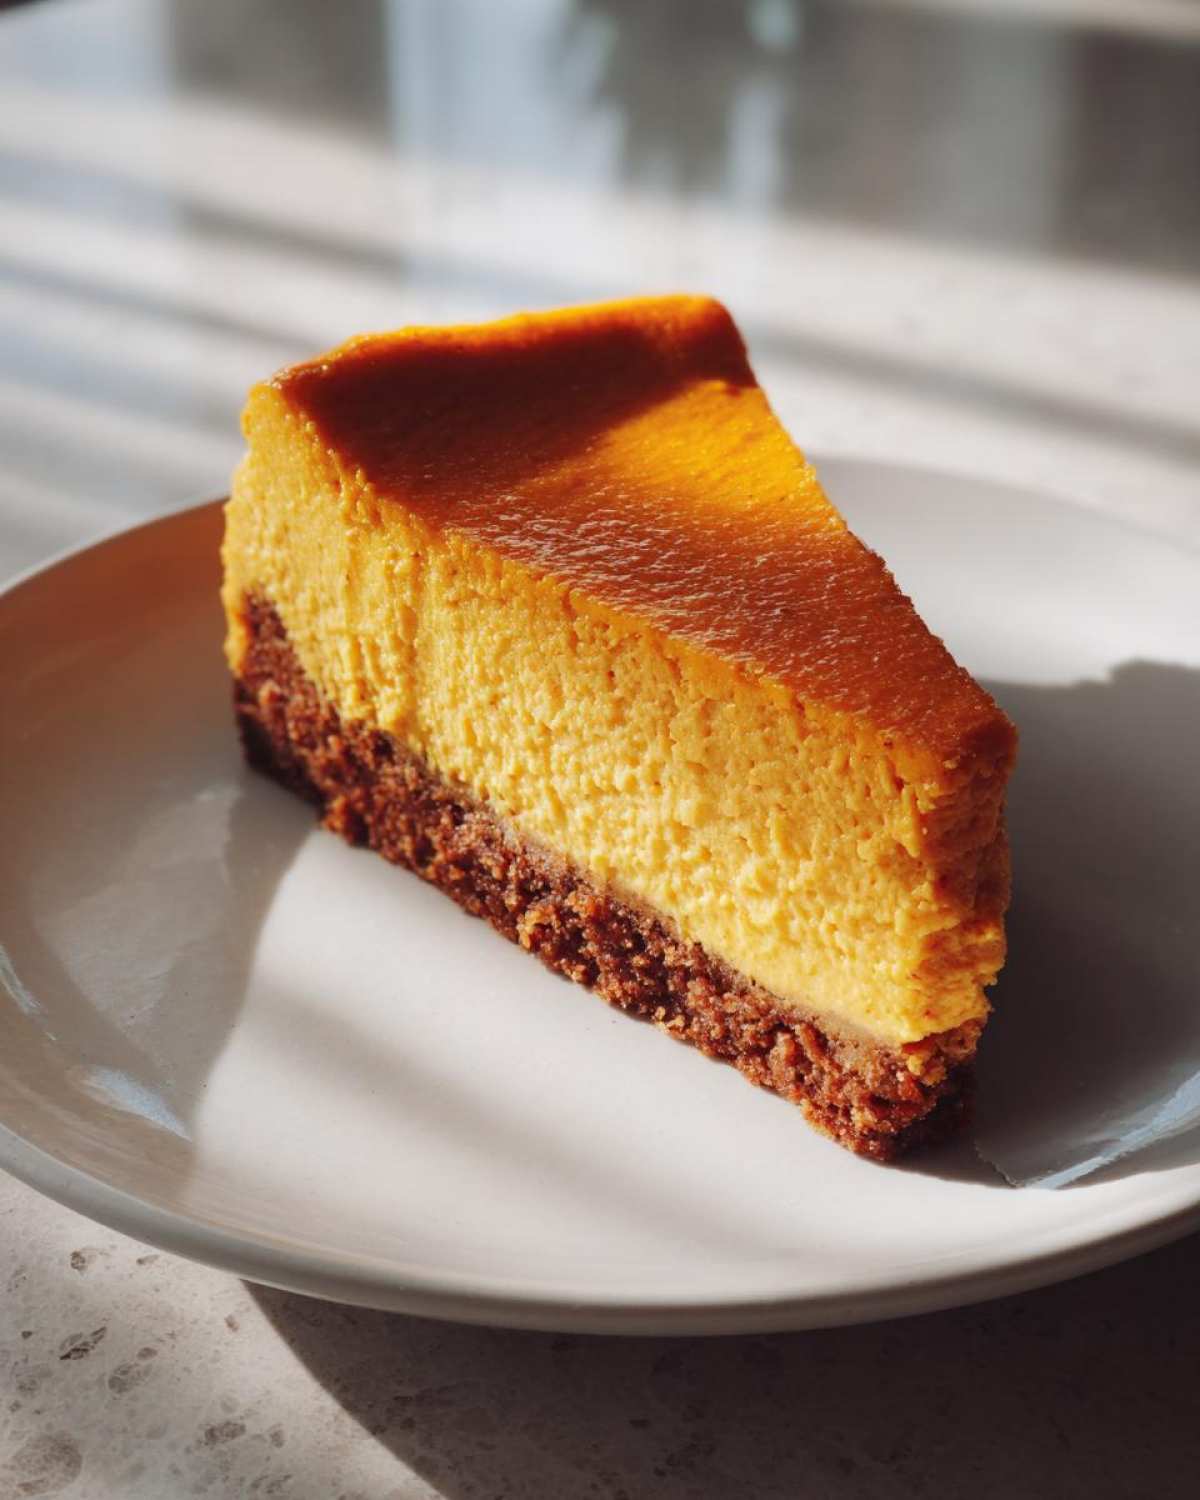
Pour the filling onto your cooled crust base. Now set up the water bath, that’s key. Place the pan inside a bigger roasting pan. Pour hot water in gently. The water should hit halfway up the sides. Bake for fifty-five to sixty-five minutes. The edges look set. The center should still wobble a little bit.
Cooling and Chilling Your Pumpkin Cheesecake
This slow cooling prevents disaster. Turn the oven off completely. Prop the door open just a tiny bit. Let it sit in there for one full hour. Take it out after that hour ends. Cool it fully on a wire rack next. Then comes the waiting game. Chill it for six hours minimum. Overnight is always the best choice for texture.
Tips for Mastering Your Baked Pumpkin Cheesecake
Baking this treat needs a little TLC. Liam learned this the hard way initially. He used to get sad about tiny cracks. I reminded him it still tastes great! But why not aim for perfection, right? Follow these simple tips.
Sara’s Trick for a Crack-Free Pumpkin Cheesecake
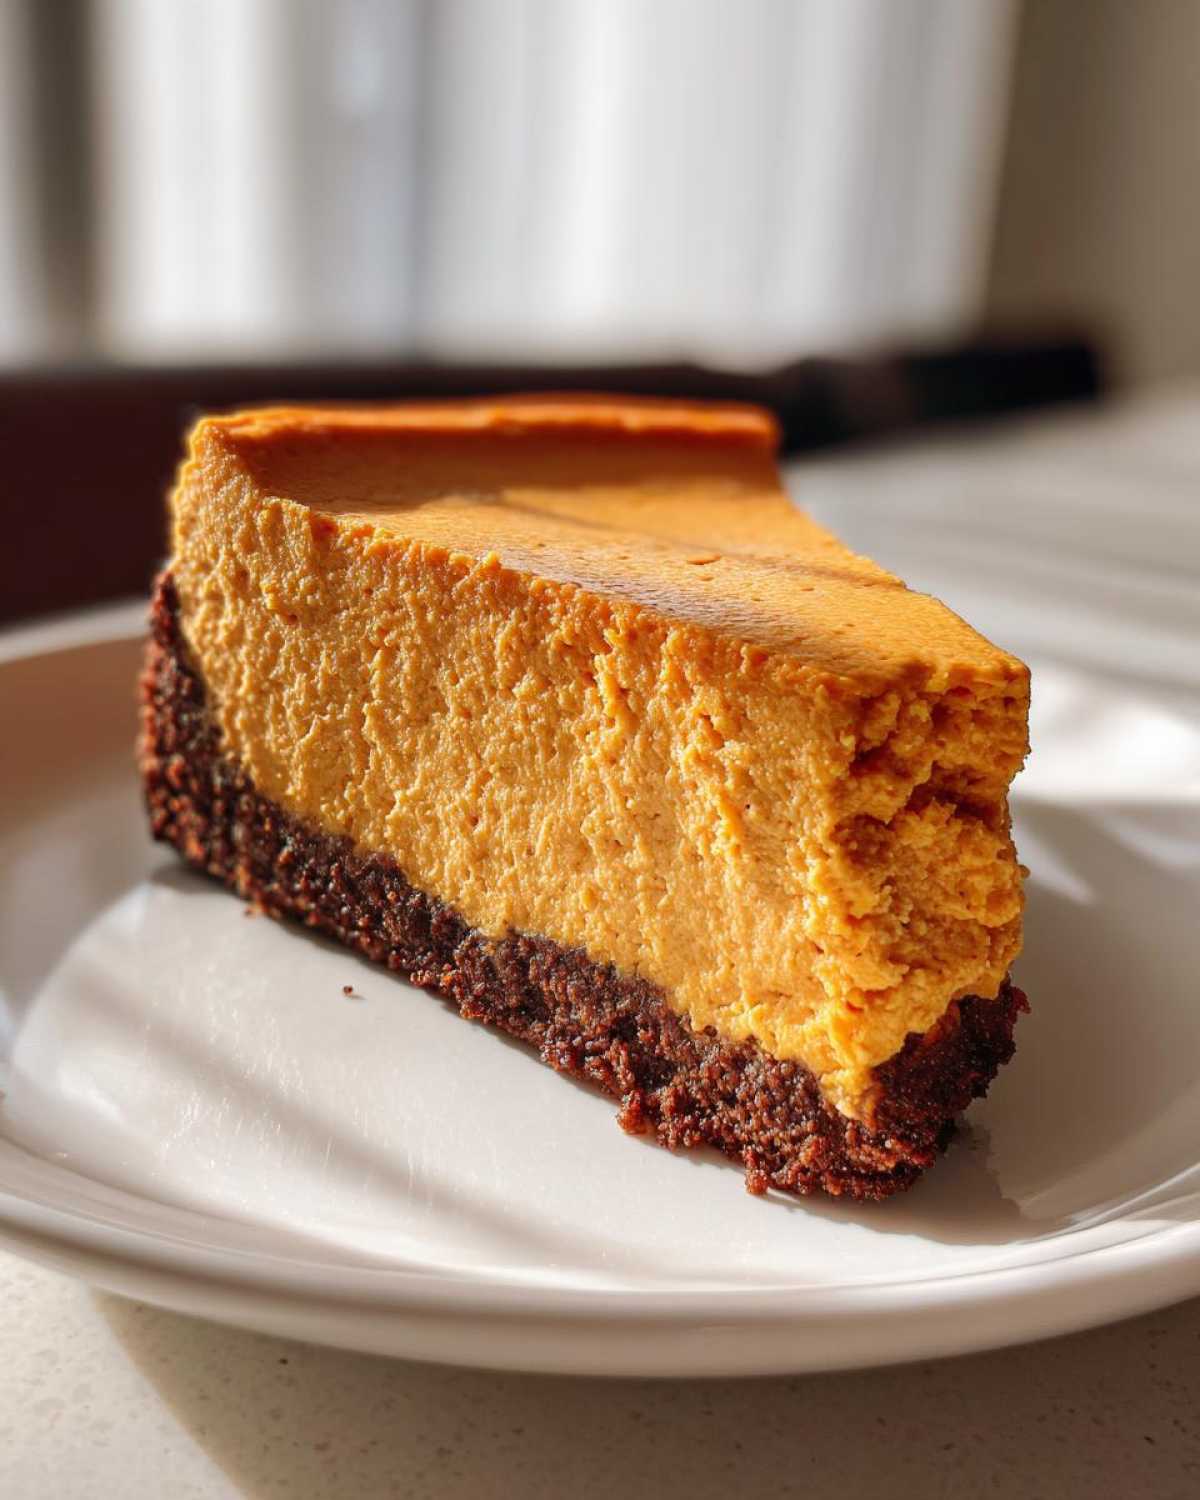
My biggest secret is moisture control. The water bath is non-negotiable for me. It keeps the oven humid inside. This stops the edges from drying out too fast. Slow cooling also avoids temperature shock. That shock is what causes those awful fissures.
Ingredient Temperature and Mixing Tips
Your cream cheese must be totally soft. Cold cheese equals lumpy filling, period. Beat it first until it’s totally smooth. When adding eggs, go slow. Mix them in one at a time. Stop the moment you see them vanish. We want creamy pumpkin cheesecake, not airy foam!
Frequently Asked Questions About Pumpkin Cheesecake
I know you might have questions popping up. Baking can feel tricky sometimes. We gathered a few common queries here. Let’s talk about variations and leftovers.
Can I Make a No-Bake Pumpkin Cheesecake Instead
Yes, you absolutely can try a no-bake version. That style is faster, for sure. However, the texture is much different. Baked pumpkin cheesecake is dense and rich. No-bake versions are lighter and fluffier. They rely on gelatin or chilling power.
How Long Does Pumpkin Cheesecake Last
This baked treat lasts well. Store leftovers covered tightly. Keep it in the refrigerator always. It stays good for four to five days. That’s plenty of time to enjoy slices!
What is the Best Way to Slice This Pumpkin Cheesecake
Slicing requires a little trick. Get a tall glass of hot water ready. Dip your sharp knife in the hot water. Wipe the blade clean quickly. Then slice your piece cleanly. Repeat this for every cut. This gives you beautiful servings.
Serving Suggestions for Your Delicious Pumpkin Cheesecake
Once your masterpiece is chilled, it’s time to dress it up! Presentation matters, even at home. A beautiful slice just tastes better, doesn’t it? This creamy dessert shines on its own. But toppings add that final flourish.
Simple Toppings and Pairings
- Lightly sweetened whipped cream is perfect.
- A sprinkle of extra cinnamon looks nice.
- Serve slices alongside a strong black coffee.
- A drizzle of salted caramel is decadent.
Understanding the Nutrition in Your Pumpkin Cheesecake
We love to eat joyfully here. But sometimes we wonder about the facts. Knowing what’s in your food helps everyone. This section offers typical nutrition info. Remember these numbers are estimates only. They are based on one standard slice size.
This rich dessert is a holiday treat. It’s not an everyday snack, clearly. Liam calculated these values for us. We want you to enjoy this without worry. It’s about balance in the kitchen and life.
Here are the estimated values for this baked pumpkin cheesecake:
- Serving Size: 1 slice
- Calories: 420
- Fat: 26g
- Carbohydrates: 42g
- Protein: 7g
- Sugar: 35g
Enjoying a decadent slice is part of the fun. Don’t stress the details too much. Just savor the spiced, creamy flavor. That’s the real reward here.
Share Your Child Recipe Pumpkin Cheesecake Experience
We poured our hearts into this recipe. Now it’s your turn to play! Did you make this amazing pumpkin cheesecake? If you enjoy seasonal baking, check out our recipe for secret ingredient gingerbread pancakes.
We want to see your kitchen creations. Did you try the gingersnap base? Tell us how it tasted. Share your photos with us online. Use our special hashtag, please.
Leaving a rating helps other bakers too. Five stars tells us you loved it. Tell us one thing you improvised. We love hearing your stories. That’s the whole point of Child Recipe. For more holiday dessert inspiration, see our guide on making a Yule Log Cake (Buche de Noel).
Don’t let your baking stay quiet. Let your inner child come out and play. Make something joyful today. We can’t wait to see your results! For a different kind of holiday treat, you might enjoy our recipe for Holiday Jello Poke Cake.
Print
Amazing 55-Minute Creamy Pumpkin Cheesecake
- Total Time: 7 hours 30 minutes (includes chilling)
- Yield: 10 servings 1x
- Diet: Vegetarian
Description
This Baked Creamy Pumpkin Cheesecake, featuring a spiced gingersnap crust, connects perfectly with the cozy feeling of fall. Liam crafts this dessert with technical precision, while I, Sara, remind him to cook with joy. Make this creamy treat for your next gathering and rediscover the fun in baking.
Ingredients
- 1 1/2 cups gingersnap cookie crumbs
- 1/4 cup granulated sugar (for crust)
- 6 tablespoons unsalted butter, melted
- 3 (8 ounce) packages cream cheese, softened
- 1 1/2 cups granulated sugar (for filling)
- 1 (15 ounce) can pure pumpkin puree
- 1 teaspoon vanilla extract
- 1 teaspoon ground cinnamon
- 1/2 teaspoon ground ginger
- 1/4 teaspoon ground nutmeg
- 1/4 teaspoon salt
- 3 large eggs
Instructions
- Preheat your oven to 350 degrees F (175 degrees C). Wrap the bottom of a 9-inch springform pan tightly with heavy-duty aluminum foil.
- Combine gingersnap crumbs and 1/4 cup sugar in a medium bowl. Pour in melted butter and mix until the crumbs are evenly moistened. Press the mixture firmly into the bottom of the prepared springform pan.
- Bake the crust for 8 minutes. Remove from the oven and let it cool slightly. Reduce the oven temperature to 325 degrees F (160 degrees C).
- In a large bowl, beat the softened cream cheese with an electric mixer until smooth. Gradually beat in the 1 1/2 cups sugar until fully blended.
- Mix in the pumpkin puree, vanilla extract, cinnamon, ginger, nutmeg, and salt until just combined. Do not overmix.
- Beat in the eggs one at a time, mixing only until each egg is incorporated. Pour the filling over the cooled crust.
- Place the springform pan into a larger roasting pan. Carefully pour hot water into the roasting pan until the water reaches halfway up the sides of the springform pan. This creates a water bath.
- Bake for 55 to 65 minutes, or until the edges are set but the center still jiggles slightly when nudged.
- Turn off the oven, prop the door open slightly, and let the cheesecake cool in the oven for 1 hour. This prevents cracking.
- Remove the cheesecake from the water bath and foil. Cool completely on a wire rack. Chill in the refrigerator for at least 6 hours, or preferably overnight, before serving.
Notes
- Using a water bath is Sara’s trick to keep Liam’s cheesecakes perfectly creamy and crack-free.
- If you prefer not to use a water bath, simply bake at 325 degrees F until set and cool slowly in the turned-off oven.
- For an extra flourish, top with lightly sweetened whipped cream just before serving.
- Prep Time: 25 minutes
- Cook Time: 65 minutes
- Category: Dessert
- Method: Baked
- Cuisine: American
Nutrition
- Serving Size: 1 slice
- Calories: 420
- Sugar: 35g
- Sodium: 300mg
- Fat: 26g
- Saturated Fat: 16g
- Unsaturated Fat: 10g
- Trans Fat: 0.5g
- Carbohydrates: 42g
- Fiber: 1g
- Protein: 7g
- Cholesterol: 120mg