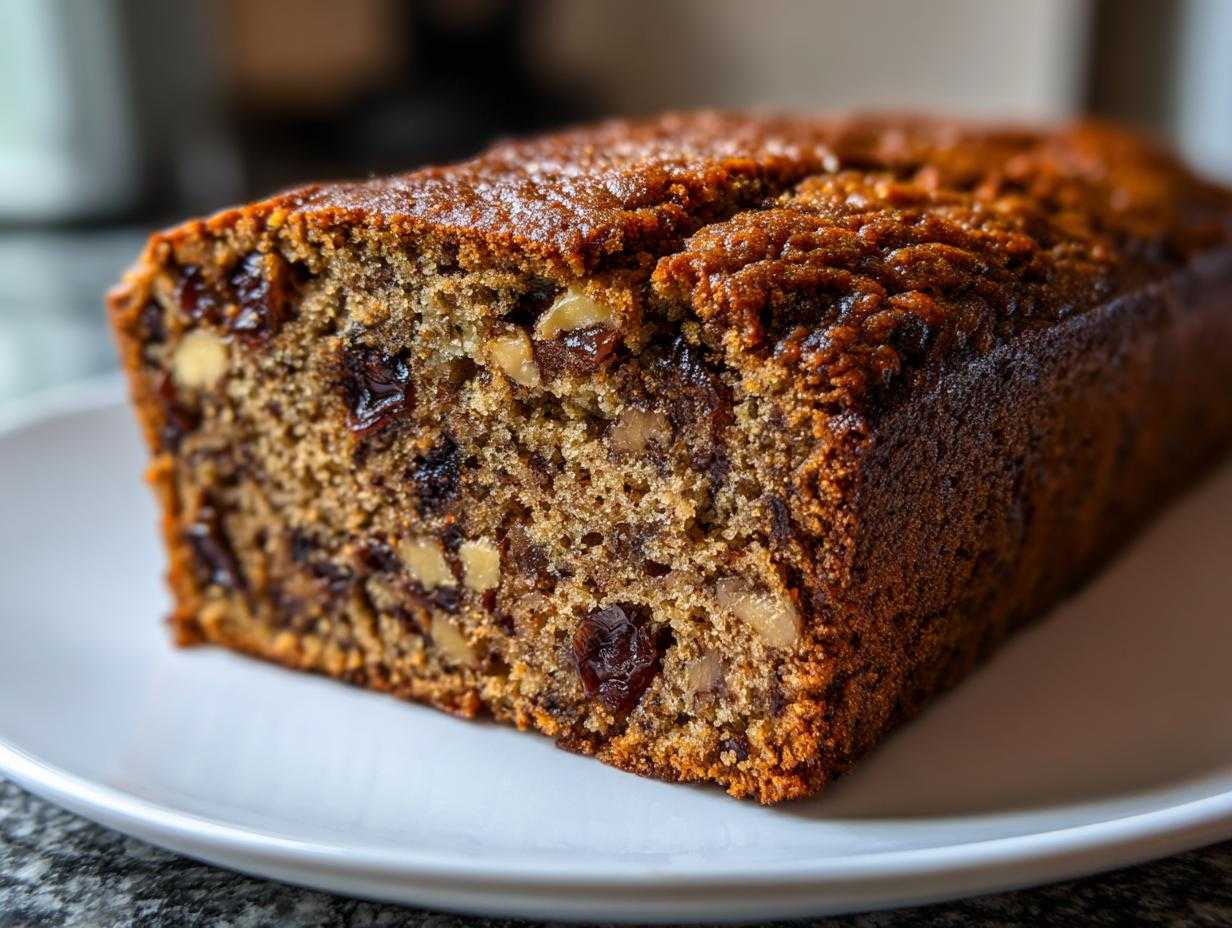
Oh, nothing beats the feeling of pulling a perfectly golden loaf out of the oven, right? When I think of comfort food baking, my mind always goes straight to something dense, spiced, and wonderfully sticky. For years, I searched for the recipe that delivered the perfect date nut bread—one that was guaranteed not to turn out dry! That quest finally ended when Liam applied his precise touch to this classic recipe, resulting in our Old-Fashioned, Ultra-Moist Date Nut Bread Recipe. I’m Sara Tek, and here at Child Recipe, we believe baking should be joyful chaos, and this recipe? It’s reliable, soulful, and absolutely foolproof. It’s the script for a happy kitchen moment! You can read a little more about our whole story over at our about page.
Why This Old-Fashioned Date Nut Bread Recipe is Your New Favorite (Easy Quick Bread Baking)
Look, if you need a reliable recipe that just *works* every time, this is it. This isn’t some fussy cake that falls apart if you look at it funny. This is proper, honest Easy Quick Bread Baking perfection. We love it because it feels deeply nostalgic—a true Classic Loaf Cake moment—but it’s so simple to mix up! That amazing, unbelievable moisture? That actually comes from Liam’s little technical obsession: making sure the butter and sugar get creamed until they are perfectly light and fluffy. It sets the stage for success before we even add the dates.
If you’re looking for more straightforward baking that feels soulful, you should check out some of our other simple baking recipes. They all promise that same reliable outcome!
Quick Facts for Your Best Date Nut Bread Recipe
I always have these details handy because baking is always better when you’re prepared. It’s all about eliminating surprises!
- Prep Time: 15 min
- Cook Time: 60 min
- Yield: 1 loaf (about 10 servings)
Gathering Ingredients for Your Moist Date Nut Bread Recipe
Alright, let’s talk ingredients for this Moist Date Nut Bread Recipe! For amazing flavor and texture, you want to be precise here. Liam always insists we chop the dates right before we use them, and the butter must be softened just right—not greasy, just yielding. When you gather everything, trust me, that extra five minutes of prep pays off tenfold in the final loaf. It’s this attention to detail that keeps everything from turning dry!
Ingredient Notes and Substitutions for Homemade Date Bread
Since we want this to be a truly Wholesome Snack Bread sometimes, I have a few tricks! If you can swing it, use Medjool dates; they are softer and have a richer flavor than the standard ones. Also, if you want to make it a little more robust, you can swap out half the all-purpose flour for whole wheat flour—just don’t go over half, or it gets a little dense for my taste!
- 1 cup boiling water (must be boiling!)
- 1 cup packed pitted dates, chopped
- 1 teaspoon baking soda
- 1/2 cup (1 stick) unsalted butter, softened
- 1 cup granulated sugar
- 2 large eggs, lightly beaten
- 1 teaspoon vanilla extract
- 1 3/4 cups all-purpose flour
- 1 teaspoon baking powder
- 1/2 teaspoon salt
- 1 cup chopped walnuts (or pecans, if you prefer!)
Step-by-Step Instructions for Perfect Old Fashioned Quick Bread
Okay, now for the performance! This is where Liam’s technical skills really shine, but honestly, you can nail it too. First thing: preheat that oven to 350 degrees F and make sure you grease and flour your 9×5 inch loaf pan. No funny business; we want things releasing cleanly later!
Here is the essential first dance for our date nut bread: Take those chopped dates and pour that full cup of boiling water right over them—stir in the baking soda immediately, too. Let that sit for a full 10 minutes. This soak is non-negotiable; it activates the dates and the soda, which is key to the final texture. While that sits, go ahead and cream your butter and sugar until it’s light and fluffy. I swear, this creaming step for our Old Fashioned Quick Bread makes all the difference in preventing a dense result.
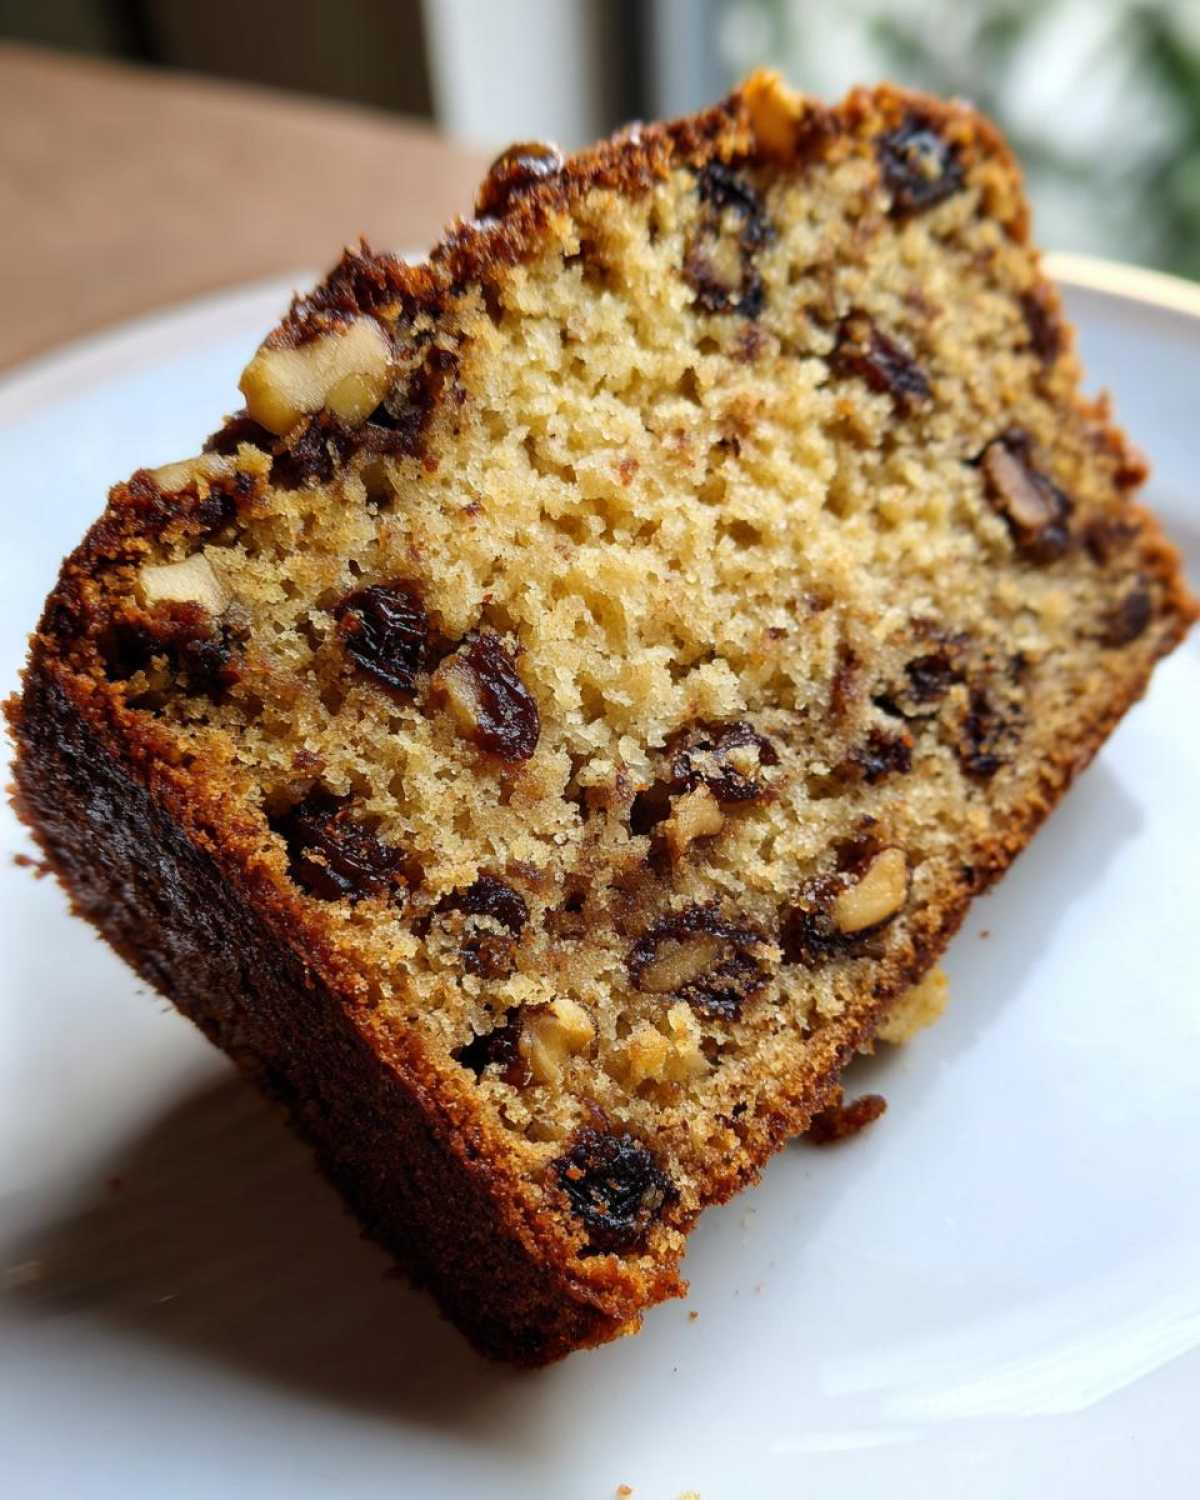
Next, beat in those eggs one by one, followed by the vanilla. In a separate bowl, whisk your dry stuff (flour, baking powder, salt) together. Now, add the dry mixture to the wet stuff gradually, listening to the quiet voice that says, “Don’t overmix!” Just mix until you can still see a streak or two of flour remaining. Then, gently fold in that soupy date mixture and all those walnuts like they are delicate little treasures. Pour it into the pan evenly.
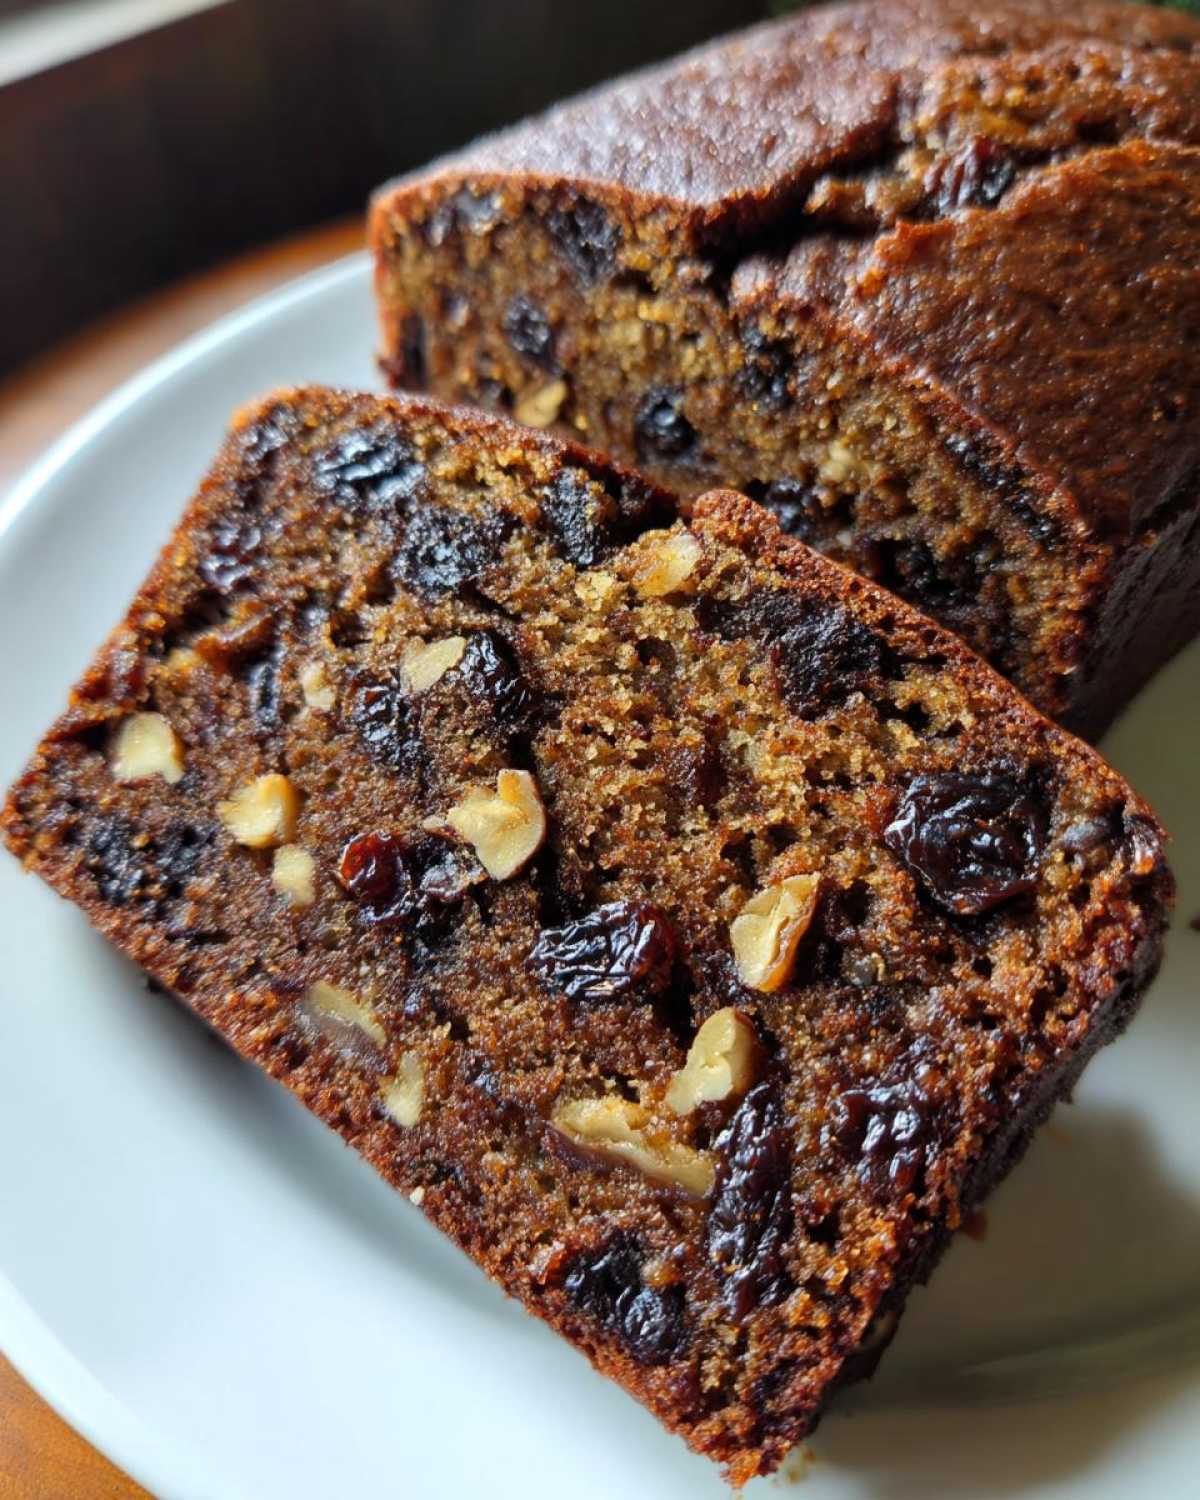
Bake it for about 50 to 60 minutes. If you notice the top is getting super dark before the middle is done—and this happens often on warm days—just grab a sheet of aluminum foil (call it a little oven umbrella!) and tent it over the top. Then, after 10 minutes cooling in the pan, slide it out onto the rack. You can see a similar method over at The Baking Chocolatess if you want a visual guide!
Pro Tips for the Best Date Nut Loaf Outcome
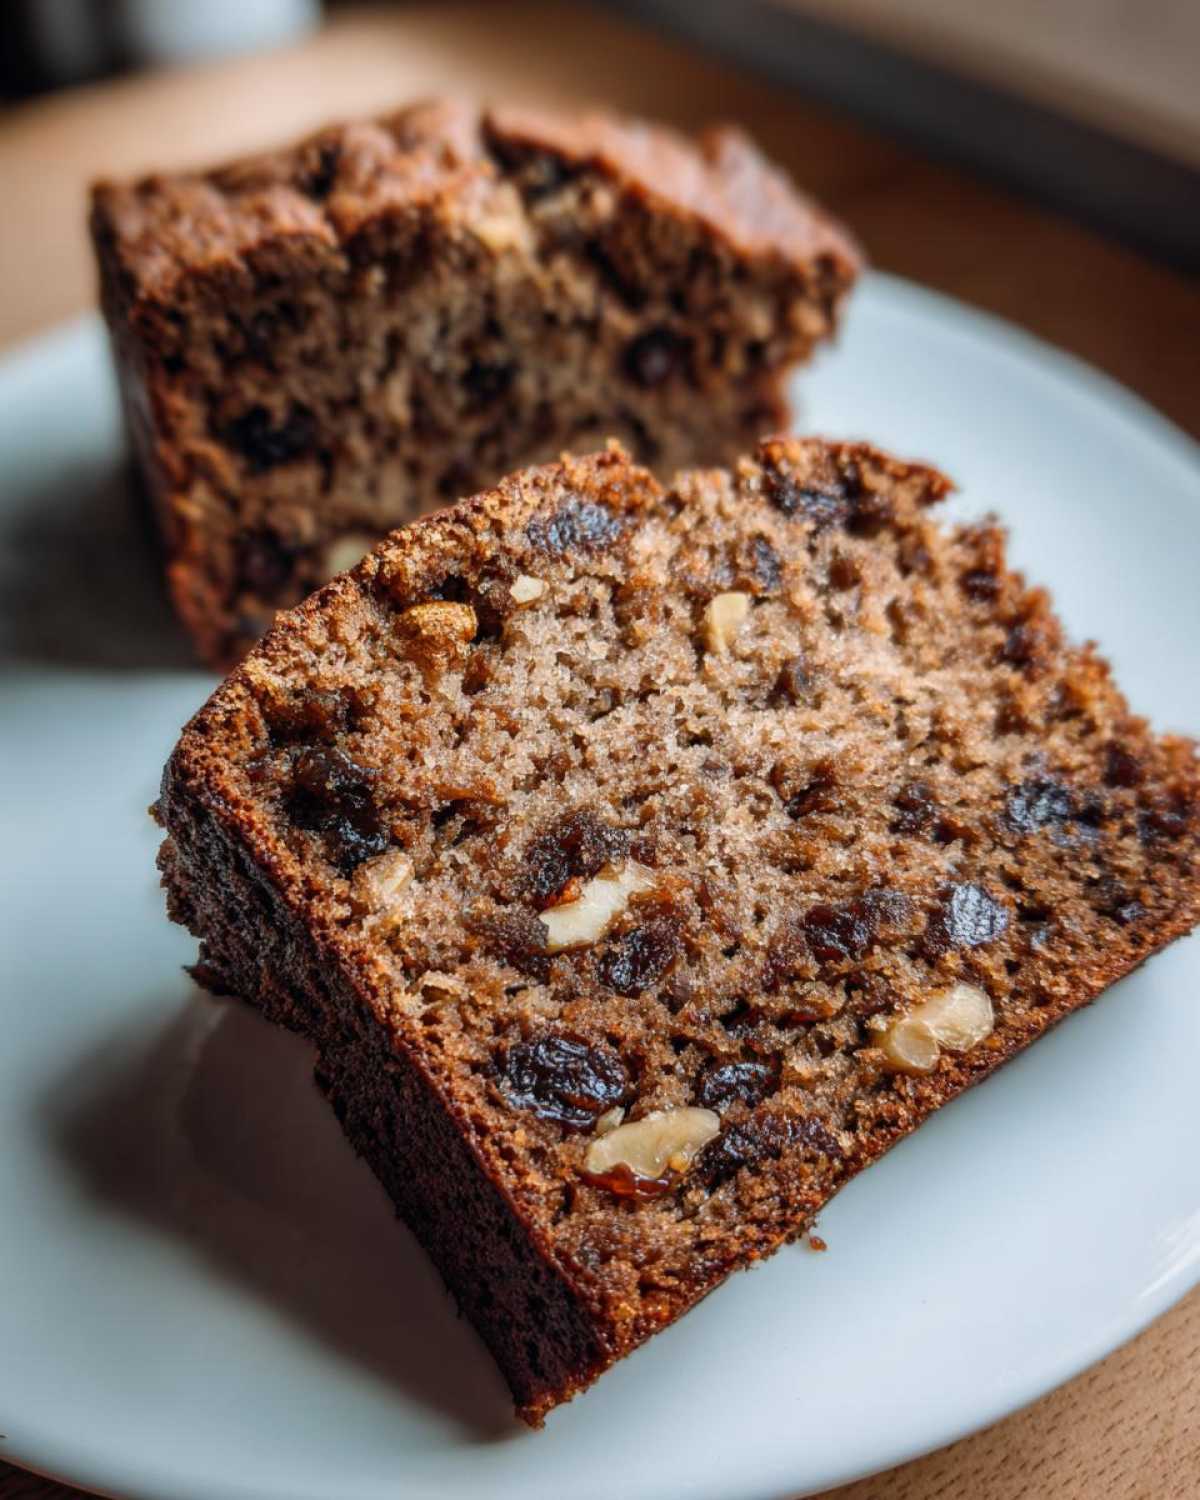
I mentioned tenting, but here’s another thing I learned watching Liam stress over perfectly baked goods: always test the center! A wooden skewer or thin knife should slide in and come out with just a few moist crumbs clinging to it. If it’s completely clean, it might be drying out already! And when you take it out, don’t rush it. Letting it settle in the pan for those 10 minutes helps it firm up perfectly so you get that beautiful, clean slice from your date nut loaf.
If you’ve ever had trouble with fudgy recipes sticking, check out our guide on beating sticking with fudgy date brownies—that tip about the pan release works wonders here too!
Serving Suggestions for Your Classic Date Nut Bread
Oh, you absolutely *must* try slicing this warm! It’s the ultimate way to appreciate this Classic Loaf Cake. When it’s still steamy, a simple spread of good, salted butter melts right into those nooks and crannies, and honestly, I just stand by the cooling rack making a mess of my fingers.

If you’re feeling fancy, a smear of cream cheese is divine—it balances the deep sweetness of the dates so well. For me, though, it’s the butter or maybe a drizzle of honey. If you want another amazing, sticky, warm treat to serve alongside it, you have to try Liam’s recipe for his best soft and gooey cinnamon buns; they are perfect brunch companions!
Making Variations of Date Nut Bread: Beyond the Classic Loaf Cake
While this standard date nut bread is my absolute favorite baseline recipe—it’s just so comforting and reliable—I know you folks love to tinker! We get so many questions about adding extra flavor or fruits, and honestly, I love seeing what you come up with in the comments. If you’re looking to shake things up, I highly recommend diving into the wonderful world of a Banana Date Nut Bread Variation. Adding that mashed banana really amps up the moisture, transforming it almost into a tropical treat!
Another real winner, especially as the weather cools down, is leaning into the spices to create a more heavily Spiced Date Bread. We use a dedicated post about our gingerbread variation which shares the spices you might want to bump up if you prefer that deeper warmth. You can even check out ideas for a banana version over at Wake Up & Kale—it looks absolutely divine!
Storage and Make Ahead Bread Tips for Date Nut Bread
One of the best things about this recipe is that it’s an amazing make ahead bread! Unlike some quick breads that go stale overnight, this one just seems to get better as the flavors meld. If you have leftovers—which I doubt you will, but humor me!—the storage is simple,
You can keep the loaf wrapped tightly in plastic wrap at room temperature for about three days. I usually just stick it in a large zip-top bag so it stays sealed up. If you happen to live somewhere super warm or humid, wrapping it and popping it in the fridge might be safer, though I always let a cold slice warm up a tiny bit before eating it.
Now, for the long haul: freezing! This absolutely freezes like a dream. Once the loaf is completely cool—and I mean bone dry on the outside—wrap it snugly in a layer of plastic wrap, and then give it another wrapping in foil or put it in a heavy-duty freezer bag. You can freeze it whole or already sliced, which is genius for grabbing just one piece for a quick snack later. It keeps beautifully for up to three months, ready whenever that craving hits!
Troubleshooting Common Issues with Date Nut Bread Baking
Even when following a perfect script like this one, sometimes the performance in the oven just doesn’t cooperate! Don’t panic if your loaf doesn’t look exactly like the picture right away. That’s why I stick around—to help you fix those little hiccups. We’ve all been there, staring sadly at a loaf that looks less like moist comfort and more like a delicious brick.
The most common problem I hear about with any quick bread is, of course, dryness. If your homemade date bread comes out a little crumbly, it usually means one of two things. First, did you overbake it? Seriously, an extra five minutes can turn perfect into parched when dealing with fruit bread. Always err on the side of slightly tacky center!
If it’s dense instead of fluffy—and remember, this is dense on purpose because it’s a classic loaf cake style, but not *too* dense—it usually points back to the creaming step. Did the butter and sugar get well aerated before the eggs went in? If that part was rushed, the structure can collapse slightly in the heat. Also, make sure you didn’t accidentally over-mix once you added the flour! That develops gluten, and gluten is the enemy of a tender sweet loaf recipe.
And hey, if your loaf seems way too liquidy when you pour it in, remember that wet date mixture is supposed to look a little soupy! Trust the process there. It absorbs everything beautifully while it bakes, creating the moisture we love. Just make sure you got that boiling water over the dates; that initial step is crucial for tenderness!
Frequently Asked Questions About This Date Nut Bread Recipe
I get so many wonderful questions when people dive into their first batch of this classic loaf! Here are a few things I hear a lot in the comments or DMs. If I missed your burning question, feel free to reach out via my contact page—I love hearing from you!
Can I make this without nuts?
Oh, absolutely! If you have nut allergies in the house, or someone just isn’t a fan, you can totally make a nut-free version. You’re left with a glorious Sweet Loaf Recipe that focuses completely on the dates. I usually just swap in an extra half-cup of those chopped dates, or sometimes I use sunflower seeds if I want that little bit of crunch back in my comfort food baking. Just make sure you still use the full amount of flour!
What is the best type of date to use for the best moisture?
This is where a little splurge makes a huge difference for that ultra-moist result! While any packed, pitted date works, I highly recommend using Medjool dates if you can find them. They are naturally softer and sweeter when you pour that boiling water over them. They create an almost caramelly base that makes this the Best Date Nut Loaf you’ll ever bake. If you use harder Deglet Noor dates, just chop them a little finer before you begin the soaking process!
Can I use honey instead of sugar for a naturally sweetened bread?
That’s a great question for those looking for a more naturally sweetened bread! You definitely can play around with liquid sweeteners. If you swap the sugar for honey, you need to remember that honey is liquid, so you have to reduce the amount of total liquid in the recipe slightly. I would suggest swapping the 1 cup of sugar for about 3/4 cup of honey, and then reducing the boiling water used for the dates down to 3/4 cup. It changes the texture slightly—it gets a little bit stickier—but it’s still delicious!
Is this considered a Holiday Fruit Bread?
It absolutely can be! While it’s delicious any day of the year as a wholesome snack bread, the combination of dates and walnuts just screams cozy holidays to me. It travels incredibly well, and the scent of the warm spices makes it feel instantly festive! Wrap it up nicely, and it makes a fantastic neighbor gift in December.
Estimated Nutrition for Your Homemade Date Bread
I know some of you are tracking things, or maybe you’re just curious about what’s in this glorious loaf, so here is a little rundown of the estimated nutrition facts for one slice of this homemade date bread. I always look at this list and think, “Wow, for a treat, that’s not too bad at all!”
Now, please remember that Liam and I are bakers, not dietitians, so these numbers are just based on general ingredient calculations! Think of them as a fun estimate, not a hard-and-fast rule for your health journey. For the full legal scoop, you can always peek at our disclaimer page.
Here’s what the math works out to:
- Serving Size: 1 slice
- Calories: 280
- Sugar: 28g (Those lovely dates sure add up!)
- Fat: 12g
- Protein: 5g
- Carbohydrates: 42g
It’s a pretty satisfying slice that easily counts as a great quick bread for breakfast or a nice little afternoon pick-me-up. Enjoy that slice warm with butter!
Share Your Date Nut Bread Creation!
Okay, the oven is off, the kitchen smells incredible, and you have this gorgeous, steamy loaf cooling on the rack. Now the best part of our whole process begins: the sharing! I absolutely live for hearing how your kitchen performance turned out. Did you use pecans instead of walnuts? Did you try making it ahead for a breakfast treat?
Seriously, don’t be shy! Come back here and tell me all about it. Rate this recipe right below if you loved how moist your date nut bread turned out. Your feedback helps other cooks feel confident trying it out, and I love seeing your successes. Snap a picture of your beautiful homemade date bread and tag us—I promise I’ll cheer you on! Let’s keep the joy and delicious discovery going!
Print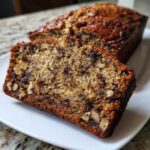
Old-Fashioned, Ultra-Moist Date Nut Bread Recipe
- Total Time: 75 min
- Yield: 1 loaf (about 10 servings) 1x
- Diet: Vegetarian
Description
Bake this classic, easy date nut bread for a comforting, moist loaf perfect for breakfast or snacking. This recipe delivers rich flavor every time.
Ingredients
- 1 cup boiling water
- 1 cup packed pitted dates, chopped
- 1 teaspoon baking soda
- 1/2 cup (1 stick) unsalted butter, softened
- 1 cup granulated sugar
- 2 large eggs, lightly beaten
- 1 teaspoon vanilla extract
- 1 3/4 cups all-purpose flour
- 1 teaspoon baking powder
- 1/2 teaspoon salt
- 1 cup chopped walnuts (or pecans)
Instructions
- Preheat your oven to 350 degrees F. Grease and flour a standard 9×5 inch loaf pan.
- Place the chopped dates in a small bowl. Pour 1 cup of boiling water over the dates and stir in the baking soda. Let this mixture sit for 10 minutes to soften the dates.
- In a large bowl, cream together the softened butter and sugar until the mixture is light and fluffy. This step helps create a moist texture.
- Beat in the eggs one at a time, mixing well after each addition. Stir in the vanilla extract.
- In a separate medium bowl, whisk together the flour, baking powder, and salt.
- Gradually add the dry ingredients to the wet ingredients, mixing just until combined. Do not overmix the batter.
- Stir in the softened date mixture (it will be liquidy) and the chopped walnuts until they are evenly distributed throughout the batter.
- Pour the batter into your prepared loaf pan.
- Bake for 50 to 60 minutes, or until a wooden skewer inserted into the center comes out clean. If the top browns too quickly, loosely tent it with foil after 40 minutes.
- Let the date nut bread cool in the pan for 10 minutes before turning it out onto a wire rack to cool completely. Slice and serve warm with butter for the best experience.
Notes
- For an extra flavorful loaf, use Medjool dates.
- You can substitute half of the all-purpose flour with whole wheat flour for a more wholesome snack bread.
- This homemade date bread freezes well; wrap the cooled loaf tightly before freezing.
- Serve this classic loaf cake warm with a smear of cream cheese or honey.
- Prep Time: 15 min
- Cook Time: 60 min
- Category: Quick Bread
- Method: Baking
- Cuisine: American
Nutrition
- Serving Size: 1 slice
- Calories: 280
- Sugar: 28
- Sodium: 210
- Fat: 12
- Saturated Fat: 5
- Unsaturated Fat: 7
- Trans Fat: 0
- Carbohydrates: 42
- Fiber: 2
- Protein: 5
- Cholesterol: 55