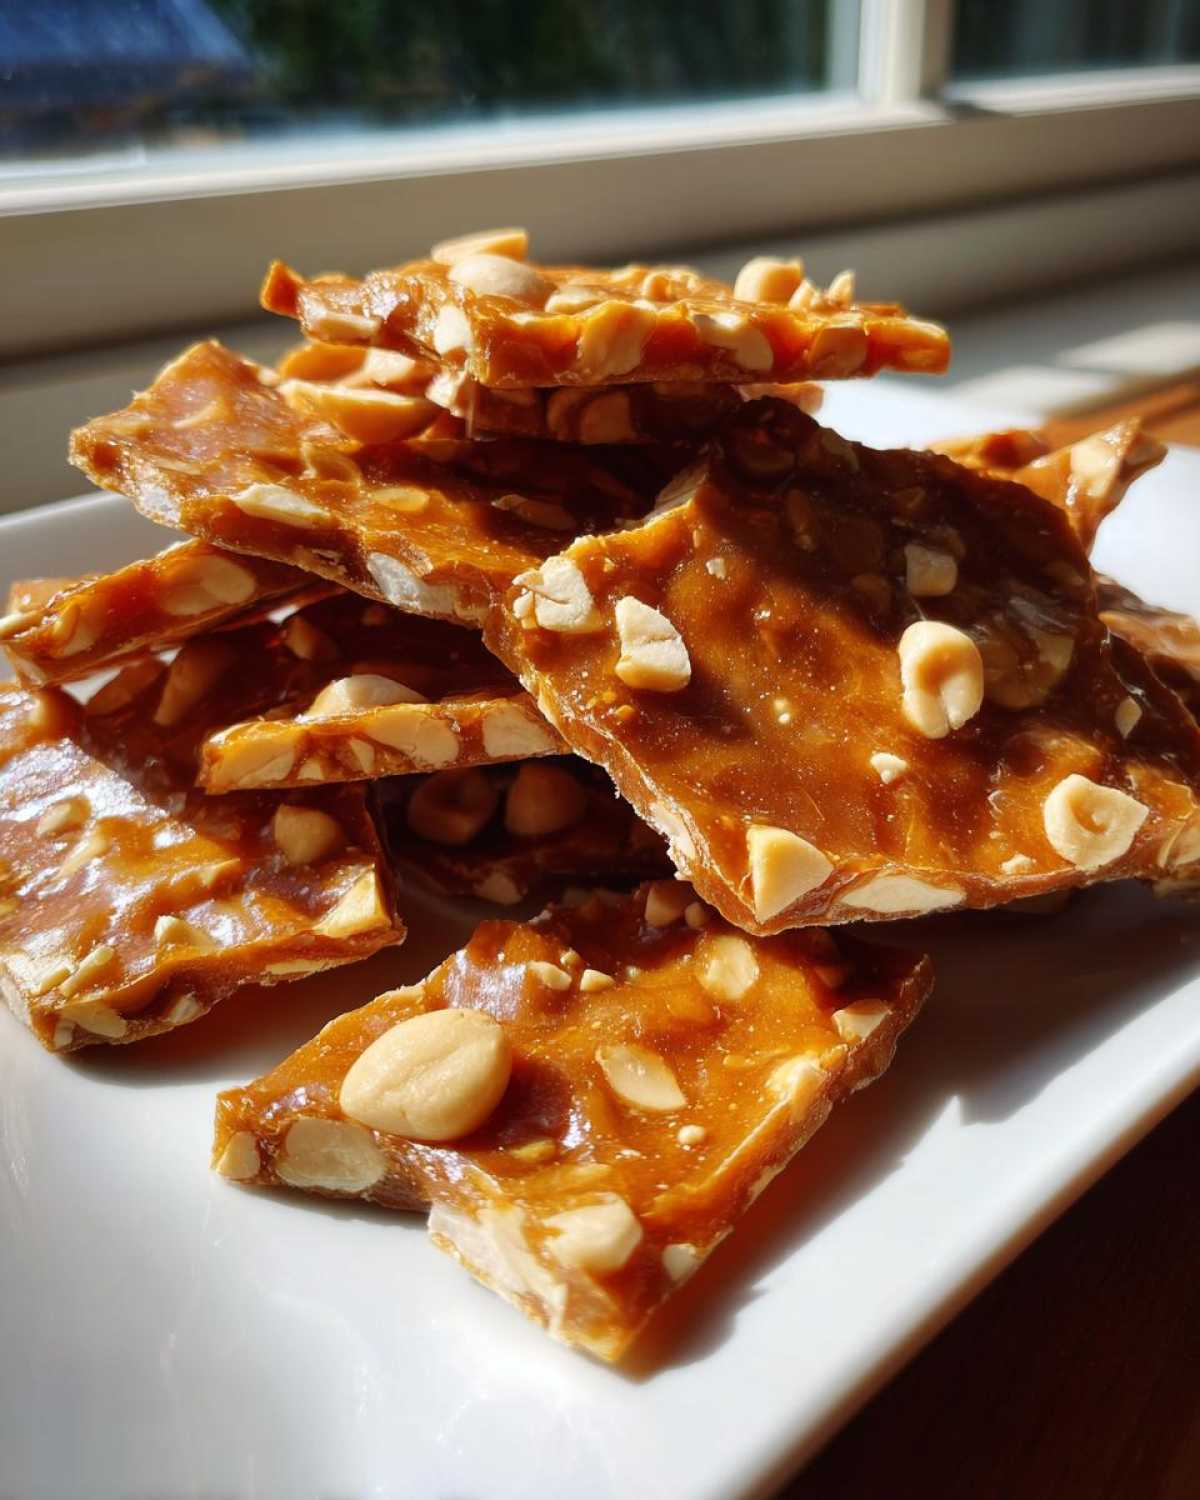
Oh, listen to this! There is nothing, absolutely nothing, like that first bite of perfect homemade candy—that light, shattering *CRUNCH* that fills your whole mouth. I know so many people are scared of making brittle; they worry it’ll turn out chewy or sticky instead of snappy. Trust me, I’ve been there, and I wasted batches of good peanuts doing it wrong!
But I finally cracked the code. This peanut brittle recipe isn’t just a collection of steps; it’s my definitive guide to a guaranteed perfect snap. We’re ditching the chewy stuff forever. Once you master the hard-crack stage with this classic method, you’ll be making this buttery, sweet, and salty treat for every holiday gathering and random Tuesday!
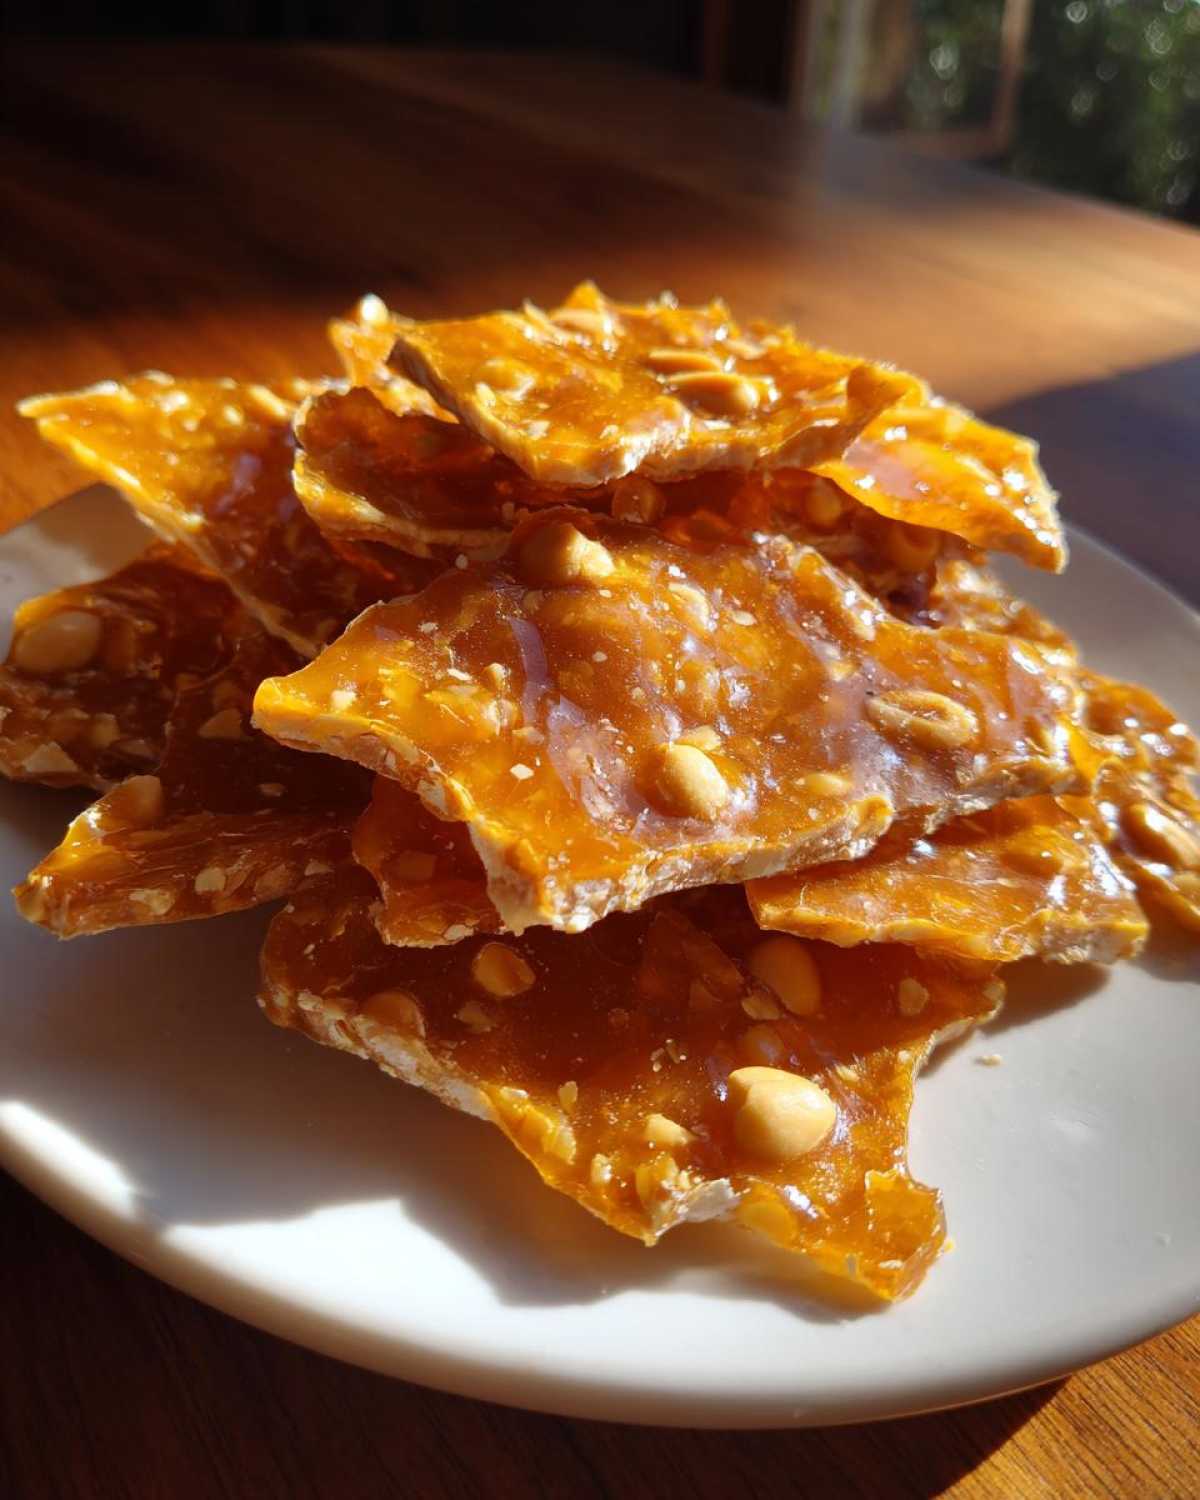
Why This Old Fashioned Peanut Brittle Recipe Delivers the Perfect Snap
When you see ‘Old Fashioned Brittle’ on a menu, you expect that sharp, clean break, right? If you get a chewy slab instead, something went wrong in the physics department. This peanut brittle recipe works because we respect the science behind cooking sugar. We aren’t guessing; we are aiming for a very specific target.
The secret weapon is getting the syrup to exactly 300 degrees Fahrenheit. That’s where the sugar molecules fully crystallize and lock into place, creating that hard-crack stage. If you pull it off the heat too soon, you get chewy candy. Too hot? It burns before it even sets! Also, keep an eye on the weather! Humidity is a total candy killer. If it’s raining outside, your brittle will be sticky no matter what you do. You might want to check out my guide on easy 3-ingredient chocolate fudge if you need a less temperamental treat for a damp day.
The Key to Crunchy Candy Recipe Success
You absolutely must use a reliable candy thermometer for this. There’s no substituting for that 300-degree mark for a truly crunchy candy recipe. When the bubbles start slowing down and the mixture gets that deep amber, golden color, you are close! Also, remember what I said about humidity—that sugar loves drawing water right out of the air, which ruins the entire structure we’re trying to build.
Gathering Ingredients for Your Classic Peanut Brittle
Okay, let’s talk ingredients, because if you substitute willy-nilly while making candy, you’re asking for trouble. For this classic peanut brittle, we need specific things to ensure we get that satisfying crack. Don’t grab salted butter—we control the salt ourselves! And please, use light corn syrup, not dark, because we want the sugar color to be pure amber, not already caramelized.
You’ll need two cups of granulated sugar and a full cup of light corn syrup, plus a cup of water to get things started. The star, of course, are the two cups of shelled, unsalted peanuts. Finally, for that magical lift right at the end, grab two tablespoons of unsalted butter, a teaspoon of vanilla extract, and that crucial teaspoon of baking soda. If you want to check out my post on easy 3-ingredient chocolate fudge, you’ll see I preach precision there too. Trust me on these measurements!
Step-by-Step Instructions for the Best Peanut Brittle
Alright, put on your brave face, because we are making candy! You need all your components ready—your baking sheet greased, your spatula waiting—before you even turn on the burner. Candy making moves fast once that sugar starts cooking, so prep work is everything in this peanut brittle recipe.
First, get that pan ready. Grease it up well, or line it with parchment or a silicone mat. Then, get your sugar, corn syrup, and water into a heavy-bottomed saucepan. Stir it gently over medium heat until the sugar completely dissolves—that’s important for a smooth texture. Once it starts bubbling, put that spoon away! You shouldn’t stir it again until much later. Stick that candy thermometer in there and let it climb. We are watching for 250°F (soft-ball stage).
- Once you hit 250°F, toss in your two cups of peanuts. Now we have to stir gently, but constantly, moving the candy around so it doesn’t burn on the bottom. Keep your eyes glued to that thermometer.
- We need the temperature to reach 300°F—that’s the magic hard-crack milestone! This is where we build the snap. Watch that temperature climb like crazy toward the end.
- The second you hit 300°F, yank that pan right off the heat! Time is ticking. You must work fast now. Quickly stir in your butter, the vanilla extract, and the baking soda. The baking soda is going to make the whole thing foam up like crazy—don’t panic! Just stir it a couple of times until it’s mostly mixed in.
- Pour that frothing hot mixture onto your prepared sheet. Use a heat-safe spatula to spread it thin, but don’t even think about scraping the sides of the pan! Those bits stuck on the edges are usually caramelized too much and can grit up your beautiful batch. Let it cool completely without touching it for at least 30 minutes until it’s rock hard. Then, you just happily break it apart! If you want some more stovetop sweet advice, check out my tips for easy 3-ingredient chocolate fudge.
Reaching the Hard-Crack Stage in This Peanut Brittle Recipe
Listen up: 300°F (149°C) is your non-negotiable destination. Visually, the syrup will have moved past looking like pale honey and will be a deep, glowing amber color. If you are nervous about the thermometer, stick it in the cooler syrup first to check its accuracy! My biggest tip here, which I mentioned above, is to never scrape the sides of the pan once it’s boiling. Those tiny sugar crystals clinging to the edge can fall back into your smooth syrup, acting like tiny seeds that make the whole pot crystallize into sugar clumps instead of smooth brittle.
The Crucial Baking Soda Reaction
This is the fun, slightly scary part! When you stir in the baking soda, the heat instantly activates it, releasing carbon dioxide gas. That’s why the whole mixture bubbles up and doubles in volume—it creates those tiny air pockets that give your brittle that light, airy crunch instead of being one dense, hard sugar block. This foaming means your baking soda is working! You only need to stir it enough to get it incorporated into the peanuts and butter. If you over-stir here, you will knock all that lovely air out, and you’ll end up with dense, hard candy instead of that amazing, crispy texture we spent 30 minutes aiming for.
Tips for a No Fail Brittle Recipe Every Time
When you know the tricks, this stops being scary candy science and becomes fun, reliable kitchen magic. Mastering this No Fail Brittle Recipe really just comes down to respecting two things: temperature and moisture. If you avoid those two pitfalls, I promise you’ll have stacks of glossy, snappy candy ready for gifting.
Honestly, the hardest part comes right after you pour it out. You want to touch it, move it, maybe even sneak a taste while it’s warm, but you can’t! Let it sit until it’s completely cool. If you rush that cooling process—even popping it in the fridge—you risk stressing the sugar structure, and it can actually encourage stickiness later on. Patience is an actual ingredient here, trust me!
Troubleshooting Common Peanut Brittle Recipe Issues
So, what happens when things go slightly sideways? Don’t throw the whole batch out! If your brittle seems a little bit tacky or sticky after it’s cooled, that almost always points back to humidity. It means you didn’t quite hit that hard-crack temperature, or the air is too damp. If you try this buttery peanut brittle recipe again, try turning off the AC or cracking a window if it’s muggy outside.
Now for crystallization—that’s when your smooth syrup turns gritty and cloudy, sometimes even before you add the nuts. This usually happens if a sugar crystal bumped into the side of the pan early on, fell back in, and started a chain reaction. If you see this, definitely stop stirring the boiling pot immediately! If you’ve got a batch that seized up on you, don’t sweat it; you can sometimes salvage it by melting it down again on very low heat with a little bit of fresh water, but honestly, when it crystallizes, I usually just save it for stirring into coffee later and start a fresh batch. If you need a sweeter, easier win in the meantime, check out my post on easy 3-ingredient chocolate fudge; it’s way more forgiving!
Storage and Keeping Your Homemade Peanut Brittle Fresh
Okay, you’ve made the most perfect, snappy candy ever. Now, how do we keep it that way? The biggest enemy to your crunchy masterpiece is moisture. Seriously, humidity will make you cry because it softens the sugar right up!
Once your brittle is completely cool—and I mean stone cold—you have to get it into an airtight container fast. I usually use a cookie tin or a heavy-duty zip-top bag. If you plan on storing it for a while, try putting a couple of food-safe desiccant packets (those little silica gel packets you find in vitamin bottles) in the container with it. This peanut brittle recipe holds up so well for weeks if you keep it dry. Never store it in the fridge, either! The cold air makes it sweat.
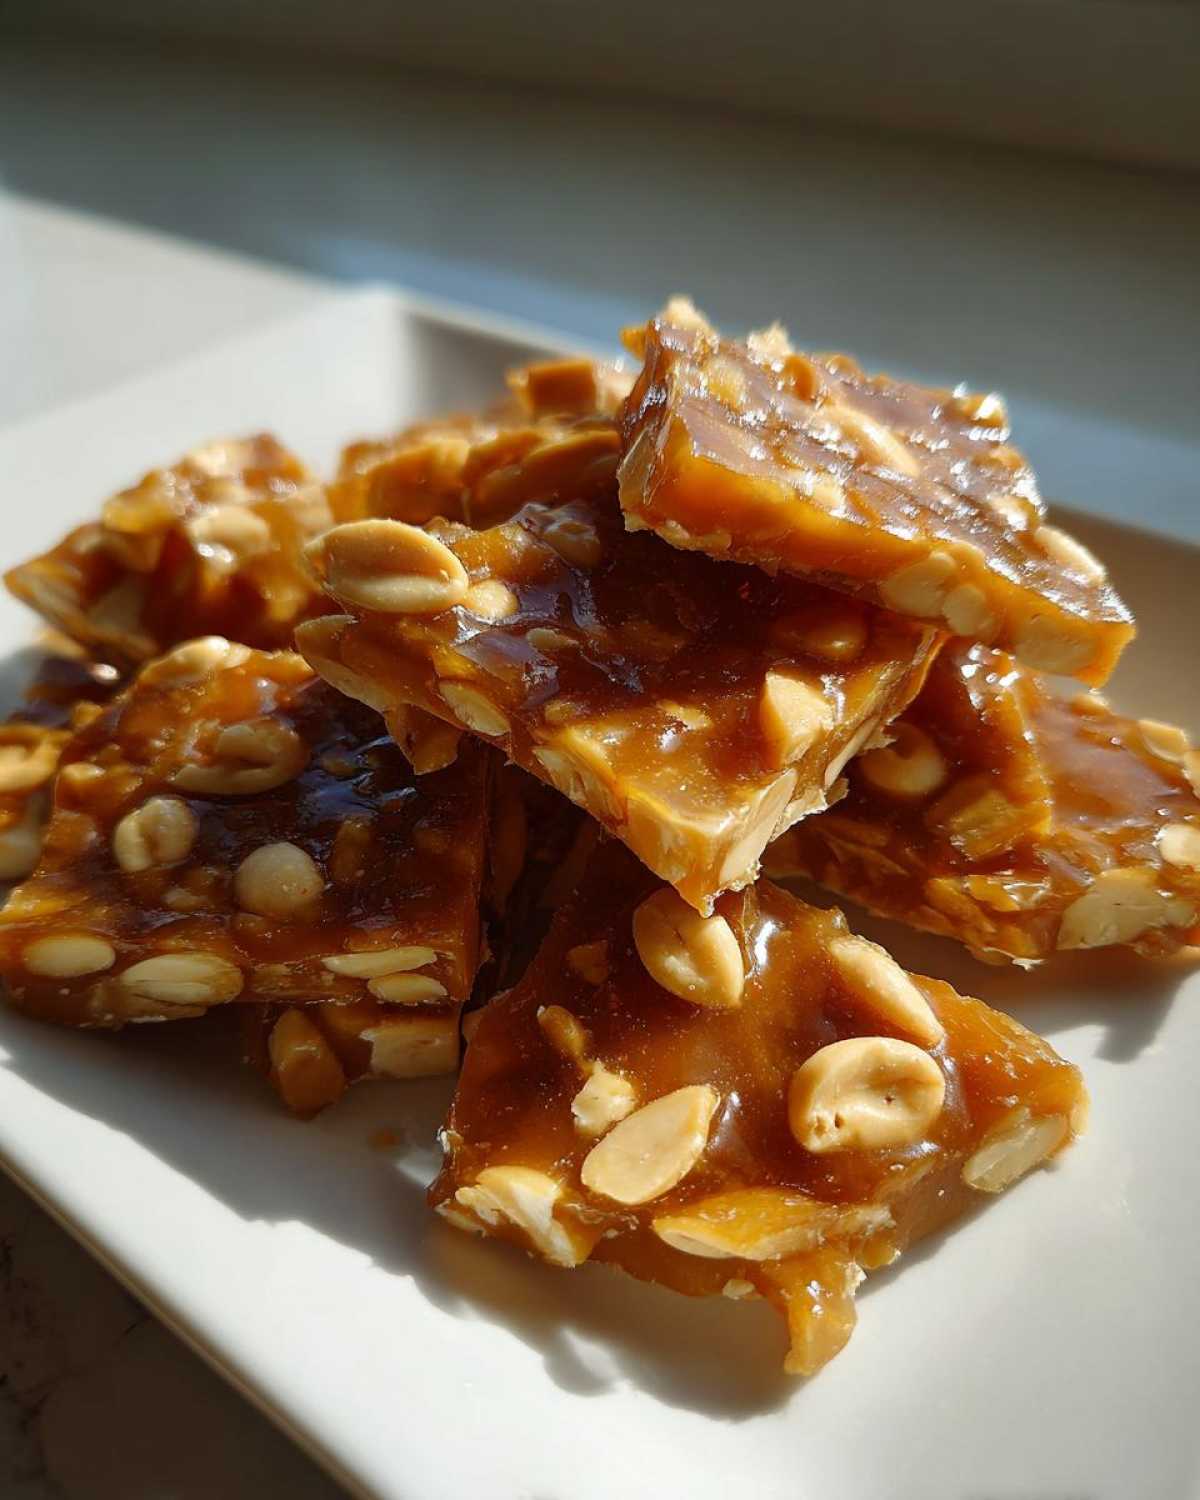
Serving Suggestions for Your Crispy Peanut Candy
So you’ve got this beautiful, shatteringly crisp candy—what now? While eating it standing over the counter might be tempting (don’t worry, I do it all the time), this crispy peanut candy wants to be shared!
First off, it makes amazing, easy gifts. Break up the pieces and layer them in clear cellophane bags tied with a bright ribbon. It looks incredibly professional, and people always rave when they realize you actually made it yourself! I love doing this around the holidays; nobody ever complains about getting homemade treats!
But I also love busting it out in unexpected ways. Have you ever tried crushing this brittle up small and sprinkling it over vanilla ice cream? Oh my goodness, it adds this incredible caramelized crunch that you just can’t get from store-bought sprinkles. It’s fantastic on top of a simple chocolate avocado mousse, or you can use a slightly bigger chunk as a garnish on my recipe for retro Christmas dessert when I make that big Jello poke cake!
You can also use it in baking. Roughly crush pieces and fold them into cookie dough right before you bake them. It melts just a tiny bit, leaving salty, sweet, crunchy pockets throughout the cookie. It instantly elevates a plain butter cookie into something special. See? This versatile nut brittle recipe is just the beginning of your candy-making journey!
Variations on the Traditional Peanut Brittle Recipe
The beauty of a great foundation, like this peanut brittle recipe, is that you can tweak it without wrecking the whole thing. Once you nail that snap, you can start playing! I usually stick to the classic peanuts because they’re just so nostalgic, but sometimes you need a little shake-up, right?
My favorite simple swap is trading out the peanuts for pecans. Pecans have a slightly buttery, softer flavor that meshes beautifully with the caramelized sugar. Just use the same two cups, shelled, and bake away! If you’re feeling spicy—and I often am—toss in just a tiny pinch of cayenne pepper along with the baking soda. It doesn’t make it hot, but it gives you this unexpected little kick at the end that perfectly balances the sweetness.
For a different texture, try using roughly chopped almonds next time—they tend to break a little cleaner than crushed peanuts. If you’re into savory snacks, you could even try tossing in some smoked paprika with the nuts. It sounds wild, but it creates an amazing sweet and salty snack! When I want something truly different and spicy, I sometimes follow techniques from my recipe for spicy roasted almonds and dry-roast the spice mix before adding it in. These little changes keep the homemade peanut brittle exciting year after year!
Frequently Asked Questions About This Peanut Brittle Recipe
I know when you look at candy making, it seems intimidating, but honestly, this is one of the most straightforward methods out there once you understand the heat! I get asked the same few things all the time when people tell me they’re trying this peanut brittle recipe for the first time. Let’s clear up some of those common worries so your first batch is a total success.
Can I make this Crunchy Candy Recipe without a Candy Thermometer?
Technically, yes, you can try the old-fashioned cold-water test, but let me put this nicely: If you want a guaranteed snap, don’t skip the thermometer! The cold-water test involves dropping small bits of syrup into ice water to see if it forms hard threads. It’s imprecise, and frankly, it depends too much on your kitchen temperature. For this crunchy candy recipe, hitting that precise 300°F is non-negotiable if you want that light, brittle texture instead of a warm, sticky mess. If you must skip it, I won’t be responsible for chewy results, you hear?
Is this Beginner Candy Making Friendly?
Absolutely yes! I wrote these instructions with the scared beginner in mind. The trick to being a beginner here is organization—have everything measured and ready before you turn the heat on. Once you get over the panic of watching the temperature rise, the actual mixing is lightning fast. This Old Fashioned Brittle is very forgiving once you learn the temperature rule. It’s a much better starting point than making things like taffy or fudge that rely on specific stirring speeds!
What about using salted peanuts? Since we’re adding salt control through the butter and the recipe works best with controlled ingredients, I really recommend using plain, unsalted peanuts. You can always sprinkle a tiny bit of flaky sea salt on top right after you pour it out if you want that extra burst of salty flavor.
Estimated Nutritional Information for Peanut Brittle
Now, I know what you’re thinking! When you make something this delicious, who really cares about the numbers? But, since we’ve followed such a carefully measured peanut brittle recipe, I figured I should share the estimates I pulled together for you. It’s good to know what you’re indulging in, right?
These are based on the recipe yielding about one pound of brittle, broken into one-ounce servings. Because candy making is so reliant on the exact brand of corn syrup or sugar you use, these numbers are definitely averages. I always recommend checking out the official disclaimer on my site here for the full rundown on how these estimates were calculated.
Here’s a quick snapshot of what that glorious crunch packs in:
- Serving Size (about 1 ounce): 1 serving
- Calories: Around 180
- Total Fat: About 8 grams
- Carbohydrates: Roughly 26 grams
- Protein: About 4 grams
- Sugar: That’s about 18 grams (it is candy after all!)
You can see the fats are coming mostly from those wonderful peanuts and the butter we used to enrich the mixture. And yes, there is some sugar, but wow, is it worth every single piece! Just remember, if you use more butter or different nuts, these numbers will slightly shift. But hey, if you’re eating one-ounce pieces, you’re doing great!
Print
Old Fashioned Peanut Brittle Recipe: Guaranteed Perfect Snap
- Total Time: 35 min
- Yield: About 1 pound 1x
- Diet: Vegetarian
Description
Follow these steps to make classic, crunchy peanut brittle with a perfect snap every time. This recipe uses simple ingredients for a buttery, sweet, and salty treat.
Ingredients
- 2 cups granulated sugar
- 1 cup light corn syrup
- 1 cup water
- 2 cups unsalted, shelled peanuts
- 2 tablespoons unsalted butter
- 1 teaspoon baking soda
- 1 teaspoon vanilla extract
Instructions
- Lightly grease a large baking sheet or line it with parchment paper or a silicone mat. Set aside.
- Combine the sugar, corn syrup, and water in a heavy-bottomed, large saucepan. Stir over medium heat until the sugar dissolves.
- Stop stirring once the mixture boils. Insert a candy thermometer. Cook the mixture without stirring until it reaches 250 degrees Fahrenheit (121 degrees Celsius), the soft-ball stage.
- Add the peanuts to the syrup mixture. Continue cooking, stirring gently but constantly, until the temperature reaches 300 degrees Fahrenheit (149 degrees Celsius), the hard-crack stage. This step requires close attention to avoid burning.
- Remove the saucepan from the heat immediately. Quickly stir in the butter, vanilla extract, and baking soda. The mixture will foam up rapidly. Stir just until combined.
- Pour the hot mixture onto the prepared baking sheet. Use a heat-safe spatula to spread it thinly and evenly. Do not scrape the sides of the pan.
- Let the brittle cool completely and harden at room temperature for at least 30 minutes.
- Once fully cooled and hard, break the brittle into irregular pieces. Store in an airtight container.
Notes
- Use a candy thermometer for accuracy; reaching 300 degrees Fahrenheit is key for a crisp snap.
- Work quickly once you remove the mixture from the heat, as the candy hardens fast.
- Do not over-stir the sugar mixture while it is boiling, as this can cause crystallization.
- Store brittle in a dry place; humidity causes it to become sticky.
- Prep Time: 10 min
- Cook Time: 25 min
- Category: Dessert
- Method: Stovetop Candy Making
- Cuisine: American
Nutrition
- Serving Size: 1 ounce
- Calories: 180
- Sugar: 18
- Sodium: 15
- Fat: 8
- Saturated Fat: 2
- Unsaturated Fat: 6
- Trans Fat: 0
- Carbohydrates: 26
- Fiber: 1
- Protein: 4
- Cholesterol: 5