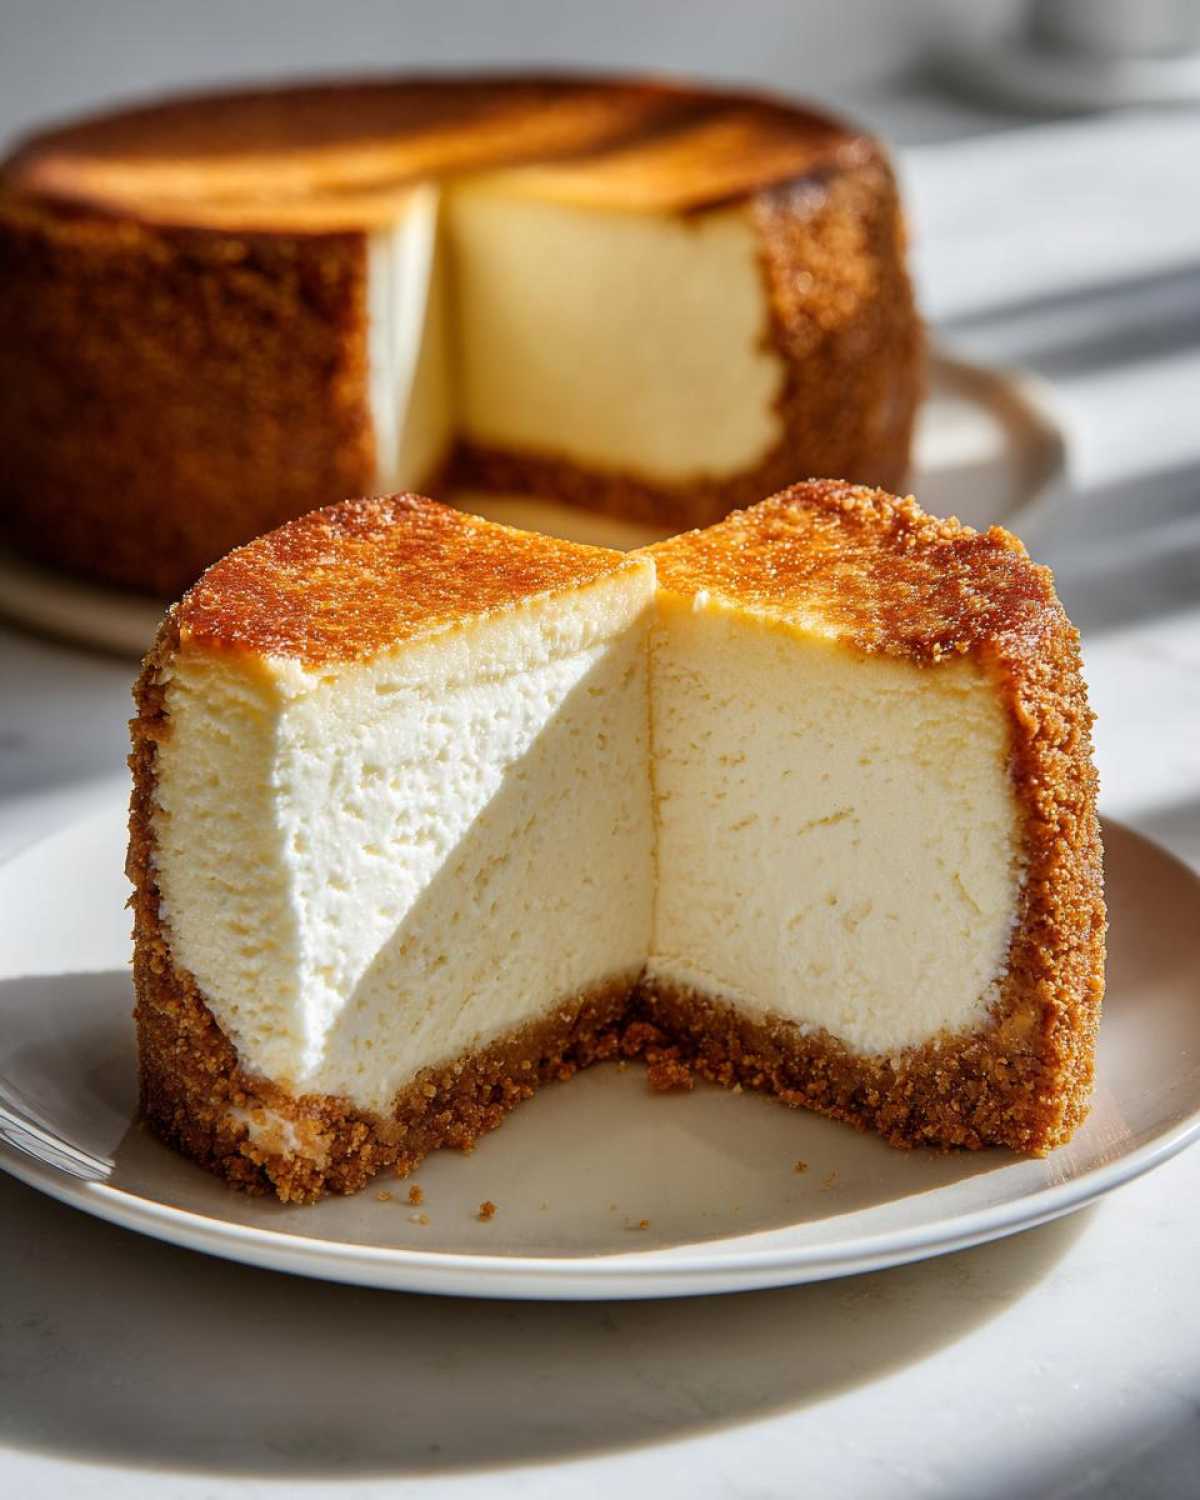
You know that moment when you cut into a dessert, and it just *sighs*? That’s the sound a truly perfect **new york cheesecake** makes. Liam, my resident culinary artist, struggled for ages trying to capture that dense, velvety magic—the kind that tastes like pure, decadent luxury. Well, the quiet laboratory days are over! We finally cracked the code, and what we have here is the definitive, foolproof recipe. Seriously, this thing is so rich and unbelievably creamy; it’s the kind of **Classic Cheesecake Dessert** that makes everyone gasp when you bring it out. I used to think impressive desserts were too fussy, but trust me, getting this masterpiece right is pure joy and totally worth the wait!
Why This New York Cheesecake Recipe Is Your New Go-To (The Muse’s Perspective)
Liam spent weeks trying to nail this single recipe, and wow, did he ever deliver! This isn’t just *a* recipe; it’s *the* recipe for the absolute **Best Cheesecake Ever**. What makes it so special? Well, we focused on the three big things that always made or broke a cheesecake in our kitchen, and I’m here to tell you the foolproof ways we finally got it right.
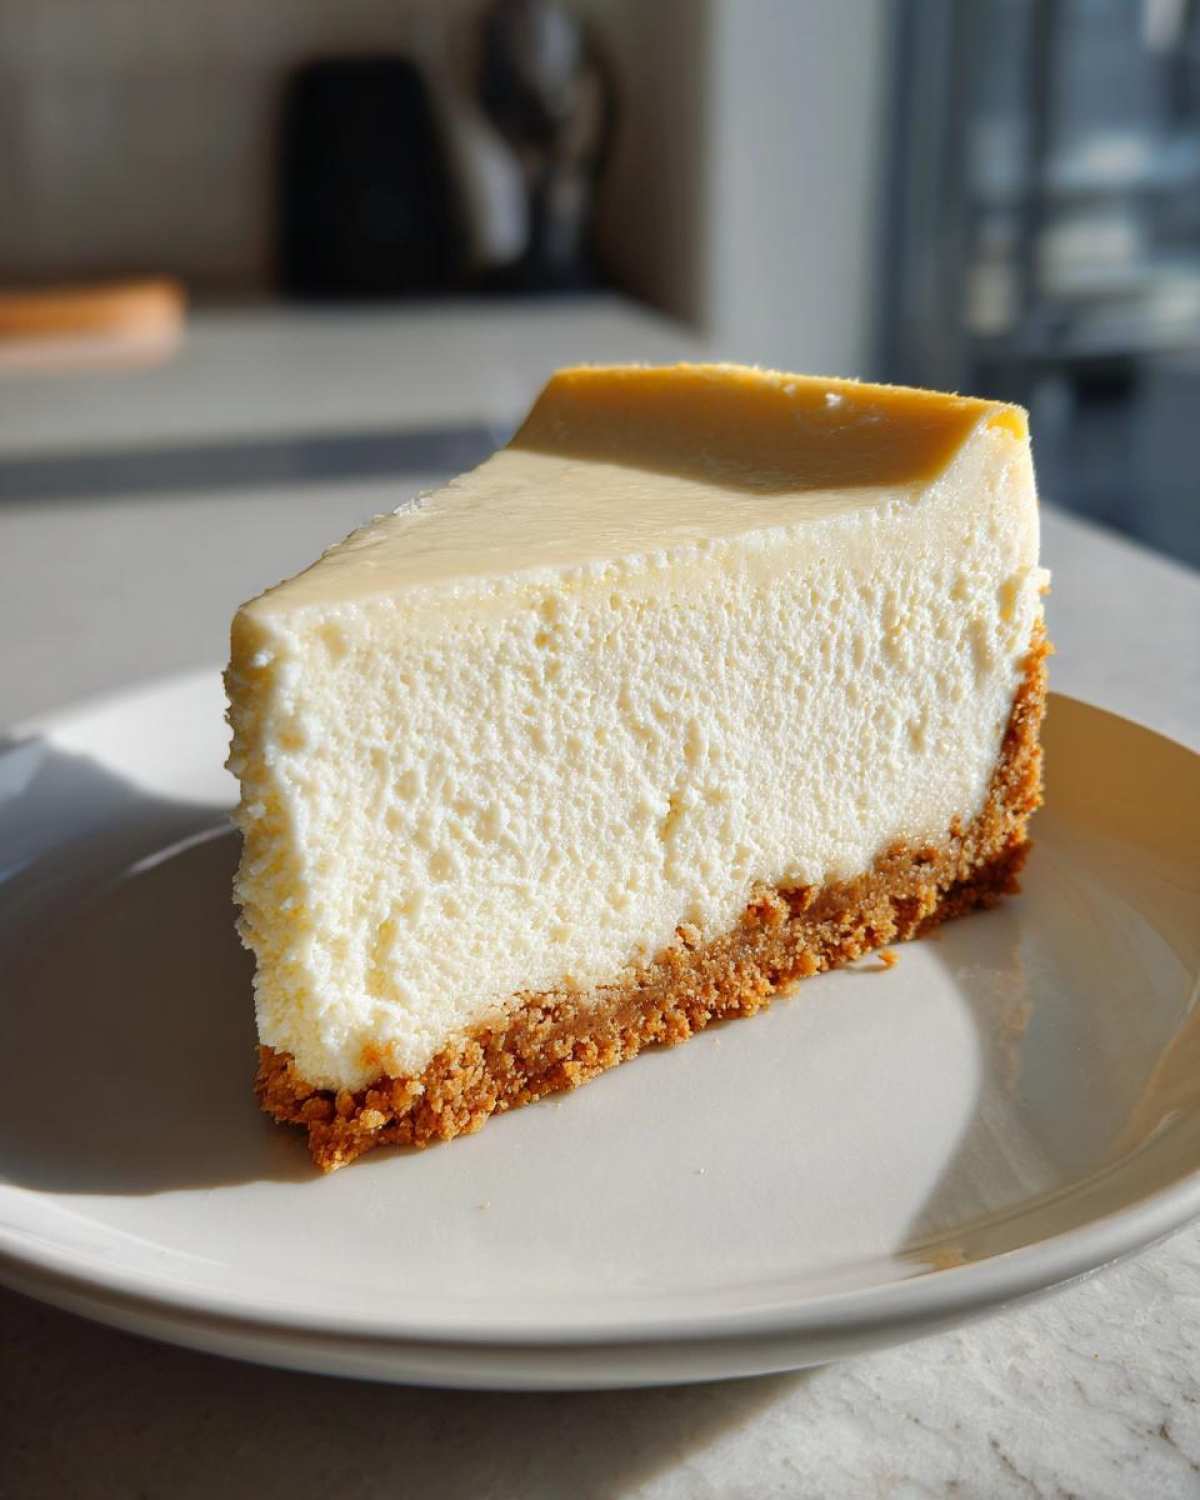
- We nailed the texture: It’s unbelievably **creamy**, like velvet on your tongue.
- The density is perfect—this isn’t some fragile, fluffy thing; it holds its shape beautifully.
- It has that signature, slightly **tangy flavor** only a true **Authentic New York Style Dessert** should have.
- And we always use the secret water bath technique—it’s the absolute number one trick for truly foolproof baking!
If you’re looking for a showstopper, this is it. If you want to see how Liam perfected some of his other creamy creations, you can check out his tricks over at our key lime cheesecake guide. Ready to see the magic?
Achieving That Signature Dense and Creamy Cheesecake Baking Texture
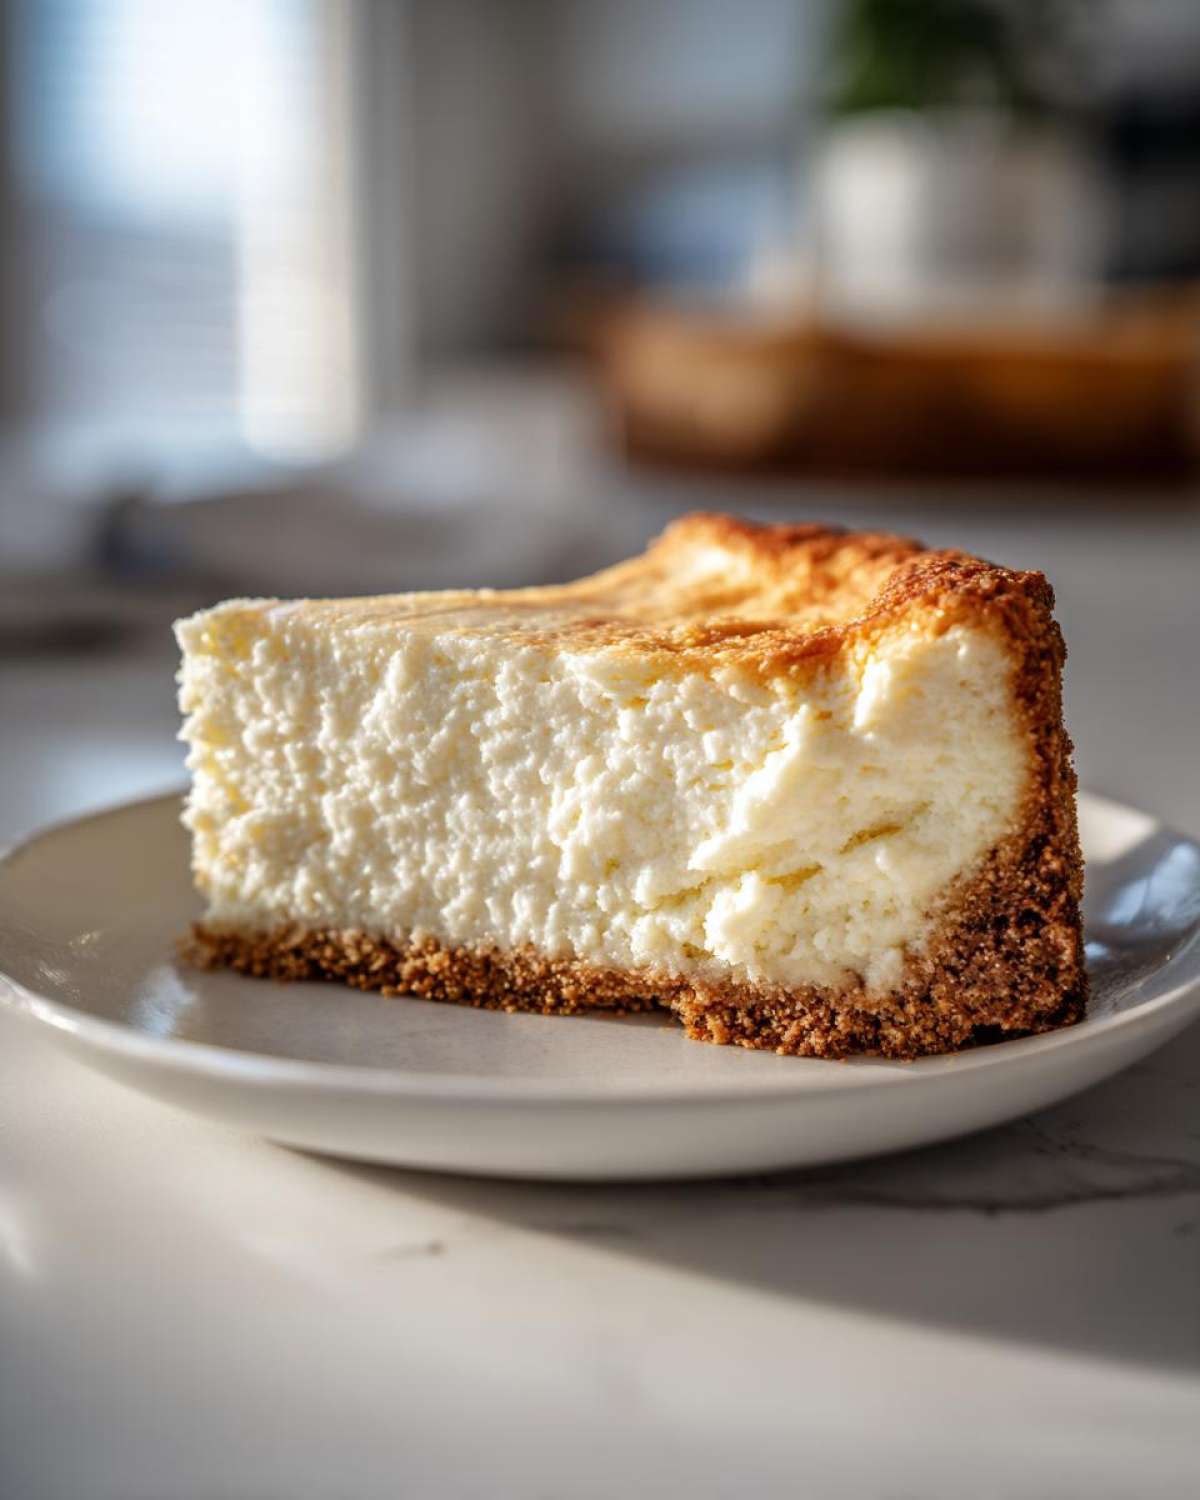
The foundation for that famous New York feel isn’t just the mixing; it’s selecting the right stuff! You absolutely have to stick with full-fat cream cheese, no light versions allowed here, trust me. Also, everything needs to be room temperature. I mean *everything* we put into that filling! When Liam got impatient and added slightly cool cream cheese, the batter got lumpy really fast and trapped air. We need that density, sure, but we want smooth, rich, luxurious density—that’s the hallmark of spectacular **new york cheesecake**!
Gathering Ingredients for the Best Cheesecake Ever
Okay, before Liam starts conducting his baking symphony, we have to get our stage set, right? For this incredible **new york cheesecake**, we break everything down into two main acts: the crust and the spectacular filling. Precision is super important here, especially with the temperature of the dairy! You’ll want to pull out everything that needs to soften or warm up way ahead of time, trust me.
For the Buttery Graham Cracker Crust Cheesecake
The crust needs to be firm, buttery, and just begging to be topped with cream cheese goodness. We need a solid layer for that tall cheesecake to sit on. Here’s exactly what Liam uses for his base:
- 1 1/2 cups graham cracker crumbs
- 1/4 cup granulated sugar (just a quick one for the sweet base!)
- 6 tablespoons unsalted butter, melted (This is what makes it stay together so beautifully!)
For the **Rich Cream Cheese Filling**
This is where the magic happens, and why room temperature is non-negotiable! When these ingredients hit the mixer, they need to blend into a smooth pool, not fight each other. Make sure you have all four blocks of cheese ready to go!
- 4 (8-ounce) packages full-fat cream cheese, softened to room temperature
- 1 1/2 cups granulated sugar
- 1/4 cup all-purpose flour (This little bit helps stabilize it!)
- 1 teaspoon vanilla extract
- 1/4 teaspoon salt
- 1 cup sour cream, room temperature (The tang comes from here!)
- 4 large eggs, room temperature
Step-by-Step **Homemade Cheesecake Recipe** Instructions
Alright, put on some good, loud music—Liam always picks jazz for this part. This is where we stop just assembling ingredients and start creating that famous texture. Remember, the biggest enemy here is air bubbles, so we move methodically and gently. If you rush, you’ll get lumps in your cheese or, worse, cracks later. Don’t worry, I’ll walk you through exactly how Liam avoids trouble!
Preparing the Crust and Oven Setup for **New York Cheesecake**
First things first, we need a warm oven to set that buttery base! Preheat your oven to 350°F (175°C). Mix up those graham cracker crumbs, the little bit of sugar, and the melted butter until it looks like wet sand. Press that mixture in firmly—you want real density on the bottom! Give it a quick 10-minute bake, then pull it out. Immediately drop the oven temp down to 325°F (160°C). Now, this is crucial: take heavy-duty foil and wrap the outside bottom and sides of your springform pan like you’re preparing it for a spa day. Use several thick layers! This wrapping is the raincoat that keeps the water bath from sneaking in and ruining our beautiful crust.
Mixing the **Tangy Cheesecake Recipe** Filling Without Adding Air
This is the secret to that velvety finish! Start by beating *only* the room-temperature cream cheese on medium speed until it is completely, totally smooth—like silken lotion. Scrape the sides down twice while you do this! Next, gently mix in the flour, the main sugar, salt, and vanilla until you just see things combine. Then, add the room-temperature sour cream and blend until smooth again. Now, the most important part for **No Crack Cheesecake Secrets**: add your room-temperature eggs ONE at a time. I mean it, wait until the first egg is barely incorporated before adding the next one, mixing only on LOW speed. As soon as that last bit of yellow disappears, HIT THE STOP BUTTON! Overmixing at this stage is how you invite an air disaster.
Baking the **New York Cheesecake** in a Water Bath
Now we set up the steam environment! Place your carefully foil-wrapped springform pan inside a larger roasting pan. Carefully pour *hot* water into that big roasting pan until it comes about halfway up the sides of the smaller cheesecake pan. This steam bath keeps the heat gentle and even, which is how we get that even, tall bake. Pop it gently into the 325°F oven and bake for about 60 to 75 minutes. You’re looking for the edges to look set, but when you nudge the pan very gently, the center two inches should have a slight, slow wobble, like firm Jell-O. Don’t wait for it to be fully firm, or it will overbake!
If you want to see how Liam manages the delicate process when dealing with different flavors, check out his steps for our white chocolate cranberry cheesecake—similar principles about gentleness apply! And for more decadent baking inspiration, I loved what Baker by Nature does with their rich toppings.
No Crack Cheesecake Secrets: The Crucial Cooling Process for **New York Cheesecake**
Okay, listen up, because this next stage is where most people mess up their perfect bake! You’ve done the hard work, you have that beautiful, slightly wobbly center, and now you have to resist the urge to rush it. Sudden cooling is the absolute enemy when making any **new york cheesecake**. It causes thermal shock, and *boom*—you’ve got a mountain range forming right in the middle of your dessert!
We follow this three-stage cooling ritual religiously. First, turn off the oven completely, but leave the cheesecake inside its cozy water bath for a whole hour. Prop the oven door open slightly—a wooden spoon works perfectly for keeping it cracked open. This slow reduction in temperature prepares the cake for the outside world.
Once that hour is up, carefully remove the pan from the water bath and take off all that heavy foil. Let it sit on a cooling rack at room temperature for another full hour before you even think about plastic wrap. If you’re looking for more tips on avoiding disaster in baking, you can see how Liam approaches his delicate red velvet layers; the concept of slow cooling is similar!
Finally, and this is mandatory, you must cover it loosely and refrigerate it for at least six hours, but honestly, overnight is the true path to success. Chilling is what fully firms up that rich center until it becomes the dense, spectacular slice you’ve been aiming for. If you want guaranteed results for a foolproof bake, check out the safety tips in this guide to foolproof baking—it’s all about patience!
Equipment Needed for Dense Cheesecake Tutorial
Because this **new york cheesecake** is so tall and rich, we can’t just throw it into any old dish. Liam insists that having the right ‘tools’ ensures we get that perfect, tall, and **creamy cheesecake baking** texture without any fuss. You definitely need specialized gear for a water bath, so grab these items before you start mixing!
- A 9-inch springform pan. This is non-negotiable! Trying to serve this amazing slice without one would be a nightmare.
- Heavy-duty aluminum foil. You need the good, thick stuff. We’re wrapping this pan tight, and flimsy foil doesn’t cut it!
- A large roasting pan. This has to be big enough to comfortably hold your springform pan inside so you can fill it with water.
- A reliable electric mixer. While you can whisk by hand, Liam finds the consistent churning of the mixer helps beat the lumps out of the cream cheese much better for that velvety finish.
Ingredient Notes and Substitutions for Your **Classic Cheesecake Dessert**
It might look simple—just cream cheese, sugar, and eggs, right? Wrong! Liam always says that with a **new york cheesecake**, the ingredients aren’t interchangeable if you want that classic result. Since this recipe relies on achieving that incredible density and tang, we have to be strict about what goes into that filling. Listen to the muse here; she’s learned the hard way!
First off, let’s talk about the star: the cream cheese. You absolutely must use full-fat brick-style cream cheese. If you try to substitute with a whipped or lighter version, you’ll change the entire structure. It won’t set properly, and you’ll end up with something that tastes more like a rich dip than a spectacular, **Decadent Cheesecake Dessert**.
Next up, the sour cream. That little bit added to the filling is what gives you that signature acidic bite—the tang that cuts through the richness. If you don’t have sour cream, Greek yogurt is the closest backup, but I’d honestly advise ordering some if you can swing it! It makes a huge difference in the final flavor profile of this **Tangy Cheesecake Recipe**.
And eggs! I know it’s tempting to crack them right out of the fridge and toss them in, but please don’t. Large eggs work best for structure here. Having them at room temperature allows them to incorporate smoothly without chilling the rest of the batter. If they go in cold, they can actually start to curdle the cream cheese mixture slightly, and we certainly don’t want that lumpy texture. For more tips on balancing textures in desserts, you can always look at how we handle the fruit in our classic strawberry shortcake—it’s all about timing!
Serving Suggestions for Your **Decadent Cheesecake Dessert**
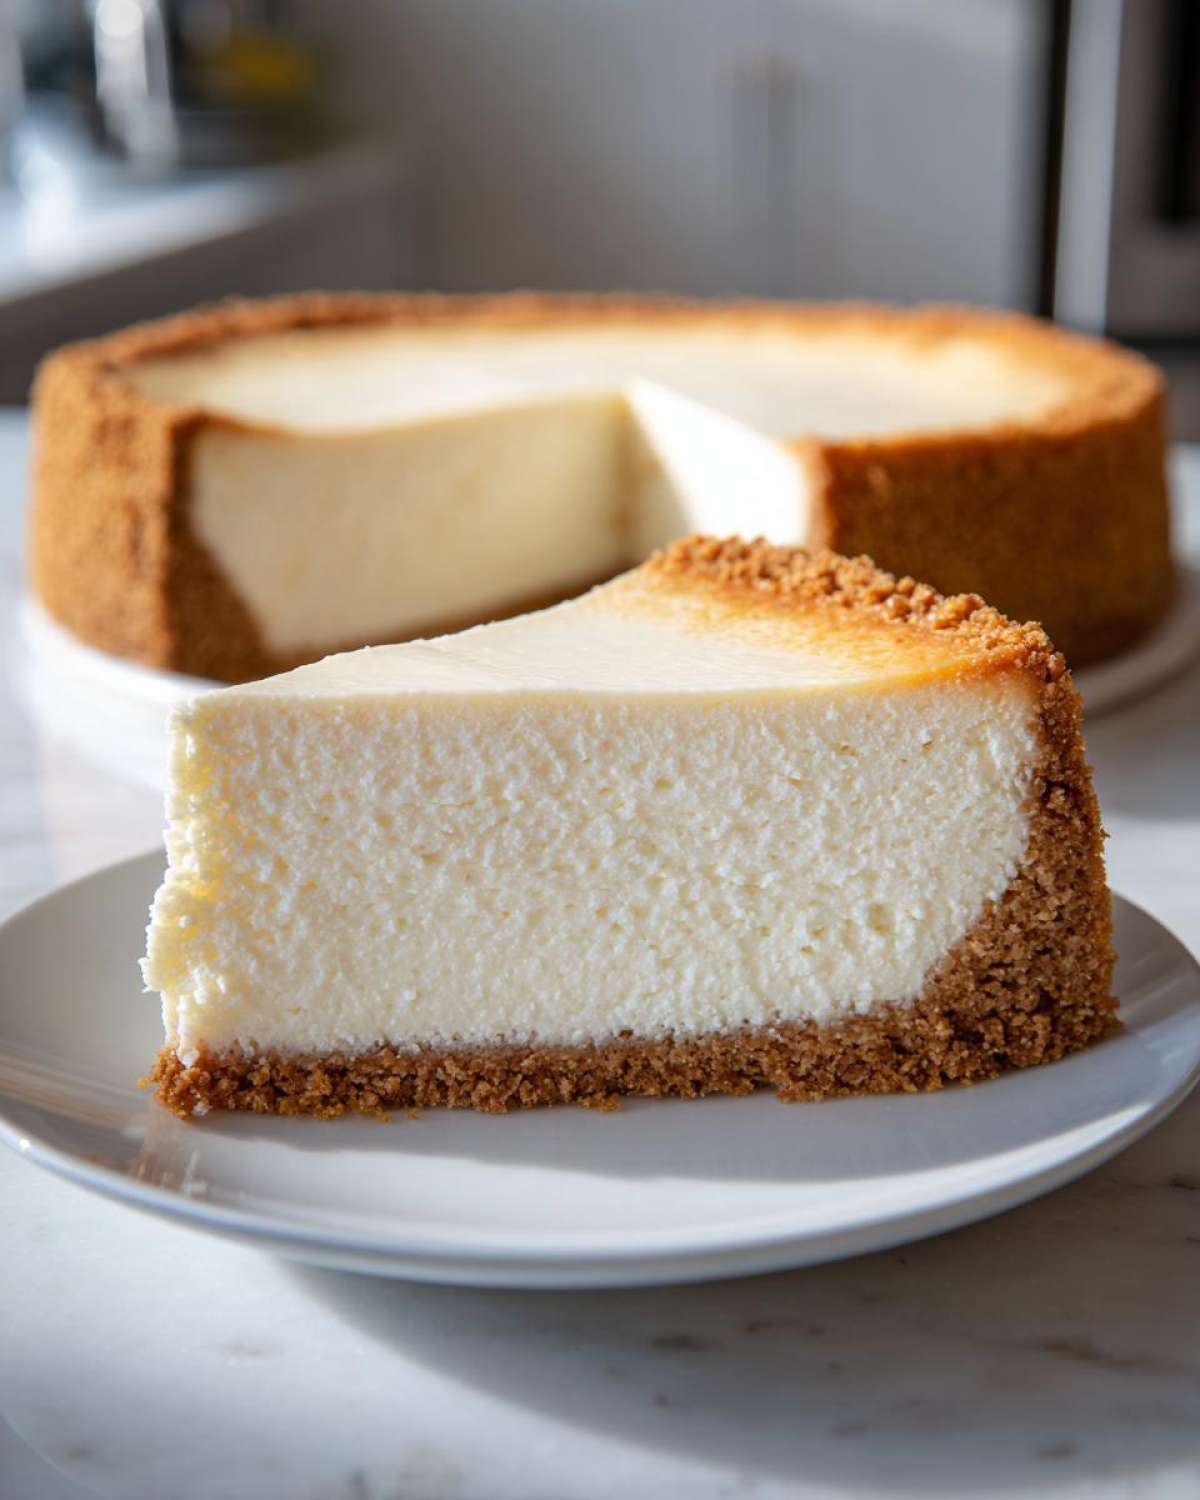
I know it’s tempting when you’re staring at this magnificent, tall slice of **new york cheesecake** to go wild with toppings, but Liam and I actually think the best way to truly appreciate this specific recipe is to leave it alone! That dense, tangy, buttery graham cracker crust combo we worked so hard for is honestly the star of the show. It’s already perfect, right?
When we serve it just plain, everyone gets to taste that incredible richness we aimed for. It truly is the centerpiece! But, I get it, sometimes you need a little splash of color, especially if you are serving this **Cheesecake for Special Occasions**.
If you need something extra, keep it bright and simple. A quick, homemade fruit coulis made from raspberries or perhaps lightly sweetened strawberries poured on top just before serving is divine. The bright acidity of the berries plays so nicely against the deep creaminess. You can find my easy method for a vibrant one that goes perfectly with our strawberry shortcake recipe—it works just as well here!
For a slightly more elegant touch, a small scattering of fresh, high-quality blueberries or thinly sliced kiwi looks beautiful against the stark white top. Again, don’t drown it! The key here is contrast, not covering up the wonderful texture we worked so hard to achieve by avoiding thermal shock. Just let that beautiful, creamy surface shine!
Storing and Reheating Your **New York Cheesecake**
This **new york cheesecake** demands respect, and that includes its storage! Never just leave it sitting out—we need to protect that gorgeous texture we worked so hard for. Cover the whole thing loosely with plastic wrap once it’s chilled through, and keep it in the fridge. It’s honestly best if you let it chill overnight, but six hours is the absolute minimum for firmness.
When serving, don’t pull it straight from the fridge and slice! If it’s too cold, you lose some of that rich flavor. Let your slice sit out on the plate for about 20 minutes until it’s just slightly chilled. It shouldn’t be room temperature, but just soft enough for the fork to glide through easily. Reheating isn’t really a thing for this dessert; honestly, it’s way better enjoyed cold the next day!
Frequently Asked Questions About Making **New York Cheesecake**
I know when you’re staring down a gorgeous, massive **new york cheesecake**, you get a little anxious! Liam and I have answered these questions a million times through comments and emails. Don’t worry about messing up; most issues come down to just one or two tiny technique hiccups, and we’ve got fixes for all of them!
Why did my **Creamy Cheesecake Baking** crack despite the water bath?
If you used the water bath but still got a crack, 99% of the time it’s because we added too much air while mixing! Remember what I said about mixing just until the eggs disappear? That’s key for this **Rich Cream Cheese Filling**. Also, if you pulled it straight out of the hot oven into a chilly kitchen, that fast temperature shift is a huge culprit too—that’s why we do that slow, gradual cooling process! Stick to the script, and you’ll be fine.
Can I make this **Easy Cheesecake Recipe for Beginners** without a springform pan?
Okay, so… I strongly advise against it if you want *true* **new york cheesecake**. The springform pan is the only way to get those perfect, clean sides without tilting or smashing it. If you are totally stuck and have no choice, you could use a deep 9-inch cake pan, but you must line it with parchment paper that hangs way over the edges. Be warned: turning it out is going to be a nerve-wracking event, and you might lose some of that beautiful crust integrity when you slice it.
How long does the **Classic Cheesecake Dessert** need to chill?
This is the waiting game, but it’s worth every minute! While the bare minimum instructed time is six hours, if you want that truly dense, spectacular texture that makes it the **Best Cheesecake Ever**, you need to let it chill overnight. Seriously, cover it loosely and forget about it until the next day. That long, slow chill finally sets the fats so that when you cut that perfect slice, it has that incredible, satisfying weight to it. You can check out my thoughts on other chilled desserts, like our pumpkin cheesecake, for more notes on why chilling matters so much!
If you want to explore another incredibly rich recipe that needs similar temperature control, make sure you peek at the tips on this recipe for great cheesecake elsewhere: sweetlycakes.com. When in doubt, remember: patience equals payoff!
Estimated Nutritional Data for This **Cheesecake for Special Occasions**
Since Liam lets me be the one who actually tries to estimate the aftermath of eating a whole slice of this incredible **new york cheesecake**, I grabbed the numbers from our recipe details! Now, I have to give you the big caveat here: these are just estimates based on standard ingredient calculations, okay? If you use name-brand butter versus generic, or the amount of sugar you pack into your crust really changes things!
We figure, realistically, this recipe makes about 12 very generous slices, which, let’s be honest, is what you want when you’re serving up a **Tall and Creamy Cheesecake** for a party anyway! This data is just a rough guideline, so please don’t laminate these numbers or use them for strict dieting. They are just for fun!
- Serving Size: 1 slice
- Calories: 450
- Sugar: 35g
- Protein: 8g
- Fat: 30g
- Saturated Fat: 18g
- Cholesterol: 120mg
So yes, it packs a punch, but that’s the beauty of a rich, **Decadent Cheesecake Dessert**! Wouldn’t trade that taste for a few less calories any day!
Share Your **Tall and Creamy Cheesecake** Masterpiece
Okay, you’ve baked it, the whole house smells divine, and you’ve managed to keep it crack-free thanks to our slow-cooling ritual! Now for the fun part: the grand reveal! I absolutely live for seeing what you all create in your kitchens. When Liam finishes a cake, he immediately wants to show someone, and you guys are our favorite audience!
I really hope you loved making this amazing **new york cheesecake**. If you did, please, please leave us a rating! A solid 5 stars in the comments section below tells us that this method worked for you too, and it helps others who are nervous about tackling a big bake feel more confident. We pore over every comment; it seriously feeds our creativity!
I’m dying to know what you topped it with! Did you keep it naked and classic like Liam prefers, or did you get adventurous? Did you try that simple berry coulis we talked about, or did you pair it with something totally different? Let us know your topping choice below!
If you’re already thinking about your next creamy conquest, maybe you’ll want to try my notes on balancing fruit textures in our white chocolate cranberry cheesecake—also a showstopper!
Seriously, share the love, share the pictures, and thank you so much for trusting our little process here at Child Recipe. Bravo!
Print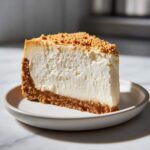
The Ultimate Creamy, Classic New York Cheesecake with a Perfect Graham Cracker Crust
- Total Time: 1 hour 40 min (plus chilling)
- Yield: 12 servings 1x
- Diet: Vegetarian
Description
Bake the best New York Cheesecake ever. This recipe delivers a dense, rich, and velvety smooth texture with the perfect tangy flavor and a buttery graham cracker base. Follow these steps for a no-crack, impressive dessert.
Ingredients
- 1 1/2 cups graham cracker crumbs
- 1/4 cup granulated sugar (for crust)
- 6 tablespoons unsalted butter, melted
- 4 (8-ounce) packages full-fat cream cheese, softened to room temperature
- 1 1/2 cups granulated sugar (for filling)
- 1/4 cup all-purpose flour
- 1 teaspoon vanilla extract
- 1/4 teaspoon salt
- 1 cup sour cream, room temperature
- 4 large eggs, room temperature
Instructions
- Prepare the crust: Preheat your oven to 350°F (175°C). Mix graham cracker crumbs, 1/4 cup sugar, and melted butter until combined. Press the mixture firmly into the bottom and about 1 1/2 inches up the sides of a 9-inch springform pan. Bake for 10 minutes. Remove and let cool while you prepare the filling. Reduce oven temperature to 325°F (160°C).
- Prepare the water bath: Wrap the outside bottom and sides of the springform pan tightly with heavy-duty aluminum foil. You need several layers to prevent water from seeping in.
- Make the filling: In a large bowl using an electric mixer on medium speed, beat the softened cream cheese until completely smooth, about 3 minutes. Scrape down the bowl often.
- Add the flour, 1 1/2 cups sugar, vanilla extract, and salt. Beat until just combined, being careful not to overmix.
- Beat in the sour cream until smooth.
- Add the eggs one at a time, mixing on low speed just until each egg is incorporated. Stop mixing as soon as the last egg disappears into the batter. Overmixing adds air, which causes cracks.
- Pour the filling over the cooled crust in the prepared springform pan.
- Place the foil-wrapped pan into a larger roasting pan. Carefully pour hot water into the roasting pan until the water reaches about halfway up the sides of the springform pan. This water bath creates steam for even baking.
- Bake for 60 to 75 minutes. The edges should look set, but the center 2 inches should still have a slight jiggle when gently nudged.
- Turn off the oven, but leave the cheesecake inside with the oven door propped open slightly (use a wooden spoon) for 1 hour. This slow cooling prevents sudden temperature changes that cause cracking.
- Remove the cheesecake from the water bath and foil. Let it cool completely on a wire rack at room temperature for another hour.
- Cover the cheesecake loosely with plastic wrap and refrigerate for at least 6 hours, or preferably overnight, before serving. This step is essential for the dense texture.
Notes
- Use room temperature ingredients for the filling; this prevents lumps and ensures a smooth batter.
- Do not skip the water bath; it keeps the cheesecake moist and creamy.
- Chill time is mandatory; the texture firms up significantly as it cools completely.
- Prep Time: 25 min
- Cook Time: 75 min
- Category: Dessert
- Method: Baking
- Cuisine: American
Nutrition
- Serving Size: 1 slice
- Calories: 450
- Sugar: 35
- Sodium: 250
- Fat: 30
- Saturated Fat: 18
- Unsaturated Fat: 12
- Trans Fat: 0.5
- Carbohydrates: 38
- Fiber: 1
- Protein: 8
- Cholesterol: 120