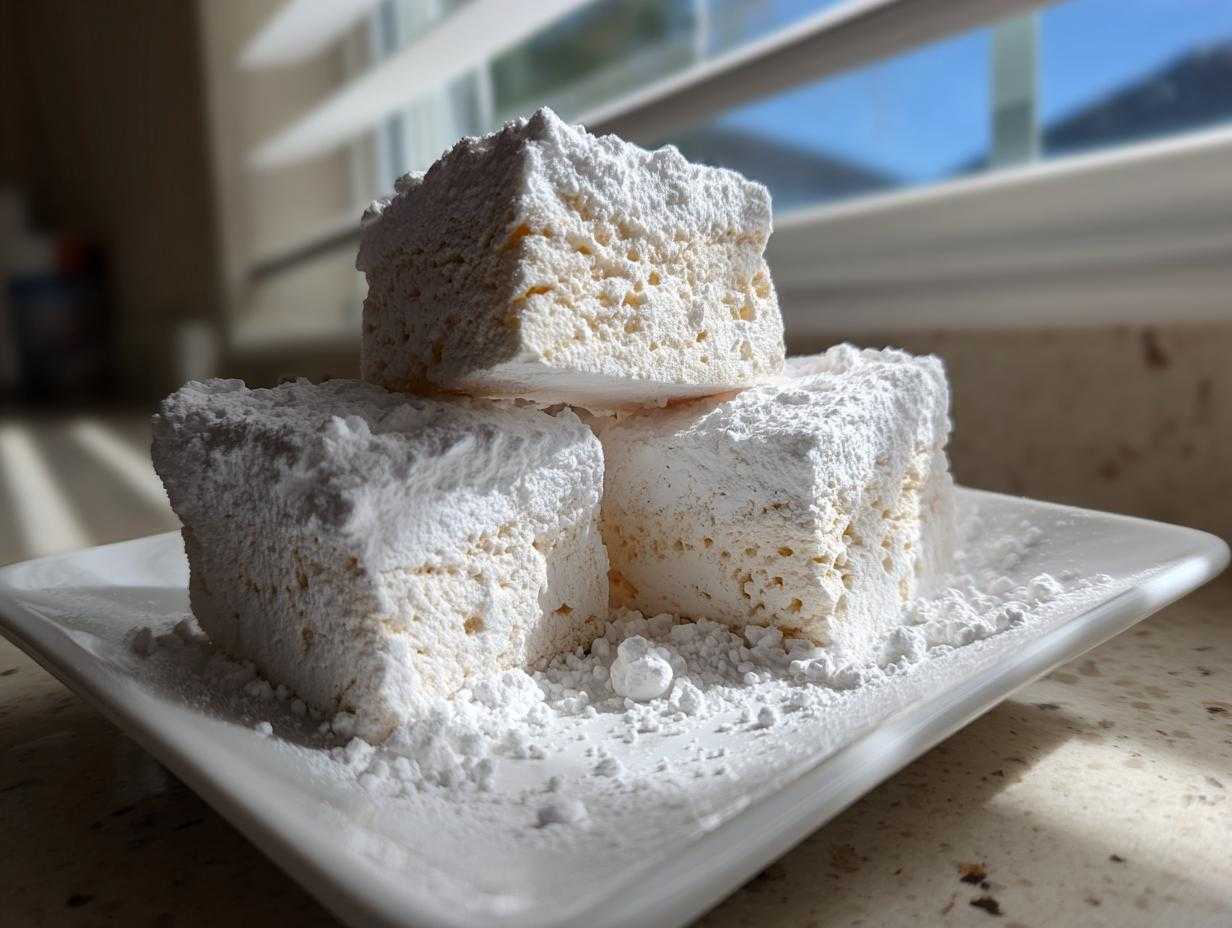
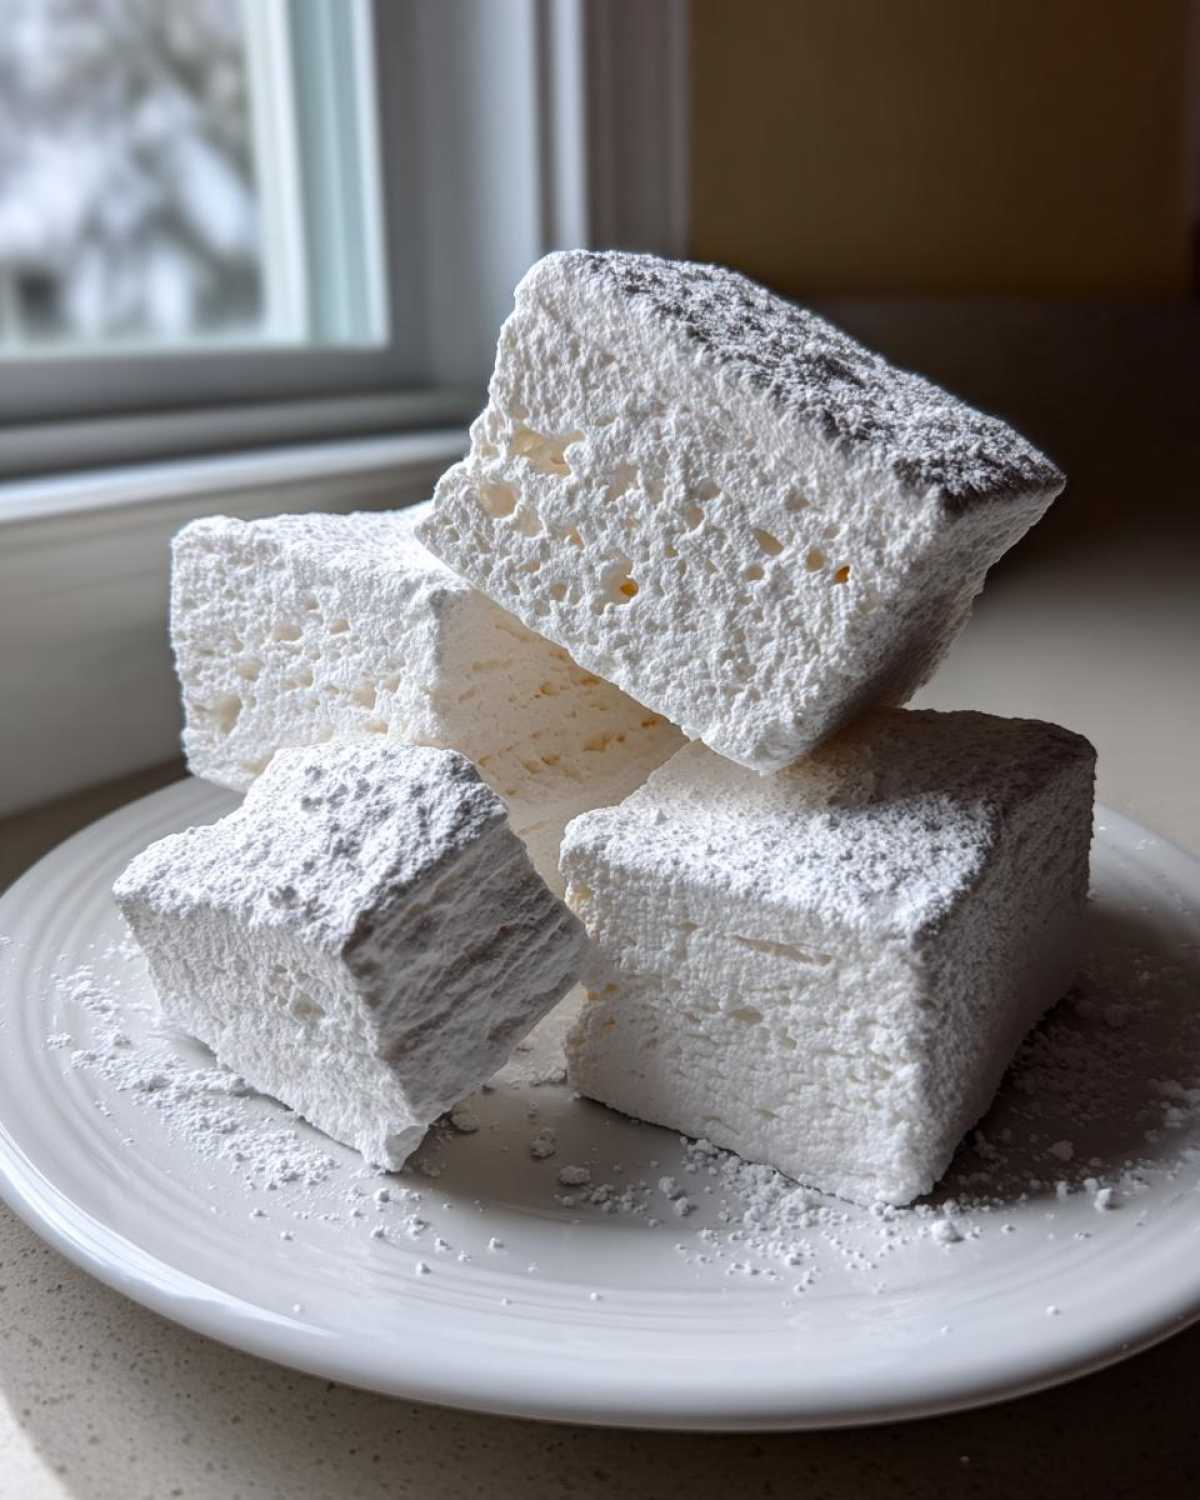
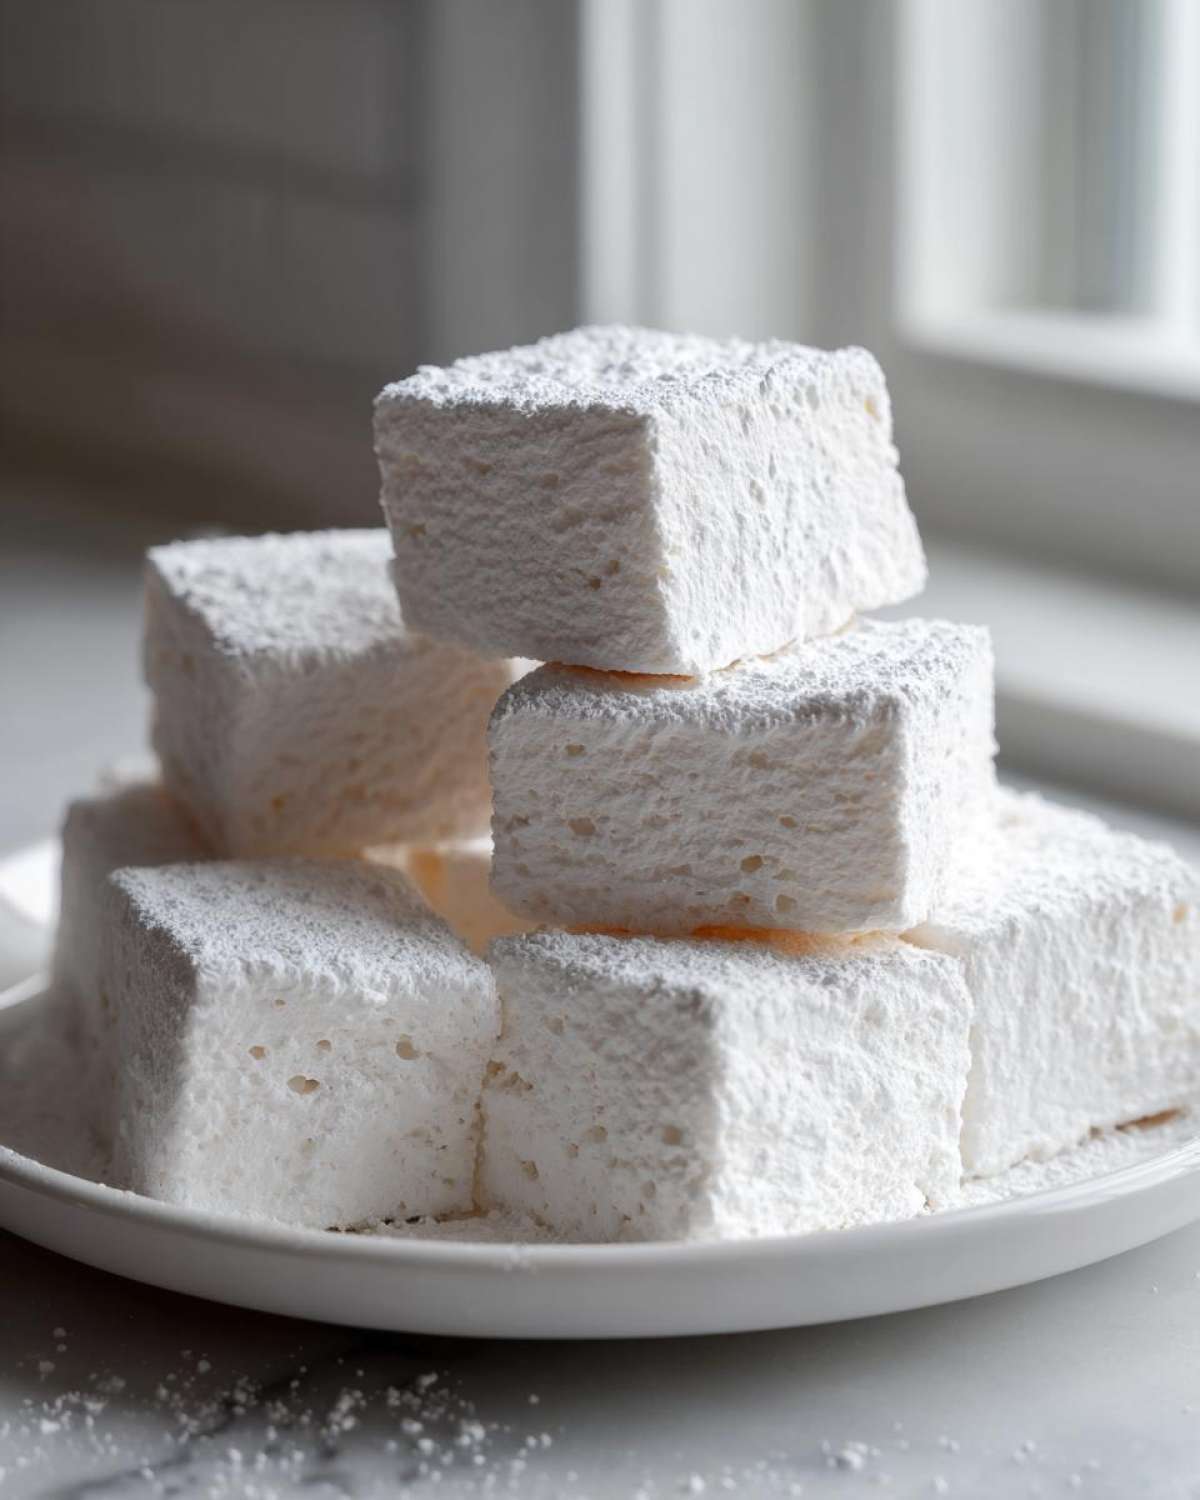
Oh, you guys! I swear, sometimes the simplest pleasures are the most rewarding, and whipping up a batch of homemade marshmallows is one of my absolute favorites. Liam used to buy those little stiff white cubes, but honestly? There is no comparison. These are soft, pillowy, and they legitimately melt in your mouth before they even hit your hot cocoa!
This is totally that ‘Child Recipe’ spirit here—we aren’t agonizing over precision; we are just having a joyful little kitchen performance! We used to think candy making was scary, but trust me, I, Sara, promise you that once you see how easy this is, you’ll toss the bag from the store out forever. Get ready for the fluffiest sweets ever!
Why Our Homemade Marshmallows Recipe is Your New Favorite Soft Chewy Candy
Honestly, ditching the store-bought stuff is a revelation! We’ve been there, Liam tries to make his famous holiday poke cake using those sad, dense cubes from the store, and it just doesn’t feel right. Our homemade marshmallows change everything, trust me!
Why are they better? It’s all about the joy and texture we aim for with every pillowy homemade sweet.
- They are unbelievably soft and pillowy—like holding a cloud!
- The flavor payoff when you use pure vanilla is just superior. Forget that fake taste!
- Making them feels like a fun show, just the two of us laughing while the mixer whirs away.
We call them our perfect soft chewy candy because they are lighter than actual fudge but hold together beautifully. You’ll see what I mean when you taste one!
Gathering Supplies for Perfect Homemade Marshmallows
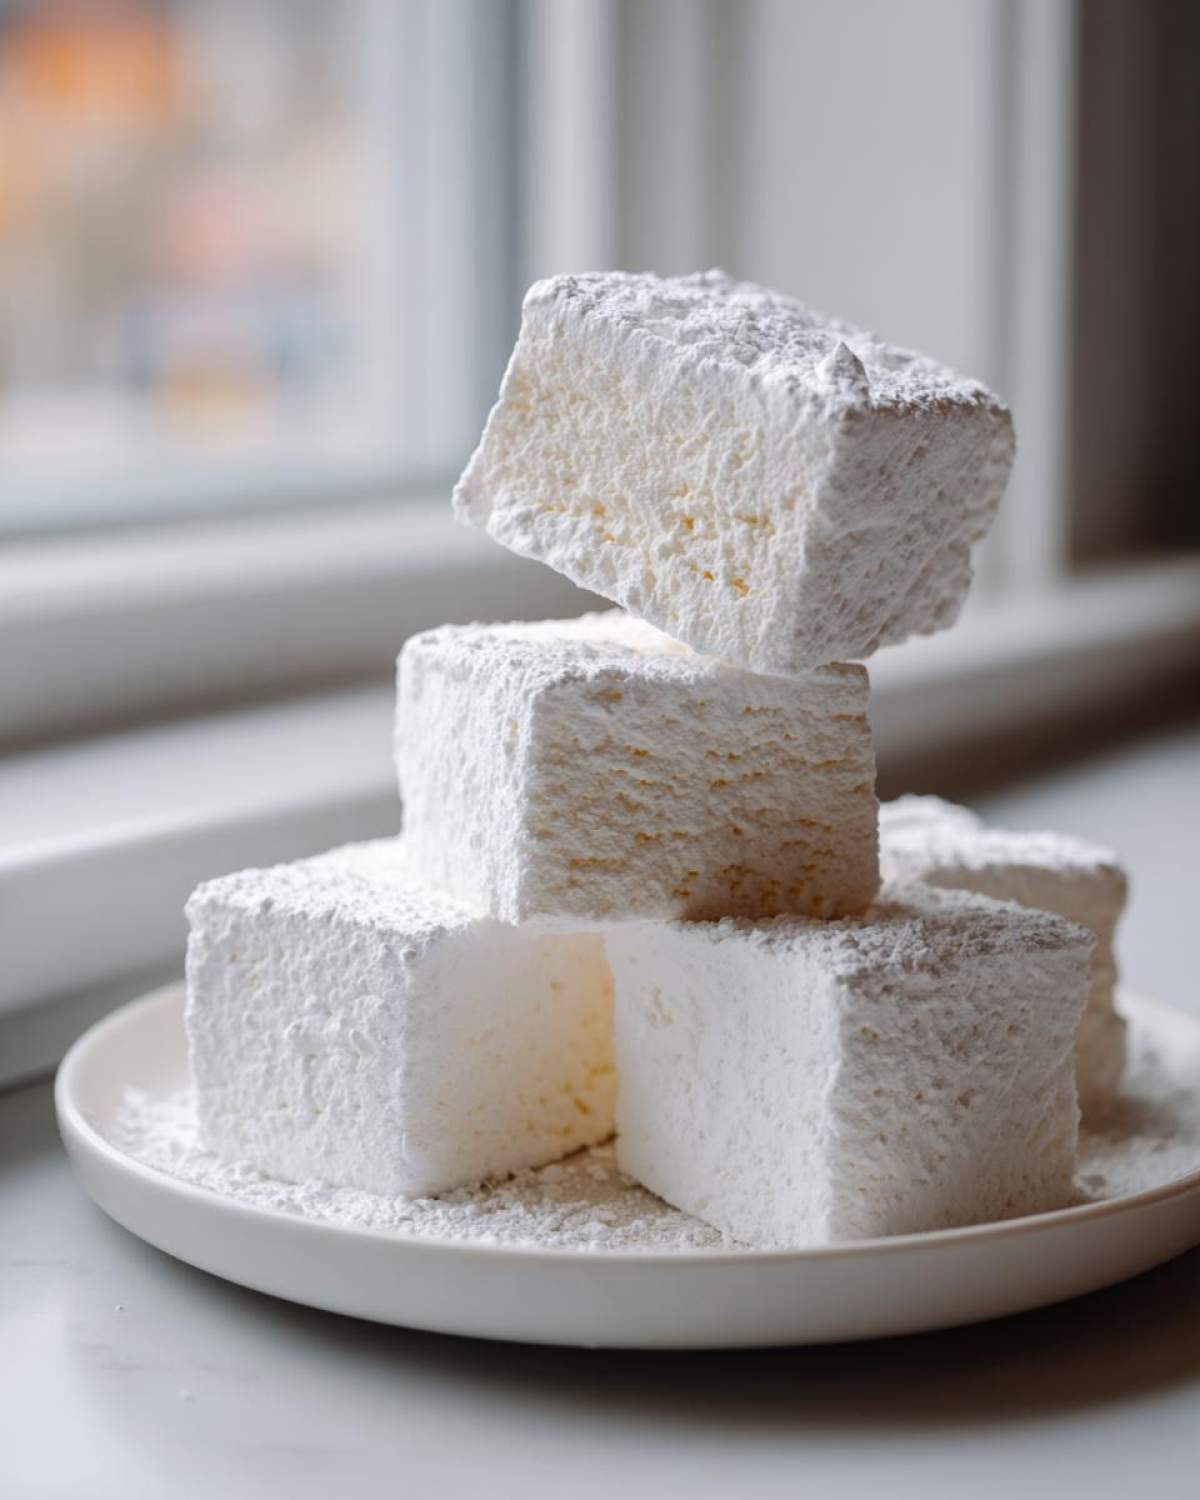
Okay, before we get to the good stuff—the sweet, sweet gelatin mix—we need our stage set. This isn’t the time for measuring cups and old spoons; we need some serious action for these fluffy homemade marshmallows. You absolutely must have access to a great stand mixer. Don’t even think about trying to hand-whip this; your arm will fall off before you get any height!
You’ll also need a 9×13 inch pan ready to go, and this is where Liam always gets serious: you need a candy thermometer. Seriously, don’t try to guess the temperature on that sugar syrup. Liam says if you miss the 240°F mark, the texture will be way off. He says the thermometer is non-negotiable if you want that melt-in-your-mouth result instead of stiff rubber!
Ingredients for the Best Marshmallow Recipe
Alright, gathering our ingredients is where we lay the groundwork for the actual magic. Liam calls this our ‘starting lineup.’ We need precision here, especially with the sugars and syrups, because that’s what gives us the right structure for these incredible homemade marshmallows.
I know some of you might be looking for no corn syrup marshmallows, and while this classic recipe relies on it to get that perfect whip and chew—it’s worth it for the texture! We’ll talk later about cleaner swaps, but for this standard batch, grab these things:
- 3 tablespoons unflavored gelatin powder
- 1/2 cup cold water (This is just for the gelatin to get happy and bloom!)
- 1 1/2 cups granulated sugar
- 1 cup light corn syrup
- 1/2 cup water (This goes into the hot syrup mix)
- 1/4 teaspoon salt
- 1 tablespoon pure vanilla extract (Listen up: if you want truly gourmet marshmallows, use vanilla bean paste here! The flavor jump is huge!)
- 1/2 cup powdered sugar, for dusting
- 1/2 cup cornstarch, for dusting
The cornstarch and powdered sugar are essential for cutting later on; they are what keeps our adorable squares from sticking together into one giant, delicious block. Speaking of delicious blocks, if you love this combo, you just have to check out Liam’s recipe for his fudgy brownies with a marshmallow swirl—it’s pure comfort food!
How to Make Marshmallows From Scratch: Step-by-Step Instructions
This is it, the main event! Making homemade marshmallows is really just a fun sequence of timing events. Remember, we are aiming for that incredible cloud-like texture, so pay attention when the syrup hits that magic temperature. I remember the first time Liam made these; the stand mixer sounded like a tiny jet taking off it was whipping so fast! I actually ran in from the other room just to see the transformation. It’s wild how much fluff comes from liquid!
Preparing the Gelatin and Syrup Base for Fluffy Homemade Marshmallows
Get started right away by blooming your gelatin. You sprinkle that powder over the cold water (the first 1/2 cup) and just let it sit there looking sad for about ten minutes. While it’s doing its thing, you combine the sugar, corn syrup, and the second 1/2 cup of water in a saucepan. Heat that up until the sugar dissolves, and then you just let it boil without stirring until your candy thermometer screams 240 degrees Fahrenheit! That soft-ball stage is crucial; too cool, and they won’t set, too hot, and they’ll be hard rock candy. Trust me on the thermometer! When you finally master that temperature swing, you’ll be whipping up gourmet marshmallows like a pro.
Whipping the Homemade Marshmallows to Pillowy Perfection
Once you hit that temperature, pull the syrup right off the heat! Now, this is the tricky, but exciting part: turn your mixer on low and pour that super-hot syrup in slowly over the bloomed gelatin. Don’t splash yourself! Once it’s all incorporated, crank that mixer up to high speed. You have to whip these homemade marshmallows for a full 12 to 15 minutes. They will go from foamy liquid to thick, glossy, incredibly voluminous fluff—it’s mesmerizing to watch. When it looks like gorgeous, stiff whipped cream, you’re nearly done! Flavorings go in right at the end.
Cutting and Dusting Your Soft Chewy Candy
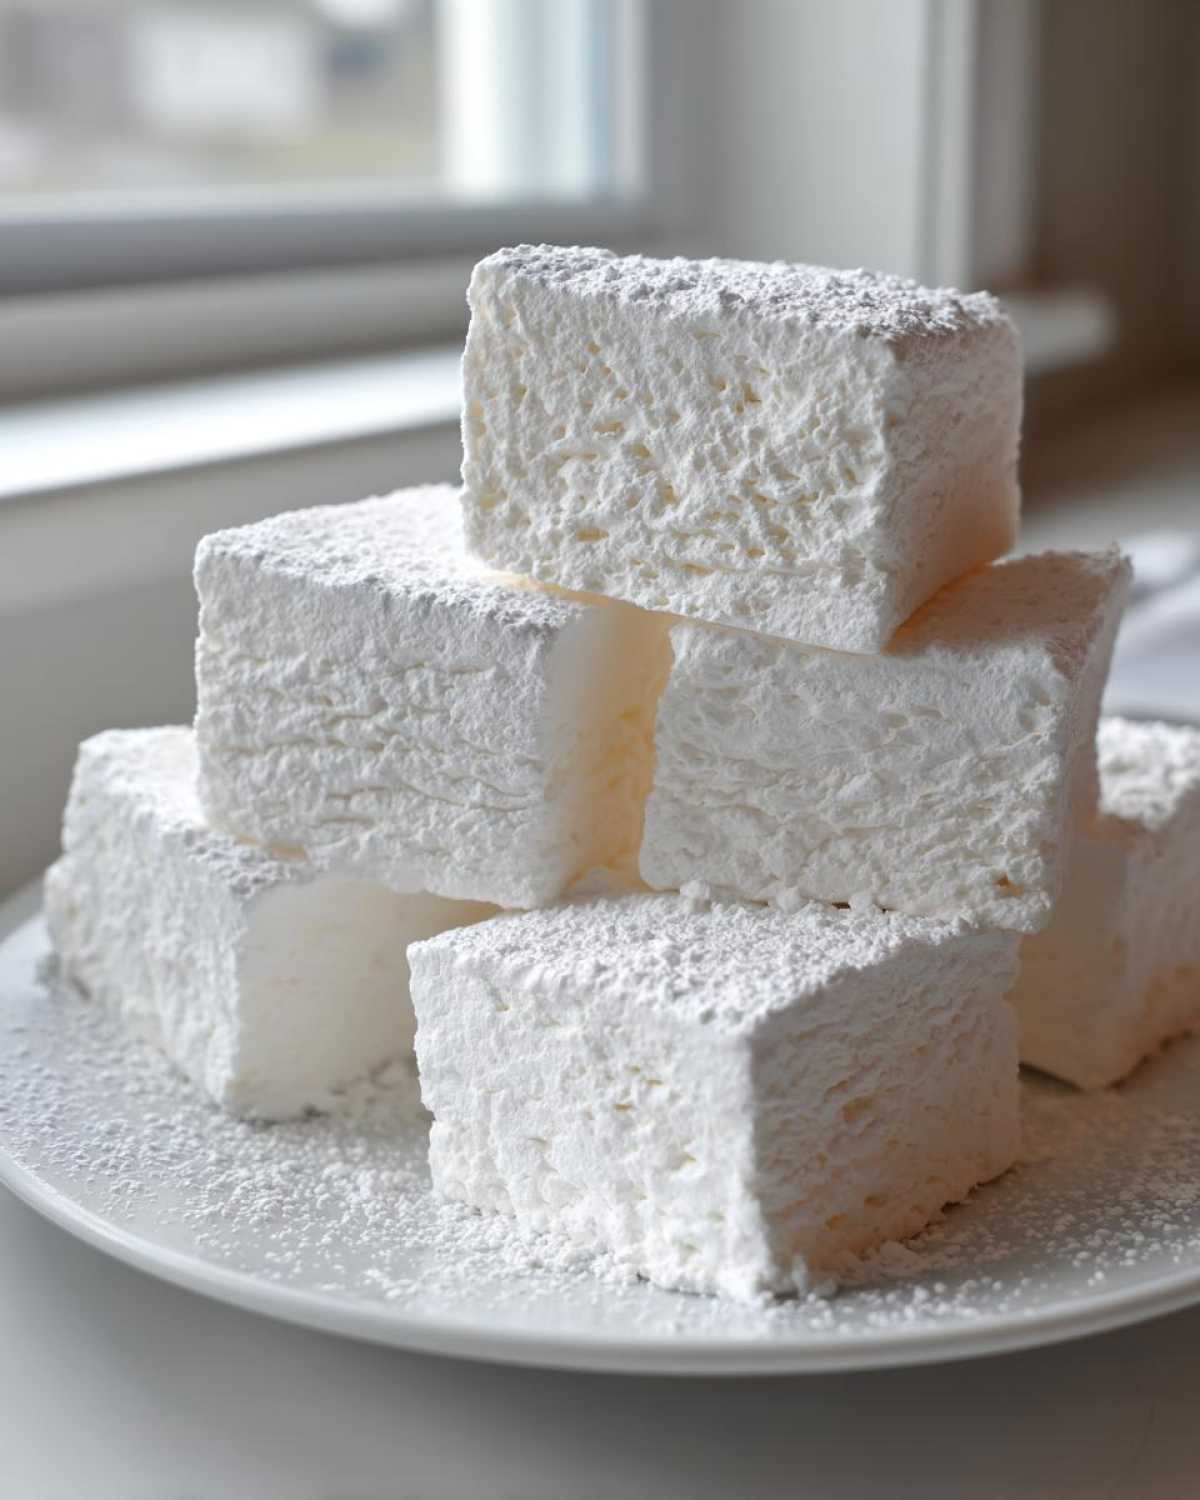
Once the vanilla is mixed in, pour that glorious goo into your prepared, heavily dusted 9×13 pan. Spread it out gently; we don’t want to knock out all that air we just worked so hard to create! Dust the top gently, too. Then, you wait! They need at least four hours to set up solid at room temperature; never put them in the fridge, or they get sticky and weird. When they are firm, turn the slab out onto more dust. Grab a large, sharp knife or maybe even a pizza cutter for the cleanest look, and slice them into squares. Toss those cut edges in the remaining powder so they don’t grab onto each other. Then you can dip them in cocoa or toast them over a fire—yum! If you want to get ready for winter sipping, you should definitely check out how to make slow cooker peppermint hot chocolate to go with these!
Tips for Success When Making Homemade Marshmallows
Okay, Liam and I only learned the hard way, so let me save you a little drama! If you want those adorable little shapes for a party, you need to get organized before the mixture sets up completely. About two hours in, the mixture is still soft enough to handle cookie cutters. You just press down firmly, cut out your shapes, and then toss those in the powder mixture right away. No one wants melted, sticky-edged shapes!
Also, about flavor: if you skip that vanilla bean paste option, you’re missing out on the true gourmet marshmallow experience. We’re using corn syrup here because it’s the gold standard for that fluffy structure, but if you’re exploring natural homemade marshmallows later, just know that some other sweeteners can make the final texture a little denser. This recipe right here is pure, classic fluffiness, perfect for topping a lovely batch of vanilla buttercream frosting for contrast!
Creative Uses for Your Fluffy Homemade Marshmallows
Now that you have a whole slab of these glorious, pillowy homemade sweets, what on earth do you do with them? Well, you shouldn’t just eat them straight over the sink like I sometimes do—though I highly encourage that too! The best use for these is definitely upgrading something simple into something spectacular.
First, marshmallows for hot chocolate! Seriously, forget the tiny, stale things you usually buy. When you drop one of these into a mug of hot cocoa, they melt into this luxurious, vanilla-infused cloud. If you’re making cocoa from scratch, you must try Liam’s recipe for peppermint hot chocolate bombs—paired with our marshmallows, it’s next level.
And of course, we have to talk about s’mores! Having fantastic homemade s’mores ingredients makes all the difference. Toasting these beauties achieves a caramelization you just can’t get from the store-bought kind. If you’re looking for ideas on making the ultimate gooey sandwich, peek over at this site for guidance on how to assemble the perfect s’more!
Storing Your Homemade Marshmallows
So, you’ve made the absolute best candy in the world, and now you have this giant, pristine slab of fluff sitting on your counter. Don’t panic! You need to store these little treasures correctly so they keep their perfect texture. I tried refrigerating mine once because I thought they needed to be cold, but oops! That was a mistake. They got wet fast.
The key to keeping these soft chewy candies happy is keeping them dry and sealed up right. You want to seal them in an airtight container, making sure they are very well dusted with that cornstarch/sugar mix before they go in. Seriously, don’t skip dusting them first, or they will all fuse!
If you keep them sealed up tight at room temperature—no hot spots near the oven, please!—they stay wonderfully fresh for up to two weeks. Yes, two whole weeks of fluffy treats just waiting for a cup of cocoa or an afternoon snack. We usually end up gifting half our batch because we can’t eat that many, and they travel really well if packed properly! They just maintain that glorious, pillowy texture perfectly on the counter.
Frequently Asked Questions About Homemade Marshmallows
I know you might have a few lingering questions if this is your first time bringing these little puffs to life! Don’t sweat it; that’s what this FAQ section is for. We want you walking away feeling totally confident about your first batch of fluffy homemade marshmallows. People always ask me the little technical things that can make or break the final look.
Can I make a marshmallow fluff recipe consistency instead?
Oh, absolutely! If you want that super light, spreadable topping instead of the chewy squares, you just need to adjust the whipping time. Instead of the full 12 to 15 minutes we talk about in the main steps, whip them for only about 8 to 10 minutes. You want it to look glossy and soft, but definitely not reaching those stiff peak stages. It will be thinner when you pour it into the pan, creating a beautiful, airy topping.
What is the best way to get clean cuts on my homemade marshmallows?
This is a classic sticking point! You need a heavy dusting everywhere—on your cutting surface and on your knife or cutter. Seriously, go heavy with that powdered sugar and cornstarch mix. Liam swears by using a pizza cutter for the cleanest edge, but a large, sharp chef’s knife works great too. Just wipe the blade down with a little oil or more powder after every third or fourth cut. Clean cuts equal beautiful gourmet marshmallows!
Are these the best marshmallow recipe for gifting homemade treats?
They totally are! Nothing beats gifting something you made with your own two hands. But here’s the key for gifting: you absolutely, positively must let them dry out and set completely—I mean, let them sit for a full day if you can spare them. Once they are cut, make sure every single cut edge is heavily tumbled in that powder mixture. Then, package them up right away in pretty jars or cellophane bags, and people will be thrilled with these incredible homemade marshmallows. If you’re gifting, they pair perfectly with a nice cup of cocoa or maybe even a recipe for a fancy s’mores martini!
Nutritional Estimates for Homemade Marshmallows
Okay, let’s talk numbers for a second—I know some of you are curious about what you’re whipping up here! Since this recipe is so straightforward, the nutritional profile is pretty clear, focusing mostly on the sugars we use for that fluffy texture. Just remember Liam’s philosophy: this is food made with joy, not for tracking macros!
These estimates are based on our recipe yielding about 48 squares, but please take them with a grain of salt—or, you know, a pinch of cornstarch! Results can totally change depending on the exact brand of corn syrup or sugar you use. This is just a good ballpark when you’re preparing your pillowy homemade sweets.
- Serving Size: 1 square (around 1/48th of the batch)
- Calories: About 105
- Total Sugar: 25g (Yep, they’re sweet, that’s the point!)
- Carbohydrates: 27g
- Protein: 1g
- Fat: 0g
It’s fun because every ingredient we use here is totally pure—no weird additives, which is why these are miles better than anything pre-packaged. So, when you’re making these for a holiday treat or just because you deserve something delicious, know that you are controlling exactly what goes into your snack!
Share Your Homemade Marshmallows Creations!
Alright, my favorite part: seeing your kitchen performances! Now that you’ve wrestled the mixer and conquered the candy thermometer, I absolutely need to know how your homemade marshmallows turned out. Did you get that perfect cloud-like fluff Sara was raving about? Please, don’t keep the joy to yourselves!
I want to see what you’re doing with your beautiful stash of soft chewy candy! Are you cutting them into perfect squares for gifting? Or did you immediately toast them over the grill for the ultimate homemade s’mores experience? Tell us in the comments below what you plan to use them for—or if you just ate the whole batch straight from the pan (no judgment here!).
If you have photos or want to send us crazy flavor ideas for the next batch, send them our way through the contact page. We are always looking for inspiration to fuel our next culinary show! Happy baking, everyone!
Print
Easy, Fluffy Homemade Vanilla Marshmallows (The Best Basic Recipe)
- Total Time: 4 hours 50 min
- Yield: About 48 large squares 1x
- Diet: Vegetarian
Description
Make soft, pillowy homemade marshmallows from scratch. This easy recipe results in melt-in-your-mouth perfection that beats store-bought versions every time. Perfect for hot chocolate or s’mores.
Ingredients
- 3 tablespoons unflavored gelatin powder
- 1/2 cup cold water (for blooming gelatin)
- 1 1/2 cups granulated sugar
- 1 cup light corn syrup
- 1/2 cup water (for syrup)
- 1/4 teaspoon salt
- 1 tablespoon pure vanilla extract (or vanilla bean paste for gourmet flavor)
- 1/2 cup powdered sugar, for dusting
- 1/2 cup cornstarch, for dusting
Instructions
- Lightly grease a 9×13 inch baking pan. In a small bowl, sprinkle the gelatin over the 1/2 cup of cold water. Let it sit for 5 to 10 minutes to bloom.
- In a medium saucepan, combine the granulated sugar, corn syrup, and 1/2 cup of water. Heat over medium heat, stirring until the sugar dissolves. Stop stirring once it boils.
- Use a candy thermometer to cook the syrup until it reaches 240 degrees Fahrenheit (soft-ball stage). Remove the syrup from the heat immediately.
- Pour the hot syrup slowly into the bowl of a stand mixer fitted with the whisk attachment. Add the bloomed gelatin mixture. Beat on low speed until the gelatin is dissolved.
- Increase the speed to medium-high and whip for 12 to 15 minutes until the mixture is very thick, glossy, and has cooled down significantly. It should hold stiff peaks.
- Beat in the vanilla extract and salt during the last minute of mixing.
- Prepare your dusting mixture by whisking together the powdered sugar and cornstarch in a separate bowl. Generously dust the prepared baking pan with this mixture.
- Pour the marshmallow mixture into the prepared pan. Use an offset spatula lightly coated in oil or dusting powder to spread it evenly. Dust the top surface lightly with more of the powdered sugar and cornstarch mixture.
- Let the marshmallows set, uncovered, at room temperature for at least 4 hours, or preferably overnight. Do not refrigerate.
- Once set, turn the marshmallow slab out onto a surface heavily dusted with the remaining powder mixture. Use a large, sharp knife or a pizza cutter (for clean cuts) to cut the slab into squares. Toss the cut edges in the powder mixture to prevent sticking.
- Store your soft chewy candy in an airtight container at room temperature for up to two weeks.
Notes
- For vanilla bean marshmallows, scrape the seeds from one vanilla bean and add them with the vanilla extract in Step 5.
- If you want to make marshmallows for hot chocolate or s’mores, you can skip the final cutting step and use cookie cutters to make fun shapes before the mixture fully sets (about 2 hours in).
- To make marshmallow fluff recipe consistency, whip for only 8-10 minutes until slightly less stiff.
- These are excellent ingredients for homemade s’mores.
- Prep Time: 20 min
- Cook Time: 15 min
- Category: Dessert
- Method: Mixing/Whipping
- Cuisine: American
Nutrition
- Serving Size: 1 square
- Calories: 105
- Sugar: 25
- Sodium: 15
- Fat: 0
- Saturated Fat: 0
- Unsaturated Fat: 0
- Trans Fat: 0
- Carbohydrates: 27
- Fiber: 0
- Protein: 1
- Cholesterol: 0