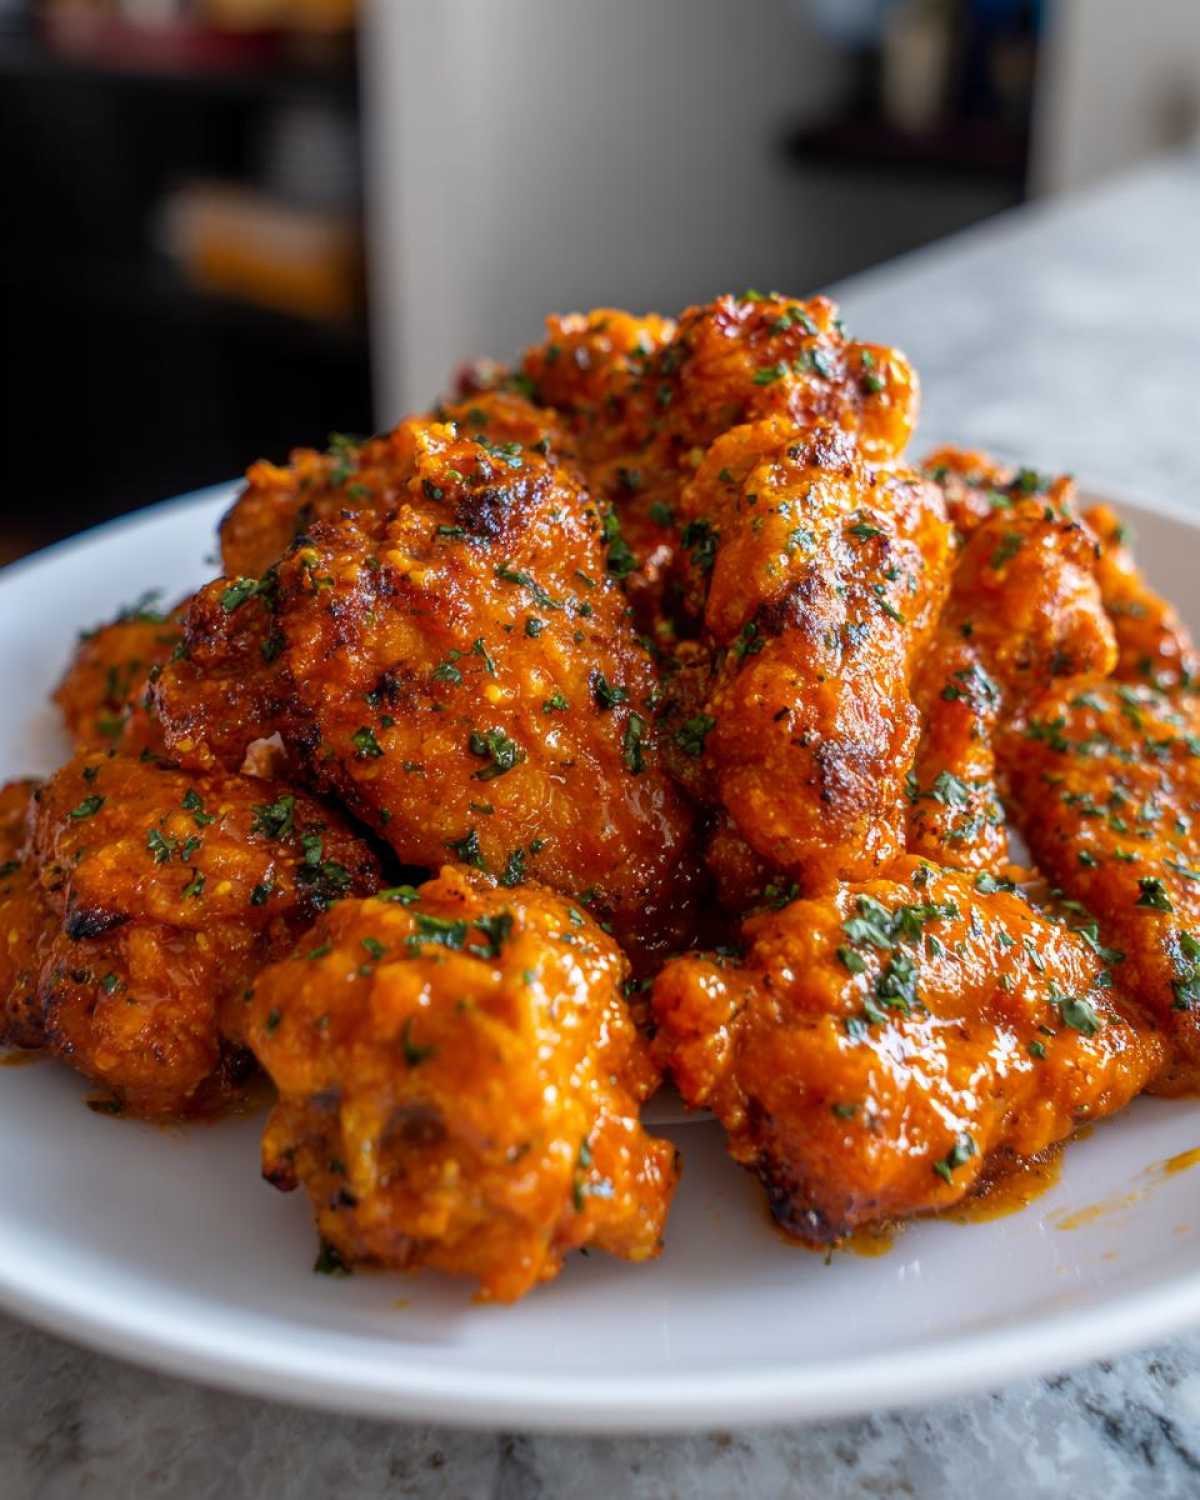
Okay, guys, stop what you’re doing! If you love crispy chicken wings but you are absolutely terrified of deep-frying—or just hate the cleanup, like me—then I have found the ultimate magic trick. Liam used to make amazing wings, but wow, the oil splatter was scary! Now, we make these Extra Crispy Baked Chicken Wings right in the oven, and they are unbelievably shatter-crisp. This isn’t just a recipe; it’s a technique that turns humble chicken wings into the perfect, easy party snack. Trust me, once you try the baking powder hack, you’ll never look back!
Why This Baking Powder Trick Makes the Best Crispy Chicken Wings
I know what you’re thinking: baking powder? Isn’t that for cakes? Yes! And it’s absolutely the secret weapon for killer homemade chicken wings. What’s happening here is pure chemistry, which Liam loves to explain, but for us cooks, it just means unbelievably crunchy skin without the fryer. The baking powder slightly raises the pH level on the chicken skin. This reaction speeds up the browning process and helps dry out the surface moisture during the bake, creating that beautiful golden crust.
It’s way better than just blasting the heat, because high heat alone often burns the sauce or dries out the meat before the skin even gets that deep, satisfying crunch. This technique gets you the professional texture you dream about.
Achieving Juicy Inside Crispy Outside Wings Every Time
That contrast is everything, right? We want those Juicy Inside Crispy Outside Wings. Because the baking powder works so hard on the exterior during the extended, high-heat bake, it essentially creates a protective, crunchy shell. This shell traps all the amazing natural juices inside the meat. We get the sound of shattering crispiness when you bite in, followed immediately by that tender, moist reward. It’s the best of both worlds for anyone making chicken wings!
Essential Ingredients for Extra Crispy Baked Chicken Wings
Getting these **chicken wings** right starts way before they hit the oven. We keep this ingredient list super tight because the technique does most of the heavy lifting. You need the wings, of course—about three pounds worth—but the real stars are the simple seasonings and, yes, that essential baking powder. Remember, we aren’t making a complicated marinade here; we are building a perfectly dry, seasoned surface.
Make sure you grab aluminum-free baking powder if you have it! It just seems to edge out the regular kind slightly when it comes to getting that gorgeous, even browning on the skin. Everything else is just salt, pepper, and maybe a tiny kick of garlic powder to season things up before they go into the oven looking beautifully naked.
Ingredient Notes and Substitutions for Your Chicken Wings
First things first: flats or drumettes? Use whatever you like! I usually mix them, but make sure you separate them completely—cramped wings don’t get crispy. The absolute #1 rule for the Best Chicken Wing Technique is moisture control. You must pat those wings completely dry, and I mean bone-dry, before mixing them with the coating. Also, keep in mind that any amazing **chicken wing** sauce—like Buffalo or Honey Garlic—gets tossed on *after* they come out of the oven. If you try to sauce them before baking, you’ll just steam them, and we are trying to defy physics here!
How to Prepare Your Oven Baked Wings for Maximum Crunch
Alright, now that we have our crispy seasoning blend ready to go, let’s talk setup. This is where we make sure our **Oven Baked Wings** get that blast of hot air they need all around—that’s the key to ditching the deep fryer! First, crank that oven up high, 425°F (220°C) is the sweet spot. Next, we assemble our special landing zone. You need a rimmed baking sheet lined with foil (for Liam’s sake, mostly) and, critically, you must put a wire rack on top of that foil. This rack is non-negotiable! It lets the fat drip away and allows air to circulate under the wings so they crisp up on the bottom, too.
After the setup, we move to the most important part before baking: getting them dry. Seriously, grab every paper towel you own. If the wings feel wet at all, the baking powder won’t work its magic. We want these things desert-dry before they meet their seasoned bath.
The Critical Technique for Crispy Chicken Wings
This part is where you put on your apron and get focused! After they are dry, dump those wings into the bowl with your baking powder mixture. Toss them vigorously! I mean, really get in there until every single piece of **chicken wing** looks dusty white. Then, arrange them on that wire rack we set up. They absolutely cannot be touching! Give them space to breathe and radiate heat. If they’re piled up, you’ll end up with sad, steamed wings, not the crispy gems we are aiming for. Remember that rule well!
For more fun, one-pan magic involving chicken, you might want to see Liam’s creamy Tuscan garlic chicken sometime, but trust me, for wings, precision spacing is everything!
Baking Instructions for Perfect No Fry Chicken Wings
Okay, the setup is done, the wings are coated, and the kitchen feels charged with anticipation! Now for the actual baking performance. We are locking the temperature in at 425°F. That high heat is crucial for rendering the fat and getting that skin tight and crisp. Pop that tray with the rack and the wings onto the middle rack in your preheated oven. They need about 25 minutes to work their magic on the first side. Seriously, resist the urge to check on them constantly; opening the door cools things down too much!
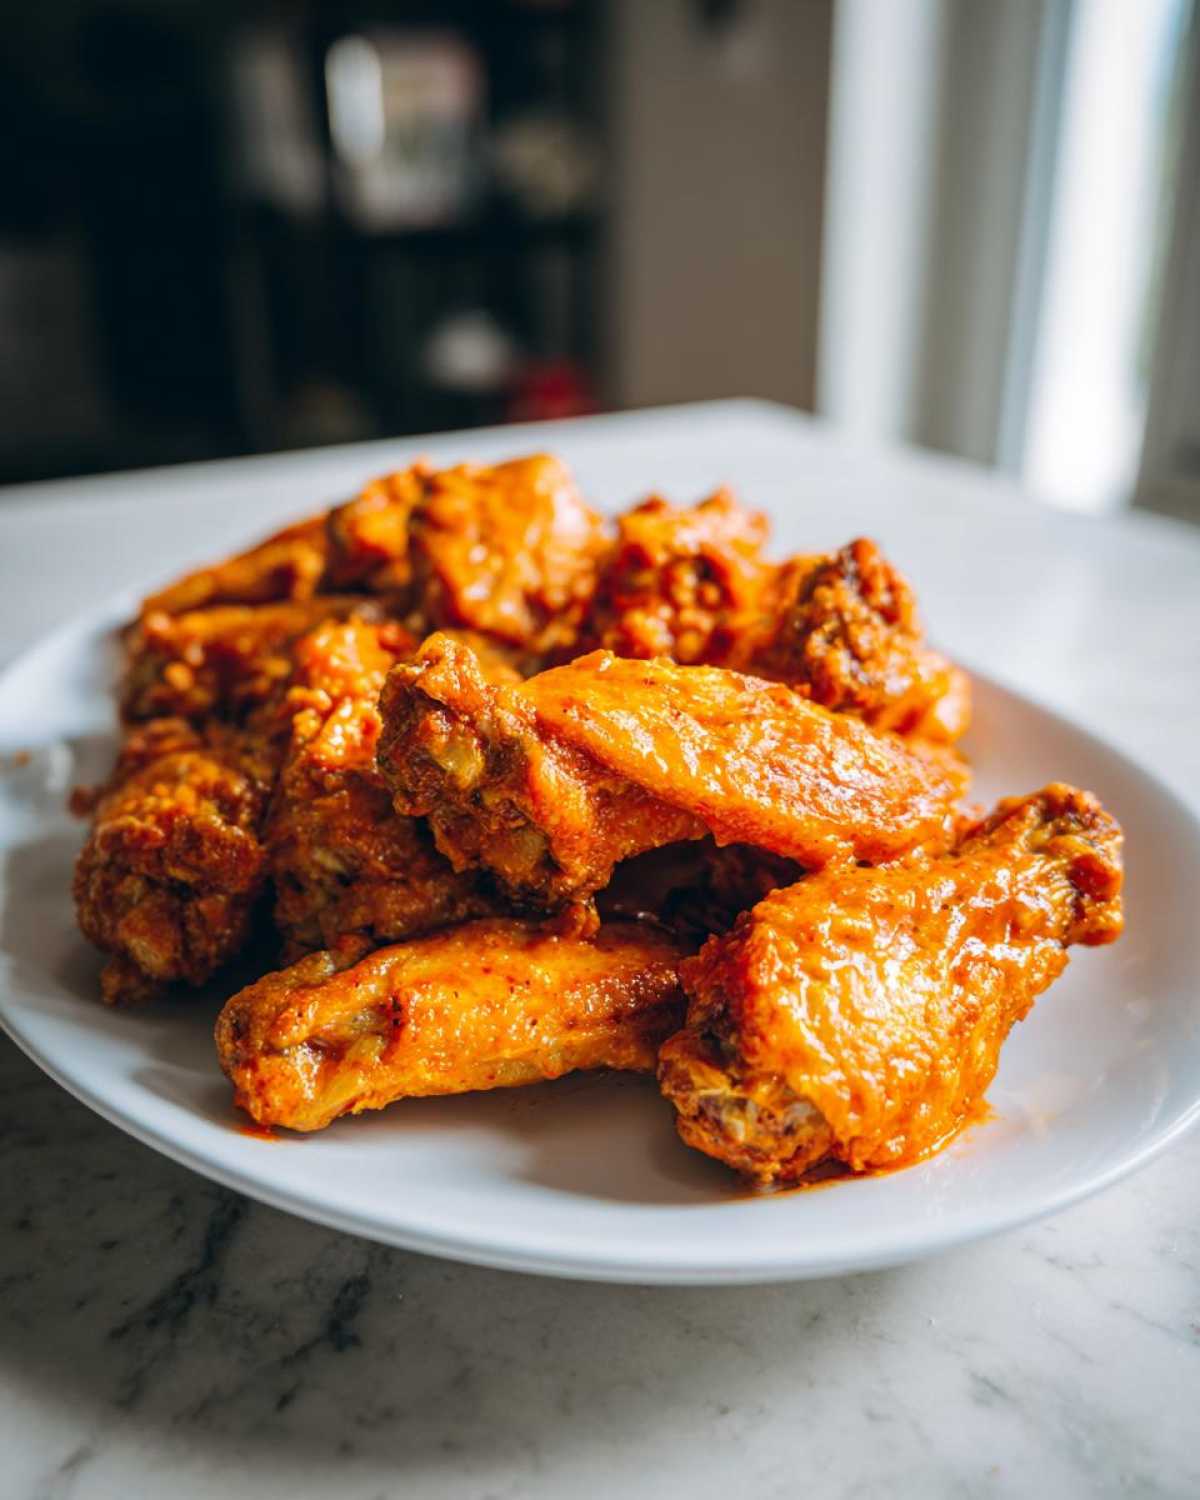
After those initial 25 glorious minutes, you need to grab your tongs and carefully flip every single **No Fry Chicken Wing**. This flip is non-negotiable for even crispiness; one side will look paler than the other. Then, slide them back in for another 20 to 25 minutes. Your total cook time is usually around 50 minutes. When they’re done, they should be deeply golden brown, and when you gently shake the pan, they should look tight and glossy, not flabby. If you want to see more of Liam’s crispy secrets, check out his tutorial on oven-fried chicken fingers—the principle is the same!
Flavoring Your Party Appetizer Wings After Baking
This is the grand finale, folks! The wings are out of the oven, they look perfect, and they are radiating that incredible roasted smell. Remember, we did all that work drying and baking to get that amazing crispness, so we have to handle the saucing carefully. You should immediately transfer these hot, crispy **Party Appetizer Wings** into a large, clean bowl—don’t let them sit on the cooling rack!
The heat of the wing is what melts and absorbs the sauce beautifully. If you are using a wet sauce, toss them gently until they are fully coated. If you want that ultra sticky, BBQ-style glaze, you can actually put them back under the broiler for just ninety seconds to two minutes. But seriously, watch them like a hawk! If you’re looking for some fun, saucy inspiration, you’ve got to check out Liam’s honey sriracha lil smokies recipe—it has that same sticky, craveable finish.
Quick Flavor Ideas for Game Day Chicken Wings
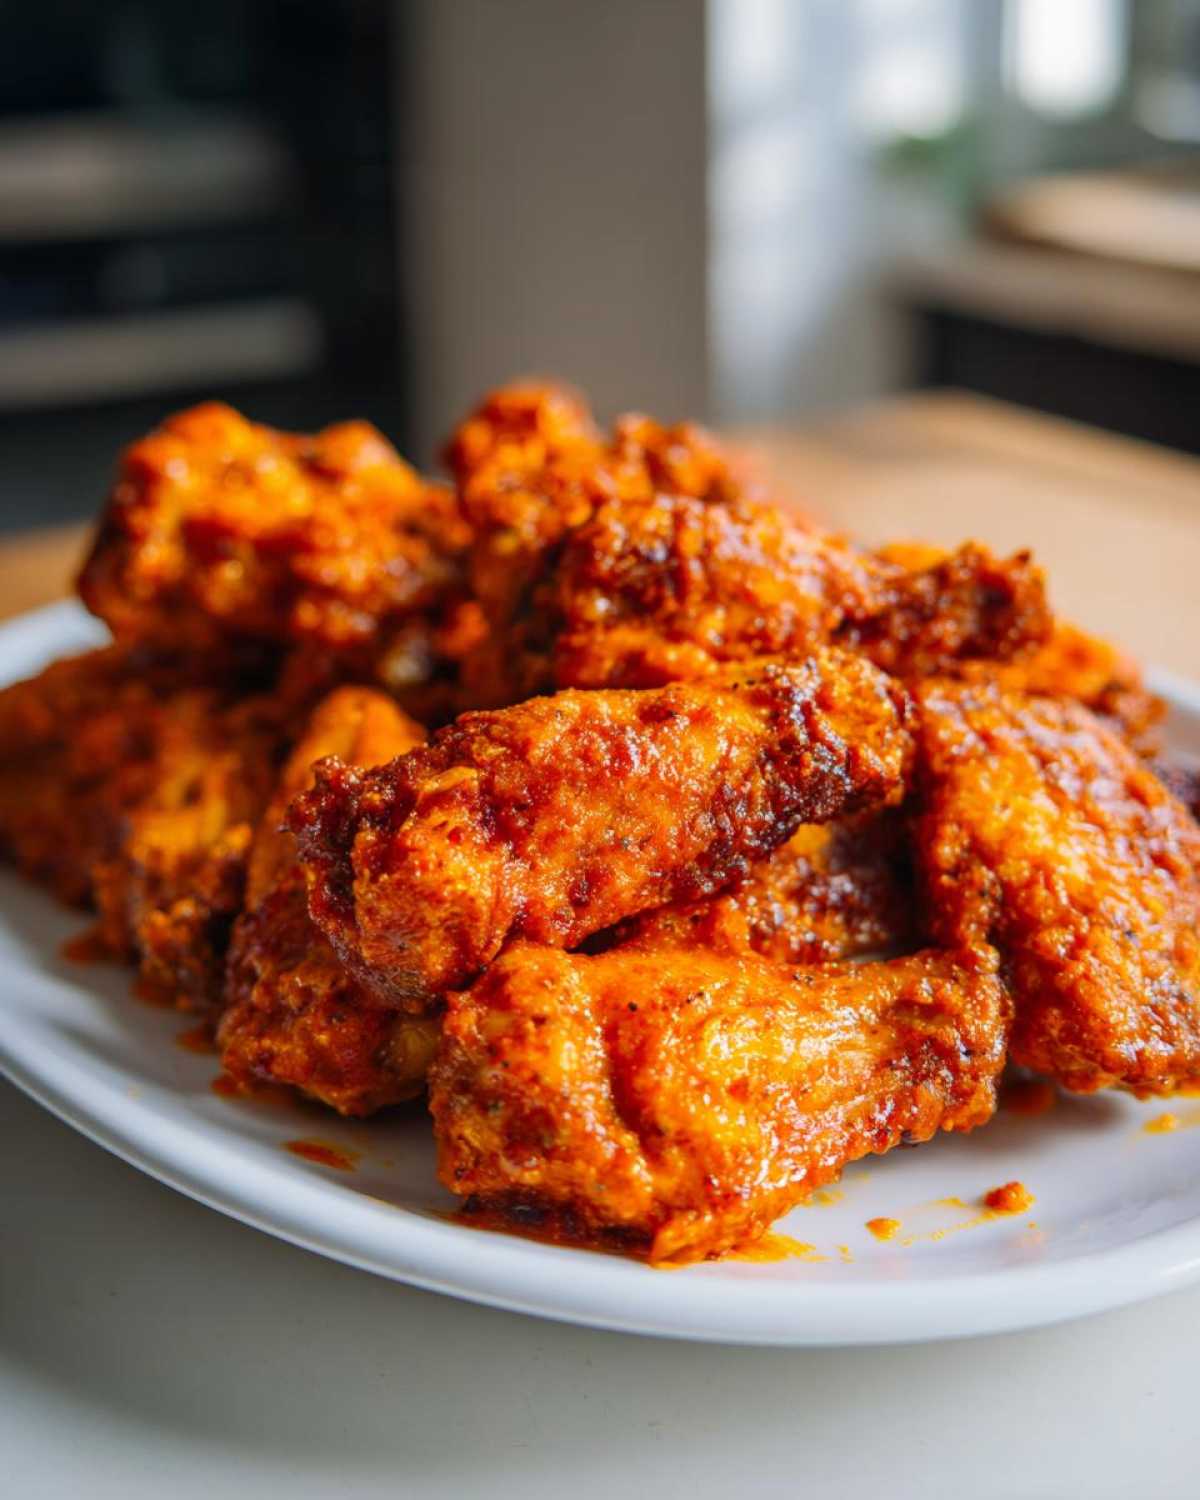
This base recipe works fantastically for any flavor you want! For classic heat, toss them in your favorite store-bought or homemade Buffalo Wing Sauce right away. If you prefer sweet and savory, a quick Honey Garlic glaze works wonders when tossed immediately. For a dry rub flavor, like that popular Lemon Pepper, just sprinkle it on while they are still hot and slightly greasy from the baking rack; it clings better that way! These are guaranteed to be the star of any **Game Day Chicken Wings** spread.
Tips for Making Air Fryer Chicken Wings with This Technique
I know, I know, we are baking experts now, but I hear you asking about the air fryer! The absolute best news? This baking powder trick works like a charm in the air fryer too, delivering that *Extra Crispy* promise, just faster. If you’re using your air fryer, you still need to pat those **chicken wings** bone-dry and coat them exactly the same way. That preparation is key, even in the air fryer!
For temperature, you’re going to want to drop down slightly from the oven, maybe around 395°F to 400°F. You’ll cook them for about 20 to 22 minutes total. Remember to shake the basket halfway through for even cooking. I did a trial run on my cinnamon sugar donuts and learned that air fryers cook faster and hotter than the oven, so keep an eye on them! If you try them, you must check out this great resource for other Air Fryer Chicken Wings ideas too!
Storing and Reheating Your Homemade Chicken Wings
Liam and I rarely have leftovers—usually because they are demolished before the game ends—but when we do, knowing how to properly store your **chicken wings** is crucial for a great second-day **Quick Chicken Wing Dinner**. The absolute biggest mistake you can make is storing them sauced! If you sauced them before the first bake, cool them completely first. Then, store them in an airtight container in the fridge for up to three days.
When it’s time to reheat, ditch the microwave! That’s the enemy of crispiness. The way to bring these back to life is either in your preheated oven (375°F for about 8 minutes) or, even better, pop them back into the air fryer for about 3 to 4 minutes. They come out perfectly crunchy again!
Frequently Asked Questions About Crispy Chicken Wings
I always get so many amazing questions after people try this technique for their **chicken wings**! Since this method is all about achieving bakery-level crunch right in your own home, naturally, people ask about the finer details of getting that texture perfect. Liam says that if you’re going to cook, you should cook with confidence, and Q&A sessions like this are how we build that confidence together.
We covered a lot in the steps above, but I wanted to tackle the questions I see the most, especially around safety and the crucial prep work. Don’t worry if you mess up the first time; that’s just part of the fun learning process we call ‘cooking!’ If you want to see how we use crispiness in a totally different way, check out Liam’s chicken katsu curry!
Can I skip patting the wings dry when making chicken wings?
Oh, my goodness, please don’t! If you skip patting your **chicken wings** completely dry, you might as well go ahead and just boil them! Moisture is the absolute enemy of crispiness. If the skin is wet when it hits that baking powder coating, you are basically just making a wet paste instead of a dry seasoning layer. That paste will steam in the oven, and you end up with soggy, sad skin instead of that beautiful, deep golden crunch we worked so hard for.
What is the best way to serve these chicken wings?
You must serve these right away, piping hot, straight off the rack! That fresh-out-of-the-oven crispiness fades almost instantly once they start sitting around, especially if they are sauced. For the full **Crowd Pleaser Appetizers** experience, I always arrange a platter with celery sticks and carrot sticks on the side. And you definitely need two dipping sauces—I usually do a classic Ranch on one side and maybe something slightly spicier or a blue cheese dip on the other. They disappear fast, I promise!
Share Your Culinary Performance
That’s it, my friends! You now have the secret script to the crispiest, most satisfying **chicken wings** you can make without ever turning on the deep fryer. Liam and I put our hearts into making sure this method is reliable, fun, and brings that blast of joy back into your game day spread or weeknight dinner.
Now it’s your turn to take center stage! I really, really want to know what flavor bombs you try tossing them in after they come out of the oven. Are you going classic Buffalo? Are you inventing a new dry rub? Don’t be shy!
Head down to the comments below and leave us a rating—five flames if you are obsessed with the zero-fry crispiness! Tell us how the baking powder trick worked for you. We love seeing your performances and getting inspired by your own culinary sparks. If you want to know more about me and how I manage to keep Liam’s lab organized, you can check out my little corner here: Meet the Muse, Sara! Happy cooking, and break a leg out there!
Print
Extra Crispy Baked Chicken Wings (No Fry Technique)
- Total Time: 65 min
- Yield: 4 servings 1x
- Diet: Low Fat
Description
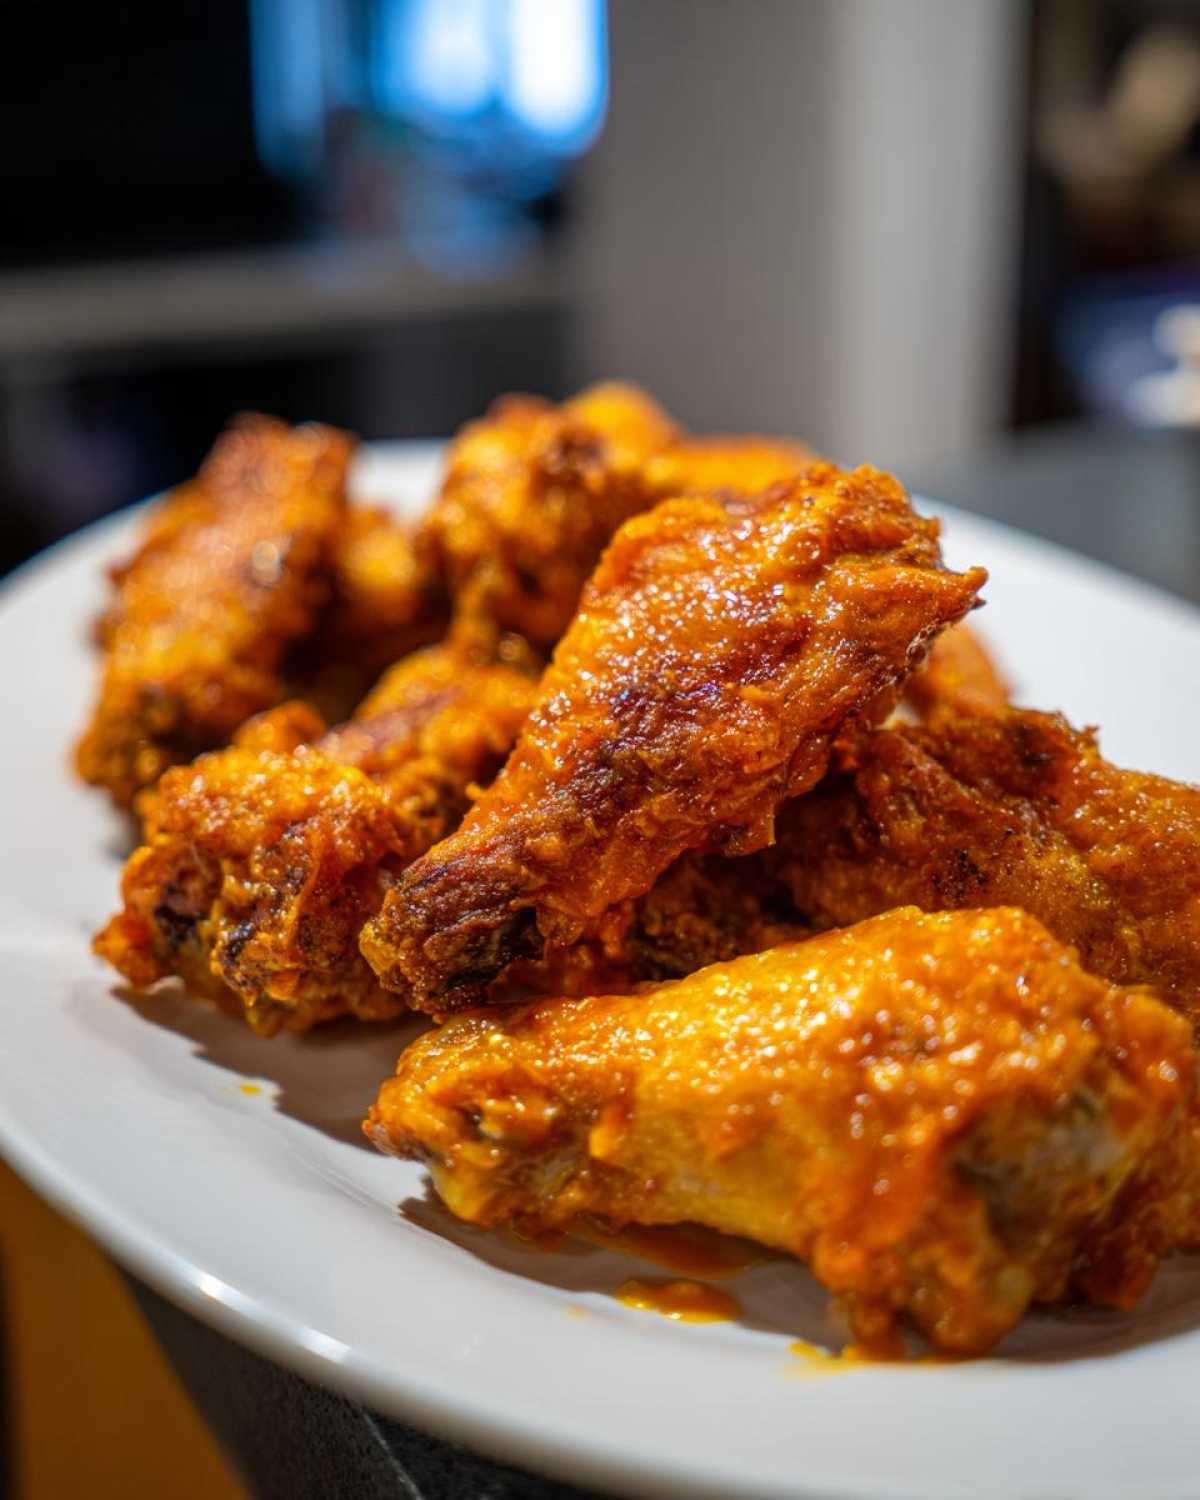
You can make incredibly crispy chicken wings in the oven without deep frying. This recipe uses a simple baking powder trick to achieve a crunchy exterior and juicy interior, perfect for game day or any party.
Ingredients
- 3 lbs chicken wings (flats and drumettes separated)
- 1 tablespoon baking powder (aluminum-free works best)
- 1 teaspoon salt
- 1/2 teaspoon black pepper
- 1/2 teaspoon garlic powder
- 1/4 teaspoon cayenne pepper (optional)
- Your favorite sauce for tossing (e.g., Buffalo, Honey Garlic, or Ranch seasoning)
Instructions
- Preheat your oven to 425 degrees Fahrenheit (220 degrees Celsius). Line a large, rimmed baking sheet with aluminum foil for easy cleanup. Place a wire cooling rack on top of the foil-lined sheet.
- Pat the chicken wings completely dry using paper towels. This step is crucial for crispiness.
- In a large bowl, whisk together the baking powder, salt, pepper, garlic powder, and cayenne pepper.
- Add the dried chicken wings to the bowl. Toss them thoroughly until every piece is evenly coated with the dry mixture. Do not skip this coating step.
- Arrange the coated wings in a single layer on the wire rack. Make sure the wings are not touching each other; give them space to breathe.
- Bake for 25 minutes.
- Carefully flip each wing over.
- Return the wings to the oven and bake for another 20 to 25 minutes, or until the skin is deeply golden brown and shatteringly crisp.
- Remove the wings from the oven. Immediately transfer the hot wings to a clean bowl.
- Toss the wings with your desired sauce or dry rub until they are fully coated.
- Serve your extra crispy baked chicken wings right away with dipping sauces.
Notes
- For the absolute crispiest skin, use aluminum-free baking powder. The baking powder raises the pH level of the skin, helping it brown and crisp faster.
- If you want to use a sauce like Buffalo or Honey Garlic, toss the wings in the sauce *after* they come out of the oven. You can return them to the oven under the broiler for 1-2 minutes to set the sauce, but watch them closely to prevent burning.
- If you are making a dry rub flavor like Lemon Pepper, toss the wings with the rub immediately after they come out of the oven while they are still hot and slightly moist from the rendered fat.
- Prep Time: 15 min
- Cook Time: 50 min
- Category: Appetizer
- Method: Baking
- Cuisine: American
Nutrition
- Serving Size: 4 wings
- Calories: 280
- Sugar: 1
- Sodium: 350
- Fat: 18
- Saturated Fat: 5
- Unsaturated Fat: 13
- Trans Fat: 0
- Carbohydrates: 1
- Fiber: 0
- Protein: 27
- Cholesterol: 95