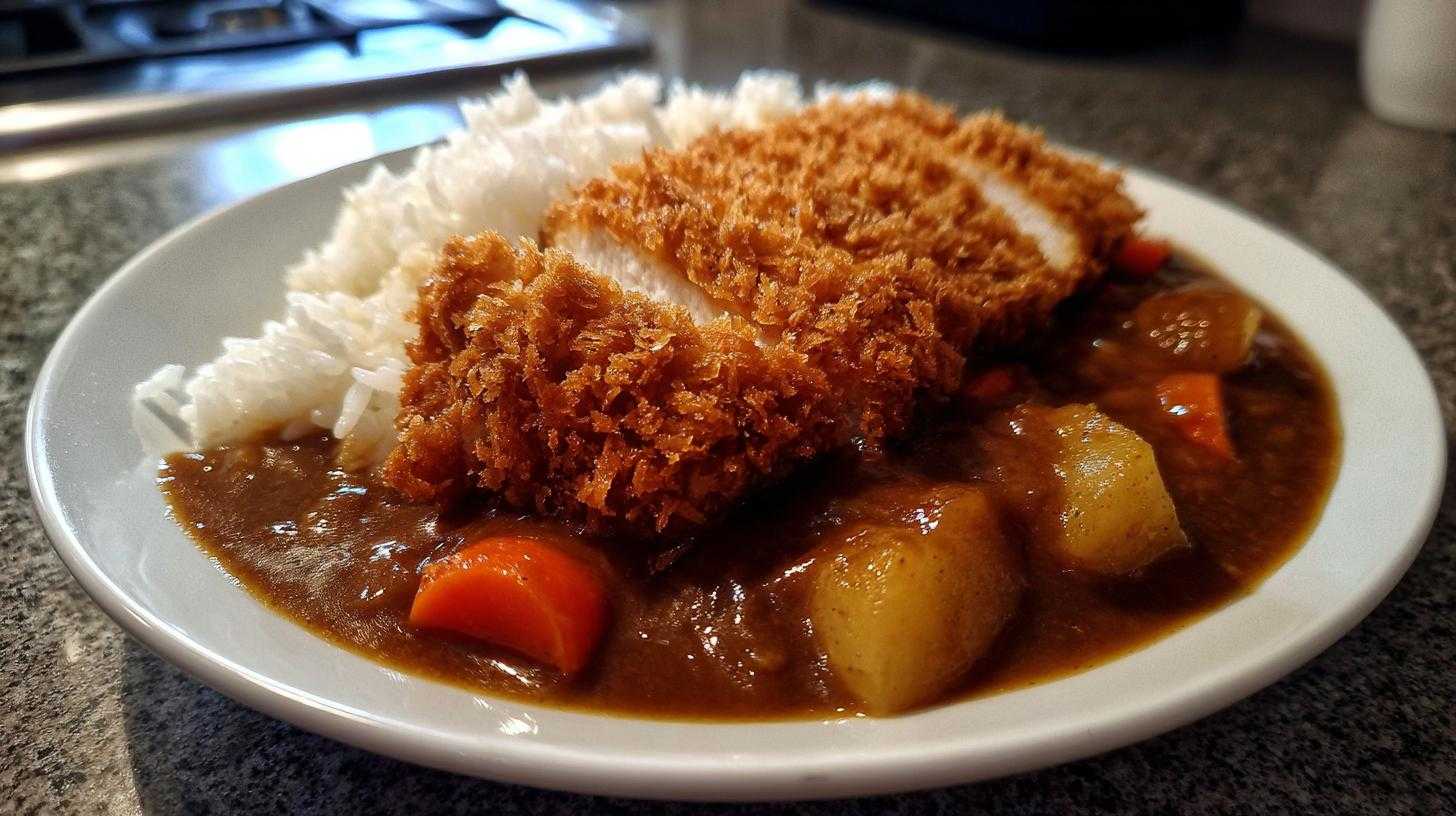
Welcome to the Joy of Homemade Chicken Katsu Curry
Isn’t this the ultimate comfort food? I swear, nothing beats a warm bowl of rich curry.
Making Homemade Chicken Katsu Curry brings pure joy. My husband, Liam, used to cook like a scientist. Everything was precise, very technical!
As a teacher, I bring chaos, fun, and feeling to everything. That mix is magic in the kitchen now.
This dish perfectly blends his precision with my need for soul.
Our Story of Flavorful Chaos
We call our style “Child Recipe.” It means playing with food.
Liam is the artist, making the katsu perfectly crisp. I am the muse, inspiring the warmth.
That inspiration turns simple cooking into a show.
That’s how we approach making Homemade Chicken Katsu Curry, too.
We seek that childlike wonder in every bite. It’s about sharing a feeling.
It’s never just about following the steps perfectly.
Why This Homemade Chicken Katsu Curry Recipe Works
Why do I keep coming back to this recipe?
It’s the beautiful marriage of textures and tastes.
Liam’s technical skill makes the chicken super crispy.
My love for deep, layered flavor gives the curry soul.
This Homemade Chicken Katsu Curry is pure satisfaction.
It’s a warm hug in a bowl, honestly.
- The Panko breading gives you incredible crunch.
- Our curry base simmers low for deep savoriness.
- It feels gourmet but is simple for weeknights.
Quick Facts About Your Homemade Chicken Katsu Curry
You need to know the commitment level upfront.
We keep things clear so you can plan your dinner show.
Here is what you are looking at time-wise:
- Prep Time: 20 minutes
- Cook Time: 40 minutes
- Total Time: 60 minutes
- Yield: 4 servings
- Cuisine: Japanese
- Category: Main Course
Essential Equipment for Perfect Homemade Chicken Katsu Curry
Every great performance needs the right stage props.
Making this fantastic Homemade Chicken Katsu Curry requires a few key tools.
Don’t worry; you probably have most of this gear already.
Having the right setup makes the frying less stressful.
It helps keep the curry simmering gently too.
Let’s gather what we need before we start cooking.
Tools for Crispy Katsu
You absolutely need a deep skillet or heavy pot.
This holds the oil needed for proper deep frying.
A reliable thermometer is your best friend here.
It keeps that oil at the magic 350°F mark.
Also grab a wire rack for draining the cooked cutlets.
Tools for Rich Curry Sauce
You’ll want a separate medium-sized saucepan.
This is where the onions soften beautifully.
A good wooden spoon helps stir in those roux blocks.
It ensures everything melts without sticking to the bottom.
Gathering Your Ingredients for Homemade Chicken Katsu Curry
Now for the fun part, gathering our supplies!
Great cooking starts with good ingredients.
We need fresh chicken and good quality curry roux.
Don’t skimp on the Panko breadcrumbs.
They are the secret to truly crispy Homemade Chicken Katsu Curry.
List everything out before you start prepping.
For the Crispy Chicken Katsu
- Two boneless, skinless chicken breasts.
- One cup of all-purpose flour is needed.
- Two large eggs, beaten well for dipping.
- Two cups of Panko breadcrumbs for coating.
- Vegetable oil for achieving that golden crust.
For the Savory Japanese Curry Base
This is where the deep flavor develops.
- Four cups of Japanese Curry Roux blocks.
- One large onion, sliced for sautéing.
- Two carrots, chopped into rough pieces.
- Two potatoes, peeled and cut into quarters.
- Four cups of water or good chicken stock.
For Serving
You need a generous pile of hot white rice.
That rice is the perfect bed for our curry.
It soaks up all that amazing sauce.
Step-by-Step Instructions for Your Homemade Chicken Katsu Curry
Time to put on our aprons and get cooking!
Follow these steps closely for amazing results.
We are building layers of texture and taste here.
This process turns simple ingredients into Homemade Chicken Katsu Curry.
Don’t rush the frying step for that perfect crunch.
Let’s make this memorable Japanese Dinner together.
Preparing and Breading the Chicken Cutlets
First, slice your chicken breasts in half horizontally.
You want four thinner cutlets for even cooking.
Season them lightly with salt and black pepper.
Set up your dredging station clearly.
Flour first, then the beaten eggs, then the Panko.
Press that Panko onto the meat firmly everywhere.
Frying the Katsu to Golden Perfection
Heat about two inches of oil in your deep skillet.
You gotta hit that 350°F temperature mark.
Carefully place the breaded cutlets in the hot oil.
Fry them for about three to four minutes per side.
The internal temperature must reach 165°F for safety.
Drain the golden katsu on a wire cooling rack right away.
Building the Rich Japanese Curry Sauce
Sauté your sliced onions in a separate pot until soft.
Toss in the carrots and potatoes; cook for five minutes.
Add the water or stock and bring it all to a boil.
Reduce the heat and let it simmer gently.
Cook until those potatoes are tender, about 15 to 20 minutes.
Turn the heat off before adding the curry roux blocks.
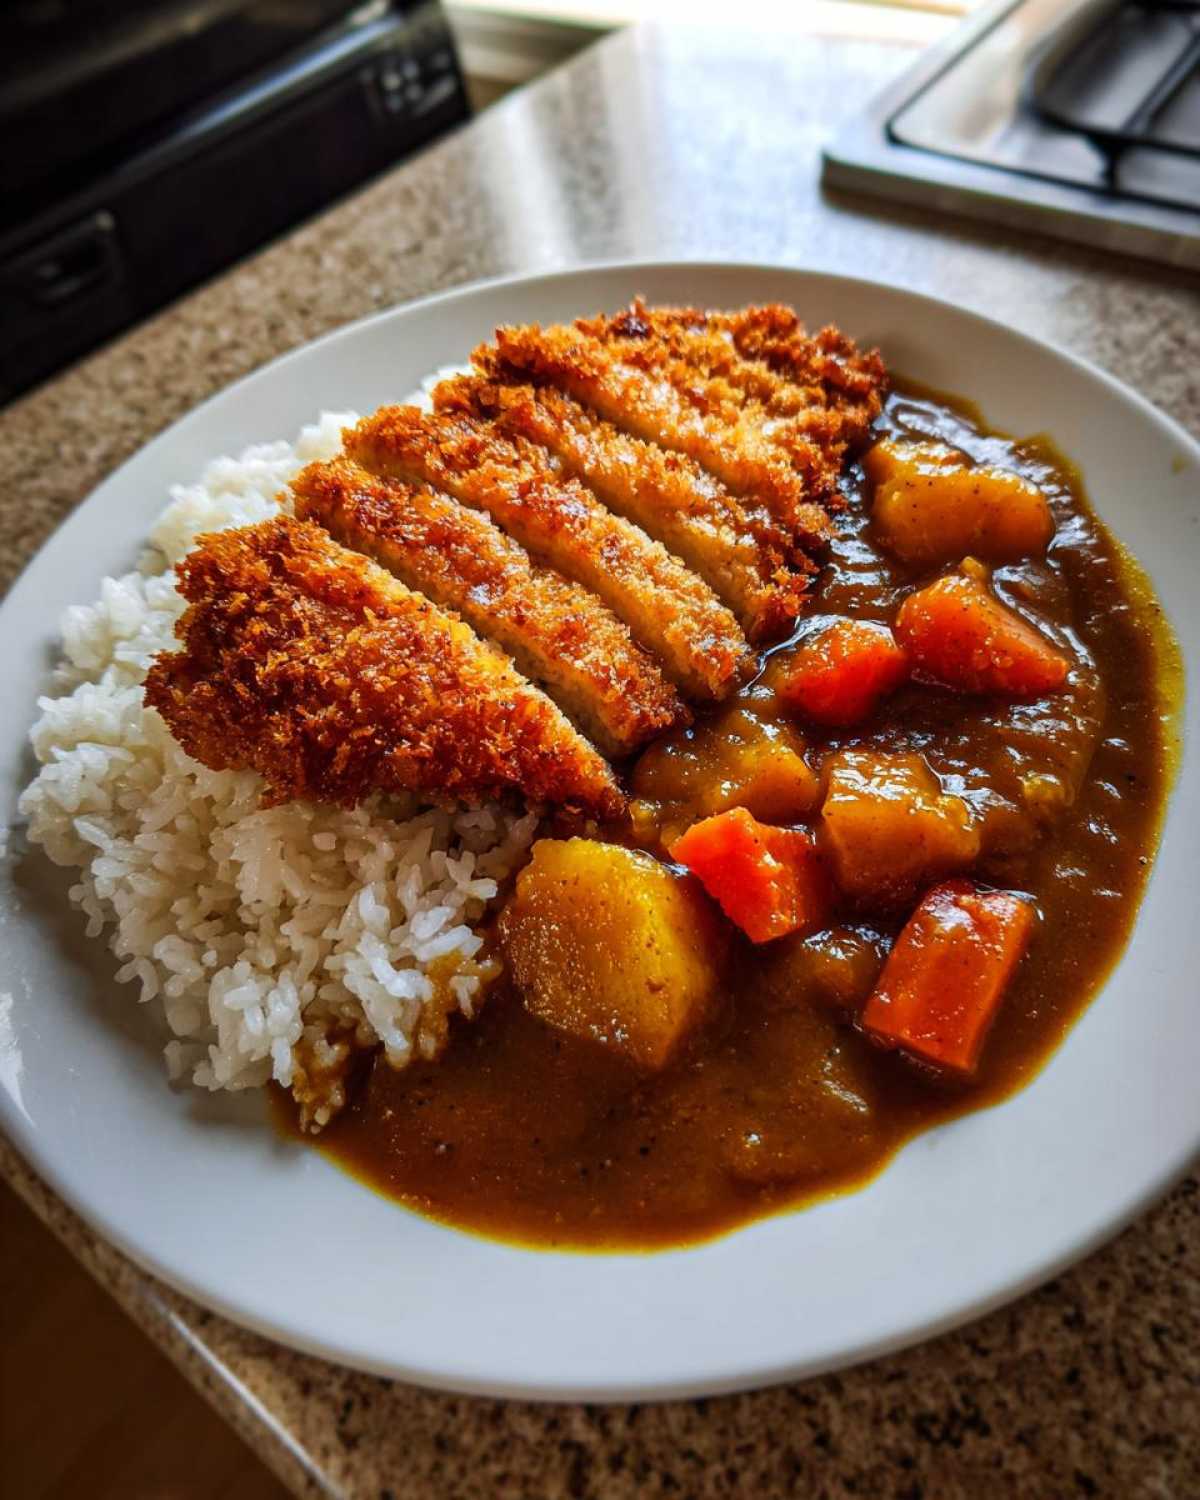
Assembling Your Homemade Chicken Katsu Curry
Stir the roux blocks until they dissolve completely.
The sauce will thicken up as they melt in.
Return to very low heat just to keep it warm.
Never boil the sauce once the roux is added in.
Slice the cooled katsu into thick, easy strips.
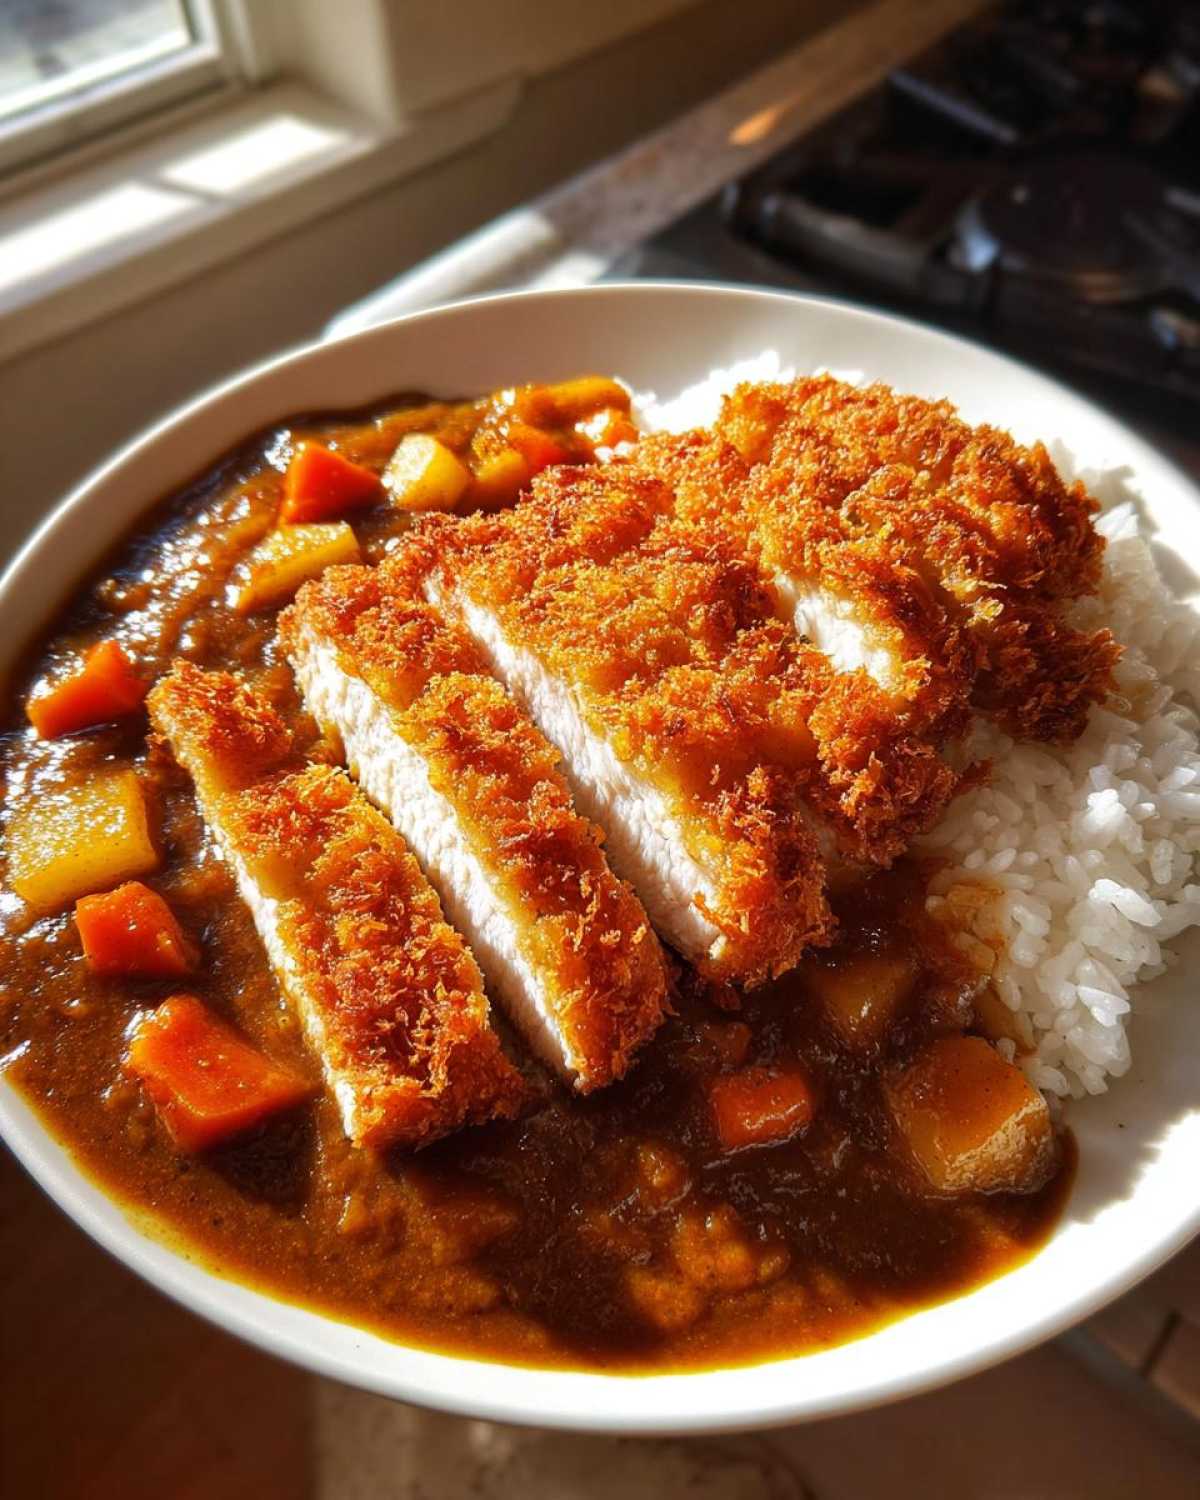
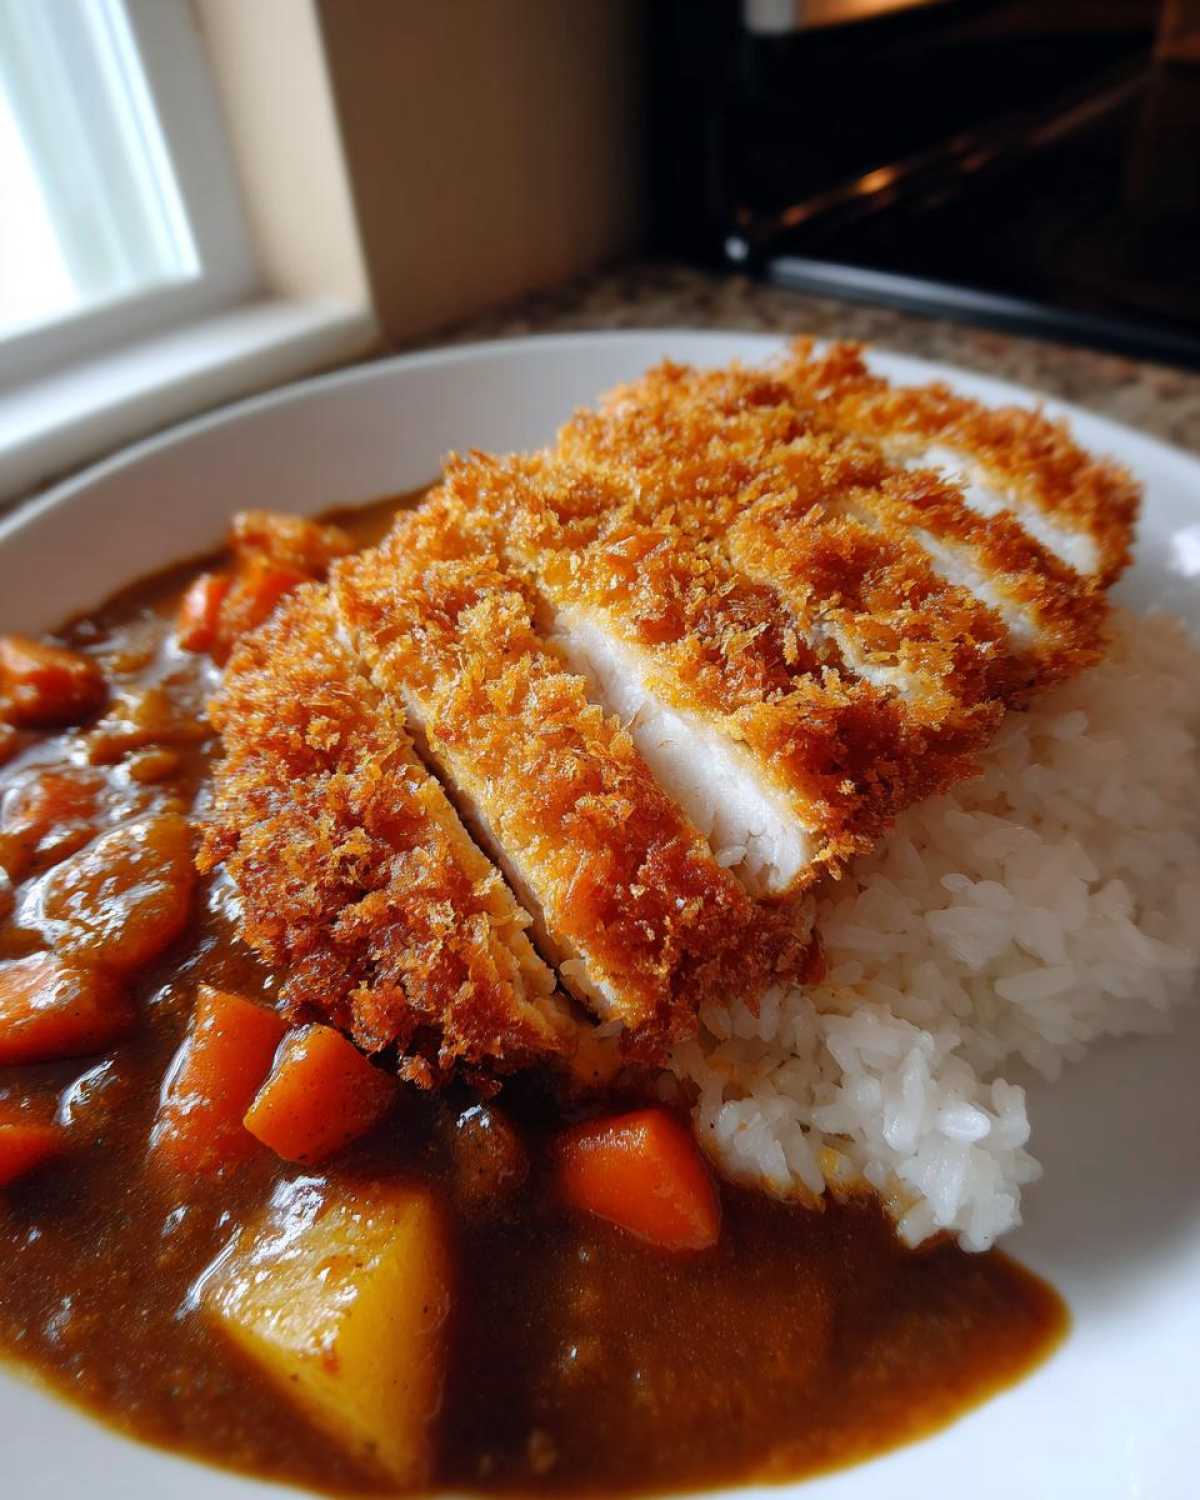
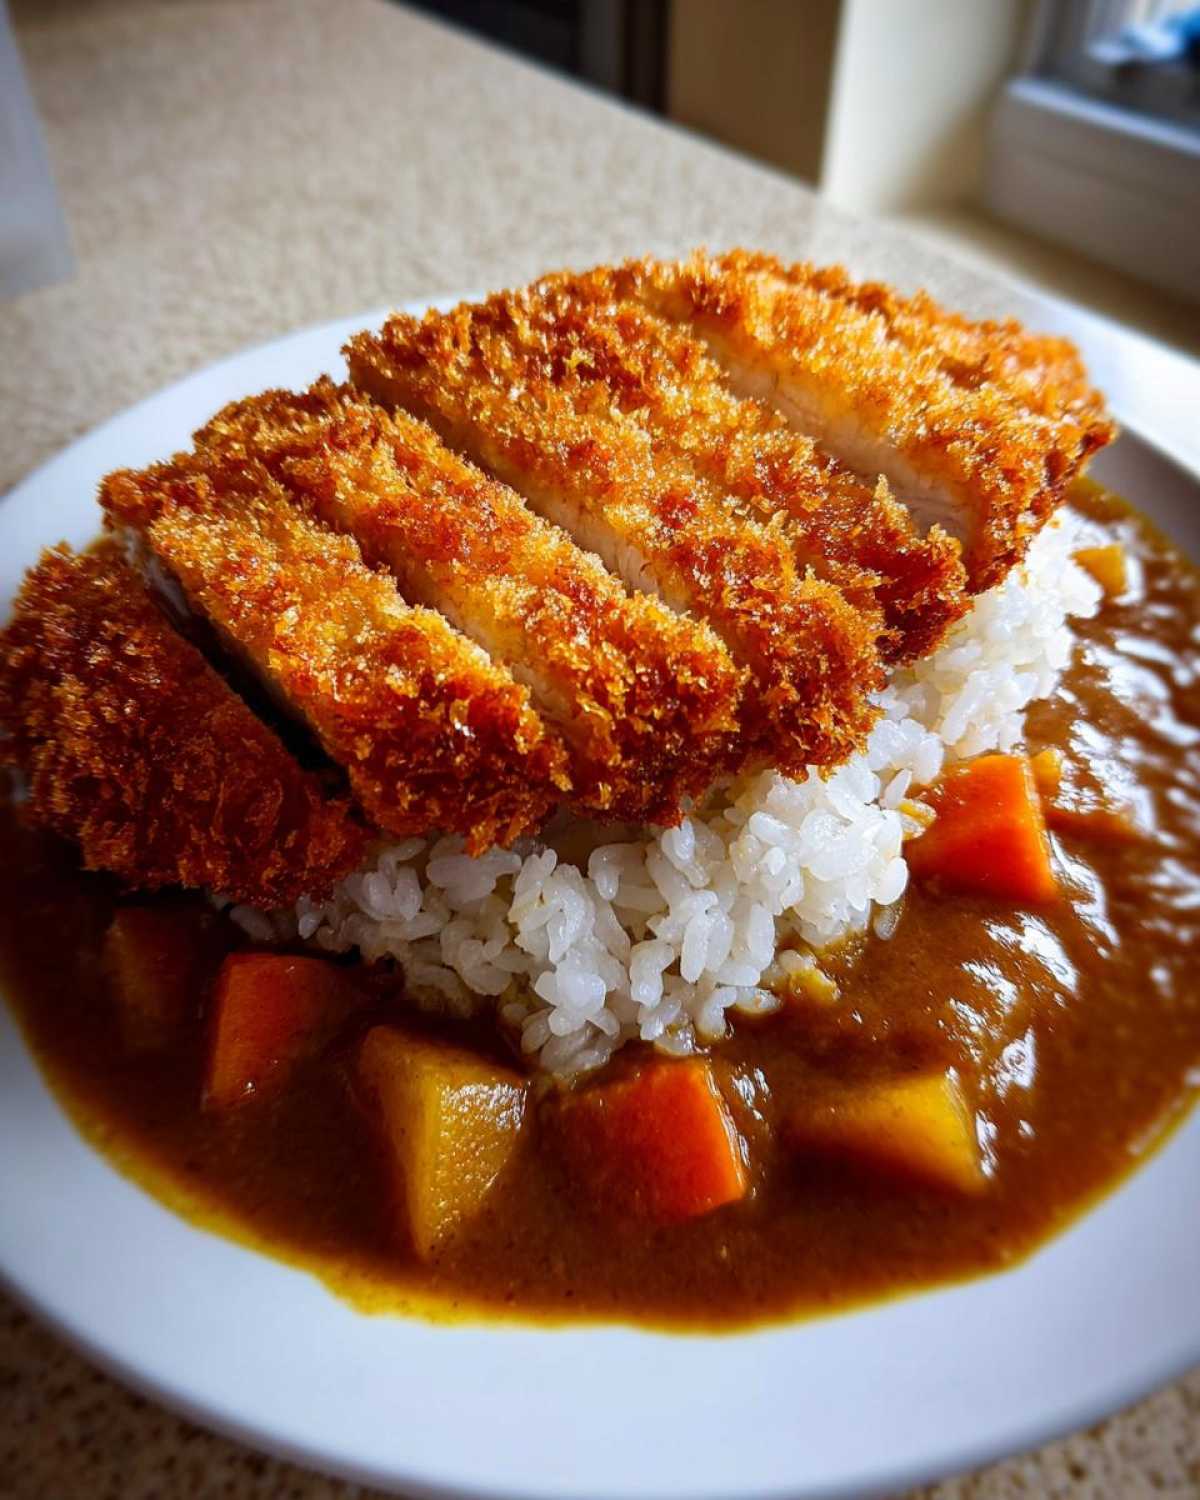
Serve rice, top with chicken, and ladle on the curry!
Tips for Success with Your Crispy Homemade Chicken Katsu Curry
So, you’ve followed the steps for your Homemade Chicken Katsu Curry.
Now let’s talk about making it truly restaurant-worthy.
A few little tricks make all the difference here.
These tips turn a good meal into a great one.
I learned these from watching Liam obsess over textures.
They really help that crispy chicken shine through.
Flavor Boosts for the Curry
Want to take that curry base up a notch?
I always sneak in a grated apple near the end.
It adds a subtle, natural sweetness, trust me.
Another trick is adding a tablespoon of ketchup.
This gives the sauce a nice little tanginess.
These additions make the sauce taste deeper.
Technique Tips for Frying
Temperature control is everything for that crunch.
If the oil is too cool, the katsu gets soggy fast.
If it’s too hot, the outside burns before the inside cooks.
Use that thermometer religiously for the best results.
If you want less oil, baking works fine too.
Just watch your cooking time closely if you air fry.
Frequently Asked Questions About Homemade Chicken Katsu Curry
I know you might have questions popping up.
Cooking a new dish always generates curiosity.
We love talking food almost as much as eating it.
Let’s cover some common things about this dish.
We want your Homemade Chicken Katsu Curry to be a hit.
These answers help you nail this Japanese Dinner.
Can I Make the Curry Sauce Ahead of Time?
Oh yes, absolutely you can make it early!
The curry sauce truly tastes better the next day.
Make a big batch and store it in the fridge.
It lets all those flavors really marry together nicely.
Just reheat gently when you are ready to eat.
What is the Best Way to Reheat Leftovers?
This is key for keeping that crispy chicken texture.
Store the rice, curry, and katsu separately.
Reheat the curry on the stove or microwave.
When serving, quickly crisp the katsu in a hot oven.
This keeps the katsu from getting that soggy feeling.
How Can I Make This a Lighter Japanese Dinner?
You can certainly lighten up this comfort food.
Skip the deep frying for the chicken cutlets.
Try baking or using an air fryer instead.
This cuts down on the added fat content significantly.
The texture won’t be identical, but it’s still tasty!
Storing and Keeping Your Homemade Chicken Katsu Curry Fresh
What happens when you have leftovers of this amazing meal?
Storing Homemade Chicken Katsu Curry correctly matters.
We want to preserve that fantastic crunch we worked for.
Don’t just toss the whole plate in one container.
Separate the components for the best texture later.
This keeps your next meal just as joyful.
The curry sauce keeps really well on its own.
Store the cooked rice separately in an airtight box.
Keep the sliced katsu in a shallow container.
It helps prevent any moisture buildup around the coating.
The sauce is good for about three days in the fridge.
It tastes even richer the second day, honestly!
Estimated Nutrition for Your Homemade Chicken Katsu Curry
We know some of you track your macros closely.
Liam always checks these numbers before we eat.
Keep in mind these are estimates for our recipe.
Your serving size might change how these numbers look.
This is just a guide for your Homemade Chicken Katsu Curry.
It helps you plan for this hearty Japanese Dinner.
Nutritional Breakdown Per Serving
Here is what we generally see for one serving:
- Serving Size: 1 serving
- Calories: 650
- Fat: 30g
- Carbohydrates: 65g
- Protein: 35g
Enjoy this delicious meal responsibly, friends.
Storing and Keeping Your Homemade Chicken Katsu Curry Fresh
What happens when you have leftovers of this amazing meal?
Storing Homemade Chicken Katsu Curry correctly matters.
We want to preserve that fantastic crunch we worked for.
Don’t just toss the whole plate in one container.
Separate the components for the best texture later.
This keeps your next meal just as joyful.
The curry sauce keeps really well on its own.
Store the cooked rice separately in an airtight box.
Keep the sliced katsu in a shallow container.
It helps prevent any moisture buildup around the coating.
The sauce is good for about three days in the fridge.
It tastes even richer the second day, honestly!
Estimated Nutrition for Your Homemade Chicken Katsu Curry
We know some of you track your macros closely.
Liam always checks these numbers before we eat.
Keep in mind these are estimates for our recipe.
Your serving size might change how these numbers look.
This is just a guide for your Homemade Chicken Katsu Curry.
It helps you plan for this hearty Japanese Dinner.
Nutritional Breakdown Per Serving
Here is what we generally see for one serving:
- Serving Size: 1 serving
- Calories: 650
- Fat: 30g
- Carbohydrates: 65g
- Protein: 35g
Enjoy this delicious meal responsibly, friends.
Print
5 Amazing Homemade Chicken Katsu Curry Secrets
- Total Time: 60 minutes
- Yield: 4 servings 1x
- Diet: Vegetarian
Description
Make this comforting Homemade Chicken Katsu Curry with us. This recipe brings together crispy fried chicken cutlets and rich, savory Japanese curry for a deeply satisfying meal. It is a perfect dish when you want to bring warmth and joy back into your kitchen.
Ingredients
- 2 Boneless, skinless chicken breasts
- 1 cup All-purpose flour
- 2 large Eggs, beaten
- 2 cups Panko breadcrumbs
- Vegetable oil, for frying
- 4 cups Japanese Curry Roux blocks (or prepared curry sauce)
- 1 large Onion, sliced
- 2 Carrots, roughly chopped
- 2 Potatoes, peeled and quartered
- 4 cups Water or chicken stock
- Cooked short-grain white rice, for serving
Instructions
- Prepare the chicken: Slice the chicken breasts horizontally to create four thinner cutlets. Season lightly with salt and pepper.
- Set up the breading station: Place flour on one plate, beaten eggs on another, and Panko breadcrumbs on a third.
- Dredge each chicken cutlet first in the flour, shaking off excess. Dip into the egg, letting excess drip off. Finally, press firmly into the Panko breadcrumbs until fully coated.
- Heat about 2 inches of vegetable oil in a deep skillet to 350°F (175°C).
- Carefully fry the katsu cutlets for 3-4 minutes per side until golden brown and cooked through (internal temperature of 165°F or 74°C). Remove and drain on a wire rack. Slice into strips once cooled slightly.
- Make the curry: In a separate pot, sauté the onions until soft. Add carrots and potatoes and cook for 5 minutes.
- Add water or stock and bring to a boil. Reduce heat and simmer until vegetables are tender, about 15-20 minutes.
- Turn off the heat. Add the curry roux blocks, stirring until completely dissolved and the sauce thickens. Return to low heat if needed to maintain warmth, but do not boil after adding the roux.
- To serve, place a mound of rice on a plate. Top with the sliced chicken katsu. Ladle the rich curry sauce over the chicken and rice.
Notes
- For extra flavor in your curry, add a grated apple or a tablespoon of ketchup during the final simmering stage.
- You can air fry or bake the chicken instead of deep frying to reduce oil content. Adjust cooking time accordingly.
- Make a large batch of the curry sauce ahead of time; it tastes even better the next day.
- Prep Time: 20 minutes
- Cook Time: 40 minutes
- Category: Main Course
- Method: Frying and Simmering
- Cuisine: Japanese
Nutrition
- Serving Size: 1 serving
- Calories: 650
- Sugar: 15g
- Sodium: 900mg
- Fat: 30g
- Saturated Fat: 7g
- Unsaturated Fat: 23g
- Trans Fat: 0g
- Carbohydrates: 65g
- Fiber: 7g
- Protein: 35g
- Cholesterol: 100mg