Hello there, fellow food lovers! I’m Sara, and I’m so excited to share this recipe with you. We all love a good chicken finger, right? But sometimes, the thought of deep-frying can be a bit much, especially when you’re trying to keep things a little lighter for the family. That’s where these Crispy Oven-Fried Chicken Fingers come in! They’re my little secret weapon for a weeknight dinner that feels special but is totally doable. They bring that satisfying crunch without all the fuss. It’s all about that playful spirit we have here at Child Recipe, making delicious food that brings everyone to the table with big smiles.
Why You’ll Love These Crispy Oven-Fried Chicken Fingers
Honestly, these chicken fingers are a game-changer. They hit all the right notes:
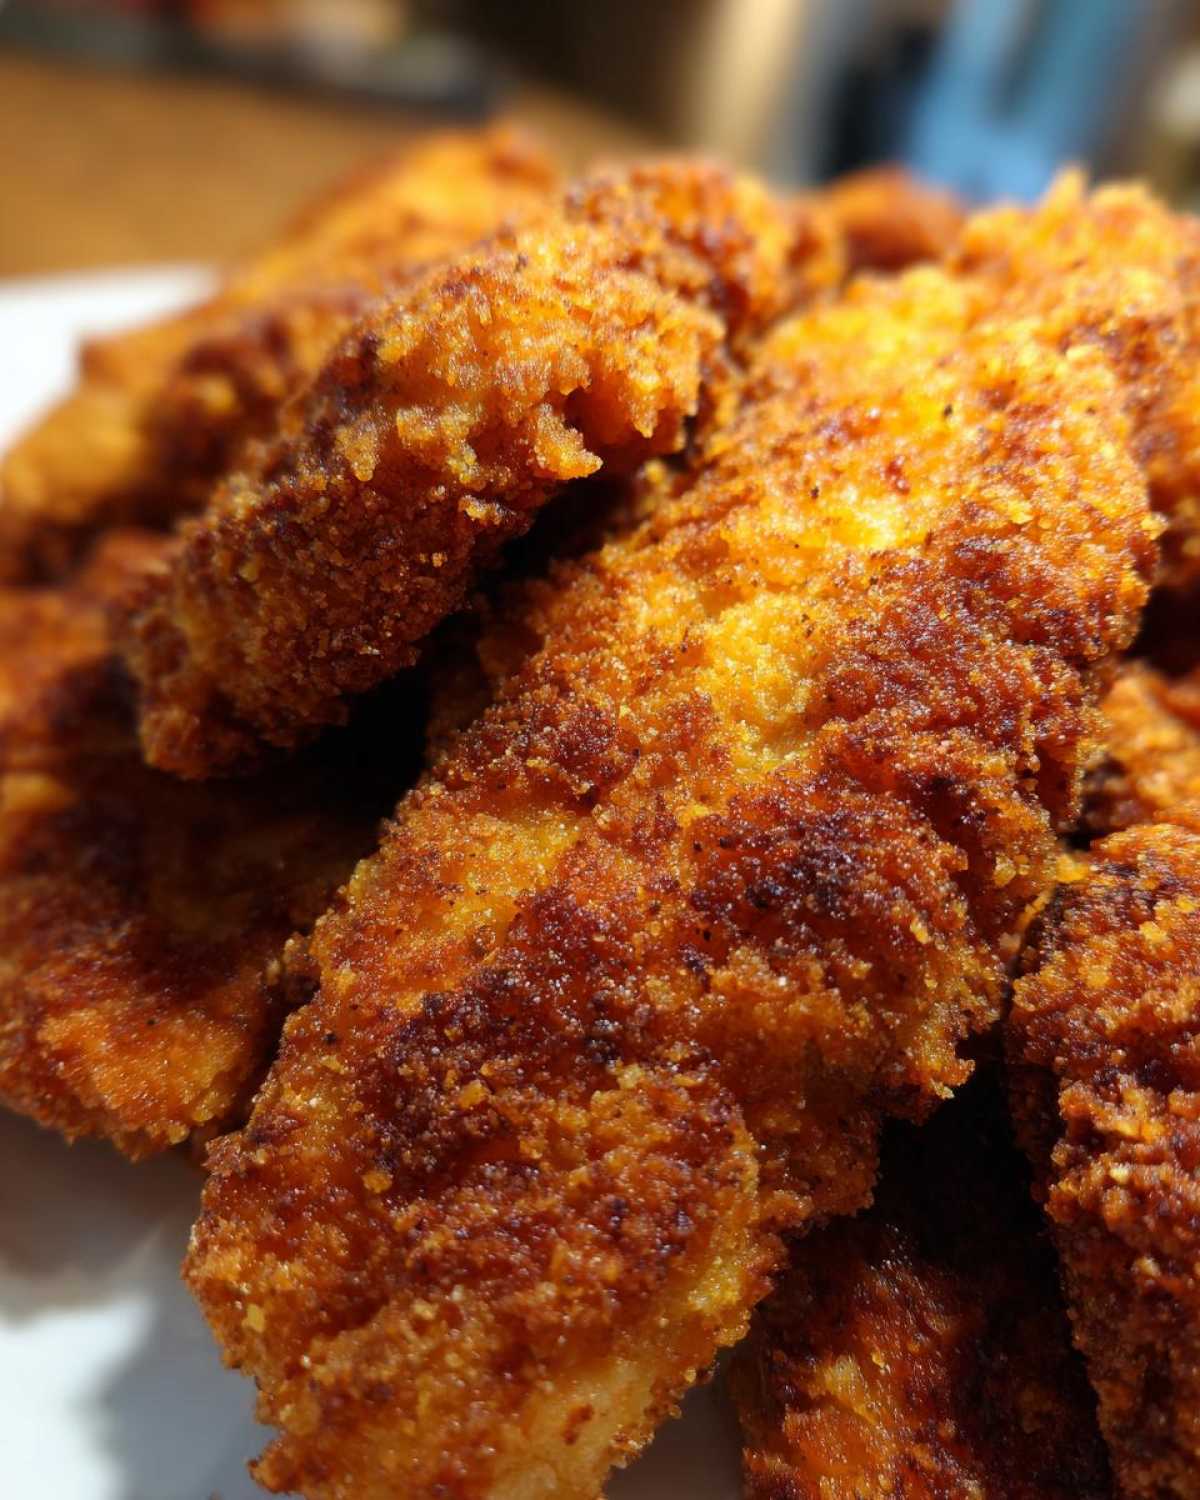
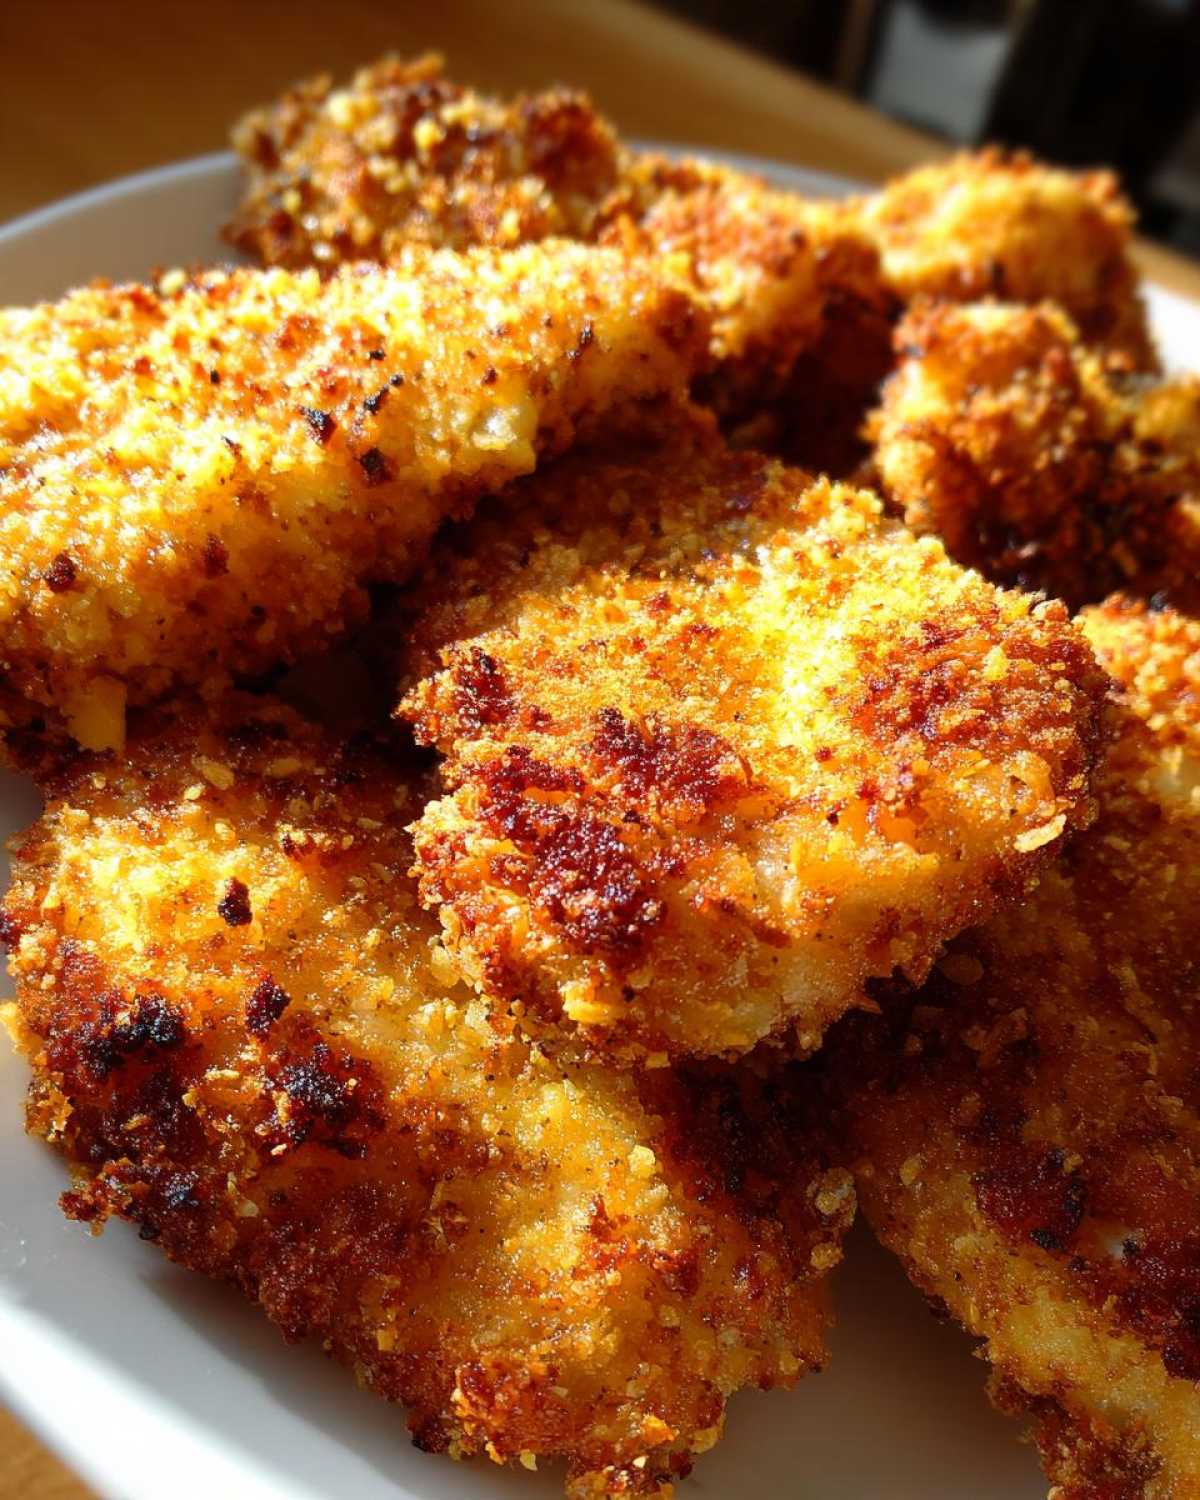
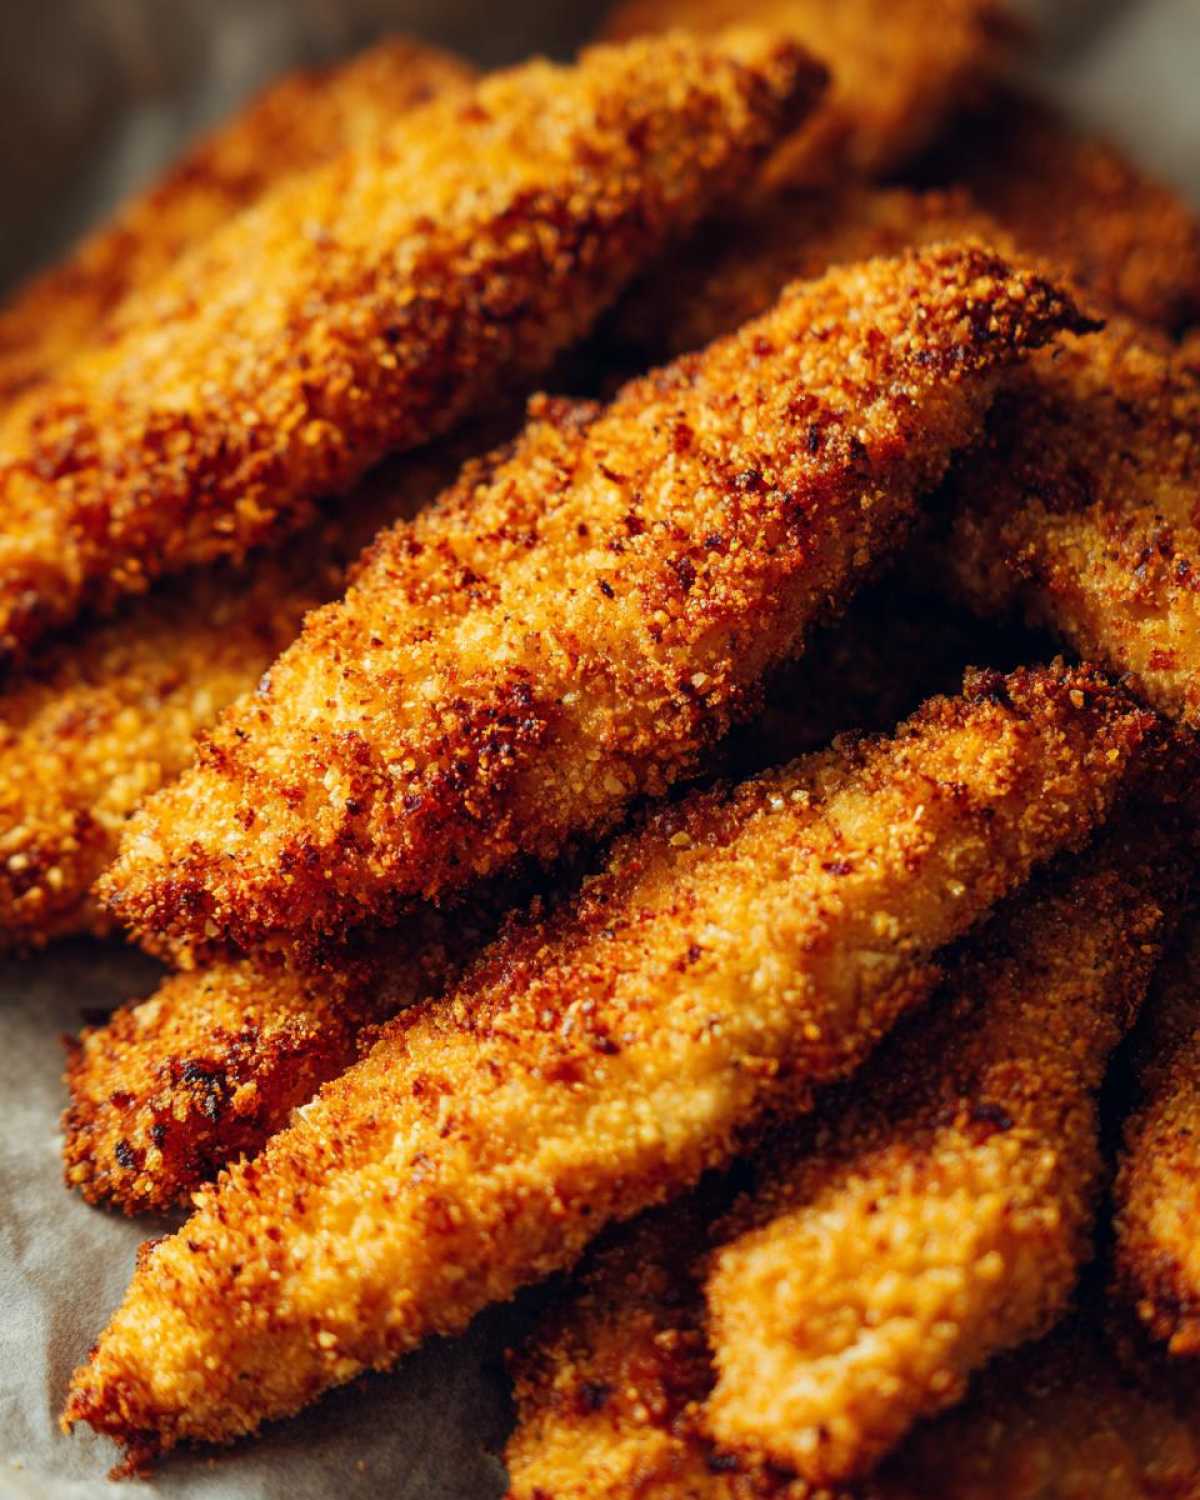
- Super Crispy: That panko and Parmesan coating bakes up beautifully golden and crunchy. It’s seriously satisfying!
- So Easy to Make: The three-step breading process is simple enough that even the kiddos can get involved. It’s a fun kitchen activity!
- Healthier Choice: Baking instead of frying means less oil, making these a guilt-free treat. We love a good crunch that’s also a bit kinder to our bodies.
- Family Approved: These are a guaranteed hit with both kids and adults. They’re perfect for a quick lunch or a fun dinner.
It’s that simple joy, that playful approach to cooking, that makes these Crispy Oven-Fried Chicken Fingers so special. They remind us that delicious food doesn’t need to be complicated.
Meet the Muse: Sarah Tek’s Culinary Inspiration
Liam, my husband, used to be all about precision in the kitchen. His food was perfect, but a bit quiet, you know? My style is more… let’s say, *enthusiastic*. As a kindergarten teacher, I thrive on spontaneity and laughter. When we started cooking together, I became his muse. He began infusing his technically brilliant dishes with a bit more soul, a bit more *us*. This recipe is a perfect example of that blend. It’s got that flawless execution Liam is known for, but with the fun, approachable spirit I love to bring. We call our little corner of the internet “Child Recipe” because it’s all about rediscovering that childlike wonder and joy in cooking, and these chicken fingers are a delicious embodiment of that.
Gathering Your Ingredients for Crispy Oven-Fried Chicken Fingers
Alright, let’s get our kitchen ready for some fun! To create these amazing crispy oven-fried chicken fingers, we just need a few simple things from our pantry and fridge. Think of it as collecting your art supplies before starting a masterpiece. It’s all about setting ourselves up for success and making the cooking process as smooth and enjoyable as possible. Don’t worry, nothing too fancy here!
Essential Ingredients for Crispy Oven-Fried Chicken Fingers
Here’s what you’ll need to gather to make these golden beauties:
- 1.5 pounds boneless, skinless chicken breasts, cut into finger-sized strips. This is our main event!
- 1 cup all-purpose flour. This is our first coating layer, helping everything else stick.
- 2 teaspoons paprika. For a lovely color and a hint of smoky sweetness.
- 1 teaspoon garlic powder. Because garlic makes everything better, right?
- 1 teaspoon onion powder. Adds a savory depth.
- 0.5 teaspoon salt. To bring out all those yummy flavors.
- 0.5 teaspoon black pepper. A little kick to liven things up.
- 2 large eggs, beaten. Our sticky binder for the breadcrumbs.
- 1 cup panko breadcrumbs. These are key for that amazing crunch!
- 0.5 cup grated Parmesan cheese. Adds a salty, cheesy goodness.
- 2 tablespoons olive oil, or cooking spray. To help everything get nice and crispy in the oven.
Gathering these ingredients is the first step to culinary connection!
Ingredient Notes and Smart Substitutions
Sometimes we need to get a little creative in the kitchen, and that’s totally okay! If you don’t have panko breadcrumbs, regular breadcrumbs work, but you might not get quite the same airy crunch. For an extra crispy coating, you can lightly toast your panko in a dry skillet before you start. It takes just a few minutes and makes a big difference!
Feel free to play with the seasonings too. A pinch of cayenne pepper can add a nice little warmth if your family likes a tiny bit of heat. Dried herbs like oregano or thyme are also lovely additions to the flour mixture. If you need a gluten-free option, you can try using a gluten-free flour blend and gluten-free breadcrumbs. Just remember to press the coating on well!
Crafting Your Crispy Oven-Fried Chicken Fingers: Step-by-Step
Now for the really fun part – turning those ingredients into delicious Crispy Oven-Fried Chicken Fingers! We’re going to walk through this together, step by step. It’s all about creating a little bit of magic in your kitchen. Don’t worry about perfection; just enjoy the process. This is where the culinary connection really happens, and the outcome is so worth it!
Preparation is Key for Perfect Crispy Oven-Fried Chicken Fingers
First things first, let’s get our oven ready. Preheat it to 400°F (200°C). While that’s heating up, line a baking sheet with parchment paper. This makes cleanup a breeze and helps prevent sticking. Now, let’s set up our breading stations. Grab three shallow dishes.
In the first dish, whisk together the flour, paprika, garlic powder, onion powder, salt, and pepper. This is our flavorful base. In the second dish, beat the eggs until they’re nice and frothy. This is our sticky glue. In the third dish, combine the panko breadcrumbs and grated Parmesan cheese. This is our crunchy, cheesy armor!
Now, take each chicken finger. Dip it first into the flour mixture, making sure it’s fully coated. Give it a little shake to get rid of any excess. Next, dip the floured chicken into the beaten eggs. Let any extra egg drip back into the dish. Finally, coat the chicken generously with the panko and Parmesan mixture. Press gently so those delicious crumbs really stick. Place each coated finger onto your prepared baking sheet. Make sure they aren’t touching; they need their own space to get crispy!
Baking to Golden Perfection
We’re almost there! This is where the oven works its magic. Drizzle your beautifully coated chicken fingers with olive oil or give them a quick spray with cooking spray. This little step is crucial for achieving that gorgeous golden-brown, crispy exterior we’re after. It helps the breading toast up perfectly.
Pop the baking sheet into your preheated oven. Bake for about 20 to 25 minutes. The exact time can vary a bit depending on your oven, so keep an eye on them. About halfway through the baking time, give them a flip. This ensures they cook evenly and get crispy on all sides. You’ll know they’re ready when the chicken is cooked through and the coating is a beautiful, golden brown. They should look and feel wonderfully crunchy. Once they’re done, pull them out and let them cool just a tiny bit before serving. Trust me, resisting the urge to dive in immediately is the hardest part!

Serving and Storing Your Delicious Chicken Fingers
You’ve made it! Those golden, crispy oven-fried chicken fingers are ready to be devoured. Serving them hot is best for that perfect crunch. We love to lay them out on a platter, maybe with a little sprinkle of fresh parsley if we’re feeling fancy. It’s all about making mealtime a little moment of joy, a small celebration.
Serving Suggestions for Crispy Oven-Fried Chicken Fingers
These chicken fingers are so versatile! They’re fantastic with classic favorites like french fries or a fresh, crisp salad. For dipping, the options are endless! Ketchup and honey mustard are always crowd-pleasers. My kids also love a good ranch dip. Sometimes, we get adventurous and try a sweet chili sauce or even a homemade barbecue dip. It’s fun to experiment and find your favorite combination! For more kid-friendly dipping ideas, check out our kid-friendly honey yogurt fruit dip.
Storing and Reheating Leftovers
If, by some miracle, you have leftovers, don’t worry! Let them cool completely. Store them in an airtight container in the refrigerator for up to 3 days. To reheat and get that crispiness back, the oven is your best friend. Pop them on a baking sheet at around 350°F (175°C) for about 5-10 minutes, or until warmed through and slightly crisped again. Microwaving tends to make them a bit soft, so the oven method is definitely preferred for that delightful crunch.
Frequently Asked Questions About Crispy Oven-Fried Chicken Fingers
Got questions about making these yummy chicken fingers? I’ve got answers! It’s all part of the fun and learning process in our kitchen.
Can I make these ahead of time?
You can definitely prepare the unbaked, breaded chicken fingers a few hours ahead. Just place them on the baking sheet, cover them loosely with plastic wrap, and keep them in the fridge. You might need to add a couple of extra minutes to the baking time.
What’s the best way to get them extra crispy?
For maximum crispiness, make sure your oven is fully preheated. Using panko breadcrumbs is a big help. Also, don’t overcrowd the baking sheet; give each finger space to breathe and crisp up. A light spray of cooking oil or a drizzle of olive oil before baking really helps too! For more crispy ideas, you might like our kid-friendly air fryer chicken tenders.
Are there gluten-free options?
Yes! You can easily make these gluten-free. Just swap the all-purpose flour for a gluten-free all-purpose flour blend and use gluten-free breadcrumbs instead of panko. The rest of the steps stay the same.
What dipping sauces do you recommend?
Oh, the dipping possibilities are endless! Ketchup and honey mustard are classic for a reason. Ranch dressing is always a hit with kids. A sweet chili sauce offers a nice kick, or you could try a homemade barbecue sauce. Get creative and find your family’s favorite! For more fun dipping options, explore our peanut butter yogurt dip.
Nutritional Insights for Your Crispy Oven-Fried Chicken Fingers
Just a little note about the nutrition details you might see for these tasty chicken fingers. These numbers are always an estimate, you know? They can change based on the exact ingredients you use, like the brand of breadcrumbs or how much oil you add. So, think of these figures as a helpful guide rather than a strict rule book.
Print
Crispy Oven-Fried Chicken Fingers: 4 Amazing Tips
- Total Time: 40 minutes
- Yield: 4-6 servings 1x
- Diet: Low Fat
Description
Enjoy crispy, oven-baked chicken fingers that are a healthier alternative to traditional fried versions. These chicken fingers are coated in a flavorful breading and baked until golden brown and crunchy, perfect for a family meal or a fun appetizer.
Ingredients
- 1.5 lbs boneless, skinless chicken breasts, cut into finger-sized strips
- 1 cup all-purpose flour
- 2 teaspoons paprika
- 1 teaspoon garlic powder
- 1 teaspoon onion powder
- 0.5 teaspoon salt
- 0.5 teaspoon black pepper
- 2 large eggs, beaten
- 1 cup panko breadcrumbs
- 0.5 cup grated Parmesan cheese
- 2 tablespoons olive oil, or cooking spray
Instructions
- Preheat your oven to 400°F (200°C). Line a baking sheet with parchment paper or lightly grease it.
- In a shallow dish, whisk together the flour, paprika, garlic powder, onion powder, salt, and pepper.
- In another shallow dish, beat the eggs.
- In a third shallow dish, combine the panko breadcrumbs and grated Parmesan cheese.
- Dip each chicken finger first into the flour mixture, ensuring it’s fully coated. Shake off any excess flour.
- Next, dip the floured chicken finger into the beaten eggs, letting any excess drip off.
- Finally, coat the chicken finger with the panko and Parmesan mixture, pressing gently to help the breadcrumbs adhere.
- Place the coated chicken fingers onto the prepared baking sheet, ensuring they are in a single layer and not touching each other.
- Drizzle the chicken fingers with olive oil or lightly spray them with cooking spray. This helps them crisp up.
- Bake for 20-25 minutes, flipping halfway through, until the chicken is cooked through and the breading is golden brown and crispy.
- Serve hot with your favorite dipping sauces.
Notes
- For extra crispy chicken, you can toast the panko breadcrumbs lightly in a dry skillet before mixing them with the Parmesan cheese.
- Feel free to add other seasonings to the flour mixture, such as cayenne pepper for a little heat or dried herbs like thyme or oregano.
- Make sure the chicken is fully thawed before cutting and preparing.
- Prep Time: 15 minutes
- Cook Time: 25 minutes
- Category: Main Course
- Method: Baking
- Cuisine: American
Nutrition
- Serving Size: Approx. 4-5 fingers
- Calories: 350 kcal
- Sugar: 2g
- Sodium: 450mg
- Fat: 15g
- Saturated Fat: 4g
- Unsaturated Fat: 11g
- Trans Fat: 0g
- Carbohydrates: 25g
- Fiber: 2g
- Protein: 30g
- Cholesterol: 120mg