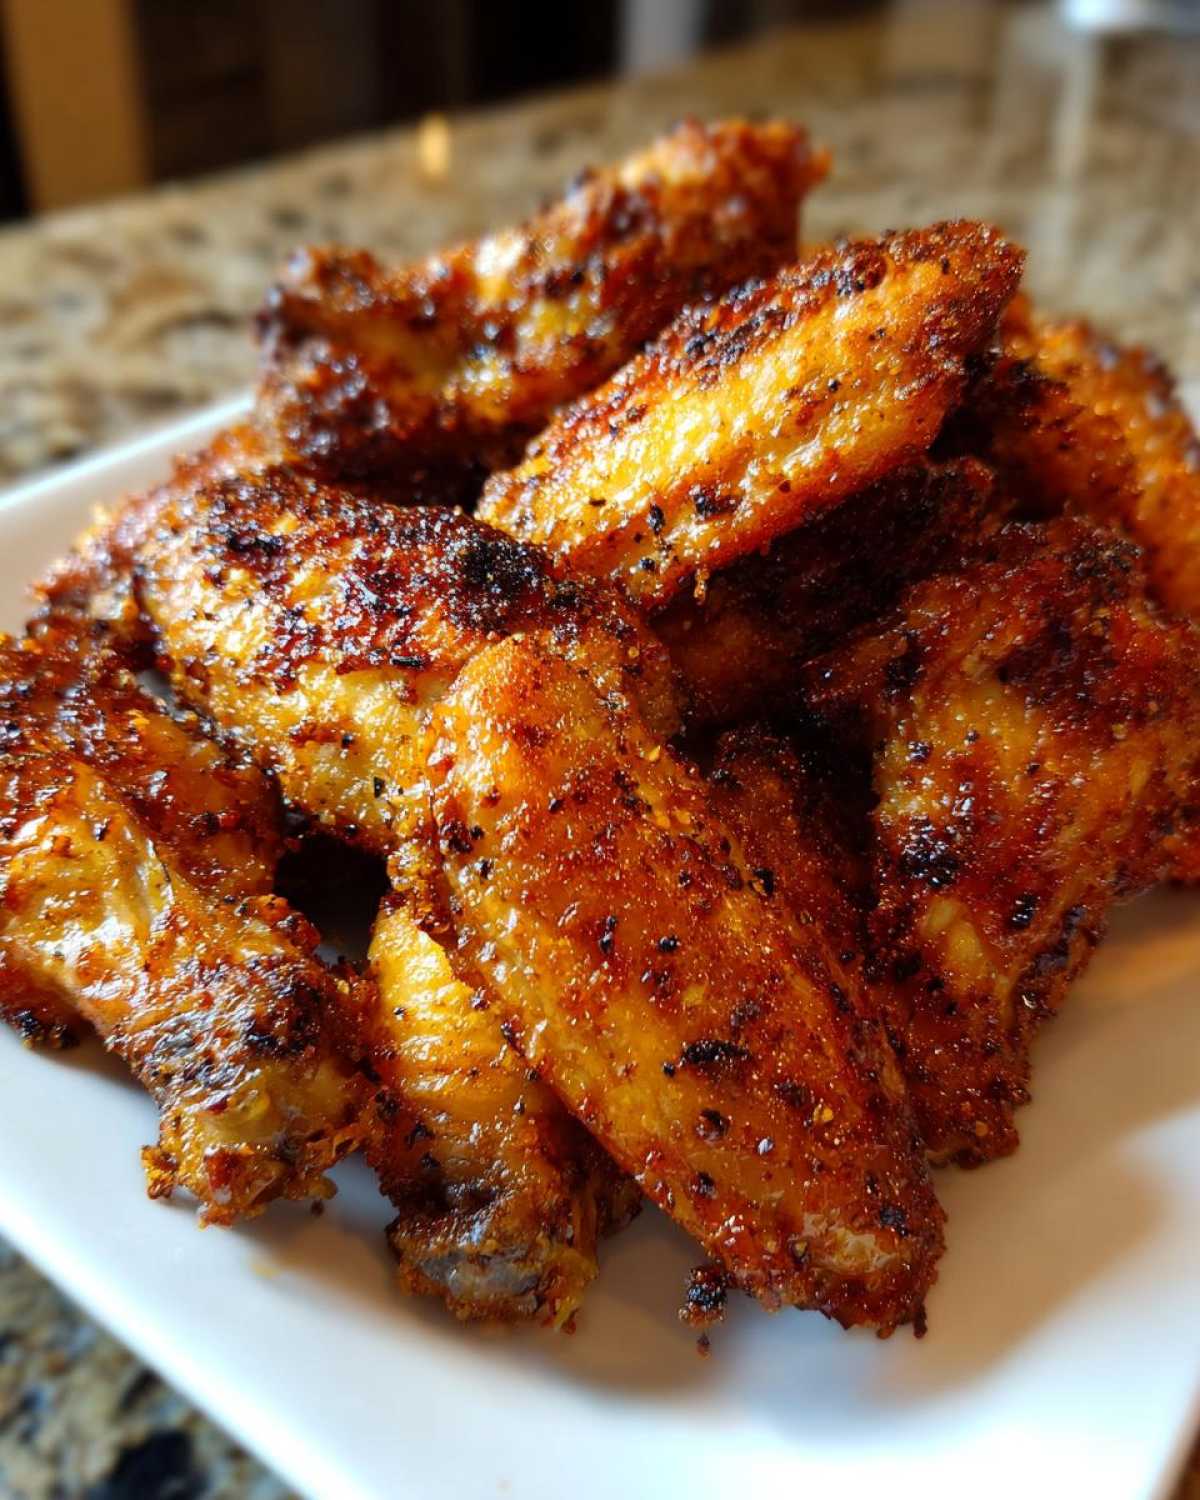
Oh, the eternal struggle of the home cook: wanting those perfectly glorious, shatteringly crispy baked chicken wings but ending up with sad, slightly rubbery disappointments? I’ve been there! When Liam first tried baking them, they were “technically cooked,” but they definitely weren’t game-day ready. But trust me, I’ve dragged him away from his precise measurements enough times to discover the absolute magic trick we need. My enthusiasm (and a little bit of chaotic kitchen experimentation) combined with Liam’s technical eye means we finally cracked the code! We’re talking about truly crispy baked chicken wings made right in the oven—no messy deep frying required—all thanks to one humble secret ingredient!
Why You Will Make These Crispy Baked Chicken Wings Every Time
If you’ve been dreaming of that perfect crunch without the grease splatter horror storm of deep frying, stop dreaming! These crispy baked chicken wings are truly special. Liam loves that they are a healthier option, and honestly, I just love the sound they make when you bite into them. They always come out right!
- No Fry Zone: We use the oven, skip the oil hazards, and keep cleanup simple.
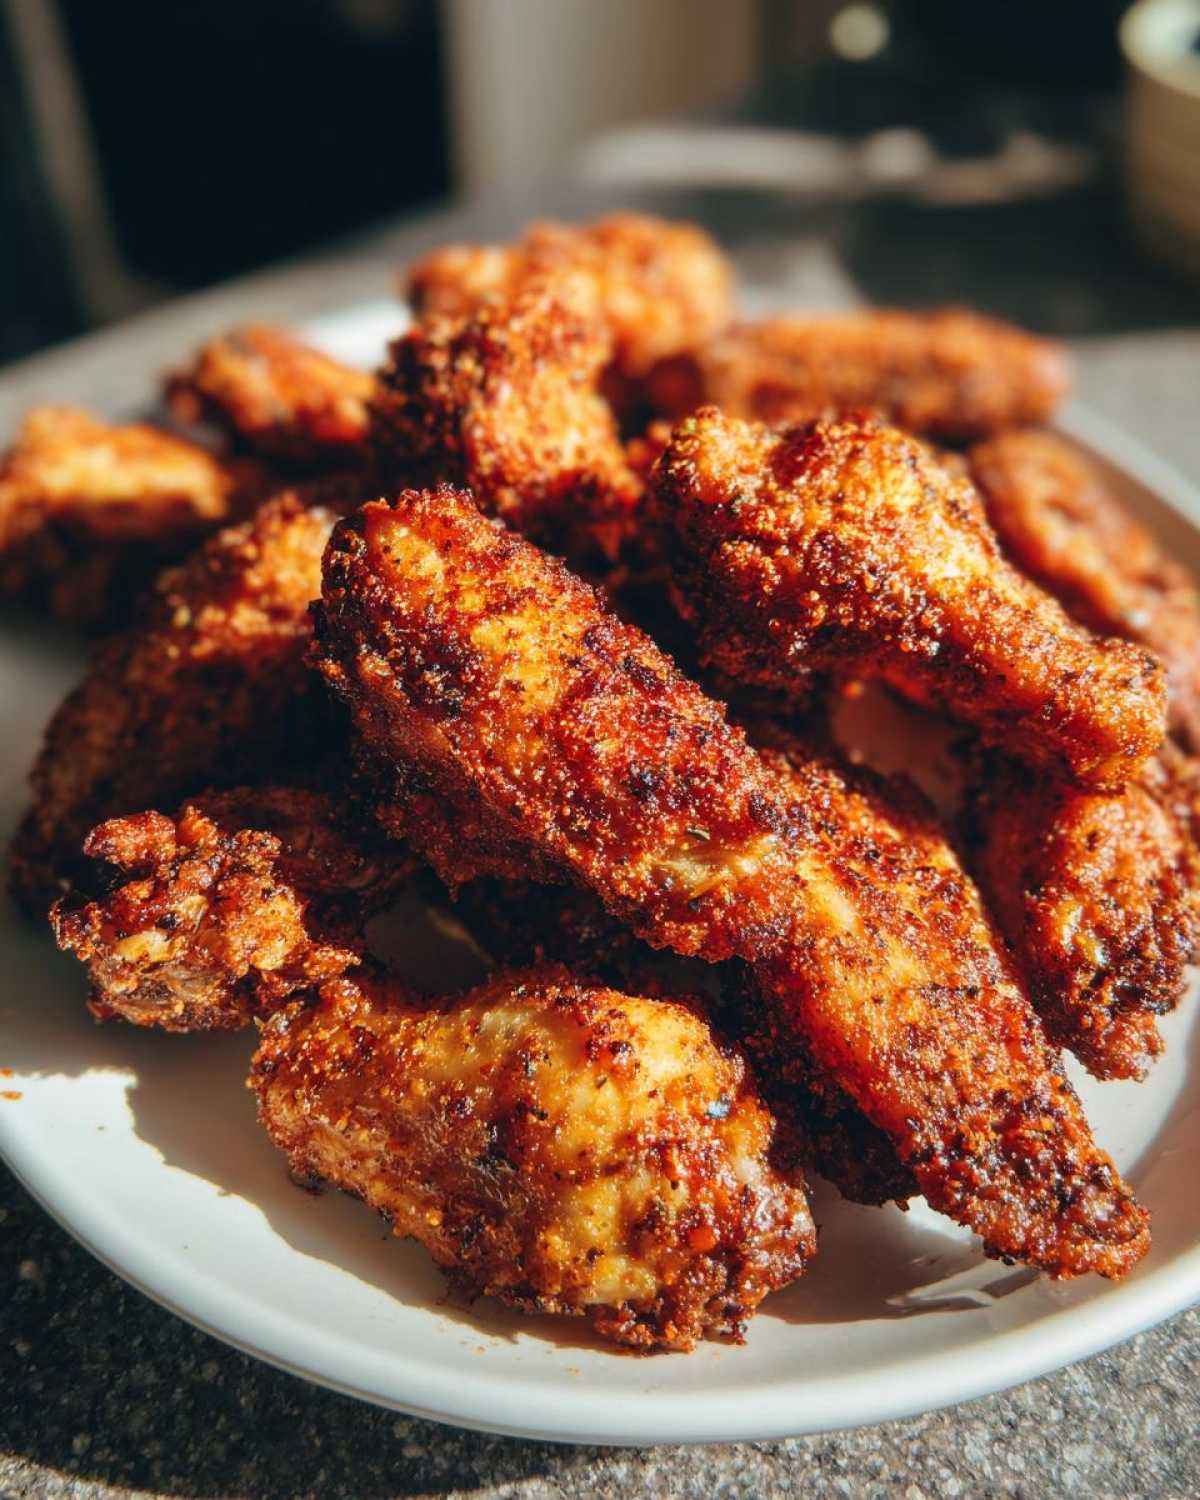
- Guaranteed Crunch: Seriously, they shatter! That texture is everything.
- Juicy Inside: Even with that amazing crispness, the inside stays wonderfully moist.
- Super Fast: We’re talking about a total time of just 55 minutes from start to plate. You can make these on a weeknight!
Once you see how amazing these turn out, you’ll be ready to revisit our recipe for crispy oven-fried chicken fingers next!
Gathering Ingredients for Crispy Baked Chicken Wings
Okay, let’s talk groceries! The ingredient list for crispy baked chicken wings is surprisingly simple, but we have to be precise about a few things. You’ll need about 2 pounds of chicken wings, and make sure they’re separated into flats and drumettes—that helps everything cook evenly. Then we have our spice rub, which includes salt, garlic powder, paprika, and pepper. But the absolute star here is the baking powder!
Seriously, don’t grab the baking soda by accident. They are NOT interchangeable for this recipe. Trust me, reaching for the wrong one means soggy wings. I learned this the hard way when I rushed through measuring!
The Secret to Crispy Baked Chicken Wings: Baking Powder
So why baking powder? It’s pure science, which is where Liam usually jumps in with a lecture, but I’ll keep it simple! Baking powder is alkaline, and when it hits the heat of the oven, it raises the pH level on the wing skin. This chemical reaction helps draw out moisture and promotes wicked browning. It’s what gives you that fantastic, thin, crackly crust that mimics deep-frying!
Essential Equipment for Perfect Crispy Baked Chicken Wings
Getting that perfect crunch isn’t just about the ingredients; it’s about the stage we set for them! Liam insists that without the right backdrop, the wings will steam under their own weight. So, you absolutely need three things to make this work. First, your standard baking sheet. Second, some strong foil for easy cleanup—I’m messy, remember? And most importantly, you need a wire cooling rack to fit inside that pan.
That wire rack is our hero! It lets the hot air circulate underneath so the bottoms don’t sit in grease. If you’re looking for other fun ways to use crispy coatings, you must check out how we do our air fryer roasted chickpeas!
Step-by-Step Instructions for Crispy Baked Chicken Wings
Alright, showtime! This is where Liam’s love for precision really pays off. We need to work quickly once the oven is hot to lock in that crispiness. First things first: crank that oven up to 425°F (220°C). Remember our setup? Make sure that wire rack is sitting right on top of the foil-lined baking sheet. We are creating an air bath for these birds!
Once the oven is ready, we move into the technique phase. If you want those crispy baked chicken wings, you absolutely cannot skip the next part. Get those wings on a mountain of paper towels and press until they are bone-dry. I mean it—dry as a desert! Then we toss them in our spice blend, making sure that baking powder dust hits every single surface before they slide onto the rack.
After they go in, we bake them for 20 minutes. Then, the crucial flip! If you want truly crunchy wings, you can check out how other folks do their crispy air fryer chicken wings, but for the oven, we follow the flip rule. After flipping, bake them another 20 to 25 minutes until they hit that safe internal temp of 165°F (74°C). You can even sneak a peek at recipes like the one over at My Kitchen Kind for time checks if you’re nervous!
Preparing the Wings for Maximum Crispiness
This is non-negotiable! Pat, pat, pat your wings dry with paper towels. Excess water is the enemy of crunch. Once they are feather-dry, toss them in that bowl with the baking powder mixture. Make sure every little nook and cranny is coated. Remember that wire rack? Arrange the wings on it in a single layer. They need space to breathe, or they’ll steam themselves into mush. This setup is what keeps the bottoms from getting soggy!
Baking and Flipping Your Crispy Baked Chicken Wings
The high heat blasts the outside skin immediately, which is the whole goal. After the first 20 minutes, it’s time to flip them over so both sides get that beautiful golden tan. Keep baking until they look deep brown and feel firm when you gently poke them. If you are feeling brave and they look *almost* done, switch the oven to broil for just one or two minutes. WATCH THEM CLOSELY! That broiler can burn deliciousness in seconds, but it gives you that extra level of shatter-crisp skin. Always check that internal temp for safety before pulling them out!
Tips for Achieving Ultra Crispy Baked Chicken Wings
Even with the right recipe, sometimes the humidity in my kitchen wins, or I just get a little rushed! So, here are the concrete things I always remember—the extra steps Liam drilled into me—to guarantee we are not ending up with soggy wings.
- Dry is Divine: I can’t stress this enough: Pat those wings until you think they’re dry, and then dry them one more time! Any leftover surface moisture will steam instead of crisp when it hits the oven heat.
- Rely on the Rack: If you ditch the wire rack, you ditch the crispiness! The rack is essential because it allows the hot air to flow all the way around each wing. If you need inspiration for another crunchy treat, check out my recipe for Korean fried chicken crunch!
- Sauce Last: If you plan on coating these beauties in Buffalo or BBQ sauce, wait until they are 100% done baking. Toss them while they’re piping hot so the sauce just clings to the crust, rather than soaking into it before they even hit the oven. Want inspiration for a spicy sauce? See what they’re doing over at The Chickn.
Saucing Your Crispy Baked Chicken Wings After Baking
This is the moment of truth! You’ve achieved peak crispiness, those babies are golden, and now you want to dunk them in glorious sauce. Here is the biggest caution I have for you: sauce them right when they come out of the oven. Piping hot! If you let the wings rest for even five minutes, the steam trapped inside starts to soften that amazing crust we worked so hard to create. So, pull those wings off the rack, dump them into a clean, large bowl, and toss them immediately with your favorite Buffalo, BBQ, or whatever-makes-you-happy sauce.
Now, if you are making something really wet, like a heavy, liquidy sauce, you have a choice to make to keep that crunch factor high. Honestly, the best party move—and one Liam totally approves of since it cuts down on dishes—is to serve the sauce on the side for dipping! If you absolutely must coat them, toss lightly and serve them right away. If you’re looking for some fun, spicy inspiration for a dipping sauce, you have to check out our recipe for honey sriracha lil smokies—it shows how we handle sticky glazes!
Storing and Reheating Crispy Baked Chicken Wings
Okay, so maybe you made a massive batch for game day, and now you have leftovers. Who am I kidding? I always bake a massive batch! But the crucial question is: How do we keep these beauties from turning into rubbery little sad sacks overnight? The trick is cutting off the moisture source as soon as possible.
If you are planning on storing them, and you sauced them, you need to cool them completely on a plain plate—no lid!—before sliding them into an airtight container in the fridge. If you *didn’t* sauce them, you can put them straight in the container. They’ll last safely for about three or four days, but trust me, the crunch factor fades after about 24 hours, even with our awesome baking powder trick.
Now, reheating! This is where we fight the microwave menace. Liam absolutely forbids putting sauced wings in the microwave; it just steams them back into submission! If you can, reheat them spread out on that same wire rack in a 375°F oven for about 8 to 10 minutes. That blast of dry heat starts reviving the skin instantly! If you have an air fryer (which I sometimes use when Liam isn’t watching!), that’s even better—just a few minutes at 350°F and they are shockingly crisp again. Seriously, avoid the microwave if you value that shatteringly crispy texture we worked so hard for!
Frequently Asked Questions About Crispy Baked Chicken Wings
I know my enthusiasm for baking powder wings might make you wonder about substitutions! Liam and I get asked pretty similar questions whenever we post about making these, so let’s tackle the common concerns right here so you feel totally confident walking into the kitchen.
You might be worried about freezing, or maybe you’re wondering if you can use your air fryer instead. I promise we have answers for all of it, keeping that crispy texture as our main goal!
Can I skip the baking powder in this recipe?
Oh gosh, please don’t! Skipping the baking powder means you are skipping the secret ingredient that makes these oven-baked wings genuinely crispy. If you skip it, you’ll end up with skin that might brown a little, but it won’t have that fantastic, dry, shatter-crisp texture we are aiming for. If you are out, quickly run to the store for it—it’s worth the extra five minutes, trust me!
What should I do if I don’t have a wire rack?
This is tough, but it happens! If you absolutely don’t have a wire rack, you have to try and create elevation for your wings. You can use an oven-safe cooling rack from an old toaster oven, or you can carefully lay down a layer of aluminum foil, scrunch it up into small, firm ‘logs’ or balls about an inch thick, and place those evenly on the baking sheet to act as makeshift feet for the wings. The key is air flow underneath! For more tips on high-heat cooking without that rack, you can check out the techniques shared at A Spicy Perspective.
Can I use frozen chicken wings straight from the freezer?
No, honey, no! Frozen wings have ice crystals trapped inside. If you try to season and bake them straight out of the freezer, they will instantly steam themselves into a soggy mess the second they hit that 425°F heat. You must thaw them completely, and then, you must pat them aggressively dry before seasoning. I love making homemade katsu, which also requires totally dry meat for perfection!
Can I use this recipe in an air fryer instead?
Yes! If you have an air fryer, it works beautifully for these, often making them even faster and crispier! You’ll just need to work in smaller batches so you don’t overcrowd the basket. Cook them around 400°F for about 18 to 22 minutes total, flipping halfway through. It’s a great alternative for no fry chicken wings!
Serving Suggestions for Your Crispy Baked Chicken Wings
Look, you’ve done the hard work! You have achieved peak crunch, and nobody wants to eat these amazing crispy baked chicken wings naked! Well, maybe you do, but I’m a sauce girl through and through. I always make sure I have the cool, creamy counterpoints ready to go because those hot, spicy, crunchy wings need a nice place to land.
The classics are classics for a reason, right? You absolutely have to have celery sticks and maybe some carrot sticks on hand—it breaks up the richness perfectly and gives your mouth a little break before the next bite. And the dips! Never forget the dips! Blue cheese dressing is traditional, but honestly, Liam and I are huge fans of ranch. I have a lighter, tangier recipe for Greek yogurt ranch dip that is phenomenal with the heat of these wings, and it feels a little lighter on the indulgence meter.
If you’re serving these as a main course instead of just a game-day snack, I like to pull them off the rack, toss them lightly in a little BBQ sauce, and serve them over a bed of simple white rice. The rice soaks up any extra delicious sauce runoff. Honestly, no matter how you serve them, just make sure you put a big bowl out because they disappear shockingly fast!
Print
Get Truly Crispy Baked Chicken Wings Without Deep Frying
- Total Time: 55 min
- Yield: 4 servings 1x
- Diet: Low Fat
Description
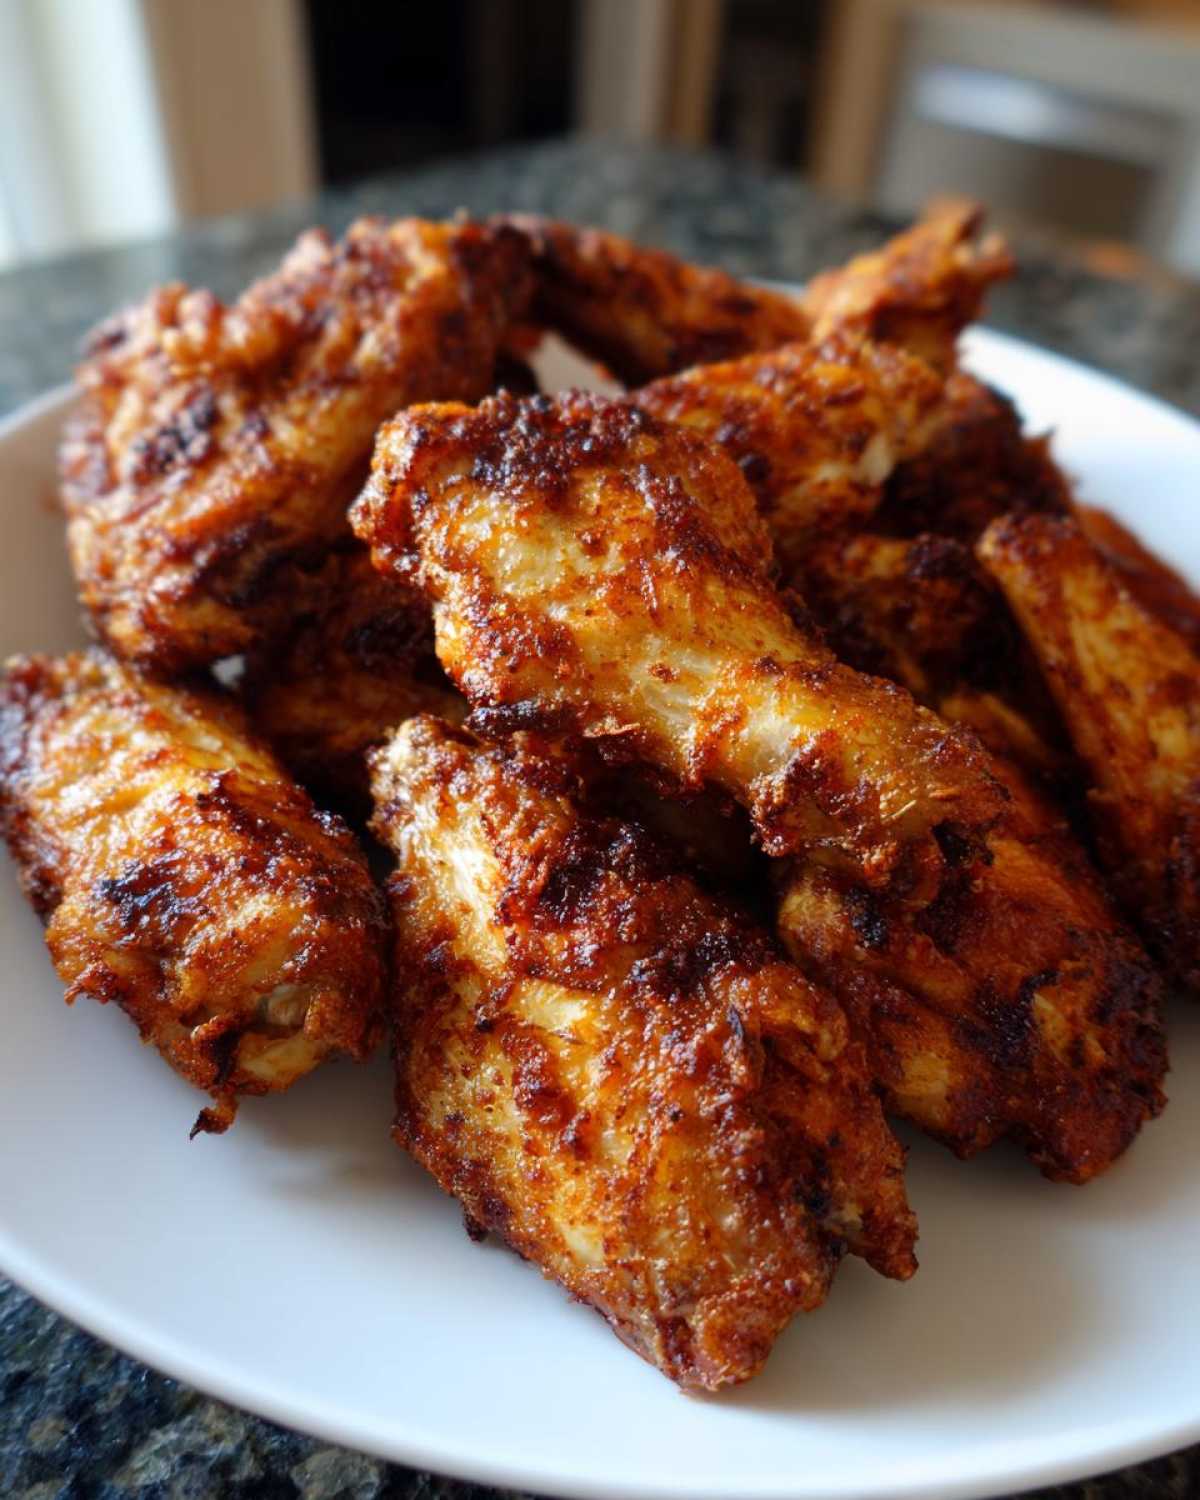
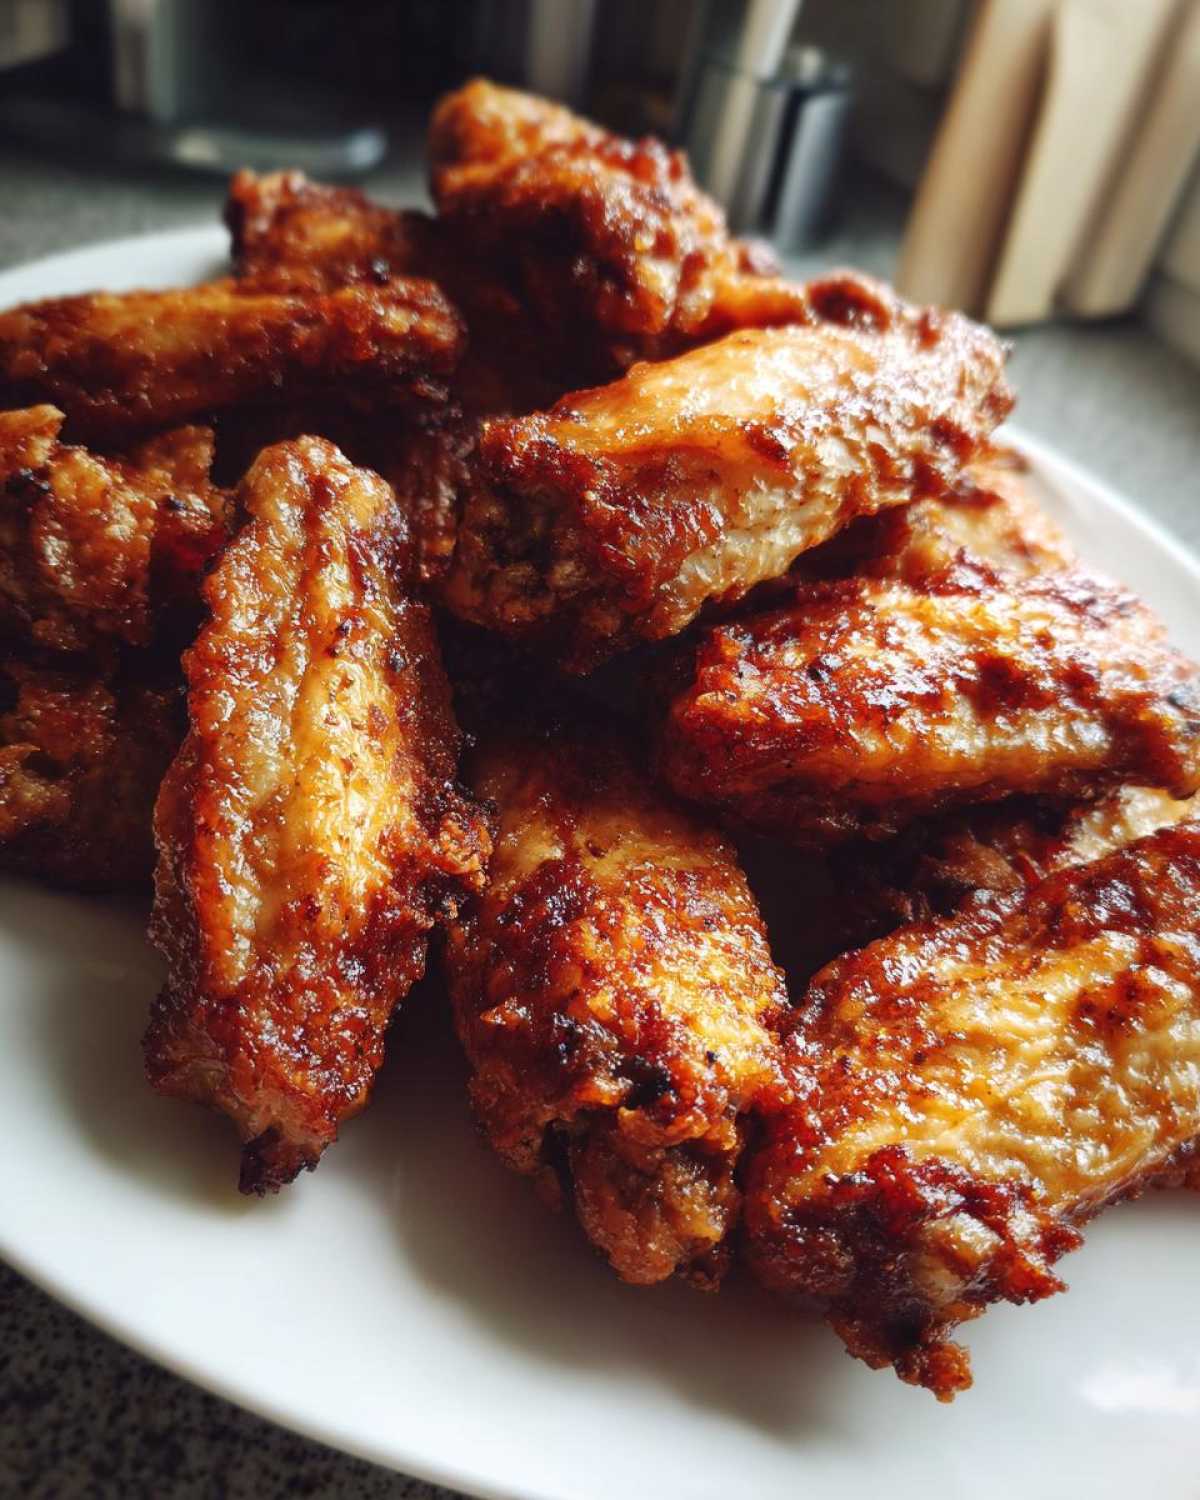
Follow this simple oven method to achieve shatteringly crispy baked chicken wings that are juicy inside. This technique uses a secret ingredient for the ultimate crunch, making them a healthier game-day snack or easy dinner.
Ingredients
- 2 lbs chicken wings, separated into flats and drumettes
- 1 tablespoon baking powder (not baking soda)
- 1 teaspoon salt
- 1 teaspoon garlic powder
- 1 teaspoon paprika
- 1/2 teaspoon black pepper
- Optional: Your favorite sauce for tossing after baking (e.g., Buffalo, BBQ)
Instructions
- Preheat your oven to 425°F (220°C). Line a large baking sheet with foil for easy cleanup, then place a wire cooling rack on top of the foil. This setup allows air to circulate around the wings for maximum crispiness.
- Pat the chicken wings completely dry using paper towels. This step is critical for achieving a crispy outside.
- In a large bowl, combine the baking powder, salt, garlic powder, paprika, and black pepper.
- Add the dried chicken wings to the bowl and toss them thoroughly until every piece is evenly coated with the seasoning mixture. The baking powder helps dry out the skin and promotes browning.
- Arrange the seasoned wings in a single layer on the wire rack, ensuring they do not touch each other.
- Bake for 20 minutes.
- Flip the wings over. Bake for another 20 to 25 minutes, or until the internal temperature reaches 165°F (74°C) and the skin is deeply golden brown and crisp. For extra crispiness, switch the oven to broil for the last 1-2 minutes, watching closely to prevent burning.
- Remove the wings from the oven. If you are using sauce, place the hot wings in a clean bowl and toss them immediately with your desired sauce until coated.
- Serve your perfectly crispy baked chicken wings right away with celery and carrot sticks if you like.
Notes
- The key to ultra crispy baked chicken wings is using baking powder and ensuring the wings are completely dry before seasoning.
- For the best results, use a wire rack so the bottom of the wings does not steam in their own juices.
- If you plan to sauce your wings, toss them immediately after they come out of the oven while they are still hot.
- Prep Time: 10 min
- Cook Time: 45 min
- Category: Appetizer
- Method: Baking
- Cuisine: American
Nutrition
- Serving Size: 4 wings
- Calories: 250
- Sugar: 0
- Sodium: 350
- Fat: 15
- Saturated Fat: 4
- Unsaturated Fat: 11
- Trans Fat: 0
- Carbohydrates: 1
- Fiber: 0
- Protein: 25
- Cholesterol: 90