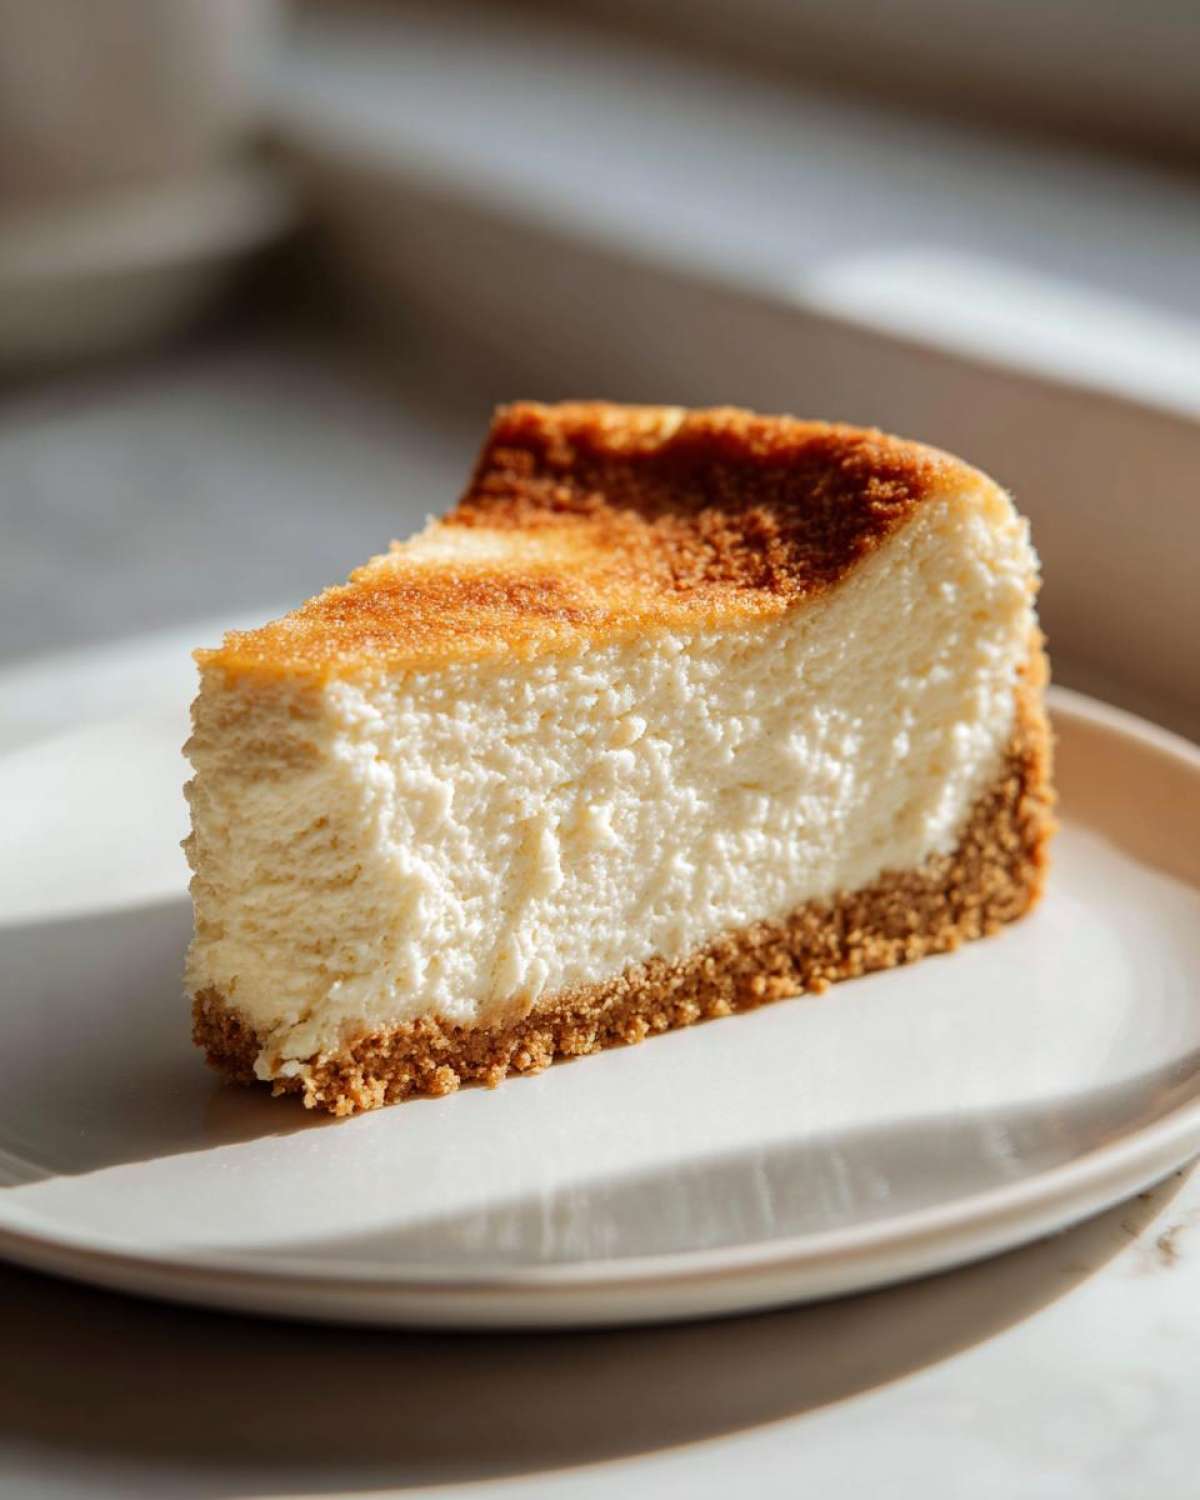
You know that moment when you see a perfect, towering slice of New York Style Cheesecake, so dense and creamy it looks like velvet, and you think, “I could never?” Well, throw that thought right out the window! Liam used to think achieving that flawless, crack-free top meant wrestling with a water bath, but guess what? We figured out the magic trick.
This is truly the best cheesecake recipe you’ll find that skips all the drama. I’m Sara, Liam’s enthusiastic, chaotic muse here at Child Recipe, and I’m here to remind you that baking should be fun, especially when the results are this indulgent. Get ready for the easiest homemade cheesecake ever! If you love this direction, you might also adore our decadent white chocolate cranberry cheesecake, which follows a fun, low-stress philosophy, too.
Liam and I have refined this process endlessly, focusing purely on getting that rich, soul-satisfying texture without any surprises—like a huge crack right down the middle. Trust me, the secret is in stopping the mixer when you think you should keep going. It’s all about joyful precision!
Why This is the Best Easy Homemade Cheesecake Recipe
Look, I know why you clicked on this cheesecake link—you want that classic, rich slice but you don’t want the drama! This recipe manages to deliver all the indulgence of a New York Style Cheesecake without making you babysit a pan full of hot water. That’s a huge win in my book, and it saves us so much cleanup time!
- It’s genuinely an easy homemade cheesecake that even Liam trusts me with when he’s busy setting up the music playlist.
- We achieve a truly **crack free cheesecake** result just by cooling it slowly—no sweating required!
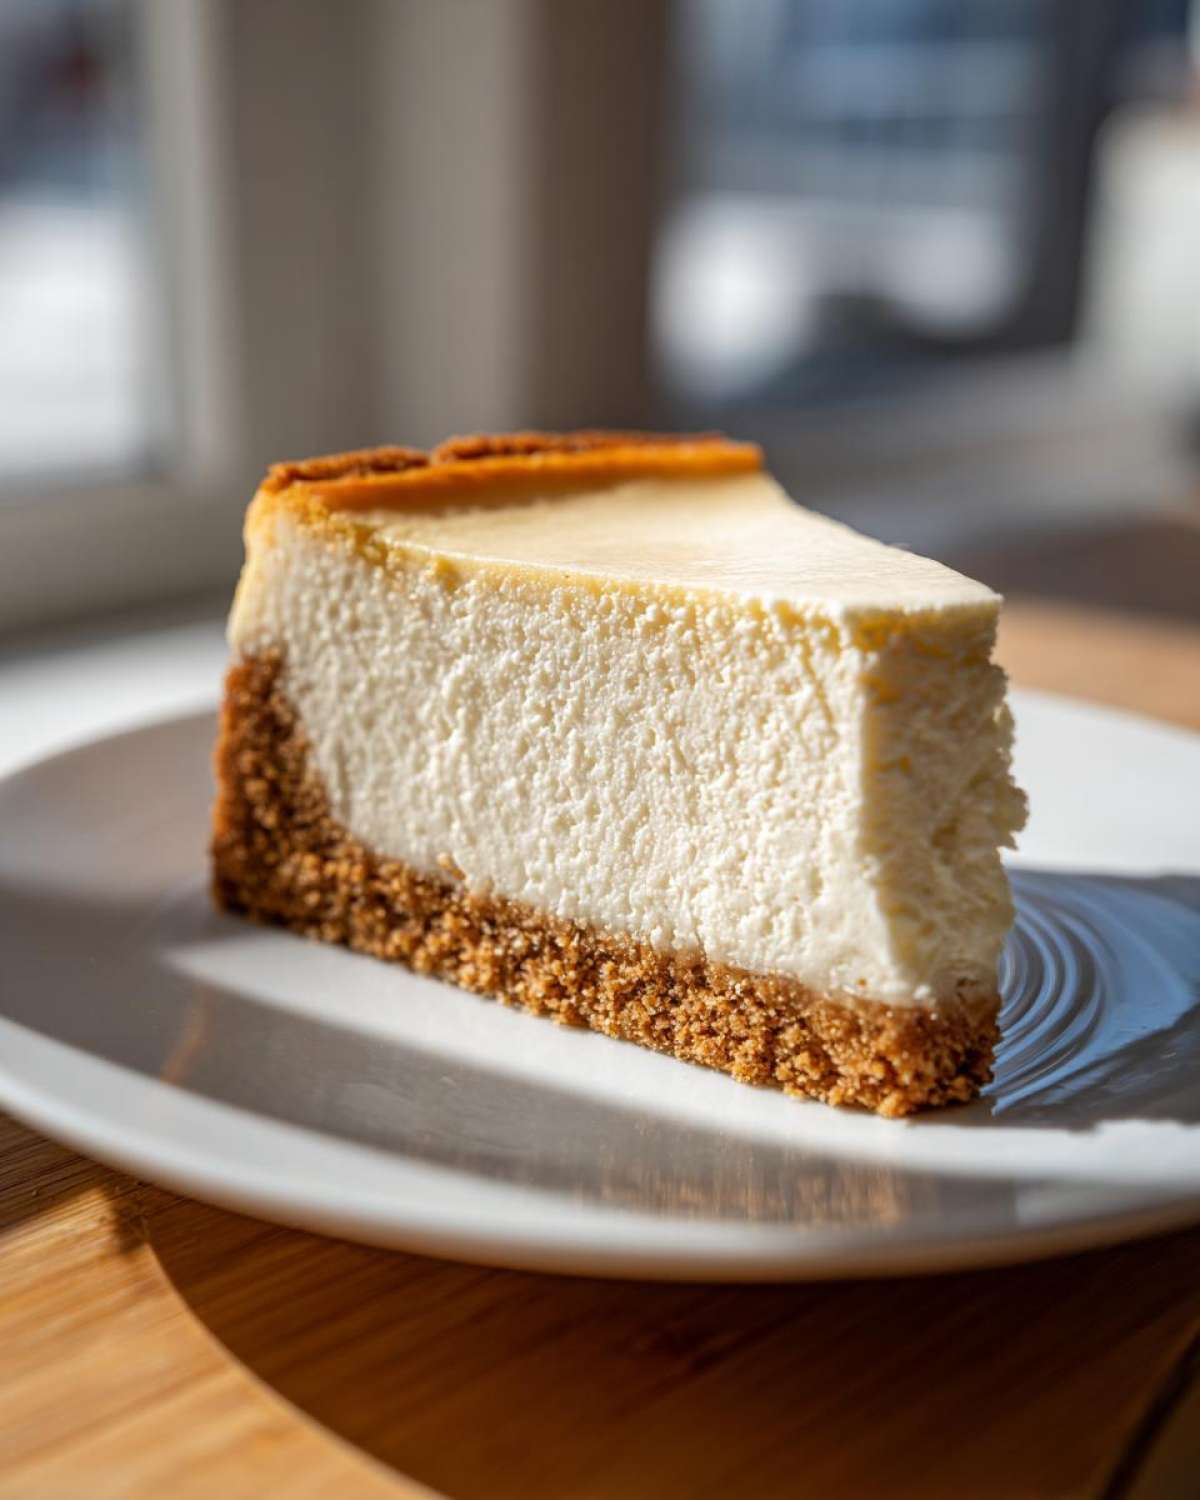
- You get the dense, luxurious texture you crave from a **creamy cheesecake recipe** all thanks to simple technique improvements.
- The best part? It’s a glorious **no water bath cheesecake**. Yes, seriously! Check out our tips on why cooling is everything in this no bake peppermint bark cheesecake because technique matters everywhere!
Achieving Velvety Cheesecake Filling Texture
If you want truly velvety cheesecake filling, you need to treat your ingredients kindly. Don’t even think about starting this until your cream cheese, eggs, and sour cream are all sitting out on the counter for at least an hour. They need to be completely room temperature—this stops lumps dead in their tracks!
When mixing, our biggest rule, even without the water bath, is low and slow. We cut the air out wherever possible. Air is the enemy of smooth cheesecake texture, so we keep the mixer speed on medium-low and only mix until things are barely combined. That gentle handling is what creates that beautiful, luxurious mouthfeel.
Gathering Ingredients for Your Cheesecake Recipe
Alright, let’s get our cast of characters lined up for this show! Having everything ready is vital for a smooth performance, especially when we’re aiming for such a high-quality classic dessert. Liam is a stickler for one thing on every single one of his recipes: the temperature of the dairy and eggs. If you bring those items straight from the fridge, you’ll end up with lumps, and lumps ruin the whole vibe, trust me!
We need quality players for the base and the rich, creamy topping that makes this New York Style Cheesecake so epic. You can see the full breakdown below, but really focus on letting that cream cheese and those eggs relax on the counter before you touch the mixer. See how we handled the topping ingredients over in our white chocolate cranberry cheesecake? Same rules apply here!
Crust Ingredients: Graham Cracker Crust Recipe
First up is the foundation. We want a sturdy base for our graham cracker crust recipe—something that holds up to that thick, dreamy filling! You’ll need:
- 1 1/2 cups graham cracker crumbs
- 1/4 cup granulated sugar (just for the structure here)
- 6 tablespoons unsalted butter, melted
Filling Ingredients for a Rich Cheesecake Recipe
This is where the magic for this amazing **cheesecake recipe** really happens. Remember what I said about room temperature items? They have to be right!
- 4 (8 ounce) packages full-fat cream cheese, softened to room temperature
- 1 1/2 cups granulated sugar (for the filling, this is the good stuff!)
- 1/4 cup all-purpose flour
- 1 teaspoon vanilla extract
- 1/4 teaspoon salt
- 4 large eggs, room temperature
- 1/2 cup sour cream, room temperature
Step-by-Step Instructions for the Perfect Cheesecake Recipe
Okay, time for the performance! Getting this **cheesecake recipe** right is all about methodical steps, but don’t worry, it’s not tricky—it’s just intentional. We aren’t dealing with a hot water bath here, so we need to be extra precise about how we manage the air inside the batter. Liam’s best advice, which he hammers home every time we bake this, is to treat the mixer like it’s a delicate conductor. Gentle mixing prevents those pesky air bubbles that cause cracking later! If you follow this guide, you’ll get that perfect texture that makes a New York Style Cheesecake something truly special.
Preparing the Crust and Oven Setup for this Cheesecake Recipe
First things first, we get the oven ready for its role. Preheat your oven to 325 degrees F right away. You’ll need a 9-inch springform pan—it makes serving this beautiful creation so much easier later on. Mix your crust ingredients—the crumbs, the small amount of sugar, and melted butter—and press that mixture down firmly into the bottom of the pan. Give that crust a little head start by baking it for just 10 minutes. Pull it out and let it cool down completely while we focus on the main event!
Mixing the Creamy Cheesecake Filling Components
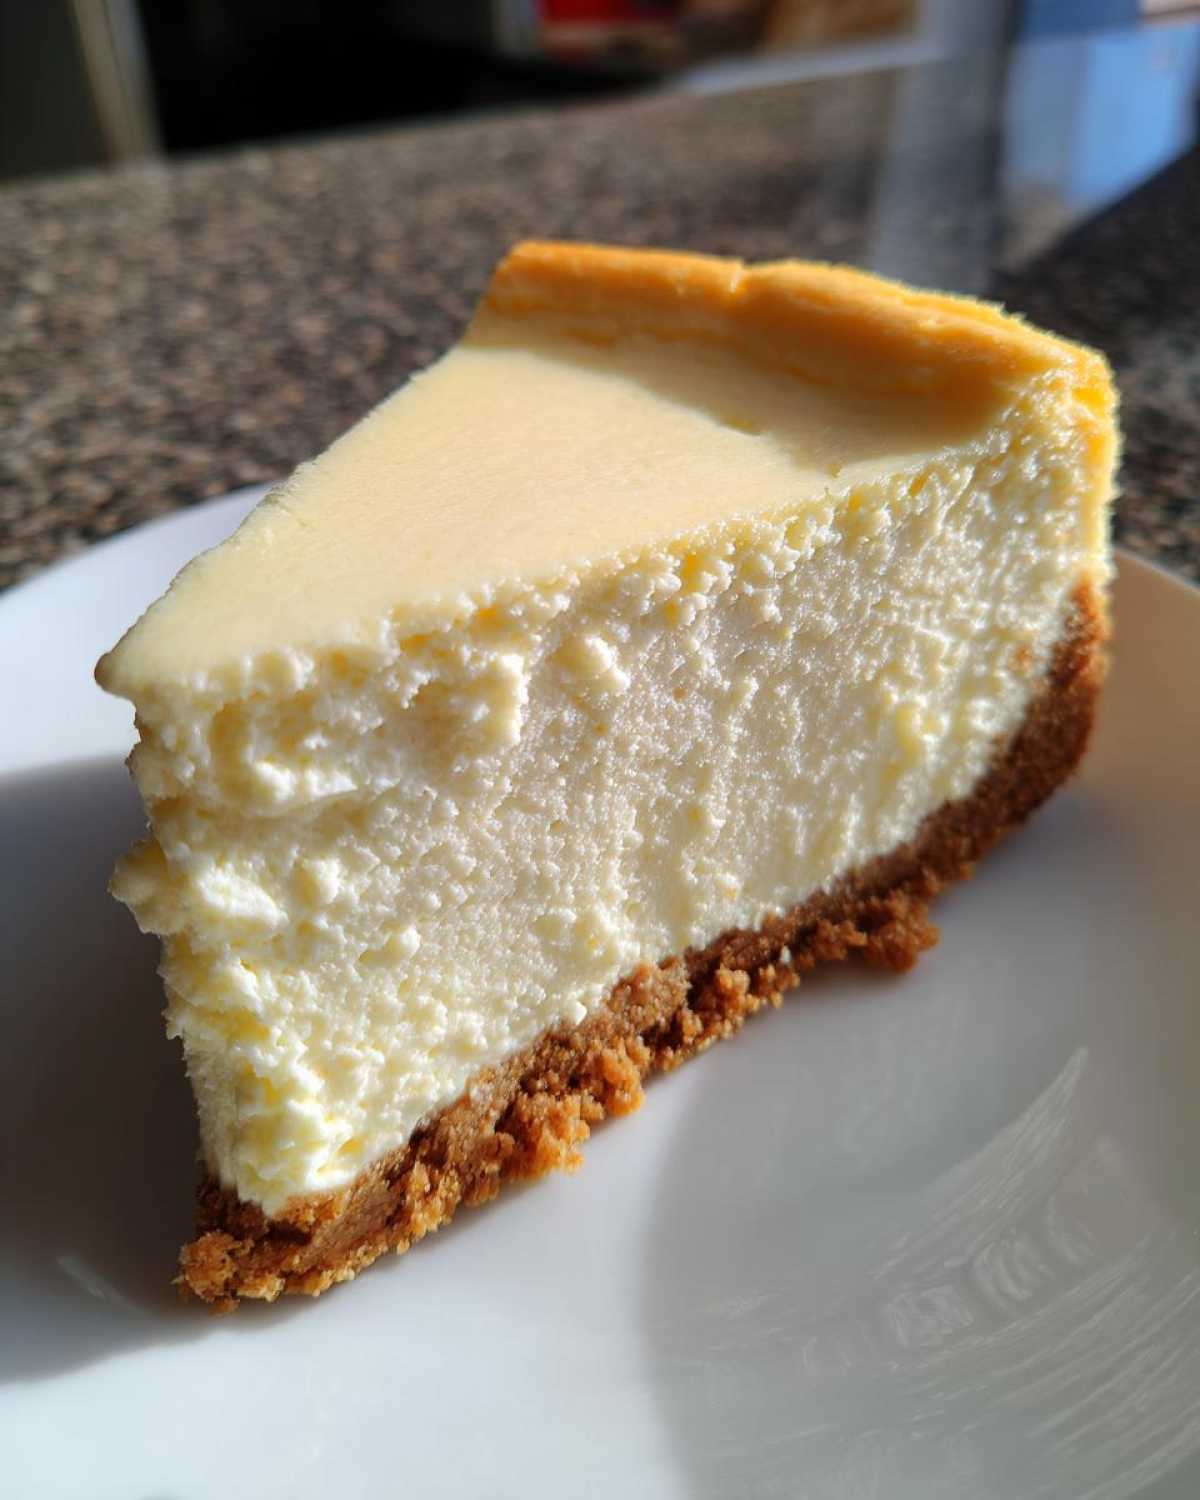
This is where the *best cheesecake recipe* secrets come out! In your big bowl, start beating that room-temperature cream cheese until it’s absolutely silky smooth. Scrape the sides—don’t skip that! Then, gently beat in the sugar, flour, vanilla, and salt until they just disappear. Now, for the eggs in our **cheesecake recipe**: Add them in one by one. Seriously, wait until the first yolk is barely visible before even thinking about adding the next one. Liam makes sure to keep the speed low here, just incorporating, because too much agitation means too much air, and too much air means trouble! We focus on this minimal mixing to ensure a **velvety cheesecake filling**.
Once the eggs are done, that’s it for the electric mixer! Gently fold in the sour cream with a spatula until it’s uniform. That final fold ensures the **creamy cheesecake recipe** texture is perfect. For topping ideas later, check out how lovely this looks with a fresh berry compote!
Baking and Slow Cooling for a Crack Free Cheesecake Recipe
Pour that gorgeous filling over your cooled crust. We bake this for about 55 to 65 minutes. You know it’s close when the edges look set up, but you can still see a slight, gentle wobble right in the center—not sloshing, but a gentle jiggle. That wobble is crucial for staying moist! The real trick to our **crack free cheesecake** is the cooling.
When the timer goes off, don’t rush it! Turn the oven off completely. Prop the door open using a wooden spoon or a sturdy spatula. Let the cheesecake sit in that slowly cooling oven for a full hour. This gradual temperature change is the single most effective technique for nailing this **cheesecake recipe** every time. Follow this, and you won’t need any fussy water bath to see that perfect, unblemished top!
Tips for Success with Your New York Cheesecake Recipe
Okay, let’s talk about turning this **cheesecake recipe** from great to absolutely show-stopping. We’ve mastered the mixing and the cooling, but a few extra tiny details really cement this as the **classic cheesecake dessert** you’ll be known for. Liam is passionate about the temperature situation, and honestly, so am I now! You must, must, *must* use room temperature ingredients.
If you use cold cream cheese or eggs, you force the mixer to work way too hard trying to break up those cold solids. That heavy mixing whips in unwanted air, and that air is what leads to sinking or cracking later on. Remember, the goal of this **cheesecake recipe** is that buttery, dense, smooth sensation, not a fluffy, airy texture. We want rich indulgence!
If you’re ever worried about texture, remember the slow cool down is your superhero move. Also, don’t forget to check out this easy cheesecake recipe for comparison; sometimes Liam and I geek out on comparing our methods! And if you’re feeling adventurous after this, try our red velvet cheesecake next!
Serving Suggestions for This Indulgent Dessert Recipe
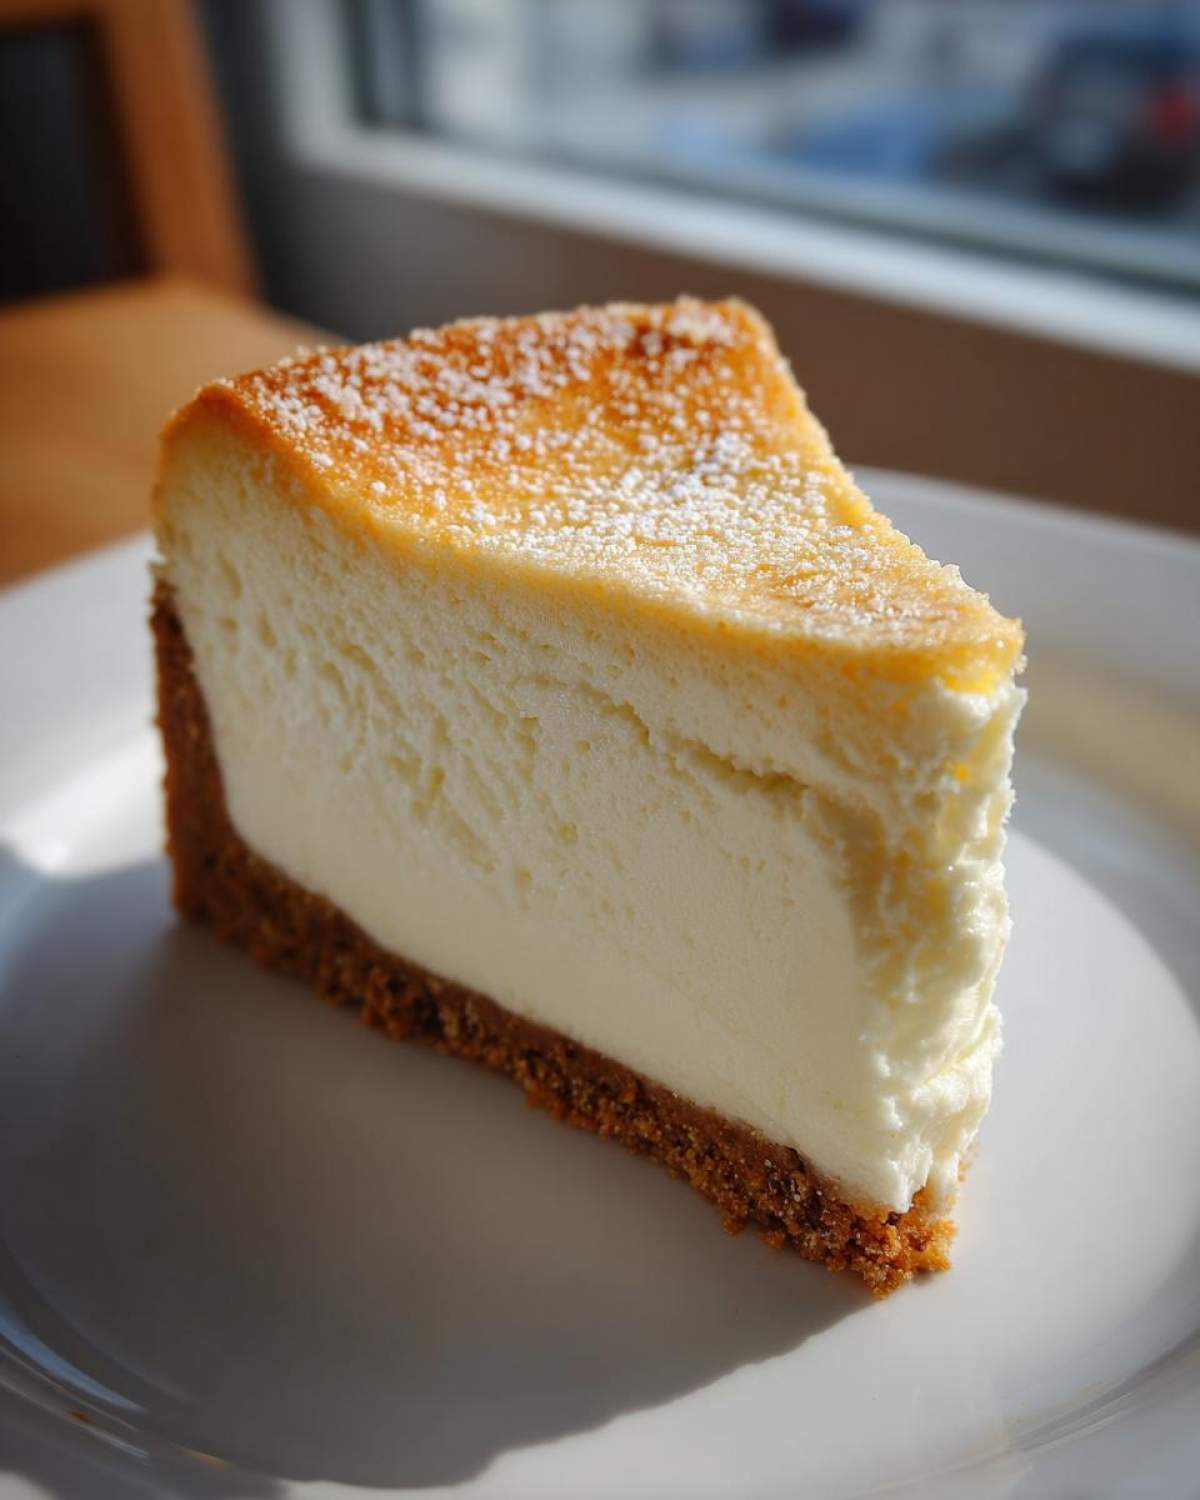
Now that you have this gorgeous, perfect cheesecake staring back at you—and yes, I mean *perfect*, no cracks allowed!—it’s time to get creative with the presentation. This rich cheesecake recipe is already heavenly on its own, truly. But if you want to put on a little show for your guests, simple toppings work best. They compliment the tang without overpowering that delicious, dense body we worked so hard to achieve.
My favorite thing to do is grab a big bowl of fresh raspberries or blueberries. Toss them lightly with just a tiny sprinkle of sugar and maybe a splash of lemon juice—fresh and bright!
If you are going for that classic New York vibe, a very light drizzle of good quality caramel sauce is divine. For something really decadent, you can see how we handled topping our white chocolate cranberry cheesecake—a little crushed brittle on top adds incredible texture!
Storage and Make-Ahead Tips for Your Cheesecake Recipe
One of the best things about this **cheesecake recipe** is that it actually *wants* you to make it ahead of time! Seriously, this indulgent dessert tastes even better after it has a nice, long nap in the fridge. You absolutely must chill this for a minimum of six hours, but if you can hold off until the next day, you’ll get that ultra-dense, creamy texture we aimed for.
When you’re sealing it up, make sure you cover the pan loosely with plastic wrap—don’t let the wrap touch the surface of the cheesecake unless you are putting parchment paper between them first. That direct contact can leave a weird film or pull at the top. Store it sealed in the fridge. If you have any leftover slices after the party, they keep beautifully for about four days in an airtight container. This **cheesecake recipe** is your stress-free holiday hero!
If you’re planning ahead for a big dinner, you can actually bake this entirely, cool it, and chill it, then wrap it tightly and freeze it for up to a month! Just thaw it slowly in the fridge overnight before you plan to serve it. We use this same slow-thaw method for our candy cane chocolate pie, and it works like a dream!
Frequently Asked Questions About Making a Cheesecake Recipe
Even with the best instructions, sometimes little questions crop up. That’s totally normal when you’re baking something as important as a standout **cheesecake recipe**! Liam and I get asked these all the time, so I pulled the most common ones here to help you feel totally confident before you dive in.
Why did my cheesecake sink?
This usually happens because too much air got whipped into the batter, especially when adding the eggs. Remember how I stressed mixing gently? If you overmix the eggs in your **cheesecake recipe**, you create air pockets. When the cheesecake cools, those pockets collapse, and down goes the middle! Keep your mixer on low, and stop as soon as the ingredients merge.
Is chilling the cheesecake really mandatory?
Oh, yes, this is non-negotiable for the best results! While you *could* technically eat it sooner, you absolutely need that minimum six hours, and overnight is heavenly. Chilling allows the cream cheese and eggs to fully set up, giving you that incredible, dense, and firm texture you expect from a classic **New York cheesecake recipe**. Nobody wants warm, floppy cheesecake!
Do I really have to use full-fat cream cheese?
You do for this one, sweetie! This isn’t the time for light or low-fat substitutes if you want that truly rich, indulgent dessert experience. The fat content is what gives this **creamy cheesecake recipe** its signature structure and velvety mouthfeel. Don’t skimp on the good stuff here; it pays off big time!
Can I substitute the sour cream?
You can try to look at other **homemade dessert ideas**, but for this specific, established **cheesecake recipe**, I wouldn’t mess with the sour cream. It adds a specific little tang and moisture that cuts through the richness of the cream cheese. If you must substitute, Greek yogurt is the closest cousin, but be aware it might change the final set slightly. We learn the best lessons from reading guides like the one over at Sweetly Cakes, and they vouch for the sour cream, too!
If you’re looking for ways to jazz up your baking game in general, Liam always finds great inspiration over at my favorite baking inspiration spot, our pumpkin spice oatmeal bake post!
Estimated Nutritional Data for This Cheesecake Recipe
I know you’re focused on flavor and that perfect **cheesecake recipe**, but for those keeping track, here is the ballpark nutritional rundown per slice. Please remember this is just my best guess based on the standard ingredients! Life in the kitchen is messy, and measurements aren’t always perfect, so these numbers are a handy estimate, not a scientific guarantee.
For one slice of this rich **cheesecake recipe**, you’re generally looking at:
- Calories: 450
- Sugar: 35g
- Fat: 30g
- Protein: 8g
This is a pure indulgence **dessert recipe**, friends! If you want more inspiration for your next baking adventure, come check out how we manage measurements for our pumpkin spice latte oatmeal bake!
Share Your Culinary Performance
Now that you have the script, it’s time for you to take the stage! I really hope you bake this **New York Cheesecake recipe**. When you do, snap a picture and share your beautiful, crack-free creation with us—we need an audience for our performances sometimes, and your beautiful dessert is ours!
Remember, this is all about finding the fun again. Follow our steps, but let your own inner muse guide you. If you have great feedback or tweaks, please leave a comment below, or better yet, reach out via our contact page!
Print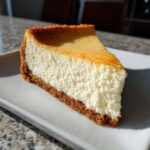
The Best Easy Homemade New York Style Cheesecake Recipe (Crack-Free)
- Total Time: 1 hour 30 min
- Yield: 12 servings 1x
- Diet: Vegetarian
Description
You want that rich, creamy, velvety texture of a classic New York Style Cheesecake without the stress of cracks or fussy water baths. This easy homemade recipe delivers a perfect, indulgent dessert every time. Let’s bake something special!
Ingredients
- 1 1/2 cups graham cracker crumbs
- 1/4 cup granulated sugar (for crust)
- 6 tablespoons unsalted butter, melted
- 4 (8 ounce) packages full-fat cream cheese, softened to room temperature
- 1 1/2 cups granulated sugar (for filling)
- 1/4 cup all-purpose flour
- 1 teaspoon vanilla extract
- 1/4 teaspoon salt
- 4 large eggs, room temperature
- 1/2 cup sour cream, room temperature
Instructions
- Prepare your oven and pan. Preheat your oven to 325 degrees F. You will need a 9-inch springform pan. Do not use a water bath for this recipe; we are aiming for a crack-free result through careful mixing and cooling.
- Make the graham cracker crust. In a medium bowl, combine the graham cracker crumbs, 1/4 cup sugar, and melted butter. Press the mixture firmly and evenly into the bottom of the springform pan. Bake the crust for 10 minutes. Remove from the oven and let it cool while you prepare the filling.
- Mix the cream cheese. In a large bowl using an electric mixer on medium speed, beat the softened cream cheese until it is completely smooth and creamy, scraping down the sides often. This step is key for a velvety texture.
- Add dry ingredients. Gradually beat in the 1 1/2 cups sugar, flour, vanilla extract, and salt until just combined. Do not overmix.
- Incorporate eggs one at a time. Add the eggs one at a time, beating only until each egg is incorporated before adding the next. Stop mixing as soon as the last egg disappears into the batter. Overmixing eggs introduces air, which causes cracks.
- Fold in sour cream. Gently fold in the room temperature sour cream using a spatula until the batter is uniform.
- Pour and bake. Pour the filling over the cooled crust. Bake for 55 to 65 minutes. The edges should look set, but the center 2 inches should still have a slight jiggle when gently nudged.
- Cool slowly to prevent cracks. Turn off the oven, but leave the cheesecake inside with the oven door propped open slightly (use a wooden spoon). Let it cool in the oven for 1 hour.
- Finish cooling. Remove the cheesecake from the oven and let it cool completely on a wire rack at room temperature. Once cool, cover loosely and refrigerate for at least 6 hours, or preferably overnight, before serving.
Notes
- Room temperature ingredients are essential for a smooth, lump-free, creamy cheesecake filling. Take your cream cheese, eggs, and sour cream out at least one hour before starting.
- To achieve that perfect, tall, crack-free top, mix on low speed and stop mixing as soon as ingredients are combined, especially after adding the eggs.
- If you want to make mini cheesecakes, use a muffin tin with liners and reduce the baking time to about 20-25 minutes.
- Prep Time: 25 min
- Cook Time: 65 min
- Category: Dessert
- Method: Baking
- Cuisine: American
Nutrition
- Serving Size: 1 slice
- Calories: 450
- Sugar: 35
- Sodium: 300
- Fat: 30
- Saturated Fat: 18
- Unsaturated Fat: 12
- Trans Fat: 0
- Carbohydrates: 38
- Fiber: 1
- Protein: 8
- Cholesterol: 120