Oh, you are going to absolutely LOVE this! There’s nothing quite like biting into a slice of homemade pie where the filling is so vibrantly tart it makes your eyes water just a little, followed immediately by that cloud of sweet, fluffy meringue. Getting that perfect, sharp balance in a traditional lemon meringue pie is what separates the okay desserts from the showstoppers, I promise you. For years, I struggled with my meringue weeping and sinking like a deflated balloon. It was embarrassing! But over time, I learned the secret handshake between the hot filling and the topping. This is my absolute classic recipe—purely homemade lemon pie from scratch—and it’s all about the stability. Once you master these steps, you’ll never look back!
Why This Classic Lemon Meringue Pie Recipe Works
Trust me when I say this isn’t just another recipe floating around the internet. This one is built for success, hitting all those key notes you want in a phenomenal dessert. It’s all scratch, all flavor, and most importantly, it tackles the dreaded meringue failure head-on. That’s why it’s earned a permanent spot on my baking rotation.
- It’s genuinely homemade because we start right from the lemon curd base, ditching anything artificial.
- The balance is spot-on—it’s wonderfully tart and sweet pie that wakes up your palate!
- We focus heavily on technique so you get that glorious, towering meringue that actually stays put.
Achieving the Perfect Tart and Sweet Pie Balance
The intense flavor comes purely from fresh juice and zest, don’t even think about the bottled stuff! Fresh lemon is so much brighter and its acidity cuts through the sugar beautifully. This filling isn’t shy; it’s zesty and bright, making every bite feel invigorating. It’s really the heart of why this lemon meringue is so memorable.
The Secret to a Fluffy Meringue Topping
We ensure volume and stability using two non-negotiables: room-temperature egg whites and a pinch of cream of tartar right at the start. These small things make a massive difference in whipping up structure. We aren’t just making peaks; we are setting a sturdy foundation so you can wave goodbye to that horrible weeping mess!
Gathering Ingredients for Your Homemade Lemon Pie From Scratch
Okay, let’s talk about what we need for this spectacular homemade lemon pie from scratch. Because we are building this beauty from the ground up—crust, filling, and topping—organization is everything. Lay everything out before you start mixing. You don’t want to panic halfway through looking for the right sugar!
We keep things simple, but precision matters here, especially with how we handle the eggs. This is where we start building that fantastic texture that makes this lemon meringue so famous.
For the Buttery Pie Crust (Pre-Baked)
The recipe calls for one recipe of a 9-inch single pie crust that has already been blind-baked. This step is non-negotiable! You must have that crust baked and completely, totally chilled before you even think about pouring in your lemon filling. A warm crust will cook the bottom of your filling unevenly, which is a disaster waiting to happen.
For the Zesty Lemon Filling (Lemon Curd Recipe Base)
Here’s where all the zing comes from! You’ll need 1 1/2 cups of sugar, cornstarch, salt, cold water, four large egg yolks, fresh lemon juice, zest, and butter. Before you even turn on the heat, make sure that cornstarch is totally whisked into the sugar and salt mixture until there are absolutely no lumps. We are making a sturdy base for our lemon curd recipe, and grainy cornstarch makes for a grainy filling!
For the Fluffy Meringue Topping
For the crown jewel, grab 6 large egg whites and make sure they are truly at room temperature—this gives you the best volume, seriously. You’ll also need cream of tartar and the remaining 1/2 cup of sugar. Make absolutely certain your mixing bowl is 100% grease-free, or those whites won’t stand up for you!
Step-by-Step Instructions for Perfect Lemon Meringue
Alright, here is where the magic happens! We need to move quickly and efficiently here, but without rushing the critical setting points. It’s all about timing after that filling is cooked. Remember, the entire filling goes into that completely cooled, shell-shocked crust immediately. We don’t want that crust getting soggy!
Preparing the Lemon Filling
First things first, whisk your 1 1/2 cups of sugar, cornstarch, and salt together in a solid saucepan. Whisk in the cold water slowly until it looks totally smooth—no dry patches allowed! Now, set it over medium heat and stir constantly until it gets thick and starts boiling. You must boil it for one full minute while stirring non-stop. This is how we activate that cornstarch so your pudding sets nicely!
Once it boils, take it right off the heat. While it’s hot, grab your 4 beaten egg yolks. Do NOT dump them in! We need to temper those yolks. Whisk about a cup of that hot sugar mixture into the yolks very slowly. This warms them up gently. Then, pour that yolk mixture back into the saucepan with the rest of the hot stuff. Return it to medium heat and cook until it just bubbles up again—boil that for one more minute. Finally, stir in that lemon juice, zest, and the butter until everything melts into that gorgeous, glossy base.
Assembling and Topping the Classic Lemon Pie
Pour that vibrant filling straight into your cooled, blind-baked crust. Don’t delay! Now, switch gears to the meringue. In a spotless, grease-free bowl, whip your room temperature egg whites with the cream of tartar until they form soft peaks—you know, like soft-serve ice cream. Then, you must add the remaining 1/2 cup of sugar very slowly, a little spoonful at a time, beating well after each addition. Keep going until you’ve got stiff, glossy peaks standing straight up.
Immediately, spread that meringue over the hot filling. This is the key for stability: make sure the meringue touches the entire edge of the crust all the way around. This seals it in and prevents it from shrinking away from the sides as we bake.
Baking the Lemon Meringue and Cooling
We are baking this to set the exterior, not the interior! Pop the pie into an oven that’s preheated to 350°F (175°C). It only needs about 12 to 15 minutes. You’re just looking for the meringue peaks to turn a beautiful, light golden brown. Don’t overbake it, or it will start to split!
The hardest part is next, and you need discipline! Take the pie out and let it cool slowly on a wire rack. I know you want to slice into it, but you absolutely must let this lemon meringue cool completely—that means at least 4 hours in the fridge. If you cut it too soon, that beautiful filling will just flow right out onto the plate. Patience truly makes the best dessert here!
Tips for No Weep Lemon Meringue Success
Okay, let’s get real about the biggest fear everyone has with this dessert: weeping meringue. If you’ve ever ended up with sad, sugary puddles on top of your beautiful pie, you know the heartache. I spent too many holidays staring down a leaky lemon pie before I figured out the trick.
The science is actually pretty simple, and these few steps will save you! It all comes down to temperature shock and cleanliness. Follow this advice for a stable, fluffy crown every single time.
Preventing Meringue Weeping and Shrinking
The biggest thing is sealing the deal! When you spread your meringue, make sure it touches the crust all the way around. If there’s a gap, the meringue shrinks as it cools because it pulls away from the crust, and that gap sucks moisture out of the filling, leading to weeping. So, press it firmly against the edges!
Also, you must apply the meringue onto hot filling. The temperature difference helps the marshmallowy structure grab onto the lemon base right away. Oh, and one last thing that’s absolutely critical for the fluffiest fluffy meringue topping: your bowl and whisk must be spotless! Even one tiny molecule of grease or egg yolk will stop the whites from whipping up to their maximum glorious height.
Variations on the Lemon Meringue Dessert
While I think this full pie recipe is just unbeatable for birthdays or big dinners, I totally get it if you need something a little more bite-sized or different for a spring gathering. This amazing flavor profile doesn’t just have to live in a pie plate, you know!
You can scale this down easily, or just change the delivery system entirely. When the weather gets warmer, I sometimes want that sunshine flavor without committing to a whole slice of pie. Small changes make a big difference!
Making Mini Lemon Meringue Tarts
If you’re serving a crowd, making mini lemon meringue tarts is super fun. You just use pre-baked mini tart shells instead of one big crust. Fill each shell with the hot lemon mixture, top with a dollop of meringue, and bake just until the meringue is set. They look so elegant on a platter!
Other Zesty Lemon Dessert Ideas
Don’t stop at individual tarts! If you spread this filling over a shortbread base instead of a flaky crust, you’ve basically got amazing lemon meringue bars. Or, you can even whip up some easy lemon meringue cookies if you want something truly different this season. They all capture that same wonderful, zesty flavor.
Serving Suggestions for Your Showstopper Dessert
When this gorgeous lemon meringue pie comes out of the oven, it deserves a moment to shine! Since the filling packs such a satisfying punch of tartness, I like balancing it with something creamy or slightly earthy for serving. A very light dusting of extra powdered sugar right before serving makes the peaks look incredibly dramatic, don’t skip that step!
If you’re looking for a drink pairing that cuts through the sweetness without fighting the lemon, I adore serving this alongside a tall glass of homemade iced tea or maybe even my favorite fresh strawberry basil lemonade. The slight herbal notes complement the zest perfectly. Just slice it cleanly after it has fully chilled—that’s the best way to show off those layers!
Storage and Reheating Instructions for Lemon Meringue
This is the part everyone forgets, but it’s important! Once your beautiful lemon meringue has fully set up after that 4-hour cooling period, it needs special care. You should keep the pie refrigerated, and honestly, I cover it loosely with plastic wrap. If you wrap it too tightly right away, you can encourage extra condensation which feeds the weeping problem.
It stays fantastic for about three days in the fridge. But here’s the big warning: do not, under any circumstances, try to reheat this pie. The meringue will collapse into sticky soup, and the filling won’t be the same. Enjoy it cold, as it was meant to be savored!
Frequently Asked Questions About Lemon Meringue Pie
I get so many questions about this recipe because everyone wants that perfect presentation! It’s natural to have a few hang-ups when tackling something as famous as a classic lemon pie, but don’t sweat it. Nine times out of ten, the fixes are simpler than you think. Here are the things folks ask me about most often, and I know you’ll find the answers you need here, maybe even a tip about a great side to your dessert like my favorite shortcake in the summer!
Can I use pre-made pie crust for this lemon meringue recipe?
Oh, absolutely you can cheat a little if you need to! If you’re short on time, go ahead and grab a good quality pre-made crust. But listen, for the best possible texture, you still have to blind-bake it yourself. And it *must* be completely cool, like cold from the fridge, before you pour in that hot lemon meringue filling, remember? The better the crust foundation, the better the entire experience!
Why is my lemon filling runny in my classic lemon pie?
This is usually a timing issue in the cooking stage, bless its heart. That cornstarch needs just one minute of solid boiling to activate properly and thicken up correctly. If you take it off the heat too soon, it’s going to be soup when it cools. Make sure you measure your cornstarch precisely, bring that mixture to a boil, and hold it there for a full 60 seconds while stirring vigorously. That little extra time is your insurance policy for a firm, creamy set!
What is the best method for how to make perfect meringue?
This question warms my heart because it means you care about the topping! The secret to the how to make perfect meringue is room temperature egg whites—they hold air way better than cold ones. Beat them until they look like soft clouds, then slowly stream in your sugar while the mixer is running. Keep going until those peaks stand up stiff and shiny. Just stop *right* there; if you keep beating past stiff, you’re just asking for cracks and weeping later on. It’s about knowing when to quit while you’re ahead!
Estimated Nutritional Data for This Lemon Meringue
Now, I’m not a nutritionist, so take this with a giant grain of salt and a big slice of pie, okay? Baking is for joy, not for counting every calorie! But I know some of you like to see the numbers, especially since this pie is so rich and satisfying. This is just an estimate based on the ingredients we used, assuming the recipe yields 8 lovely slices.
Because we use real butter, sugar, and those gorgeous egg yolks for our filling, it’s certainly a decadent treat. This particular lemon meringue pie packs a punch, but boy, is it worth every single bite!
- Serving Size: 1 slice
- Calories: About 380
- Fat: Around 16 grams
- Carbohydrates: Roughly 58 grams (that’s the sugar doing its job!)
- Protein: About 6 grams
Remember, if you go heavy on the meringue or sneak a second slice—and honestly, who could blame you?—those numbers will climb! Consider this your baseline for enjoying this incredible, homemade treat responsibly!
Print
Classic Homemade Lemon Meringue Pie
- Total Time: 3 hours 0 min
- Yield: 8 servings 1x
- Diet: Vegetarian
Description
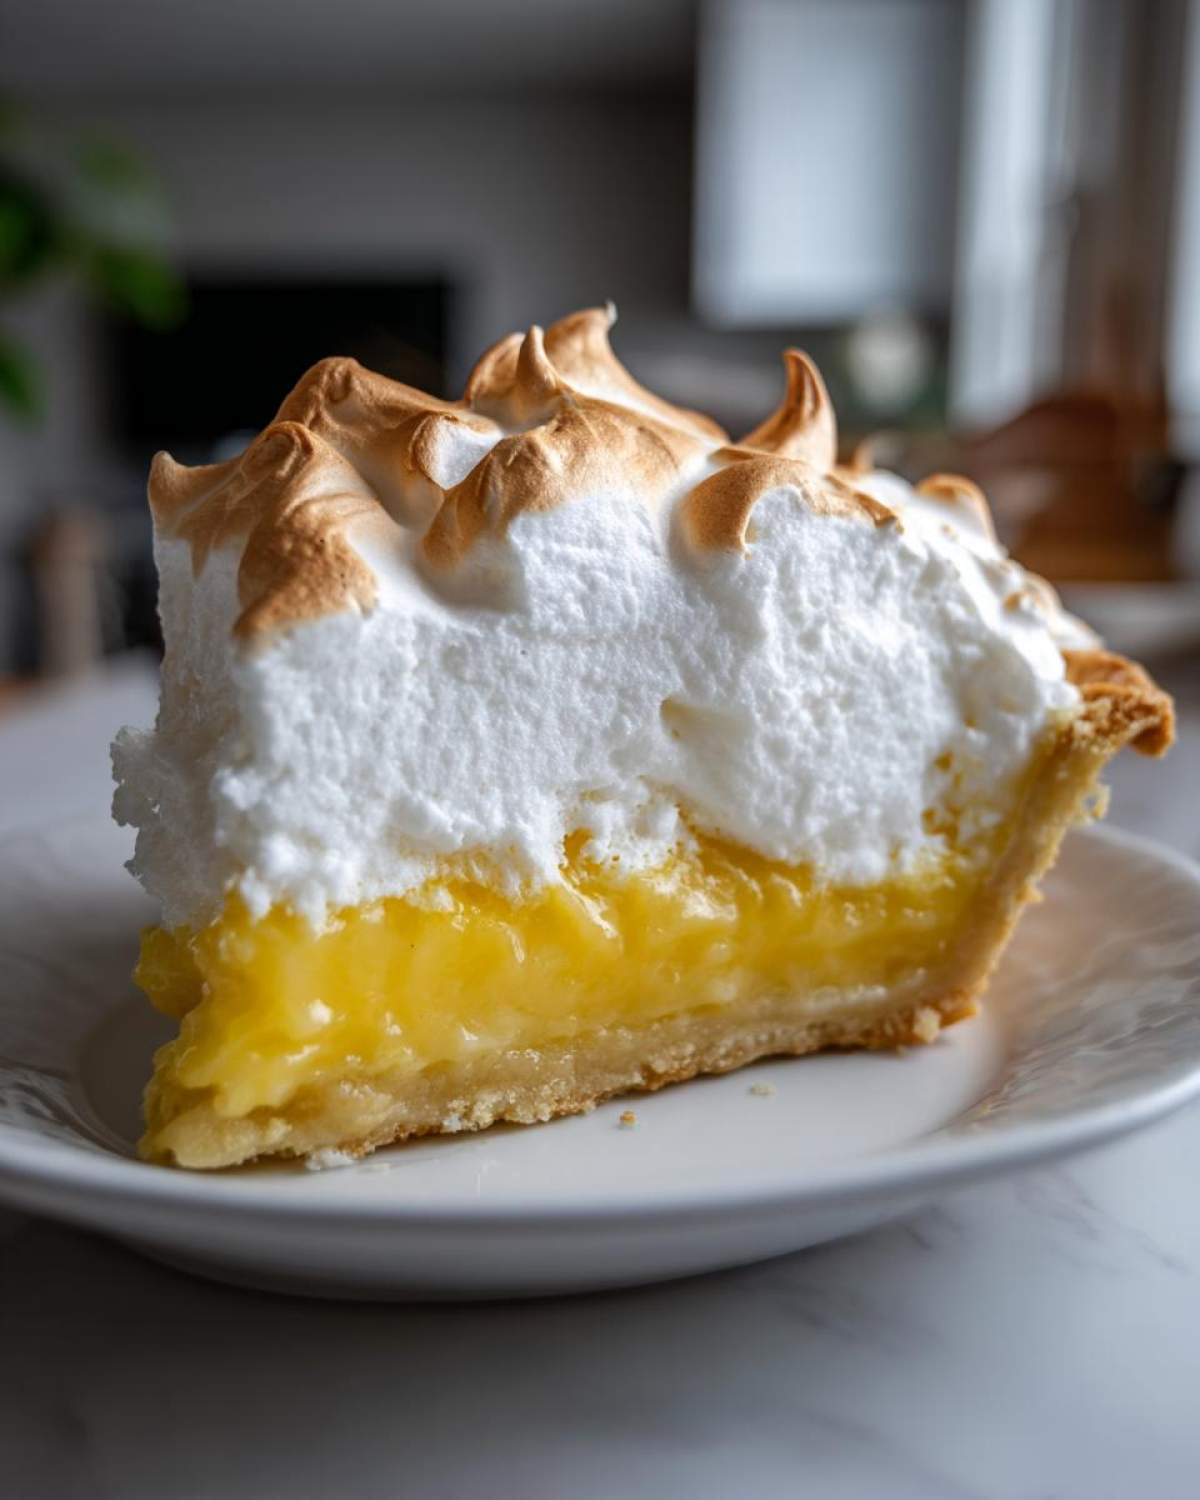
A recipe for a traditional lemon meringue pie featuring a buttery crust, a zesty lemon filling, and a tall, fluffy meringue topping.
Ingredients
- 1 recipe for 9-inch single pie crust (blind baked)
- 1 1/2 cups granulated sugar
- 1/3 cup cornstarch
- 1/4 teaspoon salt
- 1 1/2 cups cold water
- 4 large egg yolks, lightly beaten
- 1/2 cup fresh lemon juice
- 1 tablespoon lemon zest
- 2 tablespoons unsalted butter
- 6 large egg whites, room temperature
- 1/2 teaspoon cream of tartar
- 1/2 cup granulated sugar (for meringue)
Instructions
- Prepare and blind bake your 9-inch pie crust. Let it cool completely.
- For the filling, whisk together 1 1/2 cups sugar, cornstarch, and salt in a medium saucepan.
- Gradually whisk in the cold water until smooth.
- Cook over medium heat, stirring constantly, until the mixture thickens and boils. Boil for 1 minute, stirring constantly. Remove from heat.
- In a separate bowl, whisk the egg yolks. Slowly temper the yolks by whisking about 1 cup of the hot sugar mixture into the yolks.
- Pour the tempered yolk mixture back into the saucepan with the remaining hot mixture. Cook over medium heat, stirring constantly, until it returns to a boil. Boil for 1 minute. Remove from heat.
- Stir in the lemon juice, zest, and butter until the butter melts.
- Pour the hot lemon filling into the cooled, baked pie crust.
- For the meringue, beat the egg whites and cream of tartar in a clean, grease-free bowl until soft peaks form.
- Gradually add the 1/2 cup of sugar, beating until stiff, glossy peaks form.
- Spread the meringue over the hot lemon filling, making sure the meringue touches the edge of the crust all around to prevent shrinking.
- Bake at 350°F (175°C) for 12 to 15 minutes, or until the meringue is lightly golden brown.
- Cool the pie completely on a wire rack for at least 4 hours before slicing.
Notes
- To prevent weeping meringue, make sure your mixing bowl for the whites is completely free of grease or yolk.
- Use hot filling when adding the meringue; this helps the meringue set against the filling.
- For a stable meringue, use room-temperature egg whites.
- Prep Time: 30 min
- Cook Time: 30 min
- Category: Dessert
- Method: Baking
- Cuisine: American
Nutrition
- Serving Size: 1 slice
- Calories: 380
- Sugar: 45
- Sodium: 150
- Fat: 16
- Saturated Fat: 7
- Unsaturated Fat: 9
- Trans Fat: 0
- Carbohydrates: 58
- Fiber: 1
- Protein: 6
- Cholesterol: 110