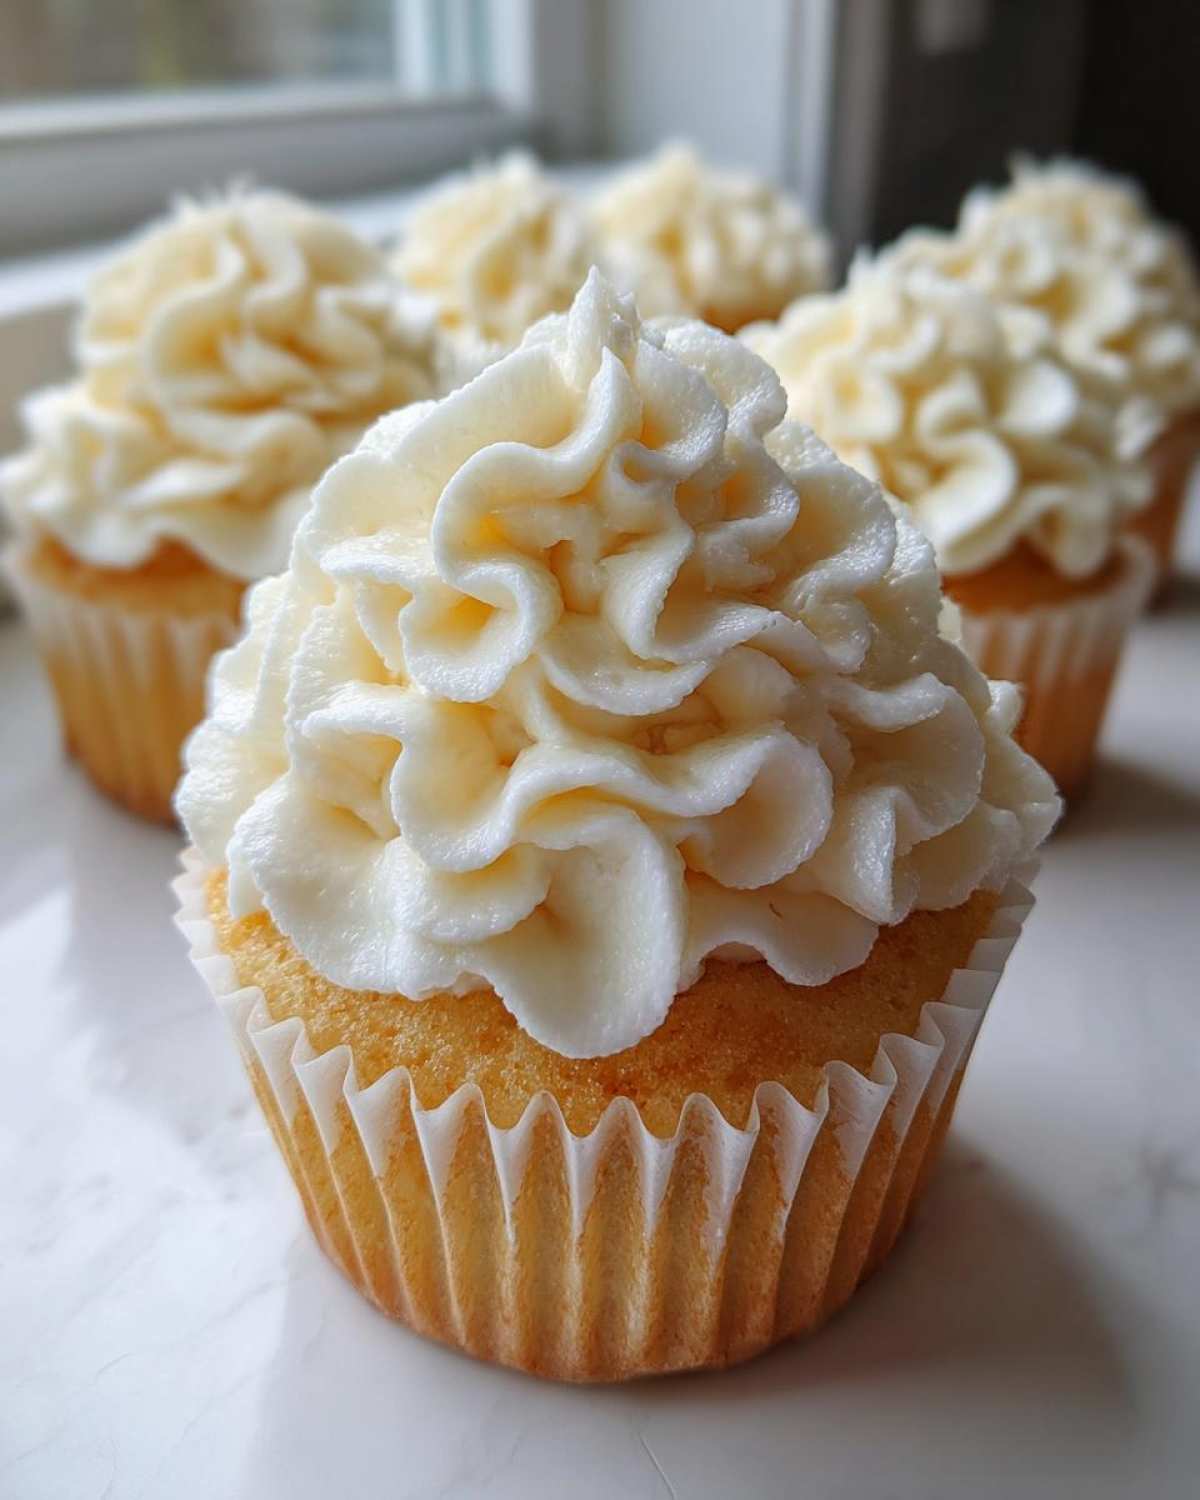
You know, the quest for the perfect vanilla cupcakes can feel endless. Everyone seems to want that light, cloud-like texture, but they often end up dry or dense. Well, stop looking right now, because Liam and I finally cracked the code! After all my chaotic kitchen inspiration and Liam’s technical precision, we landed on the ultimate recipe for bakery style vanilla cupcakes that are genuinely moist and fluffy every single time. Baking these from scratch isn’t just about following instructions; it’s about recapturing that pure, simple joy. Trust me, these classic wonders are totally worth the little bit of effort.
Why These are the Best Vanilla Cupcakes You Will Ever Bake
Okay, listen up, because I’m going to tell you the secret sauce that turns these from ‘fine’ to ‘Oh my gosh, what is in this?’ We weren’t aiming for just any cupcakes; we wanted that true bakery style vanilla cupcakes experience—the kind that doesn’t dry out the second it leaves the oven. That’s the main goal here! If you love incredible textures, you’re going to adore the end result. If you want to see another texture winner, check out the secrets behind our best soft, gooey cinnamon buns!
- They have the most unbelievably soft crumb. Seriously, they melt!
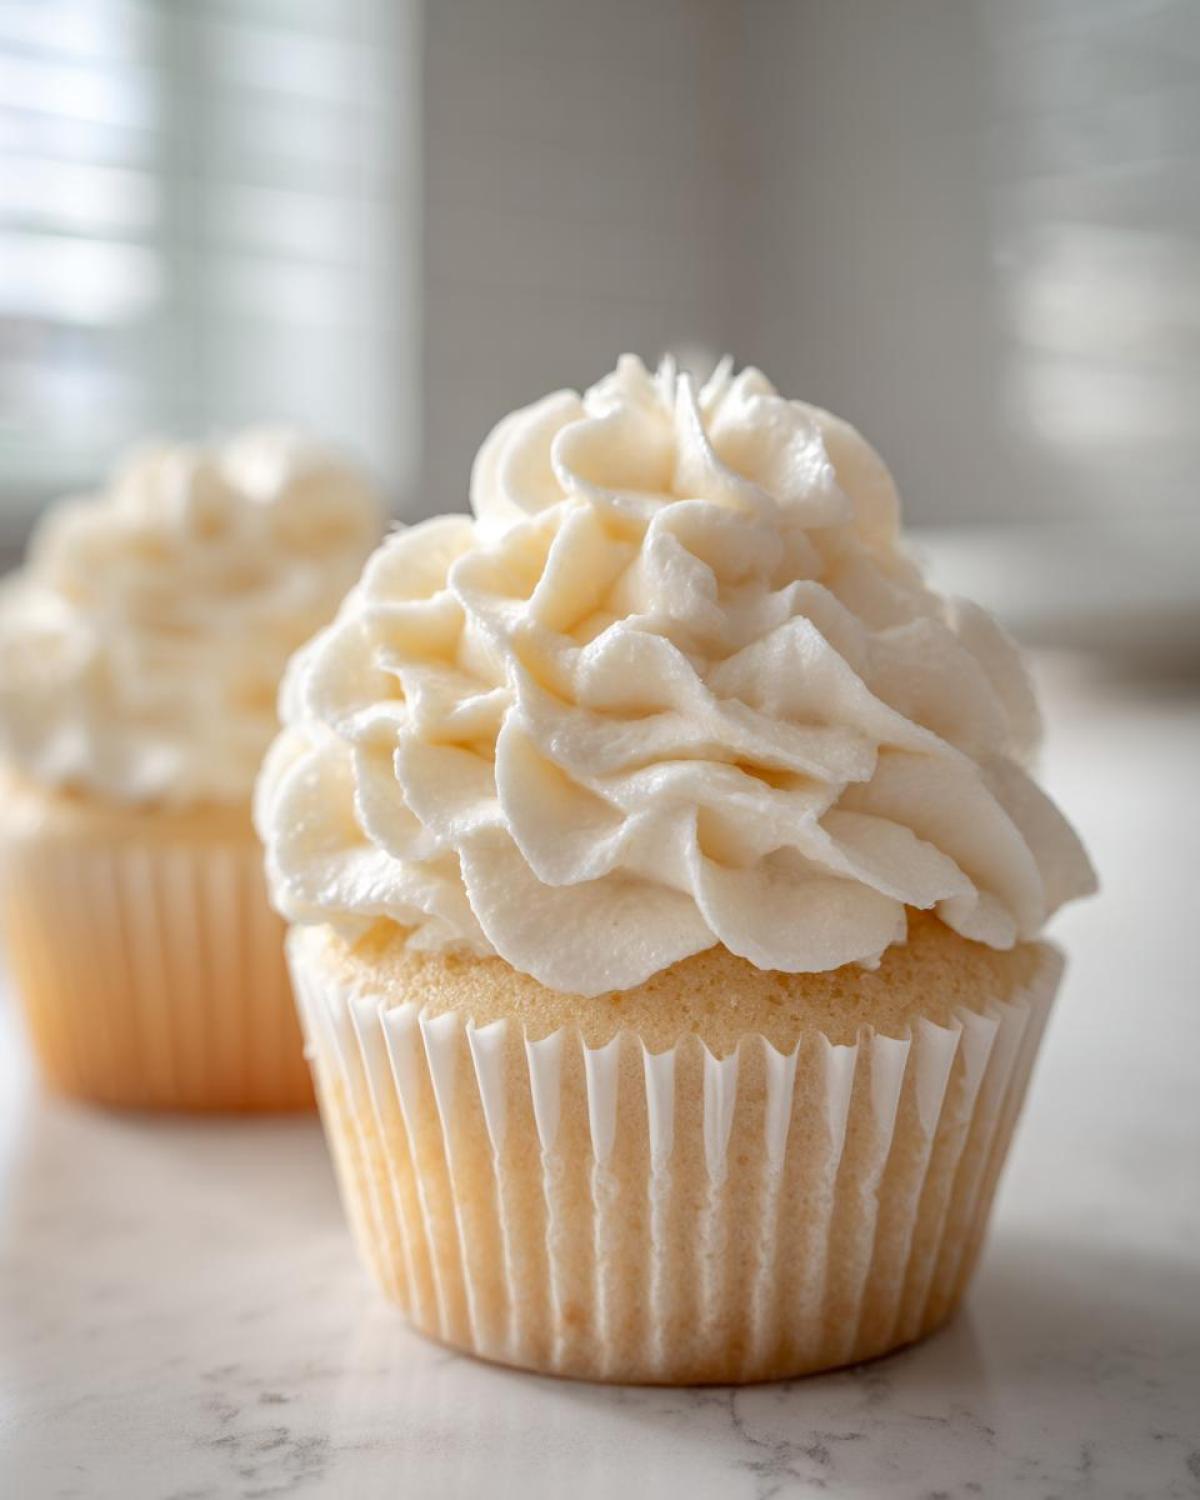
- They hold their shape beautifully, perfect for piling high with frosting.
- They taste like pure, classic vanilla; nothing weird or overpowering.
Achieving Perfect Moist Vanilla Cupcakes Texture
The texture magic happens way before they even hit the oven. You absolutely must use room temperature butter, milk, and egg whites. When Liam first tried rushing this, the batter separated—total disaster! But when we properly cream that butter and sugar until it’s light and almost pale, we’re creating microscopic air pockets. Then, by adding the wet ingredients slowly, we keep that airy structure intact. That careful process is what delivers the incredible moist vanilla cupcakes result.
Quick Prep for Easy Homemade Cupcakes
Even though we are very precise, this recipe is surprisingly fast! You can genuinely have these easy homemade cupcakes mixed, baked, and cooling in under 40 minutes total. That’s faster than running to the store for a box mix, and you get something so much better. If you’re a beginner, this method is super forgiving—just trust the mixing order, and you’re golden!
Gathering Ingredients for Your Vanilla Cupcakes
Okay, before we even think about turning on the mixer, we need to make sure we have everything lined up! Liam calls this ‘mise en place,’ but I just call it ‘getting ready to avoid panic.’ For these vanilla cupcakes, precision with the ingredients is key, especially temperature. So, pull those butter, eggs, and milk out early! You need quality ingredients for that gorgeous texture we talked about.
Ingredients for the Fluffy Cupcake Base
This is the heart of the cake, where we lock in that soft cupcake recipe feeling. Seriously, don’t skip the room temperature part for the milk and egg whites—it helps everything emulsify perfectly for that fluffy cupcake recipe!
- 1 3/4 cups all-purpose flour
- 1 3/4 cups granulated sugar
- 1 tablespoon baking powder
- 1/2 teaspoon salt
- 1 cup unsalted butter, softened
- 4 large egg whites, room temperature
- 1 cup whole milk, room temperature
- 2 teaspoons pure vanilla extract
Ingredients for the Simple Vanilla Buttercream
If the cake is the star, this frosting is definitely the stunning costume it deserves. This simple vanilla buttercream is the best vanilla cupcake frosting pairing imaginable. It’s creamy, sweet, and so easy to whip up quickly!
- 1 cup unsalted butter, softened
- 4 cups powdered sugar
- 1 teaspoon pure vanilla extract
- 3-4 tablespoons heavy cream
- Pinch of salt
Step-by-Step Instructions for Perfect Vanilla Cupcakes
Alright, let’s get messy and make some magic! These instructions are designed so you get that wonderfully soft cupcake recipe texture and don’t overthink it. Remember, Liam’s precision meets my chaos here, so just follow the order, and the result is pure joy. We’re baking these at 350°F (175°C), so make sure your oven is hot and ready! Line that muffin tin with pretty paper liners—you’ll need 12 of those cups filled just right.
Preparing the Batter for Soft Cupcake Recipe
First things first: combine your dry friends—flour, sugar, baking powder, and salt—in a big bowl and give them a good whisking. Then, we add the softened butter to that dry mix. This is the messy, important part! Beat it on low speed for a minute or two until it looks like coarse, slightly sandy crumbs. Wow, that texture is wild!
Now, grab your wet ingredients—the whisked egg whites, milk, and vanilla—and pour them in slowly, in three separate splashes, mixing on low after each one. Listen closely: you must stop mixing the second you no longer see dry flour streaks. I mean it! Overmixing develops gluten, and that kills your fluffy dream. We want just combined!
Baking and Cooling Your Classic Vanilla Dessert
Spoon the batter evenly into those lined cups, filling them about two-thirds full—any more and they’ll overflow the liners. Pop them into that hot oven for 18 to 20 minutes. You’ll know they’re done when a toothpick slides out clean. Don’t peek too much early on, though! Once they’re out, let them sit in the tin for just five minutes, and then move them onto a wire rack to cool completely. If you try to frost a warm cupcake, you’ll end up with a melted, sad disaster!
Making and Applying the Simple Vanilla Buttercream
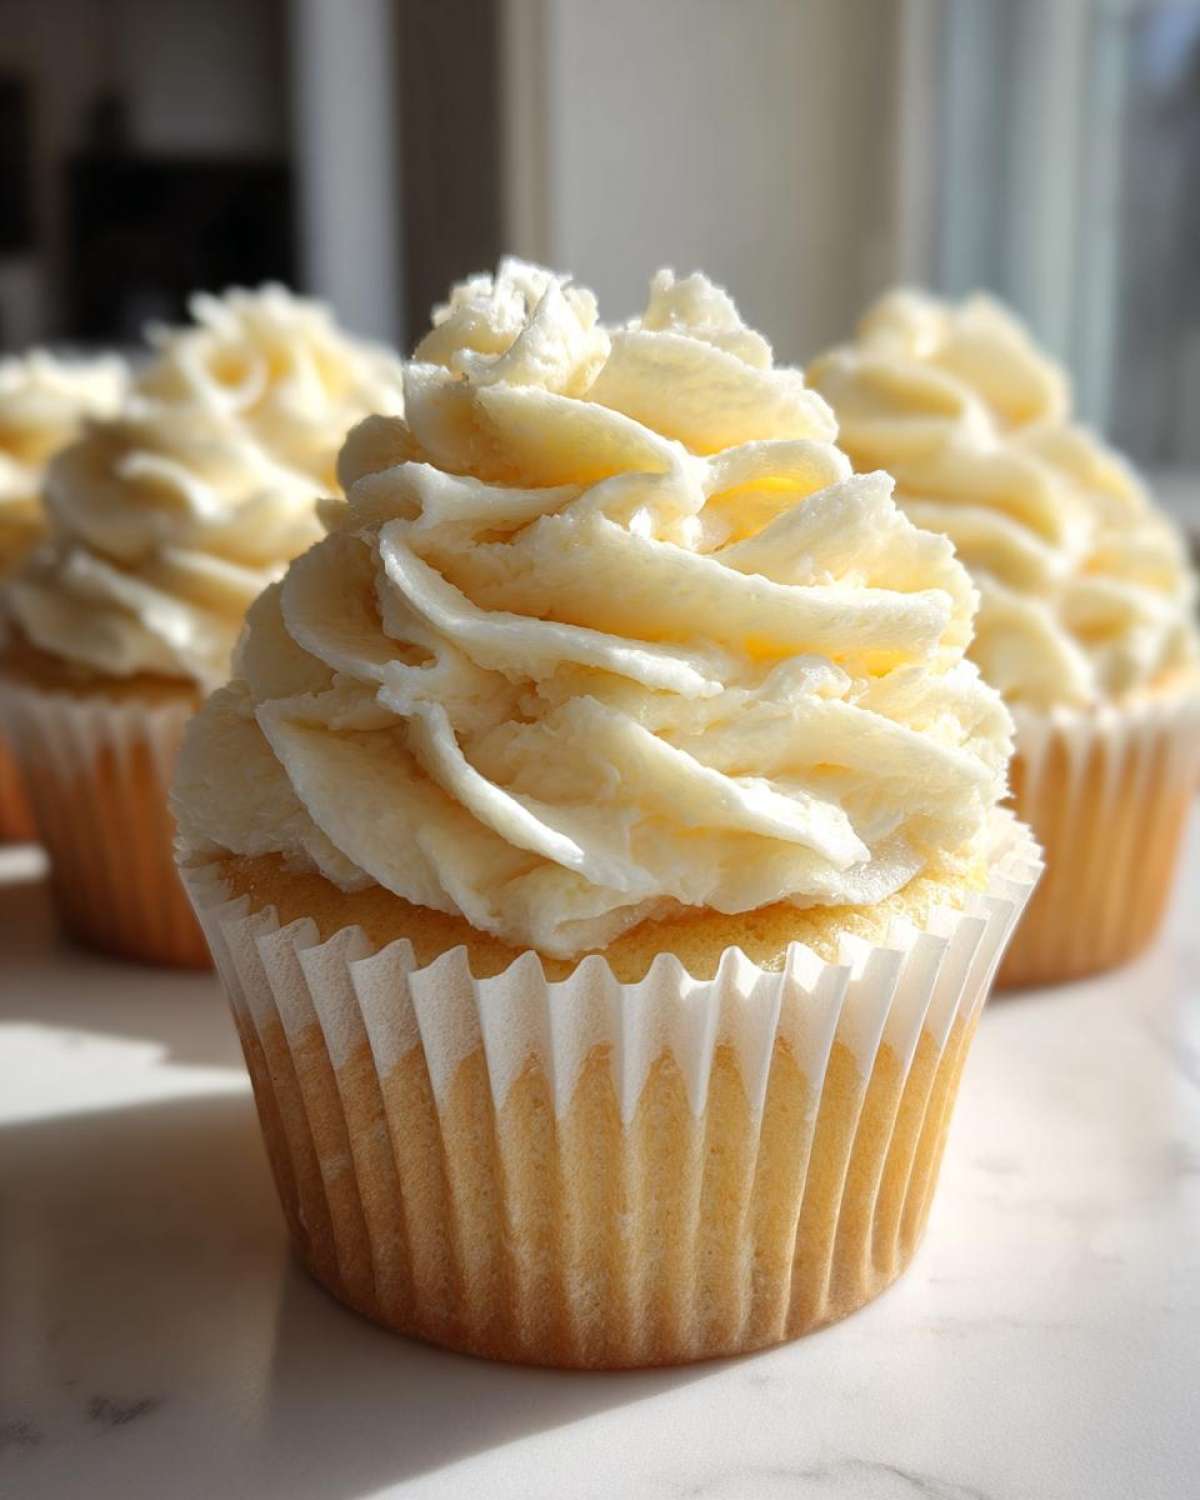
Once you’ve patiently waited for complete coolness (the hardest part!), it’s frosting time! For this simple vanilla buttercream, start by beating that softened butter until it gets light and creamy. Then, slowly, add in your powdered sugar, one cup at a time. Make sure it’s incorporated before adding the next cup! If you want to learn more about getting that frosting just right, check out our deep dive into the recipe right here.
Finally, mix in your vanilla and the salt. This is where control is key! Add the heavy cream one tablespoon at a time. You’re aiming for smooth and spreadable—not runny! You might need three, you might need four. Once it’s perfect, you can move onto topping those gorgeous classic vanilla dessert tops!
Expert Tips for Bakery Style Vanilla Cupcakes Success
Liam is all about following the rules, and honestly, when it comes to getting that ultra-fluffy, bakery style vanilla cupcakes crumb, his insistence on a few key things really pays off. I’m sharing the little secret notes we keep taped right above the mixer, because these small details make the difference between a good cupcake and one people secretly want to steal the whole batch of! If you’re tackling tricky bakes like fresh bread, make sure you check out our guide for soft and fluffy homemade naan too.
Temperature Matters for Fluffy Cupcake Recipe
This is not negotiable, people: your butter, your egg whites, and especially that whole milk have to be at real room temperature. If they are cold, they won’t mix together properly! Cold ingredients fight each other in the bowl. When they are all cozy and room temperature, they form a beautiful emulsion—that’s just a fancy word for a smooth, unified batter—which traps air, giving us that light and fluffy cupcake recipe we are dreaming about. Trust me, pulling those out an hour early saves you disaster later!
Adjusting Vanilla Cupcakes for High Altitude
Now, if you live way up in the mountains where the air feels thin, you might notice your cakes aren’t rising quite right, or maybe they are too sweet. Liam had to learn this the hard way when we visited his sister in Denver! For vanilla cupcakes at high altitude, the recipe needs a little nudge. You’ll want to cut back the sugar just a tiny bit—maybe a tablespoon or two—and always increase the liquid just a splash to balance everything out. It keeps them from collapsing!
If you want to read about how others approach perfection, sometimes I like peeking at what The Kitchn does with their famous frosting styles over here, but honestly, my husband’s method for the batter is still the winner in my book!
Storage and Make-Ahead Tips for Your Vanilla Cupcakes
Nobody wants dry cupcakes, right? These classic vanilla dessert beauties are best eaten the day you make them, but let’s be real—sometimes we need leftovers or we’re baking for a party the next day. If you’ve frosted them with our simple vanilla buttercream, keep them on the counter in an airtight container for up to two days. The counter is actually better than the fridge because the cold air can dry out the cake part faster!
If you need to keep them longer, freezing is your best friend. Wrap the *unfrosted* cupcakes tightly in plastic wrap first, then tuck them into a freezer-safe bag. They hold up beautifully for about two months. Once thawed, you can whip up that delicious frosting! Check out our tips for making big batches of desserts like our Holiday Jello Poke Cake if you’re planning ahead for a big crowd next time!
Serving Suggestions for Classic Dessert Recipes
I love seeing these beautiful, fluffy vanilla cupcakes lined up waiting for guests! While they are absolutely perfect just as they are—piped high with that creamy frosting—sometimes you need a little something extra, right? Especially when you’re serving them as part of a bigger spread for vanilla cupcakes for parties.
We like to pair them with something slightly tart or bubbly to cut through that sweet buttercream. They are fantastic alongside a nice, strong cup of coffee for an afternoon treat. If you’re hosting a brunch or a shower, having a lovely, non-alcoholic option nearby is always smart. My classic dessert recipe pairs wonderfully with something bright and citrusy, like our famous New Year’s Champagne Punch!
For birthdays, I always suggest serving them with a small bowl of fresh raspberries or thinly sliced strawberries on the side. The color contrast is stunning! It lets people who maybe don’t want a ton of frosting add just a tiny bit of fresh fruit. Honestly, though, I find the biggest suggestion is making sure you make an extra batch because people will definitely ask for seconds!
Frequently Asked Questions About Moist Vanilla Cupcakes
I know you must have a few nagging questions floating around! It’s totally normal when you’re tackling a new recipe, especially when you are aiming for that glorious, moist vanilla cupcakes result. Liam and I tried to answer everything we wished we knew the first time we followed these steps. If you still have questions after checking these out, don’t hesitate to reach out to us via the contact page!
Can I use whole eggs instead of just egg whites in this Fluffy Cupcake Recipe?
You absolutely can! But, you have to know what you’re trading for convenience. Using whole eggs instead of just the four egg whites will absolutely work, and they will still taste lovely. However, you won’t get that featherlight crumb we worked so hard for. The yolks add fat and density, so the resulting texture shifts slightly; they become just a bit heavier and definitely more yellow in color. It messes with the absolute perfect vanilla cupcake texture we are aiming for, so stick to the whites if you can for maximum fluff!
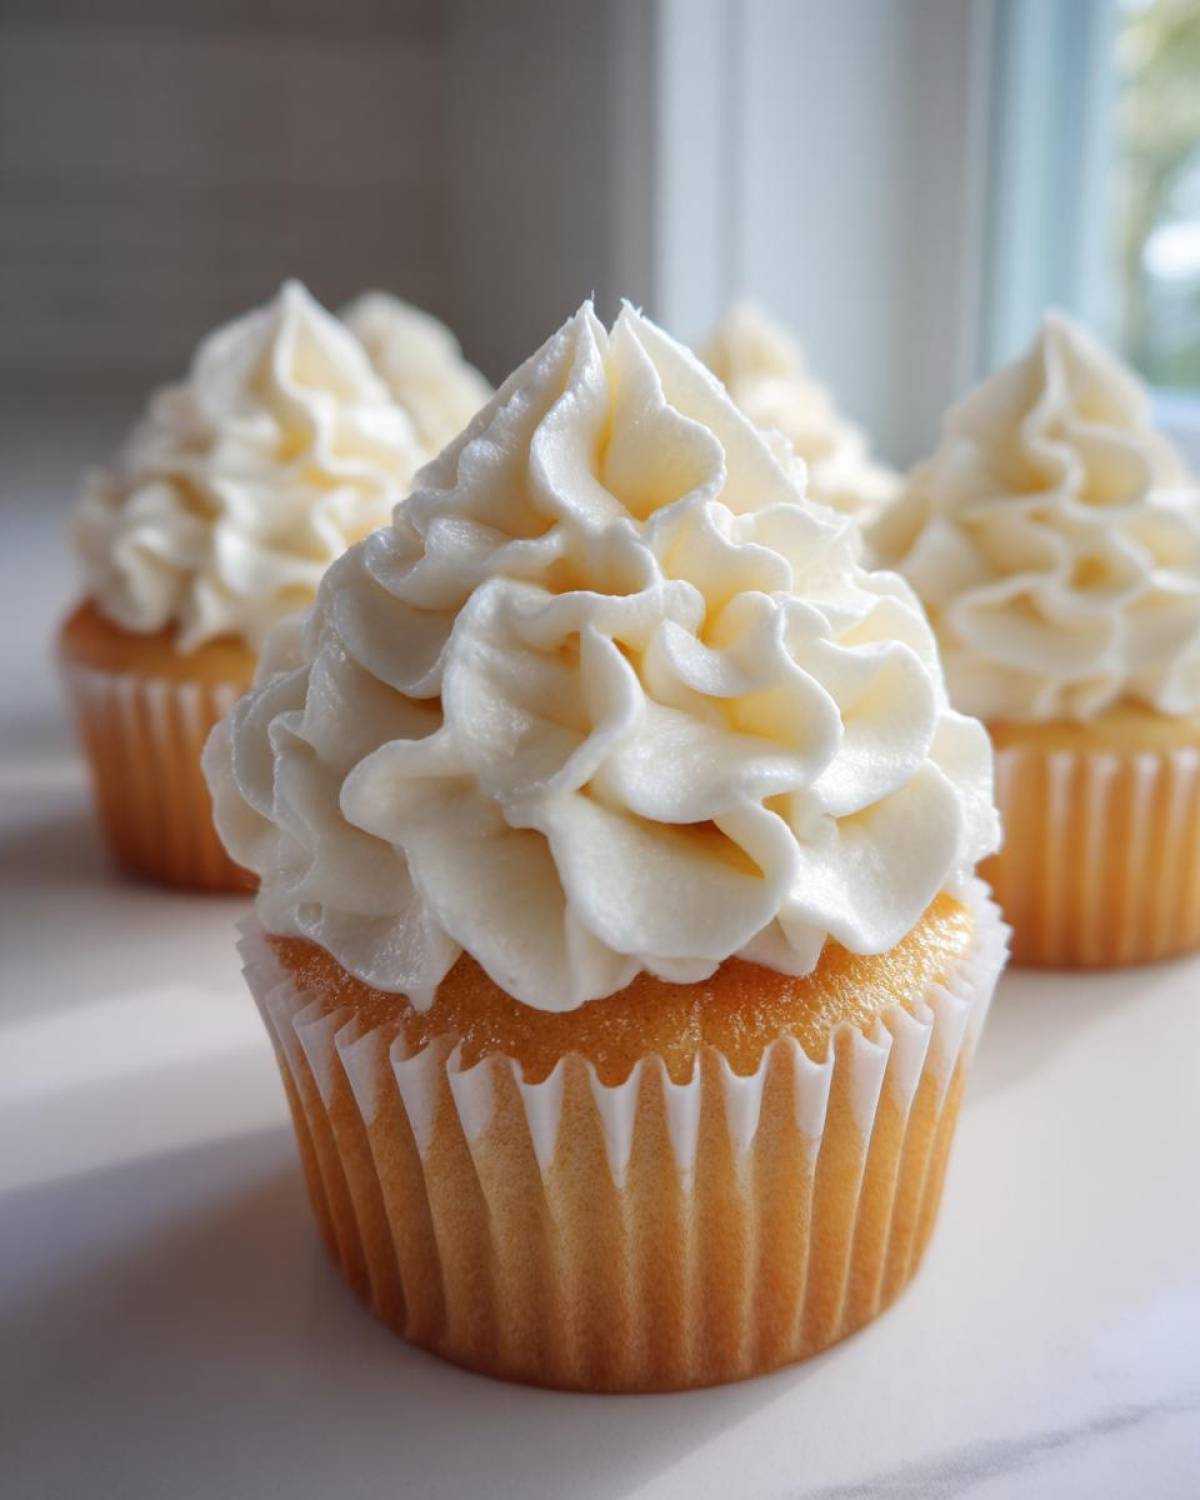
What is the best way to get a ‘Bakery Style Vanilla Cupcakes’ dome?
This comes down to two things: filling and temperature stability! First, make sure your oven is fully preheated to 350°F. Don’t trust the light turning off! Second, and this is what the pros always do, only fill your cupcake liners about two-thirds full. If you overfill them, the batter spills over the edge and bakes into a flat, weird cap. Filling them correctly ensures that beautiful, rounded dome that looks so professional—that’s the hallmark of true bakery style vanilla cupcakes!
How far in advance can I make the Simple Vanilla Buttercream?
This frosting is pretty robust, which is why it’s the best vanilla cupcake frosting! If you make the simple vanilla buttercream ahead of time and keep it in an airtight container on the counter (cool room temperature), it’s usually fine for a full day. If you have to refrigerate it, no worries, just let it sit out for an hour or two to soften up again. Then, you *must* re-whip it with the mixer for a minute or two before piping. If you skip that step, it will be stiff and clumpy, and nobody wants that!
Nutritional Estimates for Vanilla Cupcakes
Now, I know my kitchen isn’t a science lab, and Liam usually has to calculate this part because I’m too busy sampling the frosting! Let’s be super honest here: these are homemade, decadent treats, not diet food, but it’s always good to have a general idea of what you’re enjoying. These numbers are based on standard calculations for one delicious cupcake, frosting included. If you’re tracking things closely, remember these are just estimates, and you can always check our full disclaimer right here.
We designed these to be a total indulgence, focusing on that incredible flavor and moisture, so don’t be too shocked by the sugar content—it’s worth every bite of this classic dessert!
- Serving Size: 1 cupcake
- Calories: Approximately 350
- Fat: About 18g (with 11g saturated)
- Carbohydrates: Around 45g
- Protein: Roughly 4g
- Sugar: Approximately 40g
- Cholesterol: About 55mg
This recipe is vegetarian, of course, and packs the flavor punch you need for any celebration. Enjoy every wonderful piece of this simple vanilla treat!
Share Your Homemade Vanilla Cupcakes Creations
Whew! We made it! I hope your kitchen smells as heavenly as mine does right now. Seriously, seeing those perfectly domed tops and frosting them until they look like little edible clouds is the best part of baking these vanilla cupcakes. Liam is already asking if we can freeze some for next week, but I wanted to remind you that sharing your culinary adventures is what this whole theater is about!
I want to give a huge thank you for trusting this recipe. If you followed along and ended up with trays full of gorgeous, simple vanilla treats, please do me a favor: leave a star rating right below this section and tell us how you decorated them! Were they for a birthday? A cozy Tuesday night? Did you finally figure out that perfect piping technique? Let us know in the comments!
We absolutely love hearing about your successes, and if you need to check up on our policies later on, you can find everything updated over at the Privacy Policy page. Go ahead, brag a little about how fantastic these were—you totally earned it!
Print
The Ultimate Moist and Fluffy Classic Vanilla Cupcakes with Creamy Vanilla Buttercream
- Total Time: 40 min
- Yield: 12 servings 1x
- Diet: Vegetarian
Description
Follow this easy recipe to bake bakery style vanilla cupcakes that are incredibly moist and fluffy. This is the best homemade vanilla cupcake recipe for any party or birthday celebration.
Ingredients
- 1 3/4 cups all-purpose flour
- 1 3/4 cups granulated sugar
- 1 tablespoon baking powder
- 1/2 teaspoon salt
- 1 cup unsalted butter, softened
- 4 large egg whites, room temperature
- 1 cup whole milk, room temperature
- 2 teaspoons pure vanilla extract
- For the Buttercream: 1 cup unsalted butter, softened, 4 cups powdered sugar, 1 teaspoon pure vanilla extract, 3-4 tablespoons heavy cream, pinch of salt
Instructions
- Preheat your oven to 350°F (175°C). Line a 12-cup muffin tin with paper liners.
- In a large bowl, whisk together the flour, sugar, baking powder, and salt. This mixes the dry ingredients well.
- Add the softened butter to the dry ingredients. Beat with an electric mixer on low speed until the mixture resembles coarse sand.
- In a separate bowl, whisk together the egg whites, milk, and vanilla extract until just combined.
- With the mixer on low, gradually pour the wet mixture into the dry mixture in three additions, mixing until just combined after each addition. Do not overmix; stop when you see no more dry streaks.
- Divide the batter evenly among the 12 prepared muffin cups, filling each about two-thirds full.
- Bake for 18 to 20 minutes, or until a toothpick inserted into the center comes out clean.
- Let the cupcakes cool in the pan for 5 minutes before transferring them to a wire rack to cool completely.
- To make the frosting, beat the softened butter until creamy. Gradually add the powdered sugar, one cup at a time, beating well after each addition.
- Mix in the vanilla extract and salt. Add the heavy cream one tablespoon at a time until you reach a smooth, spreadable consistency for your simple vanilla buttercream.
- Once the cupcakes are completely cool, frost them generously. You have made perfect vanilla cupcake texture treats.
Notes
- For the fluffiest results, make sure your butter, egg whites, and milk are all at true room temperature.
- To achieve that bakery style vanilla cupcakes look, use a piping bag and star tip for frosting.
- If you are baking at high altitude, adjust your recipe slightly by reducing the sugar by 1-2 tablespoons and increasing the liquid slightly.
- Prep Time: 20 min
- Cook Time: 20 min
- Category: Dessert
- Method: Baking
- Cuisine: American
Nutrition
- Serving Size: 1 cupcake
- Calories: 350
- Sugar: 40
- Sodium: 180
- Fat: 18
- Saturated Fat: 11
- Unsaturated Fat: 7
- Trans Fat: 0.5
- Carbohydrates: 45
- Fiber: 1
- Protein: 4
- Cholesterol: 55