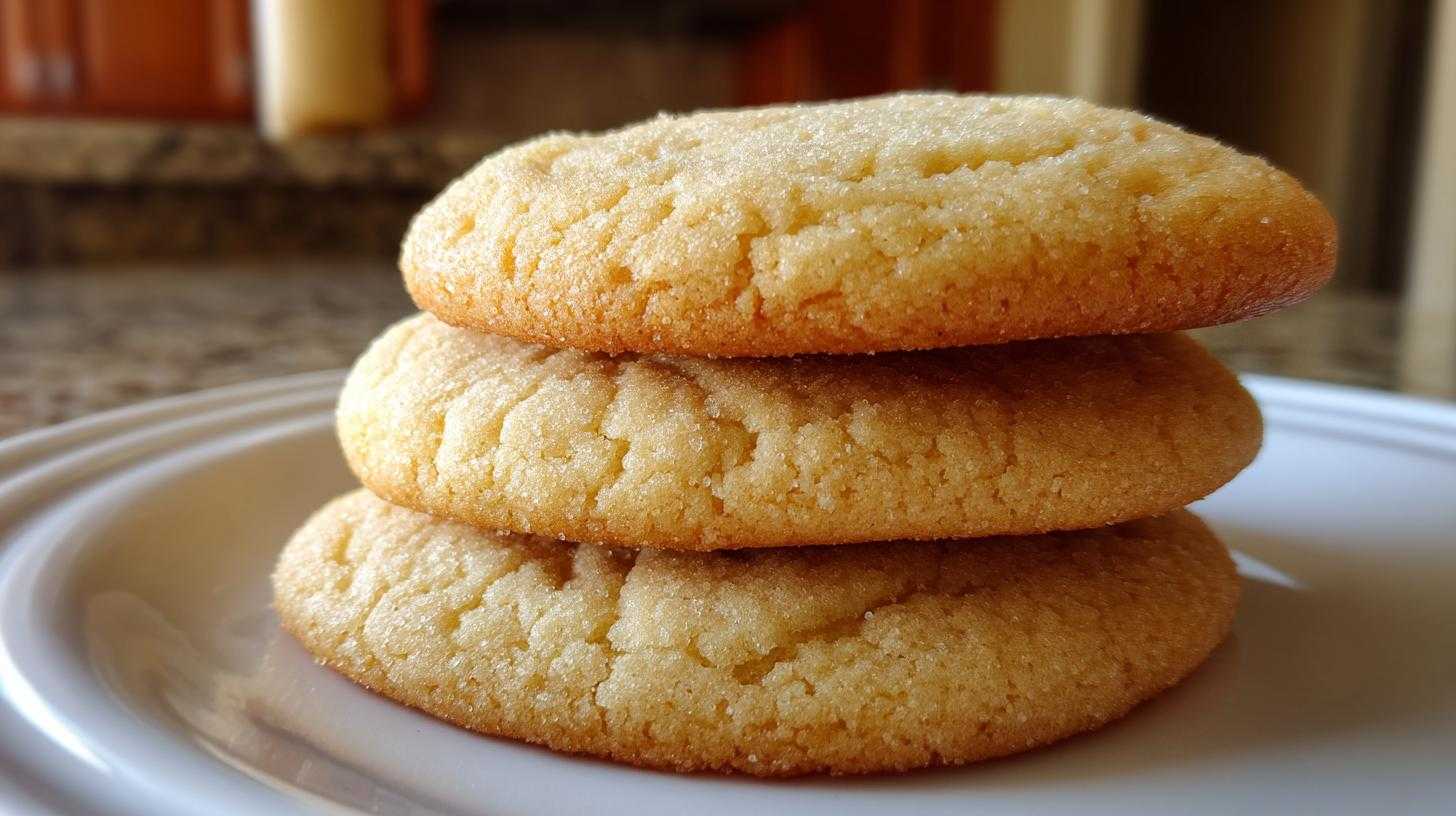
The Ultimate Soft & Chewy Cutout Sugar Cookies (No-Fail for Decorating)
Hello there! I’m Sara. Baking truly brings back that childlike joy.
As a teacher, I love seeing simple things become magic.
Liam usually handles the perfect technique, but these sugar cookies are special.
We wanted the best soft and chewy sugar cookies recipe.
They must hold their shape for decorating, too.
This recipe gives you that perfect, melt-in-your-mouth texture.
It took a few tries to nail this balance.
Now, it’s our family’s go-to for holidays.
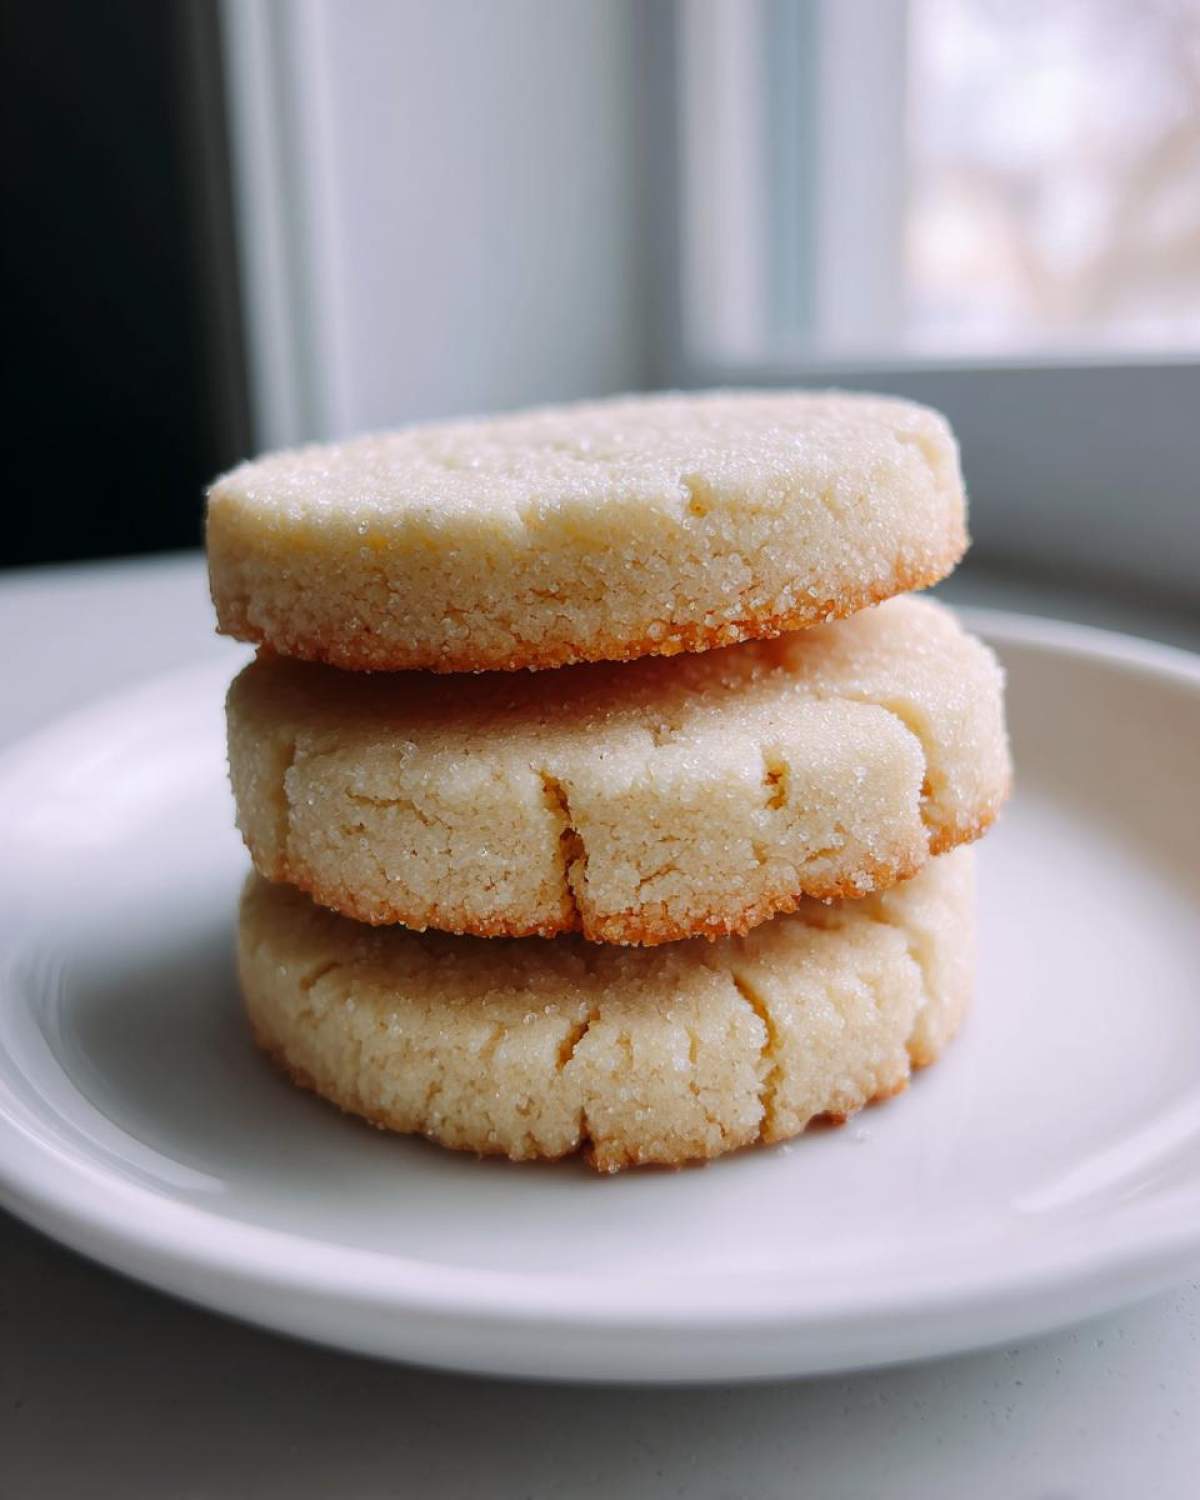
Why You’ll Love These Soft & Chewy Sugar Cookies
You need a cookie that tastes amazing, right?
These treats check all the boxes for home bakers.
We promise you will adore this batch.
Texture Perfection: Why This Sugar Cookies Recipe Works
- They stay wonderfully soft and chewy.
- The dough cuts clean shapes every time.
- Edges stay defined, even after baking.
Simple Steps for Amazing Sugar Cookies
- The mixing process is very straightforward.
- You get beautiful results without fuss.
- Perfect for quick holiday baking sessions.
Equipment List for Your Sugar Cookies Project
Getting your tools ready makes baking so much smoother.
I hate stopping mid-mix for a whisk!
For these perfect sugar cookies, you need a few key items.
Liam insists on having everything measured first.
- Two large mixing bowls are very helpful.
- A hand mixer or a stand mixer works great.
- You need sturdy rubber spatulas for scraping.
- Parchment paper saves cleaning time later.
- A reliable rolling pin is essential here.
- Cookie cutters in your favorite shapes await.
- Baking sheets, at least two of them.
Having the right gear means less stress.
It helps keep the dough handling simple.
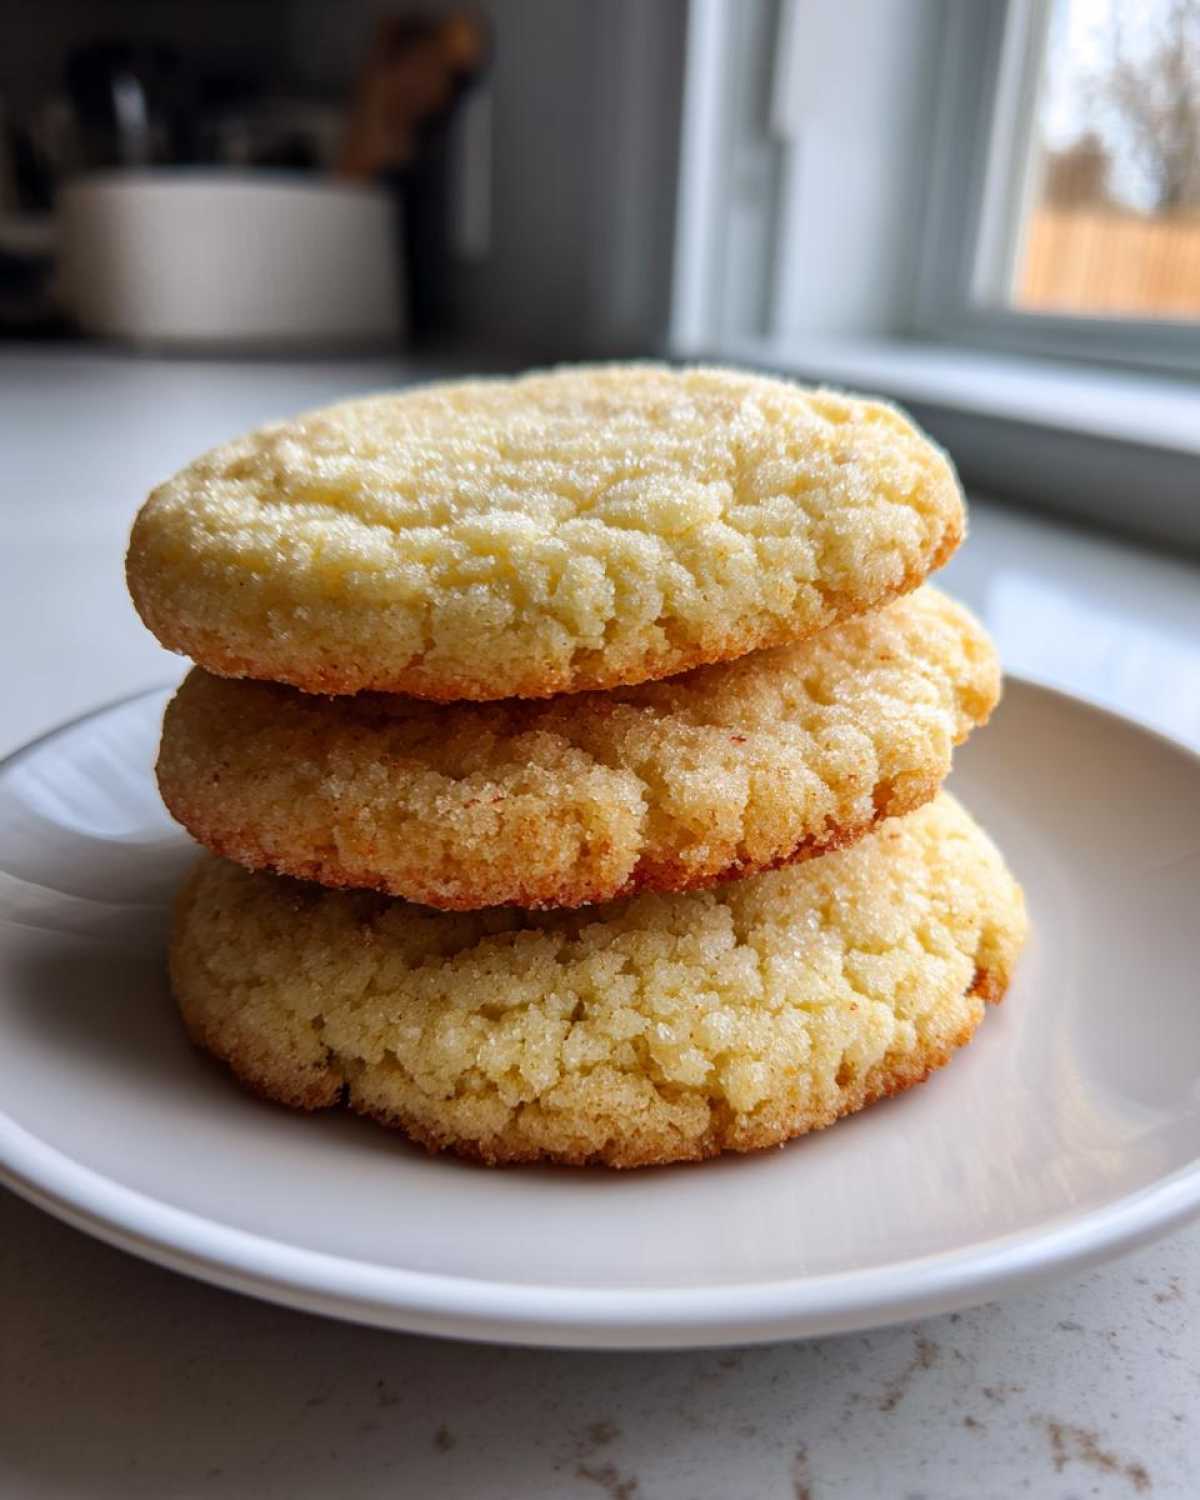
Ingredients for the Best Sugar Cookies
Gathering your supplies is the next fun step.
Clarity on ingredient state really matters here.
These simple items create our favorite sugar cookies.
Make sure your butter is truly softened, not melted.
- All-Purpose Flour: Three cups exactly.
- Baking Powder: One small teaspoon.
- Salt: Half a teaspoon for balance.
- Unsalted Butter: One cup, softened well.
- Granulated Sugar: One and a half cups needed.
- Eggs: Two large ones, straight from the carton.
- Vanilla Extract: Two teaspoons of pure flavor.
That’s the whole list for the dough base.
How to Prepare Your Perfect Sugar Cookies
Now for the fun part, making the dough!
Follow these steps closely for great results.
We’re aiming for that perfect, dreamy texture.
Mixing the Dry and Wet Components for Your Sugar Cookies
First, grab a medium bowl, please.
Whisk your flour, salt, and baking powder there.
This mixes everything evenly, which is key.
Set that dry mix aside for a moment now.
Time for the big bowl with the mixer.
Cream the softened butter and sugar well.
You want it light and fluffy, like soft clouds.
Beat in those two eggs one by one now.
Make sure each egg is fully mixed in first.
Stir in the vanilla extract quickly after.
Bringing the Dough Together: Mixing and Chilling Your Sugar Cookies
Slowly add the dry stuff to the wet mix.
Use low speed so flour doesn’t fly everywhere.
Mix only until the flour disappears, seriously.
Overmixing makes tough, sad sugar cookies.
Divide the dough into two flat disks now.
Wrap them up tight in plastic wrap, see?
Chill the dough for at least one whole hour.
This rest keeps your shapes sharp later on.
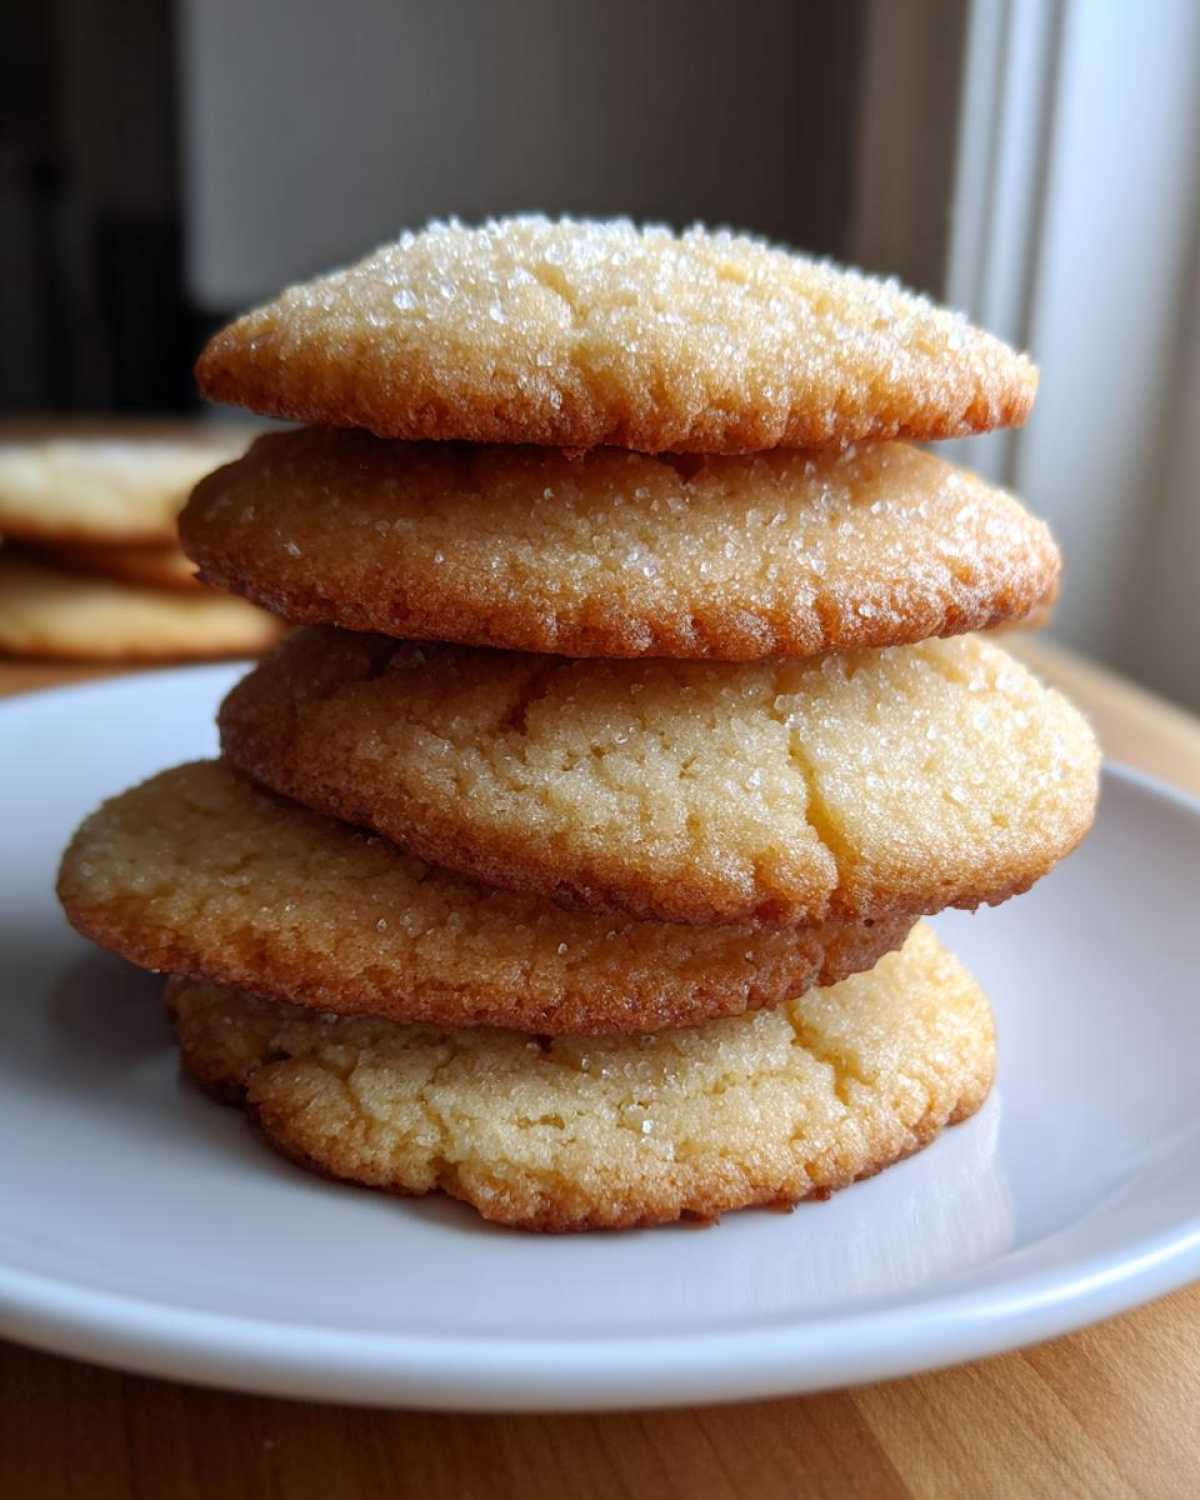
Rolling, Cutting, and Baking Your Cutout Sugar Cookies
Preheat your oven to 350 degrees Fahrenheit.
Line your baking sheets with parchment paper sheets.
Flour your surface lightly, don’t go crazy.
Roll out one dough disk to a quarter inch thick.
Use your favorite cutters for fun shapes.
Place the shapes onto your lined baking sheets.
Bake them for eight to ten minutes total time.
Watch the edges; they should just look set.
The centers must still look a little soft.
Cooling and Preparing Your Sugar Cookies for Decoration
Let the baked treats sit for five minutes there.
This little break keeps them from breaking apart.
Then, carefully move them to a wire rack.
They need to cool completely before icing.
I learned this the hard way, trust me on this.
Tips for Success with Cutout Sugar Cookies
Baking is fun, but handling dough needs care.
These little tricks make a huge difference.
They help keep your decorated sugar cookies looking great.
Liam always says preparation prevents poor performance.
Dough Handling Secrets for Sharper Sugar Cookies Shapes
Do not rush the chilling process, please.
A longer chill helps keep those sharp edges.
If the dough gets too warm, just chill it more.
Work fast when you roll and cut the shapes.
Use just a tiny bit of flour on your surface.
Too much flour makes the cookies dry out fast.
Remember, this dough freezes like a dream, too.
Freeze the disk or even the cut shapes ready to bake.
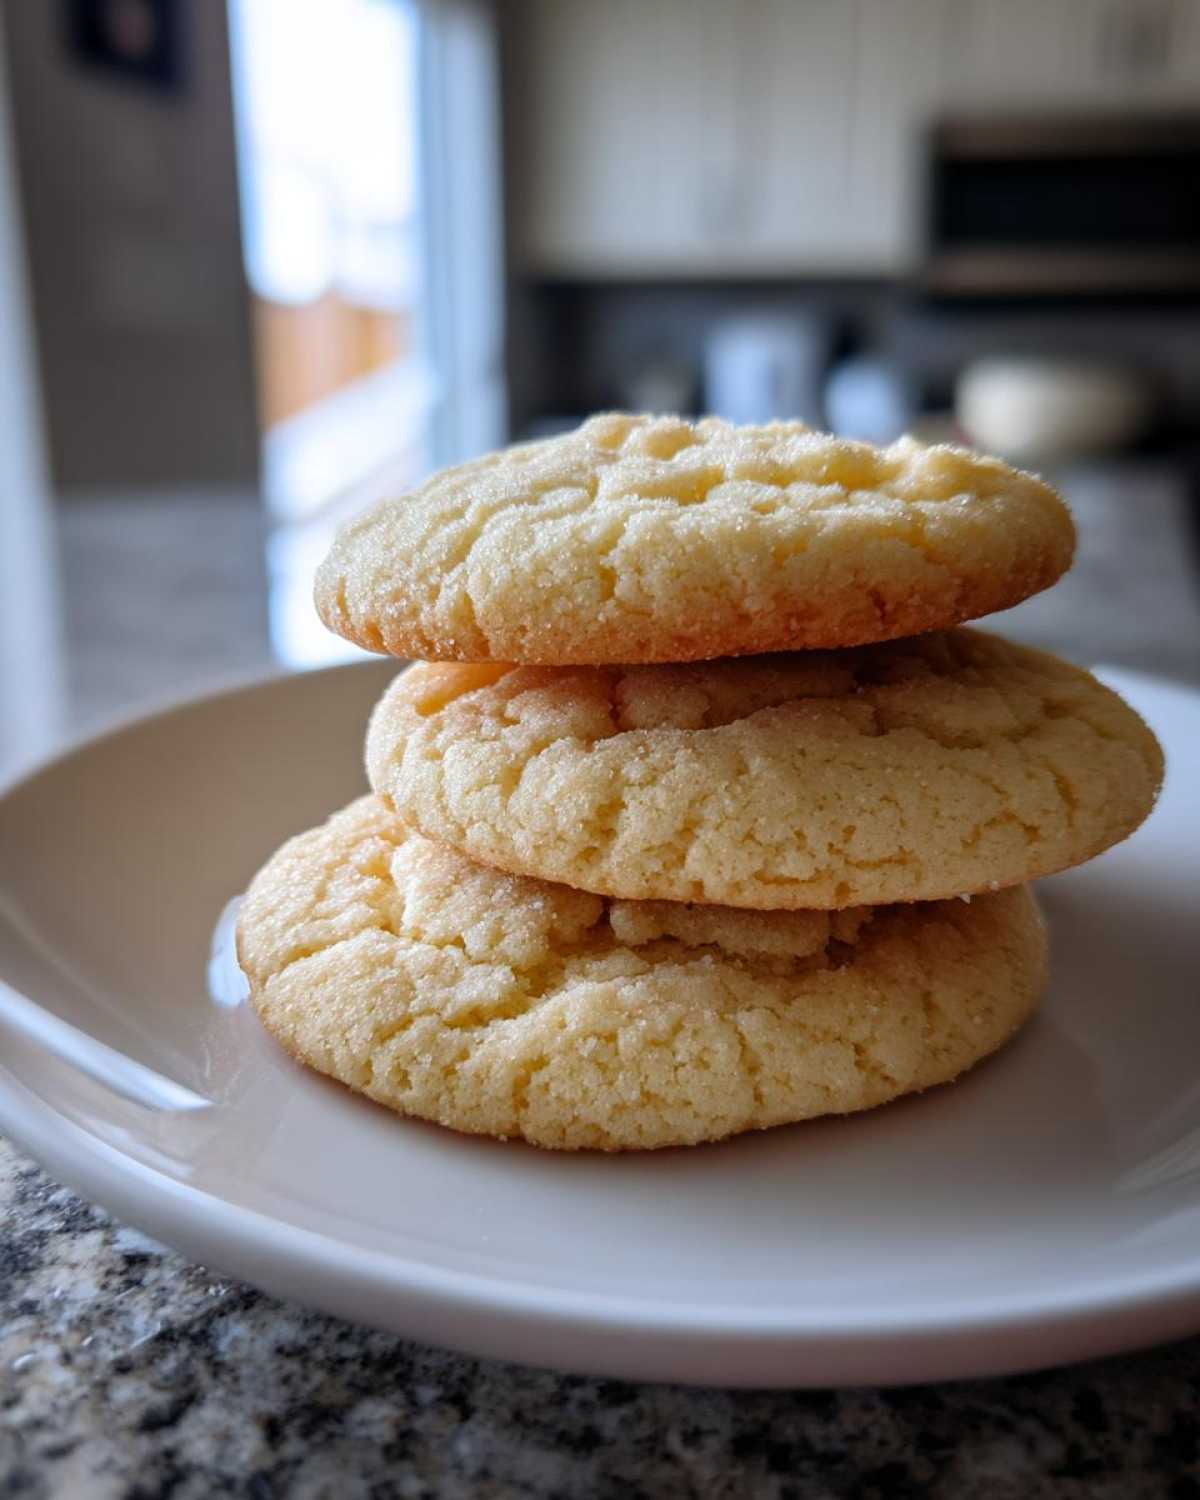
Storing and Reheating Your Homemade Sugar Cookies
What happens after you decorate your beautiful cookies?
We need to keep that soft texture intact.
Proper storage is the secret weapon here.
I keep my decorated sugar cookies happy this way.
Use an airtight container for the best results.
Separate layers with parchment paper sheets.
This stops the icing from sticking together, see?
They stay perfectly soft at room temperature.
Avoid putting them in the fridge if you can help it.
Cold air dries out those wonderful sugar cookies fast.
If you must reheat, use the oven briefly.
Set your oven to a very low 300 degrees.
Heat them for just three minutes max.
This little warmth brings back some softness.
Enjoy those leftovers for a few good days.
Frequently Asked Questions About Sugar Cookies
We get so many great questions about these treats.
Baking should feel fun, not like a test!
Here are a few common things folks ask us.
I hope these answers help your baking adventure.
Can I skip chilling the sugar cookies dough?
Oh, I really wouldn’t recommend skipping that chill time.
If you skip chilling, your dough spreads out.
Your sharp cutout cookies will look like puddles.
The structure won’t hold up in the heat.
A good chill keeps those edges nice and neat.
What is the best way to store decorated sugar cookies?
Storing decorated ones takes a little more care.
Make sure your royal icing is fully dry first.
Use an airtight container for the best results.
Place parchment paper between each cookie layer.
This keeps your lovely designs safe and separate.
Keep them on the counter, not in the fridge.
Estimated Nutritional Data for These Sugar Cookies
Let’s talk about the numbers for a moment.
Liam always tracks these details very closely.
Remember, this is just an estimate for one cookie.
Your final numbers might shift a bit, of course.
This helps when planning for your family treats.
These homemade sugar cookies are worth every bite!
- Serving Size: One cookie, plain.
- Calories: Around 150 per serving.
- Total Fat: About 8 grams total fat.
- Carbohydrates: Roughly 19 grams per cookie.
- Protein Content: Two grams of protein listed.
- Sugar Count: A bit high at 15 grams.
We focus on flavor over strict counting, always.
But knowing the basics helps everyone out.
Share Your Child Recipe Sugar Cookies Creations
We’ve shared our script for these perfect treats.
Now it’s time for your own culinary performance!
Liam and I love seeing your beautiful results.
Did you make fun holiday shapes this year?
Show us your amazing decorated sugar cookies!
Remember our “Child Recipe” idea, right?
It’s about playing and finding your own spark.
Don’t worry if things aren’t perfectly neat.
Joy in the kitchen matters most to us.
Share your photos and stories with us below.
We read every single comment you leave here.
Happy baking, from Sara and Liam!
Print
Amazing 3 Sugar Cookies Hold Shape Forever
- Total Time: 1 hour 40 minutes (includes chilling)
- Yield: About 3 dozen cookies
- Diet: Vegetarian
Description
These are the ultimate soft and chewy cutout sugar cookies, designed to hold their shape perfectly for decorating. This recipe brings joy and connection back to your baking.
Ingredients
- All-Purpose Flour: 3 cups
- Baking Powder: 1 teaspoon
- Salt: 1/2 teaspoon
- Unsalted Butter, softened: 1 cup (2 sticks)
- Granulated Sugar: 1 1/2 cups
- Eggs: 2 large
- Vanilla Extract: 2 teaspoons
Instructions
- Whisk together the flour, baking powder, and salt in a medium bowl. Set aside.
- In a large bowl, cream the softened butter and sugar together until light and fluffy.
- Beat in the eggs one at a time, mixing well after each addition. Stir in the vanilla extract.
- Gradually add the dry ingredients to the wet ingredients, mixing on low speed until just combined. Do not overmix.
- Divide the dough in half, flatten into disks, wrap in plastic wrap, and chill for at least 1 hour.
- Preheat your oven to 350°F (175°C). Line baking sheets with parchment paper.
- On a lightly floured surface, roll out one dough disk to about 1/4 inch thickness.
- Cut out desired shapes using cookie cutters. Place shapes on the prepared baking sheets.
- Bake for 8 to 10 minutes, or until the edges are just set but the centers remain soft.
- Let cookies cool on the baking sheet for 5 minutes before transferring them to a wire rack to cool completely before decorating.
Notes
- For the best cutouts, chill the dough thoroughly. A longer chill time helps the cookies hold sharp edges.
- If you prefer a slightly crisper cookie that still has chew, bake for 1-2 minutes longer.
- This dough freezes well. You can freeze the whole disk or the cut-out shapes before baking.
- Prep Time: 30 minutes
- Cook Time: 10 minutes
- Category: Dessert
- Method: Baking
- Cuisine: American
Nutrition
- Serving Size: 1 cookie
- Calories: 150
- Sugar: 15g
- Sodium: 50mg
- Fat: 8g
- Saturated Fat: 5g
- Unsaturated Fat: 3g
- Trans Fat: 0g
- Carbohydrates: 19g
- Fiber: 0g
- Protein: 2g
- Cholesterol: 30mg