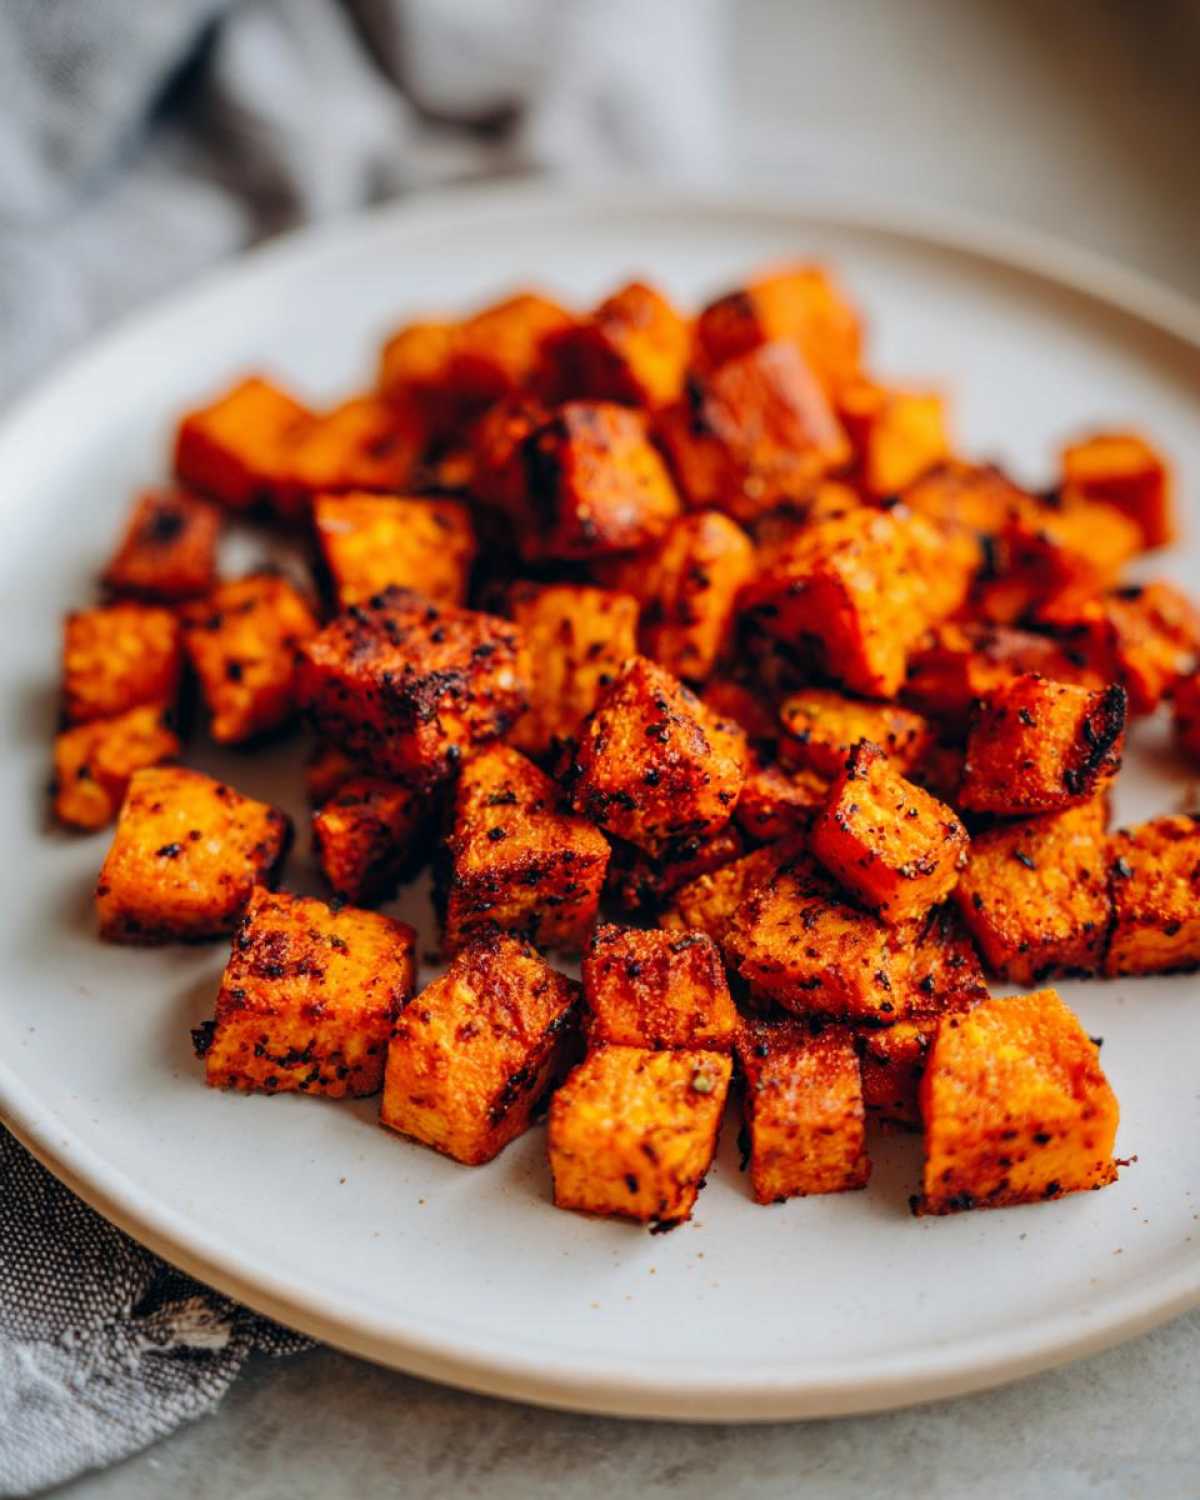
If your kitchen has ever produced a tray of roasted vegetables that turned out steamed and sad instead of gloriously brown, then trust me, I see you! Liam used to be that person—perfectly precise, but lacking the fiery edges that make roasted sweet potato magic happen. But that’s where I step in as the muse! Now, we present what I call The Ultimate Crispy Roasted Sweet Potatoes: Simple Technique for Perfect Caramelization. This recipe delivers that beautiful contrast: a tender, sweet interior bursting with flavor and edges that actually crunch. It’s about tapping into that joy we talk about at Child Recipe, turning a simple side into a showstopper. Forget quiet cooking; we want flavor that sings, starting with these incredible roasted sweet potatoes. You can read more about how Liam learned to loosen up in the kitchen over on our About Me page!
Why This is the Best Way to Roast Sweet Potatoes (Tender Inside Crispy Outside Sweet Potatoes)
We’ve run the tests, folks, and I can confidently tell you the absolute best way to roast sweet potatoes involves two non-negotiables: scorching hot heat and plenty of personal space for every single piece. Why do we insist on this system? Because the minute you put too many of these lovely tubers on one pan, they start steaming instead of roasting. Steaming equals mush, and we are aiming for those glorious, shatteringly crispy edges! This method guarantees you get those perfect tender inside crispy outside sweet potatoes every single time. Liam used to sneak a few more pieces onto the sheet just to save space, but trust me, giving them room allows the sugar to caramelize beautifully. If you want to dive deeper into other methods we’ve tested, check out our spicy chipotle-lime version!
Ingredients for Crispy Roasted Sweet Potato Recipe
Okay, here’s the lineup for our simple sweet potato recipe. You don’t need a ton of fancy things here; just good quality ingredients shine through. Remember, we only need about 10 minutes of active time before these go into the oven to do their thing!
- 3 large sweet potatoes, scrubbed clean (no need to stress about peeling!)
- 3 tablespoons olive oil – good quality makes a difference here.
- 1 teaspoon kosher salt
- 1/2 teaspoon black pepper
- 1/2 teaspoon garlic powder
- 1/4 teaspoon smoked paprika (this is just for a gorgeous hue and subtle depth!)
Simple Steps for Easy Roasted Sweet Potatoes
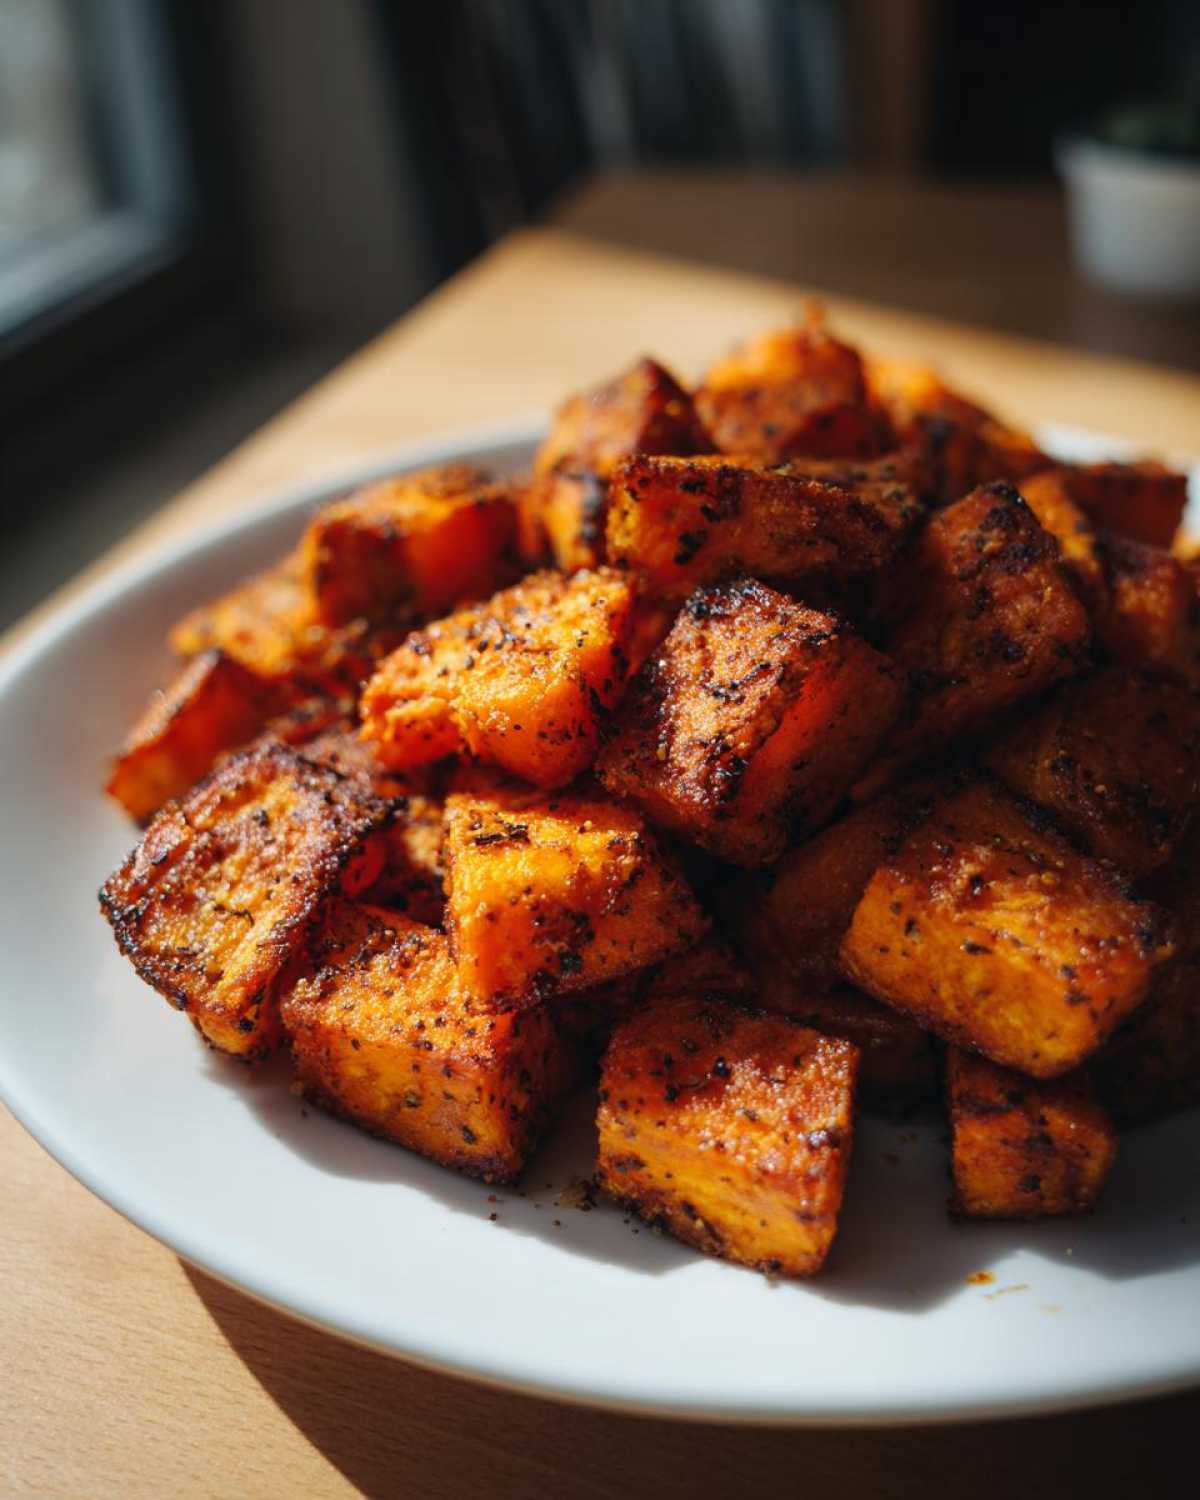
This is where the magic—or the potential mush—happens! To get those truly easy roasted sweet potatoes, we start with heat. Crank your oven up to 425 degrees Fahrenheit! Liam always tells me, “Sara, these need a blast from the surface to scare that moisture out before it knows what’s happening.” This high heat is key to understanding how to roast sweet potatoes properly so they crisp up before they steam. Remember, we’re aiming for about 35 minutes total cook time, so keep an eye on them! If you want to whip up a zesty dipping sauce later, you can check out my guide to homemade mayonnaise.
Prepping and Seasoning Your roasted sweet potato
First things first: cut them the same size! I aim for roughly 1-inch cubes or maybe half-inch thick wedges. If you have pieces that are super tiny, they’ll burn before the big chunks are done, which is a major kitchen tragedy. Get them into a big bowl and toss them thoroughly with that olive oil. Once they’re glistening, dump in your seasonings. If you’re following the recipe note about getting them extra crunchy, now is the time to sprinkle in a teaspoon of cornstarch right here with the salt and pepper—it’s my little secret addition for texture!
The Roasting Technique for Oven Roasted Sweet Potatoes
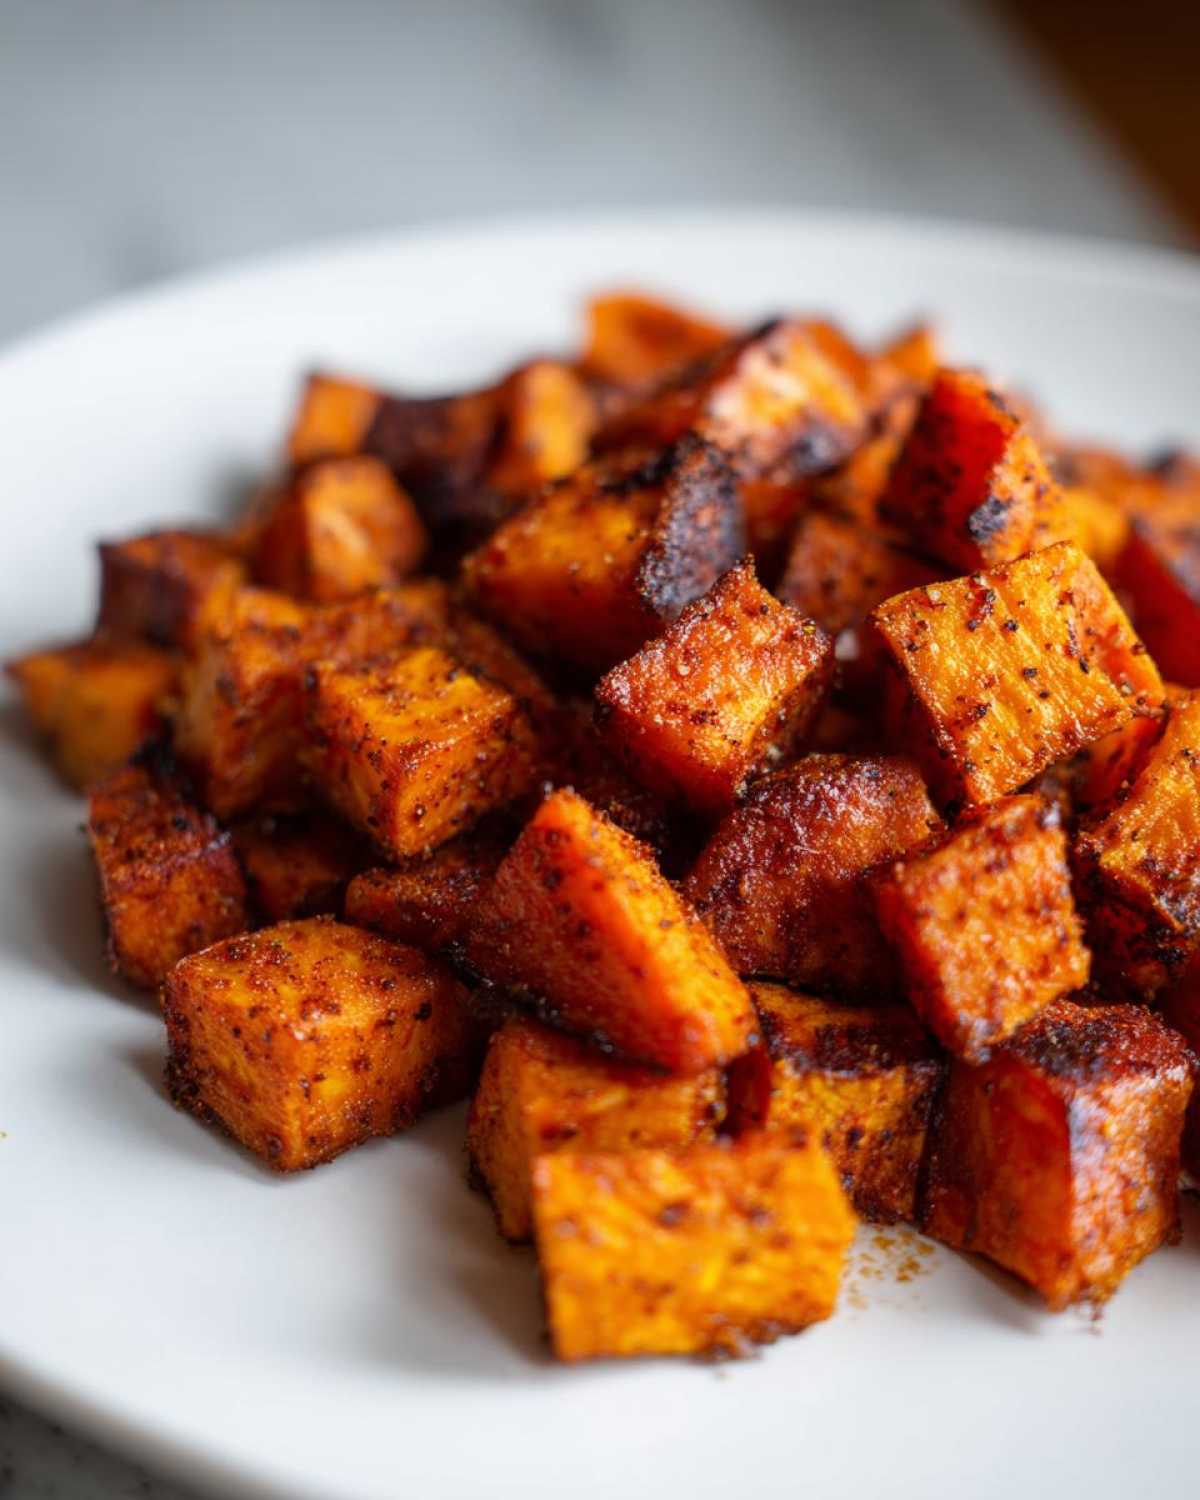
This next step requires discipline, folks! Take your seasoned pieces and spread them out onto your baking sheet. And I mean spread out—single layer only! If they are snuggling up too close, you’ll get soggy bottoms, and nobody wants that. Once they go in for the first 20 minutes, try not to touch them. When you pull them out? You absolutely must flip every single piece with a spatula. This ensures even browning on all sides. That flip is the difference maker for fantastic oven roasted sweet potatoes. Pop them back in for 10 to 15 more minutes until they look deeply, beautifully brown.
Flavor Variations for Roasted Sweet Potatoes
The base recipe is divine, I promise you, but why stop at just one flavor profile when the world of seasoning is our oyster? Liam and I love switching things up depending on what we’re serving. Sometimes we need something warm and cozy, and sometimes we need something totally savory to cut through a rich protein.
If you have a sweet tooth—or if you’re making these for a holiday spread like Thanksgiving where mashed potatoes usually steal the show—you have to try the maple route. Toss the potatoes with the oil, but skip the paprika and use cinnamon instead, adding about a tablespoon of maple syrup right into the mix. This gives you incredible honey roasted sweet potatoes that caramelize even faster, so keep a close eye on them toward the end of the baking time to avoid burning!
Now, if you want to go full-on savory mode, we have to talk cheese. Imagine them coated in garlic and Parmesan! This variation is fantastic for a quick dinner vegetable side because it tastes almost like a posh version of fries. To do this, make sure you wait until the potatoes come *out* of the oven; we don’t want that beautiful cheese burning in the high heat. Toss the hot, cooked roasted sweet potato cubes with fresh minced garlic, grated Parmesan cheese, and maybe a tiny shake of dried oregano. These garlic parmesan sweet potatoes rock my world, especially when paired with a bright green salad. If you want something similar but with a little kick, check out our sticky spicy appetizer recipe for inspiration!
Tips for Perfect Caramelized Sweet Potatoes
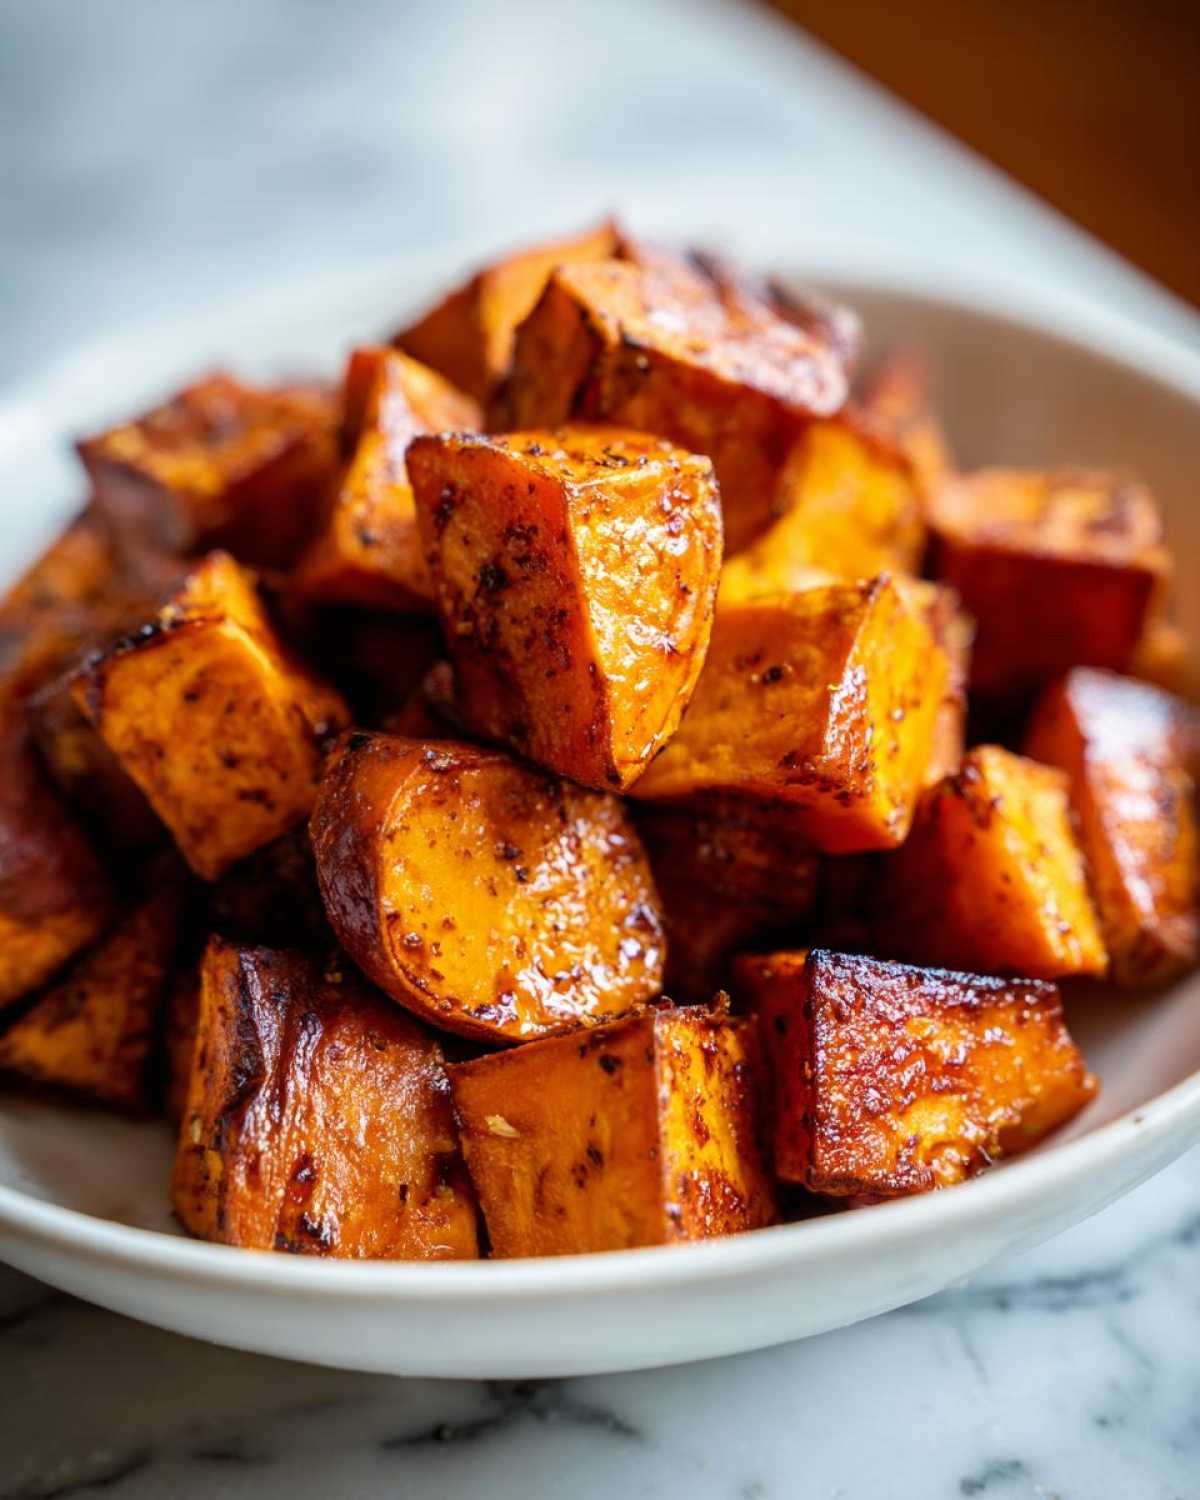
Okay, let’s get down to the nitty-gritty science of getting that incredible depth of color and flavor. If your potatoes are coming out pale or soft, it usually comes down to one of three things—and we fix them all right here! Achieving those deeply caramelized sweet potatoes takes a tiny bit more finesse than just tossing them in oil, but once you nail it, you’ll never go back to mushy vegetables again.
First up: The Pan Surface. You have to give these potatoes room to breathe! If you’re trying to fit six servings onto a standard 13×9 pan, stop right now! You need surface area contact for roasting, and crowding traps steam. If you need to, pull out that second baking sheet—I know Liam hates using extra dishes, but I remind him clean-up is part of the performance!
My next tip is about the oil. You need enough oil to coat everything beautifully, but too much, and you’re deep-frying them at the bottom of the pan. Three tablespoons for three large potatoes is usually the sweet spot. Make sure you’re using an oil with a higher smoke point, like olive oil, because we are running this oven hot!
Finally, the flip—we mentioned it already, but it bears repeating because it’s the key to full caramelization. Those first 20 minutes set the bottom; the flip ensures the top gets kissed by the heat just as intensely. When you turn them over, make sure every single piece lands on a fresh, dry spot of the pan. If you use a non-stick sheet pan that’s seen better days, you might want to line it with parchment paper—though honestly, for the ultimate crisp, bare metal works best! If you love the idea of crispy, beautiful baked goods, you should see how we treat our dough for our rosemary sea salt focaccia; it’s all about maximizing that surface texture!
Serving Suggestions for Your Sweet Potato Side Dish
Now that you’ve made a batch of the most glorious, crispy roasted sweet potato cubes—don’t just let them sit around waiting for another night! Because they roast so beautifully, these potatoes are incredibly versatile, moving far beyond just a basic vegetable plate. They are genuinely the perfect sweet potato side dish for almost anything you can dream up.
For weeknights, Liam and I often toss the leftovers straight into a salad the next day. They mix beautifully with goat cheese, greens, and a drizzle of balsamic—it makes lunch feel like a gourmet event, not just leftovers!
But where they really shine is when we double the batch for meal prep sweet potatoes. Toss them in the fridge in an airtight container, and you have instant goodness ready to go for four days. You can throw them into taco bowls—we have an amazing recipe concept that uses these later—or just eat them warm alongside some grilled chicken. Seriously, if you’re prepping lunches, make a double sheet of these. You won’t regret having this powerhouse side ready for those hectic mid-week moments. If salads are your jam, you must see how we incorporate roasted veggies into this cranberry feta grain bowl!
And of course, when the holidays roll around, these are fantastic because they don’t need babysitting in a casserole dish all day. You just pop them in when the turkey rests, and you’ve got a stunningly flavorful thanksgiving sweet potato side that everyone asks for year after year.
Storage and Reheating Instructions for roasted sweet potato
So, you successfully roasted sweet potatoes and you have heavenly leftovers? Bravo! That means you nailed the technique, but now we have to make sure day-two potatoes aren’t a letdown. The crispy exterior we worked so hard for can vanish if you just toss them in the microwave—and we can’t have that kind of tragedy in our kitchen!
For best results, let your roasted sweet potato pieces cool down completely on the pan before you even think about storing them. If you put hot food into a container, you will create condensation, and condensation is the enemy of crispiness, period. Once they are totally room temperature, scoop them into an airtight container. They keep really well in the fridge for about four days, making them perfect for those quick meal prep moments we talked about.
When you’re ready to eat them, you need to wake those crispy edges back up! A microwave will make them soft again in about thirty seconds flat. Don’t do it! The best reheating method is definitely the oven or, if you’re lucky enough to have one, an air fryer. Pop them on a sheet pan in a 350-degree oven for about 5 to 7 minutes. You’re just aiming to heat them through and dry off any surface moisture they picked up in the fridge. If you’re using an air fryer, even less time—maybe 3 minutes at 375°F!
If you manage to have leftovers that aren’t quite good enough to reheat whole, don’t toss them! They are absolutely amazing chopped up and thrown into a soup the next day. They add that great sweetness and density to something like a leftover minestrone—you can see how Liam transforms holiday odds and ends into soup bliss in our leftover minestrone recipe!
Frequently Asked Questions About roasting sweet potato cubes recipe
We get so many fantastic questions from you all after you try the base recipe! It’s thrilling to know you’re excited to play around with these. Since achieving that perfect texture with roasted sweet potato cubes recipe is our main goal, I want to address the most common things people ask when they’re tweaking the method. Liam always says, “Never assume someone knows what you know,” so here are the quick answers to keep your roasting game strong!
Can I use different vegetables with this roasted sweet potato recipe?
Absolutely, yes! This high-heat method is fantastic for almost any hardy vegetable. I love tossing in some carrots or maybe some Brussels sprouts right alongside our sweet potatoes. Just keep in mind that if you add something denser, like a parsnip, it might need a few extra minutes to get tender. If you add something super quick-cooking, you might want to toss those in halfway through the roasting process so everything finishes perfectly together.
What temperature is best for crispy roasted sweet potatoes?
If you want crispy, you have to go hot! We swear by 425 degrees Fahrenheit for our roasted sweet potatoes. You need that intense heat hitting them right away to start evaporating the surface moisture and encouraging that beautiful browning reaction. If you drop the temperature down to, say, 375°F, you’re just baking them slowly, and that moisture turns into steam before anything can crisp up. It’s an oven blast, not a gentle bake!
Do I need to peel the sweet potatoes for this recipe?
Nope! Unless you just really, truly dislike the skin, I say leave it on! Honestly, the skin actually adds great texture when it crisps up, and that’s where a lot of the good fiber is hiding out in those healthy roasted vegetables. The only thing you absolutely must do if you keep the skin on is give them a really good scrub under hot water before you chop them up. We want clean skins, not dusty ones!
If you have any more burning questions about this recipe or anything else in the kitchen, don’t hesitate to reach out to us through the contact page!
Nutrition Estimates for This Healthy Roasted Vegetables Side
Liam always reminds me to put the disclaimer on this part because we aren’t fancy nutritionists! But since we talk a lot about making this a truly healthy roasted vegetables side dish, here are the approximate numbers for one serving. Now, remember these are just guidelines—they’ll change based on the exact size of your sweet potatoes and how much oil you drizzle on top!
- Serving Size: 1/4 of recipe
- Calories: 220
- Fat: 9g
- Carbohydrates: 34g
- Protein: 3g
For the full rundown, including sugar and sodium counts, you can always check out the detailed breakdown on our disclaimer page. Happy cooking, and don’t sweat the exact measurements too much!
Print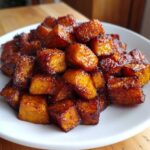
The Ultimate Crispy Roasted Sweet Potatoes: Simple Technique for Perfect Caramelization
- Total Time: 45 min
- Yield: 4 servings 1x
- Diet: Vegetarian
Description
Learn the best way to roast sweet potatoes to achieve tender insides and irresistibly crispy edges every time. This simple sweet potato recipe is perfect for a healthy roasted vegetables side dish or meal prep.
Ingredients
- 3 large sweet potatoes, scrubbed clean
- 3 tablespoons olive oil
- 1 teaspoon kosher salt
- 1/2 teaspoon black pepper
- 1/2 teaspoon garlic powder
- 1/4 teaspoon smoked paprika (for color and depth)
Instructions
- Preheat your oven to 425 degrees Fahrenheit (220 Celsius). Set an oven rack to the middle position.
- Prepare the sweet potatoes: You can cut them into 1-inch cubes or 1/2-inch thick wedges. Ensure all pieces are roughly the same size for even cooking.
- In a large bowl, toss the sweet potato pieces with the olive oil until they are fully coated.
- Sprinkle the salt, pepper, garlic powder, and smoked paprika over the potatoes. Toss again until the seasonings stick evenly to all surfaces.
- Spread the seasoned sweet potatoes onto a large, rimmed baking sheet in a single layer. Do not overcrowd the pan; use two sheets if necessary. Crowding steams the potatoes instead of roasting them, preventing crispiness.
- Roast for 20 minutes.
- Remove the pan from the oven and use a spatula to flip each piece. This helps achieve even browning and crisping.
- Return the pan to the oven and roast for another 10 to 15 minutes, or until the edges are deeply caramelized and the centers are fork-tender.
- Remove from the oven and serve immediately as a quick dinner vegetable side or holiday sweet potato side dish.
Notes
- For extra crispy roasted sweet potato cubes, toss them with 1 teaspoon of cornstarch along with the oil and seasonings before roasting.
- If you prefer a sweeter profile, substitute the smoked paprika with 1 tablespoon of maple syrup mixed into the oil, but reduce the roasting time slightly to prevent burning.
- This recipe works well for meal prep; store cooled potatoes in an airtight container in the refrigerator for up to four days.
- Prep Time: 10 min
- Cook Time: 35 min
- Category: Side Dish
- Method: Oven Roasting
- Cuisine: American
Nutrition
- Serving Size: 1/4 of recipe
- Calories: 220
- Sugar: 9
- Sodium: 350
- Fat: 9
- Saturated Fat: 1
- Unsaturated Fat: 8
- Trans Fat: 0
- Carbohydrates: 34
- Fiber: 5
- Protein: 3
- Cholesterol: 0