Okay, can we all just agree that store-bought bread is usually just sad? It’s airy, it’s full of stuff we can’t pronounce, and it definitely doesn’t taste like *real* food. I used to struggle making **whole wheat bread** at home because it always came out dense as a brick. Seriously, Sara wouldn’t touch it!
But Liam, bless his incredibly patient heart, took that challenge personally. He worked until he cracked the code for the absolute softest, fluffiest loaf possible, using all that wholesome goodness. Trust me when I say this **honey whole wheat bread** recipe is the easiest one you’ll ever use, and it makes the perfect **whole wheat sandwich loaf**. We’re talking bakery quality, but achievable right here when you **make bread at home**!
Why This Soft Honey Whole Wheat Bread Recipe is Your New Favorite
I get it. You see “whole wheat” and you picture something heavier than a doorstop. That’s why Liam focused SO hard on making this the exception! When you follow the steps below, you aren’t just making bread; you’re making ridiculously flavorful, bakery-quality **homemade whole wheat bread**. It’s a true showstopper!
- You can see our technique for making the world’s best cinnamon buns here: Soft Gooey Cinnamon Buns!
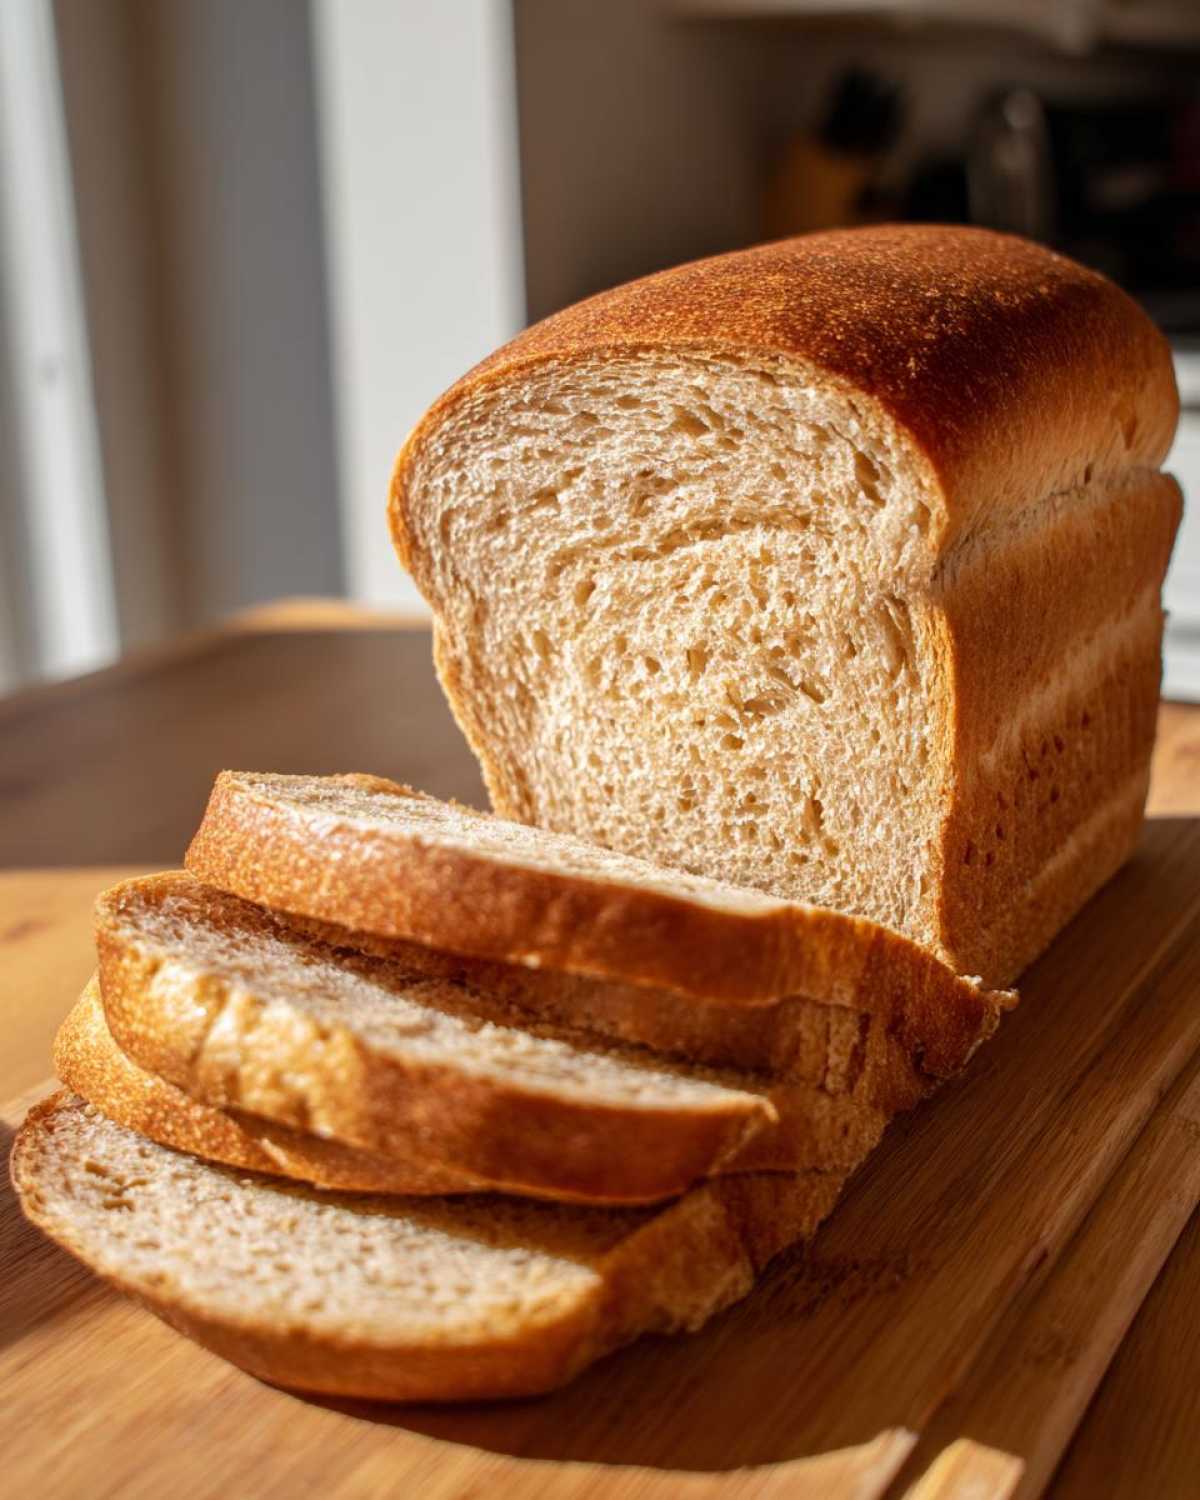
Achieving the Softest Whole Wheat Bread Crumb
The secret to getting that truly *soft whole wheat bread* texture isn’t just luck; it’s chemistry! We lightly cheat by mixing in just a bit of all-purpose flour alongside the whole wheat. Plus, that melted butter and slightly longer kneading time coat the fibers just right. This keeps everything tender, not tough.
The Easiest Whole Wheat Bread Recipe for Beginners
Don’t let the kneading scare you off! This is genuinely an **easy whole wheat bread recipe**. The active time is less than 25 minutes total while you wait for the two rises. If you’ve ever wanted to try **beginner bread baking**, this is your moment. It’s about as hands-off as a good kneaded loaf can get!
Gathering Ingredients for Your Homemade Whole Wheat Bread
Okay, let’s get our players lined up! For this **whole wheat bread** to turn out fluffy, we need to be a little precise with what we grab. Don’t worry; these are all easy things you probably have lurking in your pantry already. I’ve organized the list below so you can see exactly what makes this loaf special. If you’re looking for other ridiculously simple recipes, check out my foolproof 5-ingredient mayonnaise!
Flour Choices for Perfect Whole Wheat Bread
This is the most important note! We use a combination here. You’ll need 3 cups of whole wheat flour, which brings all that nutty flavor, but you absolutely must mix in 1/2 cup of all-purpose flour. Why? It keeps the loaf tender! If you decide you *must* make a **100 percent whole wheat bread**, you can swap that 1/2 cup for more whole wheat flour, but be warned—it will be slightly denser.
Sweeteners and Fats in This Honey Whole Wheat Bread
This is where we get that lovely, subtle sweetness that makes people ask, “What’s in this?” You need 1/4 cup of cozy, golden honey! That honey doesn’t just sweeten; it helps keep the texture soft during storage. Couple that with 2 tablespoons of melted unsalted butter, and you’ve got the richness that makes this a true **honey whole wheat bread** dream.
Step-by-Step Instructions to Make Whole Wheat Bread
Alright, take a deep breath! This is where the magic happens. I know baking bread can feel intimidating—like you need a science degree—but Liam assures me that the instructions for this **whole wheat bread** are so clear, even I can nail the timing!
Before we start mixing, make sure your oven is ready to preheat later, and grab your big bowl! If you want to see how we make our gorgeous, herby focaccia, check out that recipe next: Rosemary Focaccia. It’s an entirely different vibe, but just as fun.
Activating Yeast and Mixing the Whole Wheat Bread Dough
First things first: we wake up the yeast! That means combining your yeast with 1 cup of warm water—the temperature is key, aim for 105-115°F, not scalding hot! Let that sit for about five minutes. If it doesn’t get foamy, your yeast is sleeping, and you need to start over with fresh yeast—that 5-minute foam check is not optional, it’s your *go/no-go* signal!
Once you have that beautiful, bubbly head, stir in your ¼ cup of honey, the melted butter, and the salt. Now you can start adding your dry stuff. Throw in the 3 cups of whole wheat flour and mix until it looks shaggy, like sad, wet clumps. Then, add that last ½ cup of all-purpose flour and mix until a decent dough starts to come together. We aren’t looking for perfection yet, just combined!
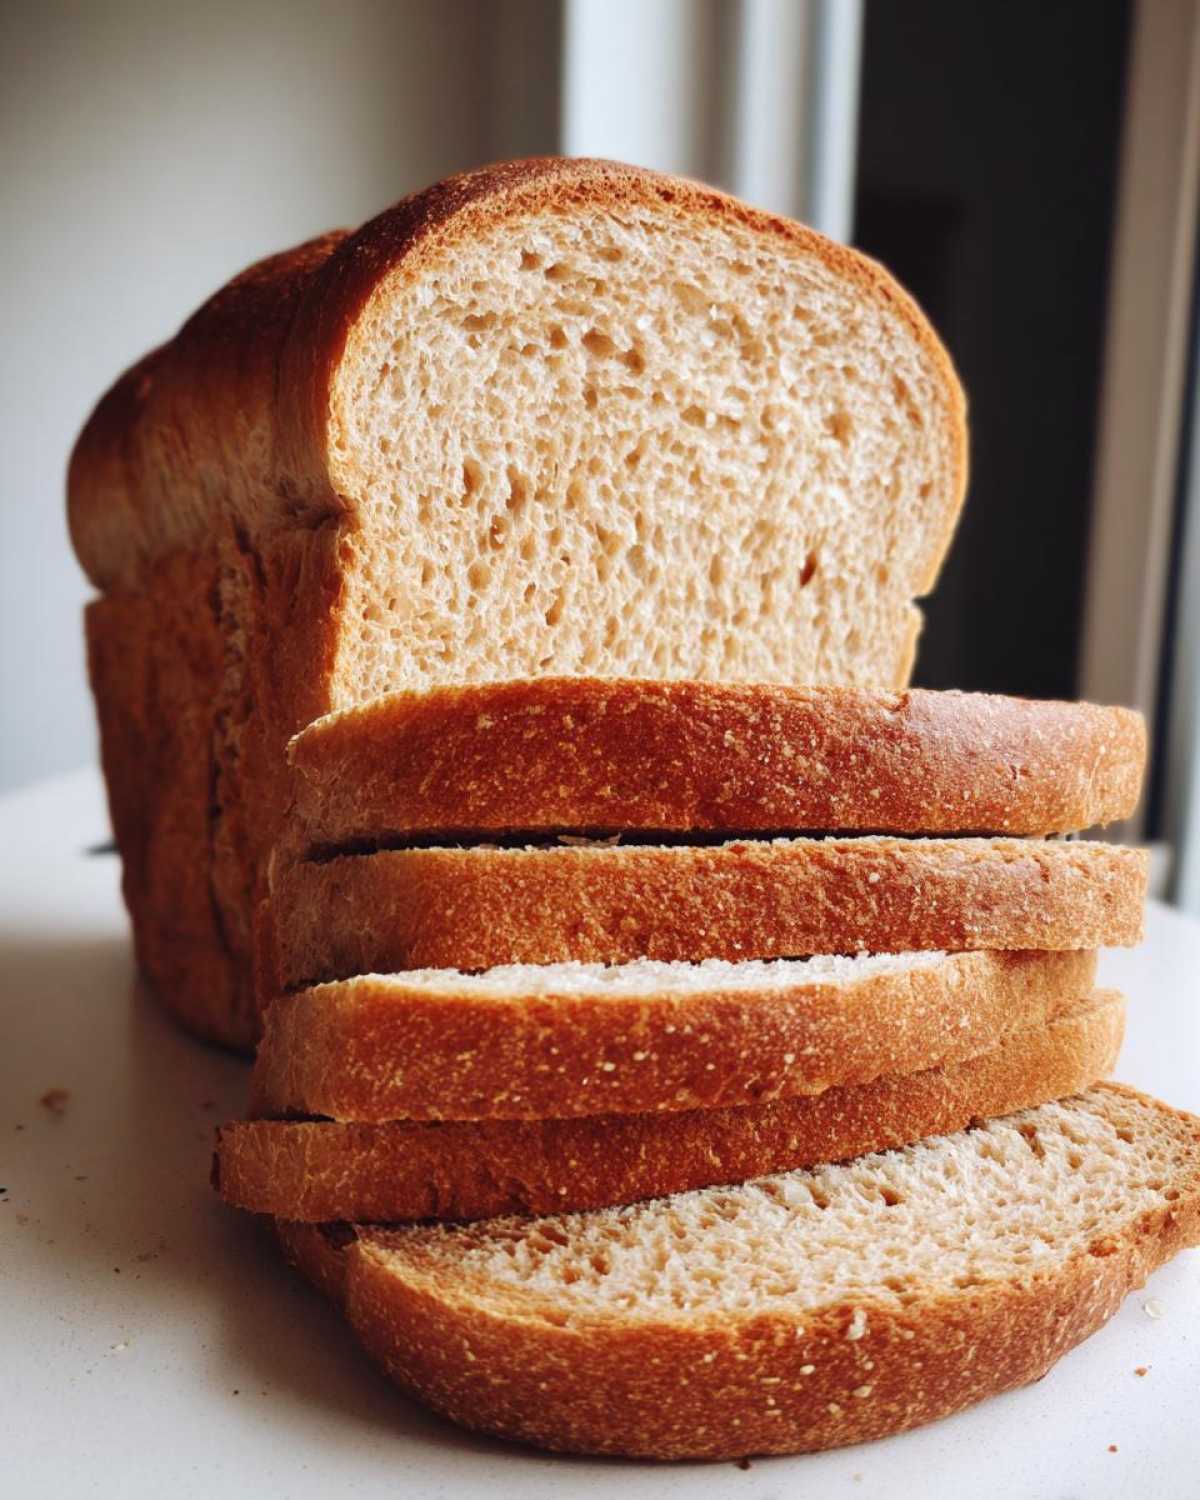
Kneading and the First Rise for Your Whole Wheat Sandwich Loaf
Time to get those hands dirty! Turn that shaggy mass out onto a lightly floured counter. This part gets Liam focused; he kneads for a solid 8 to 10 minutes. You are pressing, folding, and turning until the dough stops sticking everywhere and feels smooth and elastic under your palms. That smooth texture is how we guarantee a great rise for our **whole wheat sandwich loaf**.
Lightly grease a large bowl, toss the dough in there, and give it a quick roll so it’s coated. Cover it up tightly! Now we wait. Let it sit in a warm spot for 1 to 1.5 hours. You want it to fully double in size. Don’t rush this first rise; this is where all that deep, nutty whole wheat flavor develops!
Shaping, Second Rise, and Baking Your Whole Wheat Bread
When it’s doubled, gently punch the air out—it’s so satisfying! Turn it onto a clean surface and shape it gently into a log that fits neatly into your greased 9×5 inch loaf pan. Tuck the ends under for a nice tight shape.
Cover the pan loosely and let it ride again for just 30 to 45 minutes. We are waiting for it to crown—meaning it rises about an inch over the top edge of the pan. As that second rise finishes, sneak your oven up to 375°F (190°C). Bake the loaf for 30 to 35 minutes. You know it’s done when the top is gorgeously golden brown and your instant-read thermometer hits 200°F internally. Pull it out immediately, and let it cool completely on a rack before you even *think* about slicing it!
Tips for Baking the Best Whole Wheat Bread Recipe
Even though this is a super forgiving recipe, I’ve picked up a few tricks from watching Liam fuss over his loaves. Follow these little boosts, and you’ll always get amazing texture, even if you’re experimenting! We want to make sure every single loaf you pull out rivals what you’d find at a fancy bakery!
If you’re in the mood for something different but just as fun to shape, you have to check out how we make soft, fluffy naan bread—it’s skillet magic!
Adjusting Flour for 100 Percent Whole Wheat Bread
Remember how I mentioned that little bit of all-purpose flour is our secret weapon for softness? Well, if you decide you HAVE to switch everything over to whole wheat to make a true **100 percent whole wheat bread**, you can! But here’s the deal: the texture will shift. It won’t be *quite* as fluffy—it’ll be heartier and a little heavier—and that’s totally fine if that’s what you love! Just manage your expectations on the final rise height.
Creating a Rustic Whole Wheat Bread Style
Sometimes, I just can’t deal with washing out a sticky loaf pan, and Liam gets a craving for something crustier. If you want that beautiful, uneven **rustic whole wheat bread** look, just skip the pan entirely! After the second rise, gently set the shaped dough log right onto a preheated baking stone or a heavy sheet pan. It bakes up with this wonderfully crisp crust around the edges that is just divine for dipping!
Storage and Reheating Instructions for Your Homemade Whole Wheat Bread
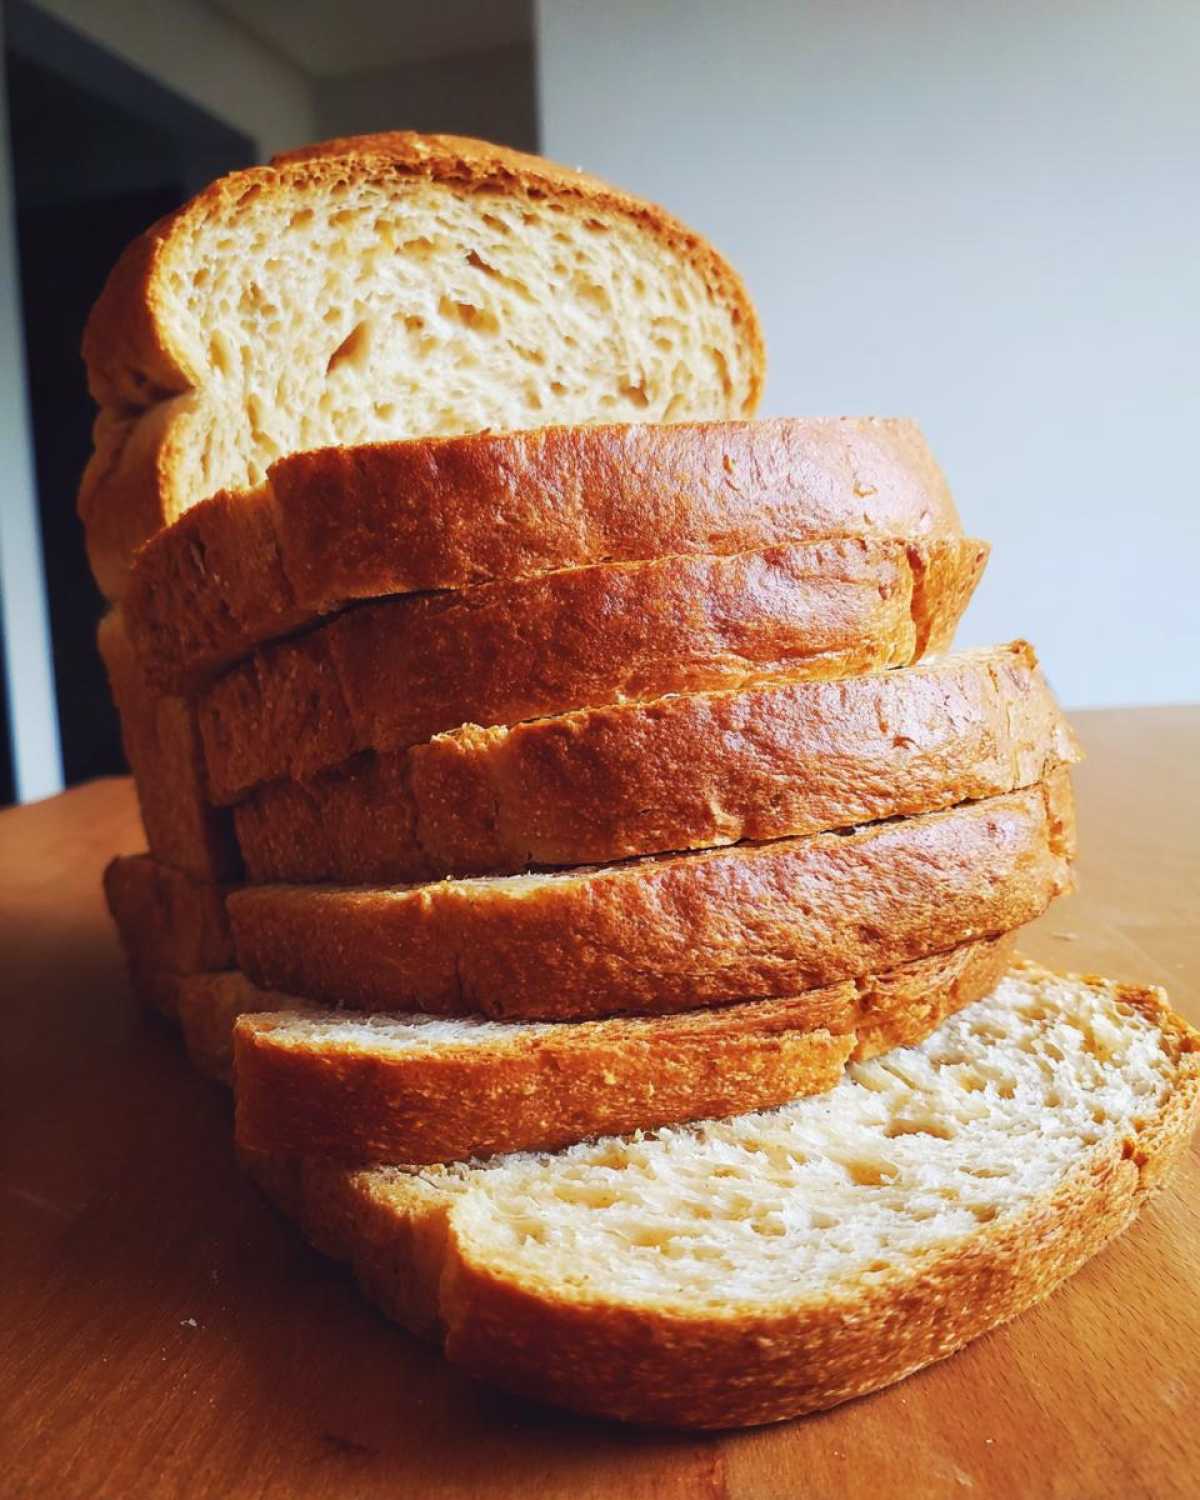
Okay, you baked the most amazing loaf of **whole wheat bread**—now don’t ruin it by storing it wrong! For keeping it fresh on the counter, wrap it tightly in a clean kitchen towel or a plastic bag once it’s completely cool. It’ll stay soft for about three days. If you want it to last longer, pop slices into a freezer bag. Freezing is my favorite trick; just thaw slices as needed for the best toast ever!
Serving Suggestions for This Healthy Homemade Bread
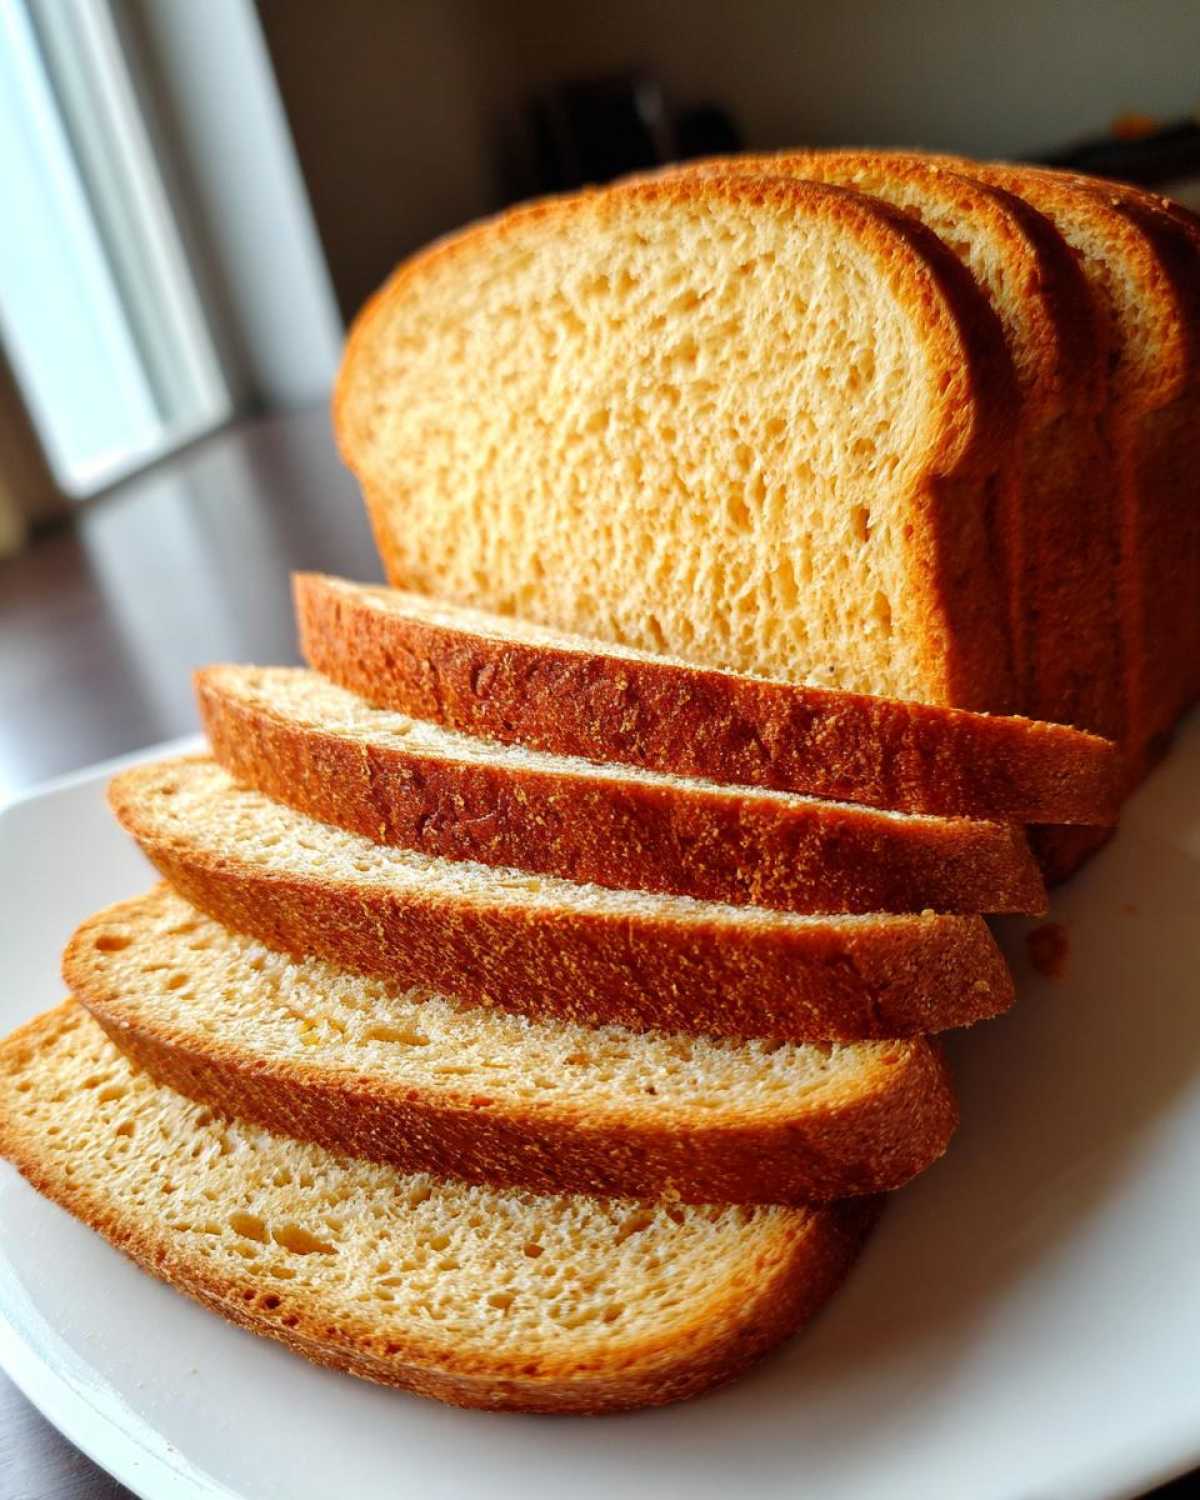
This **healthy homemade bread** is made for everyday life, honestly. Forget those sad, dry discs you buy at the store! This soft loaf shines for lunch when you make a massive sandwich—try it with Liam’s amazing Turkey Cobb Salad piled high between two slices!
But my favorite way? Just slice it thick and let it toast up perfectly golden brown. It makes the absolute best **bread for toast** you can imagine, especially with some good butter melting right into the holes.
Frequently Asked Questions About Baking Whole Wheat Bread
It’s always the little things that trip us up when we try to bake amazing **whole wheat bread** at home, right? Liam and I get so many questions about troubleshooting, so I wanted to collect the most common ones right here for you. Check out these quick tips that should solve most of your baking mysteries!
How can I make my whole wheat bread rise higher?
A high-rising loaf starts *before* you even mix! Make sure your water temperature is perfect—too cold and the yeast won’t wake up; too hot and you kill it dead. You must see that foamy head during activation. Then, during the second rise, be patient and let it crown about an inch over the pan rim. If it’s cold in your kitchen, find a slightly warmer spot for that final puff!
Can I substitute the honey in this whole wheat bread recipe?
Yes, you totally can! Honey is fantastic here, but if you don’t have any, maple syrup works beautifully and still keeps that lovely moist quality. You can even use plain granulated sugar if you have to, though I find the flavor of the **honey whole wheat bread** is just richer with the liquid sweeteners. Just use the same amount!
Is this recipe suitable for a no knead whole wheat bread variation?
That’s a fantastic question for all you busy folks! This recipe is designed to be kneaded for that perfect **soft whole wheat bread** texture. If you try to skip the kneading, you’ll technically end up with a dough that needs a *much* longer first rise—like 8 to 12 hours—to develop that strength. So, while you **can** force it into a **no knead whole wheat bread** style, I really recommend sticking to the knead time for guaranteed fluffy results!
If you want to learn more about how we cook and play in the kitchen, check out Liam’s story on the About Me page!
Nutritional Estimates for Your Whole Wheat Bread Loaf
Now, I know some of you are baking this **whole wheat bread** because it’s much healthier than the store-bought stuff, and you want to know exactly what’s going into your body! Liam calculated the basics for us by plugging the recipe into a nutrition calculator we trust. Remember, since we are dealing with homemade bakes, these numbers are totally estimates!
Ingredient brands, the exact amount of honey you stir in, or if you switch to the **100 percent whole wheat bread** version will change these a little bit. If you need our official stance, you can always read our full site disclaimer, but this gives you a great baseline for this amazing **homemade whole wheat bread**.
- Serving Size: 1 slice
- Calories: 140
- Sugar: 4g
- Fat: 3g
- Protein: 5g
- Fiber: 3g
See? Still super wholesome and incredibly satisfying for just a snack or a slice of **bread for toast**!
Share Your Homemade Whole Wheat Bread Creations
Okay, show us what you’ve got! Liam and I put our hearts and souls into making this the best **whole wheat bread recipe** you’ll ever try, and now it’s your turn to take center stage. I absolutely love seeing the gorgeous, golden loaves you guys turn out in your own kitchens!
When you bake this, please snap a picture and tag us! We want to see those perfect sandwich slices and that fluffy crumb texture we worked so hard to achieve. If you loved it—and I know you will—give the recipe five stars over on the main recipe card. It helps other folks who are nervous about baking **homemade bread from scratch** feel confident enough to try it!
If you have questions that weren’t covered in the FAQ or just want to send us applause (or helpful suggestions!), you can always reach out directly through our Contact Page. Happy baking, everyone!
Print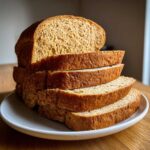
Soft Honey Whole Wheat Sandwich Loaf: Your New Favorite Homemade Bread
- Total Time: 2 hours 5 minutes
- Yield: 1 loaf 1x
- Diet: Vegetarian
Description
Bake this easy whole wheat bread recipe for incredibly soft, fluffy loaves perfect for sandwiches and toast. We use honey for a touch of sweetness, creating a wholesome, flavorful bread that beats store-bought every time.
Ingredients
- 1 cup warm water (105-115°F)
- 2 1/4 teaspoons active dry yeast
- 1/4 cup honey
- 2 tablespoons unsalted butter, melted
- 1 1/2 teaspoons salt
- 3 cups whole wheat flour, plus more for dusting
- 1/2 cup all-purpose flour (or substitute with more whole wheat for 100 percent whole wheat bread)
Instructions
- In a large bowl, combine the warm water and yeast. Let it sit for 5 minutes until foamy. This wakes up your yeast!
- Stir in the honey, melted butter, and salt into the yeast mixture.
- Gradually add the whole wheat flour, mixing until a shaggy dough forms. Add the all-purpose flour and mix until just combined.
- Turn the dough out onto a lightly floured surface. Knead for 8 to 10 minutes until the dough is smooth and elastic. You are looking for a soft, manageable dough—this is key for a fluffy loaf.
- Lightly grease a large bowl. Place the dough in the bowl, turning once to coat. Cover the bowl with plastic wrap or a clean kitchen towel.
- Let the dough rise in a warm place for 1 to 1.5 hours, or until it has doubled in size. This first rise builds flavor.
- Gently punch down the risen dough. Shape it into a loaf and place it into a greased 9×5 inch loaf pan.
- Cover the pan loosely and let the dough rise again in a warm spot for 30 to 45 minutes, or until the dough has crowned about 1 inch over the rim of the pan.
- Preheat your oven to 375°F (190°C) during the last 15 minutes of the second rise.
- Bake for 30 to 35 minutes, or until the top is golden brown and the internal temperature reaches 200°F (93°C).
- Remove the loaf from the pan immediately and let it cool completely on a wire rack before slicing. Enjoy your homemade whole wheat bread!
Notes
- For an even softer crumb, substitute 1/4 cup of the whole wheat flour with bread flour.
- If you want a rustic whole wheat bread look, you can skip the loaf pan and bake it free-form on a baking stone after the second rise.
- This bread freezes well. Slice it before freezing for easy toast later.
- Prep Time: 20 min
- Cook Time: 35 min
- Category: Baking
- Method: Kneading and Baking
- Cuisine: American
Nutrition
- Serving Size: 1 slice
- Calories: 140
- Sugar: 4
- Sodium: 250
- Fat: 3
- Saturated Fat: 1.5
- Unsaturated Fat: 1.5
- Trans Fat: 0
- Carbohydrates: 26
- Fiber: 3
- Protein: 5
- Cholesterol: 5