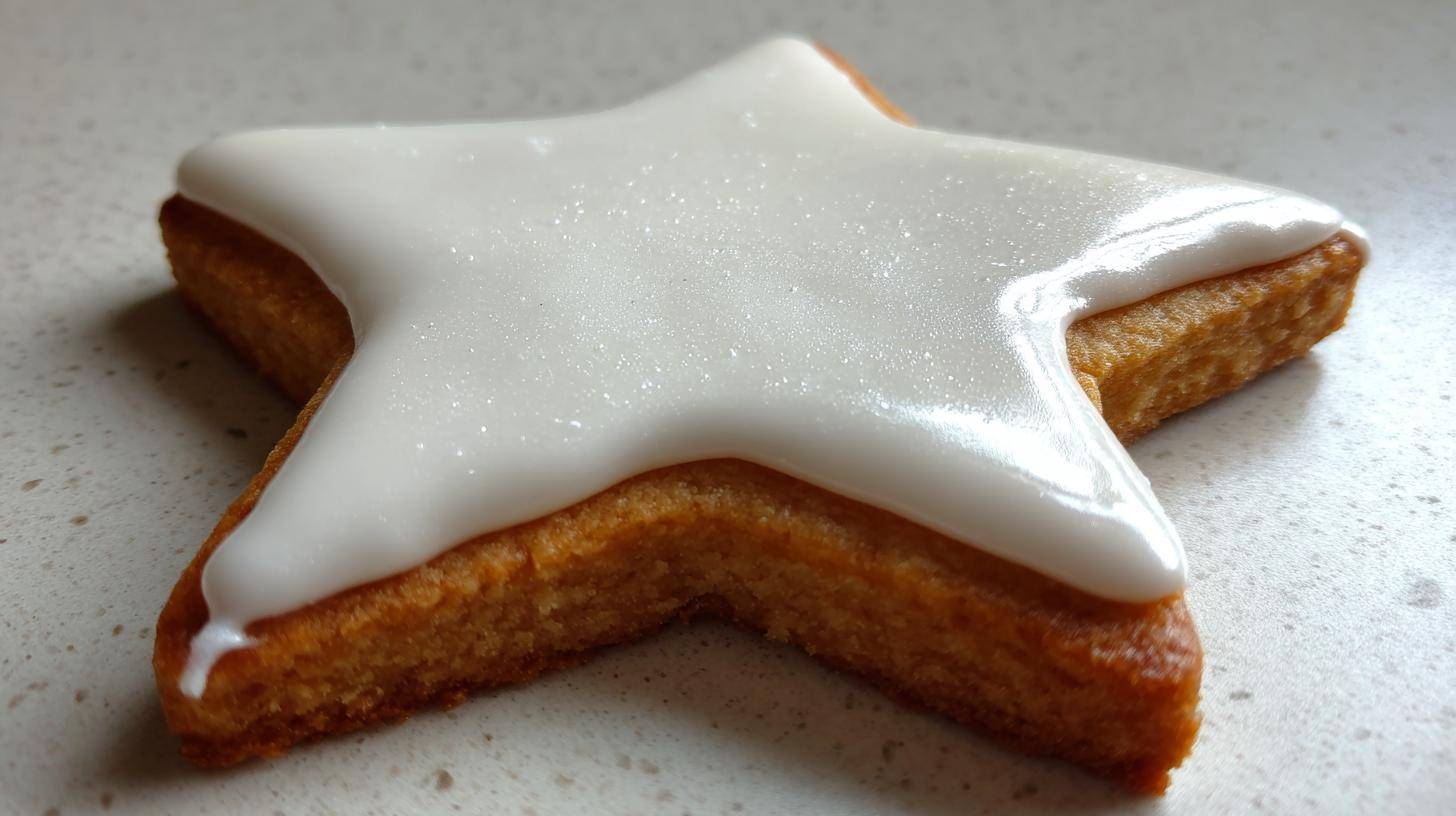
The Secret to Perfect, Hard-Setting Sugar Cookie Icing That Hardens
Are you tired of decorations that weep? I know I was. Soft, sticky icing ruins the joy of a perfect cookie. Liam used to make technically perfect icing. It still wouldn’t set right, though.
My flair for the fun sometimes clashed with his need for order. Now, we blend both. This recipe is our sweet spot. It’s the reliable sugar cookie icing that hardens completely.
Forget smudges when stacking. This royal icing gives you that crisp, professional shell. It’s truly the foundation of beautiful, giftable cookies. Let’s ditch the soft flops!
Why This Sugar Cookie Icing That Hardens Works So Well
What makes this specific formula so great? It’s all about the shell.
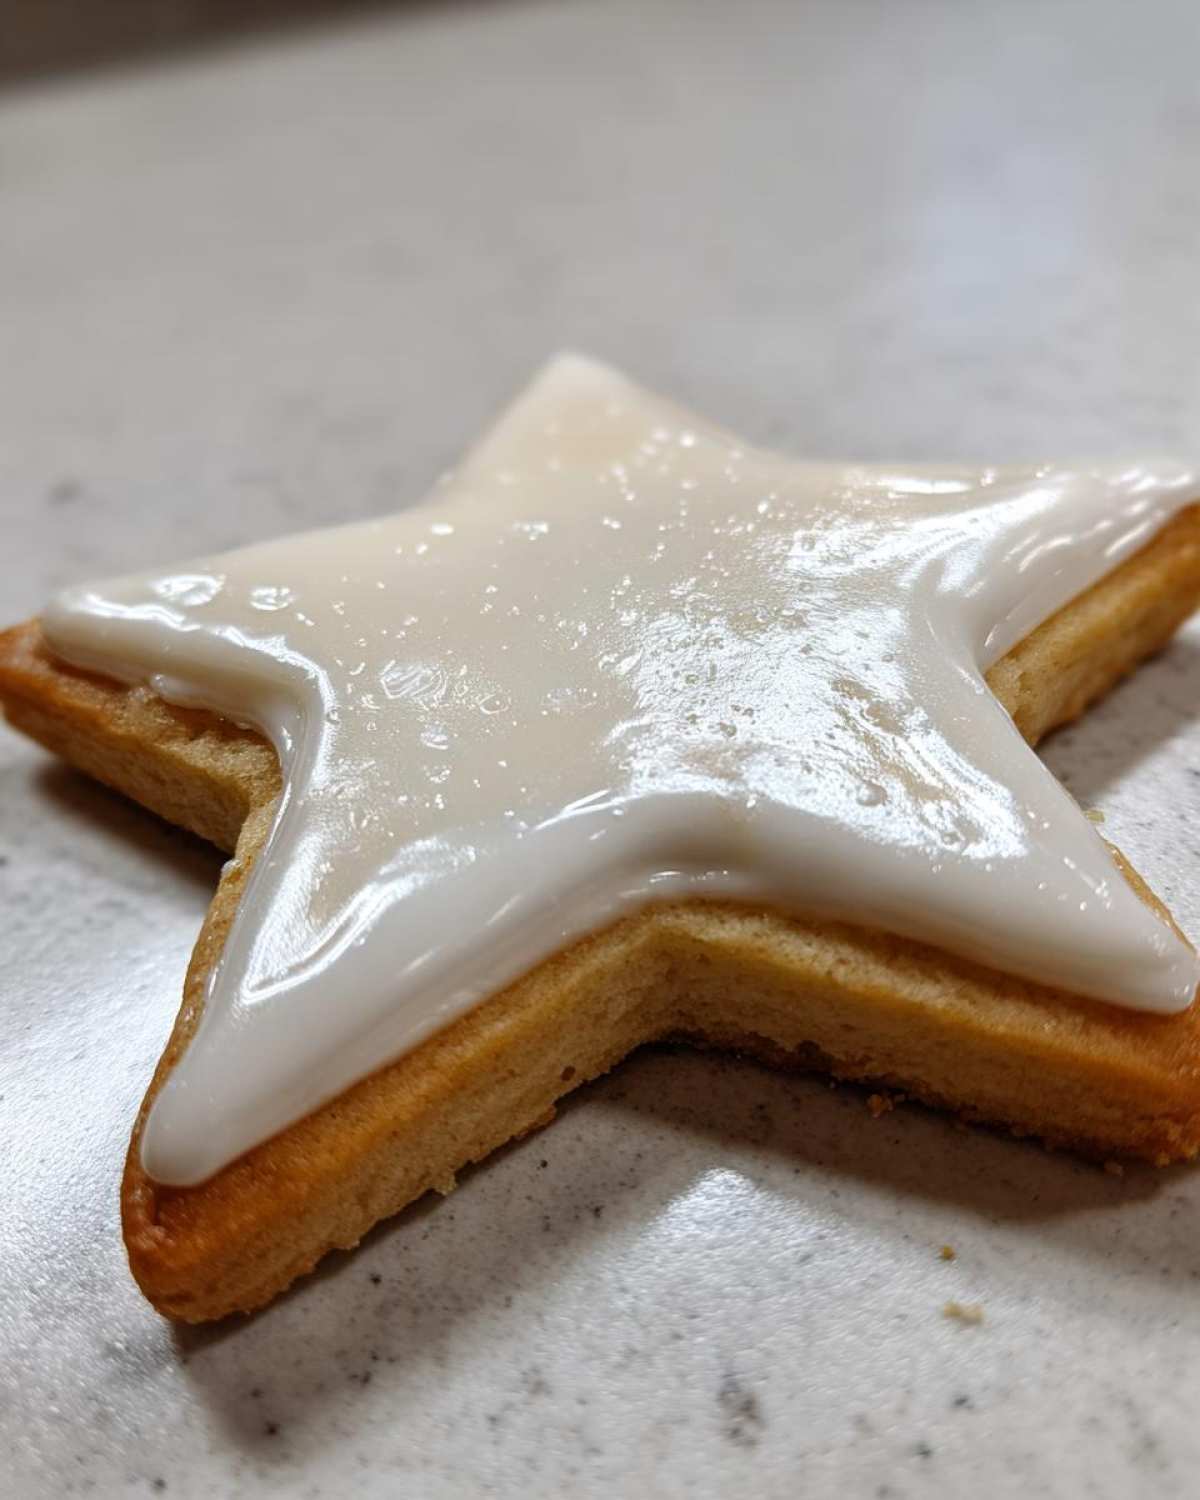
This icing sets firm, like a beautiful, sweet ceramic coating. You get that smooth, glossy finish every single time.
This means your beautiful creations are safe for stacking. They travel well for gifting too! No more cookie pile-ups looking sad.
We found meringue powder is the secret weapon here. It stabilizes the sugar perfectly. It creates that rock-hard shell we crave.
Liam, bless his precise heart, first struggled with texture. He’d weigh everything perfectly. Still, sometimes the icing stayed tacky.
We finally perfected this ratio through trial and happy error. It delivers professional results. It does this without needing industrial kitchen gear. It’s truly a baker’s dream.
Equipment Needed for Your Sugar Cookie Icing That Hardens
You don’t need a massive bakery setup for this. I promise!
Good tools make the job easier. They help achieve that perfect texture.
Here are the simple things I always grab:
- A good electric mixer.
- Large mixing bowls for easy whipping.
- Accurate measuring cups and spoons.
- A fine-mesh sieve for sifting sugar.
That’s really it! Get your gear ready now.

Ingredients for Reliable Sugar Cookie Icing That Hardens
Getting the right measurements is key here. This isn’t the time to eyeball things, friends.
These exact amounts help create that strong structure. They guarantee your sugar cookie icing that hardens properly.
We rely on just three main players for magic:
- Three tablespoons Meringue Powder. This is non-negotiable for hardness.
- Four cups Powdered Sugar. Make sure you sift this first!
- Six to eight tablespoons Warm Water. Add slowly at first.
The water amount is flexible. It adjusts for humidity, see? But start low. You can always add more liquid. Taking it away is much harder!
Sifting that sugar prevents lumps. Lumps mean weak spots in your final hard shell.
Step-by-Step Instructions for Making Sugar Cookie Icing That Hardens
Now for the fun part! Making the icing is simple. The whipping part takes patience, though.
Grab your large bowl and your electric mixer. We start slow to avoid a sugar cloud explosion.
- First, combine the meringue powder and the sifted powdered sugar. Whisk them together gently by hand. This mixes the dry parts well.
- Next, start adding your warm water very slowly. Mix on the lowest speed initially. You want everything just combined. Don’t splash sugar everywhere!
- Time to bring the power! Increase your mixer speed to medium-high. This is where the magic happens, folks.
- You must beat this mixture for a full 7 to 10 minutes. Seriously, set a timer if you need to. This whipping time builds the structure. It creates those stiff, glossy peaks. This step guarantees your sugar cookie icing that hardens perfectly.
- Once it looks thick and shiny, check the texture. Is it too stiff for your piping bag? Add water one teaspoon at a time. Mix briefly after each addition.
- If you are flooding cookies, aim for a ribbon consistency. This means when you lift the beater, the icing falls back slowly. It should disappear after counting to ten.
- Use your icing right away for the best results. Outline those cookies first. Then, move on to flooding the centers.
I remember the first time I rushed this part. I only mixed for three minutes. The cookies looked okay, but they stayed soft all day! Now, I let Liam set the timer. That full whipping time is non-negotiable for that hard shell.
Let those decorated cookies sit undisturbed. Drying takes time, often overnight. Humidity plays a big role, remember that.

Mastering Consistency for Your Sugar Cookie Icing That Hardens
Getting the right texture is everything here. It’s the difference between intricate lines and smooth fields.
This is where many home cooks get stuck. Don’t worry, I’ve got you covered.
We need two main consistencies for decoration work.
- Piping Consistency: This needs to be quite stiff. It should hold its shape immediately. Use this for borders and fine details. It looks like thick toothpaste in the bowl.
- Flooding Consistency: This is thinner, but still substantial. It spreads nicely without running wild.
Use the ten-second ribbon test for flooding. Lift your whisk. Watch the icing fall back in. Count to ten slowly.
If the trail sinks immediately, it’s too thin. If the trail stays visible for ages, add a tiny splash of water.
Aim for that sweet spot. This ensures your sugar cookie icing that hardens dries evenly.
Tips for the Hardest, Glossiest Sugar Cookie Icing That Hardens
Once you have that perfect thick base, a few small choices matter greatly.
These little tricks secure that rock-hard, shiny finish.
Coloring is a big one I learned quickly.
- Always reach for gel food coloring. Liquid dyes add too much water.
- Too much liquid weakens the sugar structure. This stops the icing from setting firm.
- Gel colors give you deep hues with minimal liquid.
Next, think about where your cookies dry.
Humidity is the enemy of a hard shell. Dry your cookies in the coolest room.
A low-humidity area works best for drying. This helps your sugar cookie icing that hardens quickly and completely.
Patience during drying pays off big time. Trust the process and the meringue powder!

Frequently Asked Questions About Sugar Cookie Icing That Hardens
You might have some lingering questions. That’s totally normal when aiming for perfection!
Here are the things I get asked most often about this sugar cookie icing that hardens.
How long does my icing actually take to dry hard?
- It varies a lot with the weather. Expect 6 to 12 hours minimum.
- For the hardest shell, leave them overnight. Low humidity speeds things up.
Can I skip the meringue powder and just use egg whites?
- Yes, you absolutely can use egg whites. Use three medium pasteurized whites.
- This makes a classic royal icing recipe. Just be mindful of food safety handling.
My icing feels slightly tacky after 24 hours. What went wrong?
- This usually means too much liquid was added. Or, you didn’t whip it long enough.
- Next time, focus on that 10-minute whipping time. That creates the truly hard dry icing.
How should I store the icing if I make a big batch?
- Keep stiff icing tightly sealed. Store it at room temperature.
- It lasts well for up to two weeks this way. Don’t refrigerate it!
Storing Your Finished Sugar Cookie Icing That Hardens
What if you don’t use all that perfect icing?
Don’t toss it out! This icing keeps well.
Keep any unused stiff icing airtight. Room temperature storage is best.
It stays good for about two weeks. This saves you time later too!
Estimated Nutritional Snapshot
I always have to remind myself that these cookies are treats. They are not health food!
These numbers are good estimates only. They are based on the recipe yield.
For one serving size (about 1/4 cup prepared icing):
- Calories are around 190.
- Carbohydrates sit near 48 grams.
- Fat content is zero.
- Protein is about 1 gram.
Enjoy them! That hard shell is worth every sweet bite.
Share Your Culinary Creations
I can’t wait to see your results!
Did this recipe give you the perfect hard shell?
Share photos of your decorated cookies.
Let us know how your decorating show went!
Print
3 Tips for Sugar Cookie Icing That Hardens Rock Solid
- Total Time: 10 minutes (plus drying time)
- Yield: Enough to cover approximately 3 dozen medium cookies
- Diet: Vegetarian
Description
This is a simple, reliable recipe for Royal Icing that hardens completely, giving your cutout sugar cookies a smooth, professional, and glossy finish perfect for stacking or gifting.
Ingredients
- 3 tablespoons Meringue Powder
- 4 cups Powdered Sugar, sifted
- 6 to 8 tablespoons Warm Water (or enough to reach desired consistency)
Instructions
- In a large bowl, whisk together the meringue powder and the sifted powdered sugar.
- Gradually add the warm water, mixing slowly at first to incorporate the liquid fully.
- Increase mixer speed to medium-high. Beat the icing for 7 to 10 minutes until it becomes very thick, holds stiff peaks, and looks glossy. This whipping time is key for a hard finish.
- If the icing is too thick for piping details, add water one teaspoon at a time. For flooding consistency, aim for a ribbon that sinks back into the bowl after counting to ten.
- Use immediately for outlining and flooding cookies. Allow cookies to dry completely, often overnight, for the hardest shell.
Notes
- For coloring, use gel food coloring, as liquid dyes can alter the hardening texture.
- If you prefer an egg white-based icing, substitute 3 pasteurized egg whites for the meringue powder, but be mindful of food safety.
- Drying time depends heavily on humidity; dry in a cool, low-humidity area for the best results.
- Store unused stiff icing in an airtight container at room temperature for up to two weeks.
- Prep Time: 10 minutes
- Cook Time: 0 minutes
- Category: Baking Decoration
- Method: Mixing/Beating
- Cuisine: American
Nutrition
- Serving Size: 1/4 cup prepared icing
- Calories: Approx. 190
- Sugar: Approx. 47g
- Sodium: Approx. 15mg
- Fat: 0g
- Saturated Fat: 0g
- Unsaturated Fat: 0g
- Trans Fat: 0g
- Carbohydrates: Approx. 48g
- Fiber: 0g
- Protein: 1g
- Cholesterol: 0mg