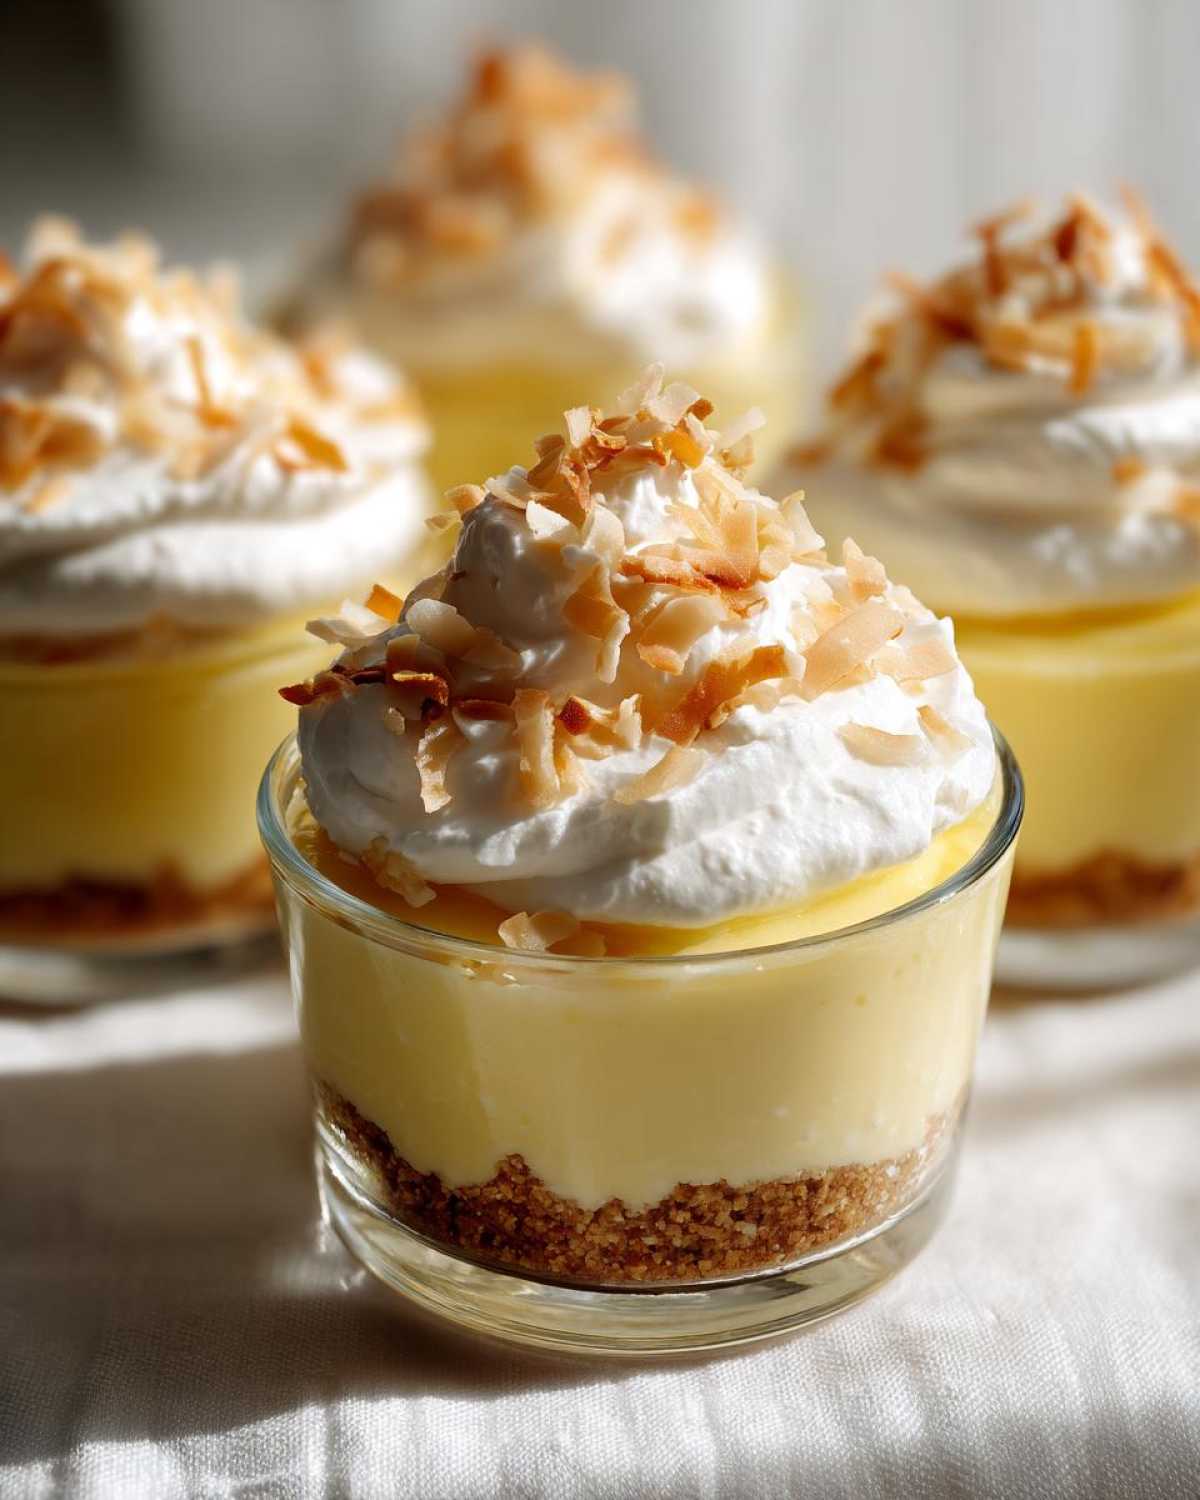
Oh, I have been dying to share this one with you! When the weather gets warm, the absolute last thing I want to do is turn on my hot oven. But you know me, I still need something dreamy and decadent ready in minutes. That’s why I played around with my favorite citrus and tropical flavors until I perfected these incredible No-Bake Lemon Coconut Cream Pie Cups. Seriously, these individual serving pies are the definition of instant gratification! They are impossibly creamy, perfectly tangy from all that fresh lemon, and have that lovely tropical kiss of coconut. I made them for a potluck last weekend, and they were gone before I could get a second one, so you know they are a winner!
Why You Will Love These No-Bake Lemon Coconut Cream Pie Cups
Listen, these cups solve all the hard parts of dessert making! They absolutely nail that refreshing feeling you need when it’s hot outside. Plus, since they are easy no bake desserts, we skip the oven entirely, which is my favorite kind of baking.
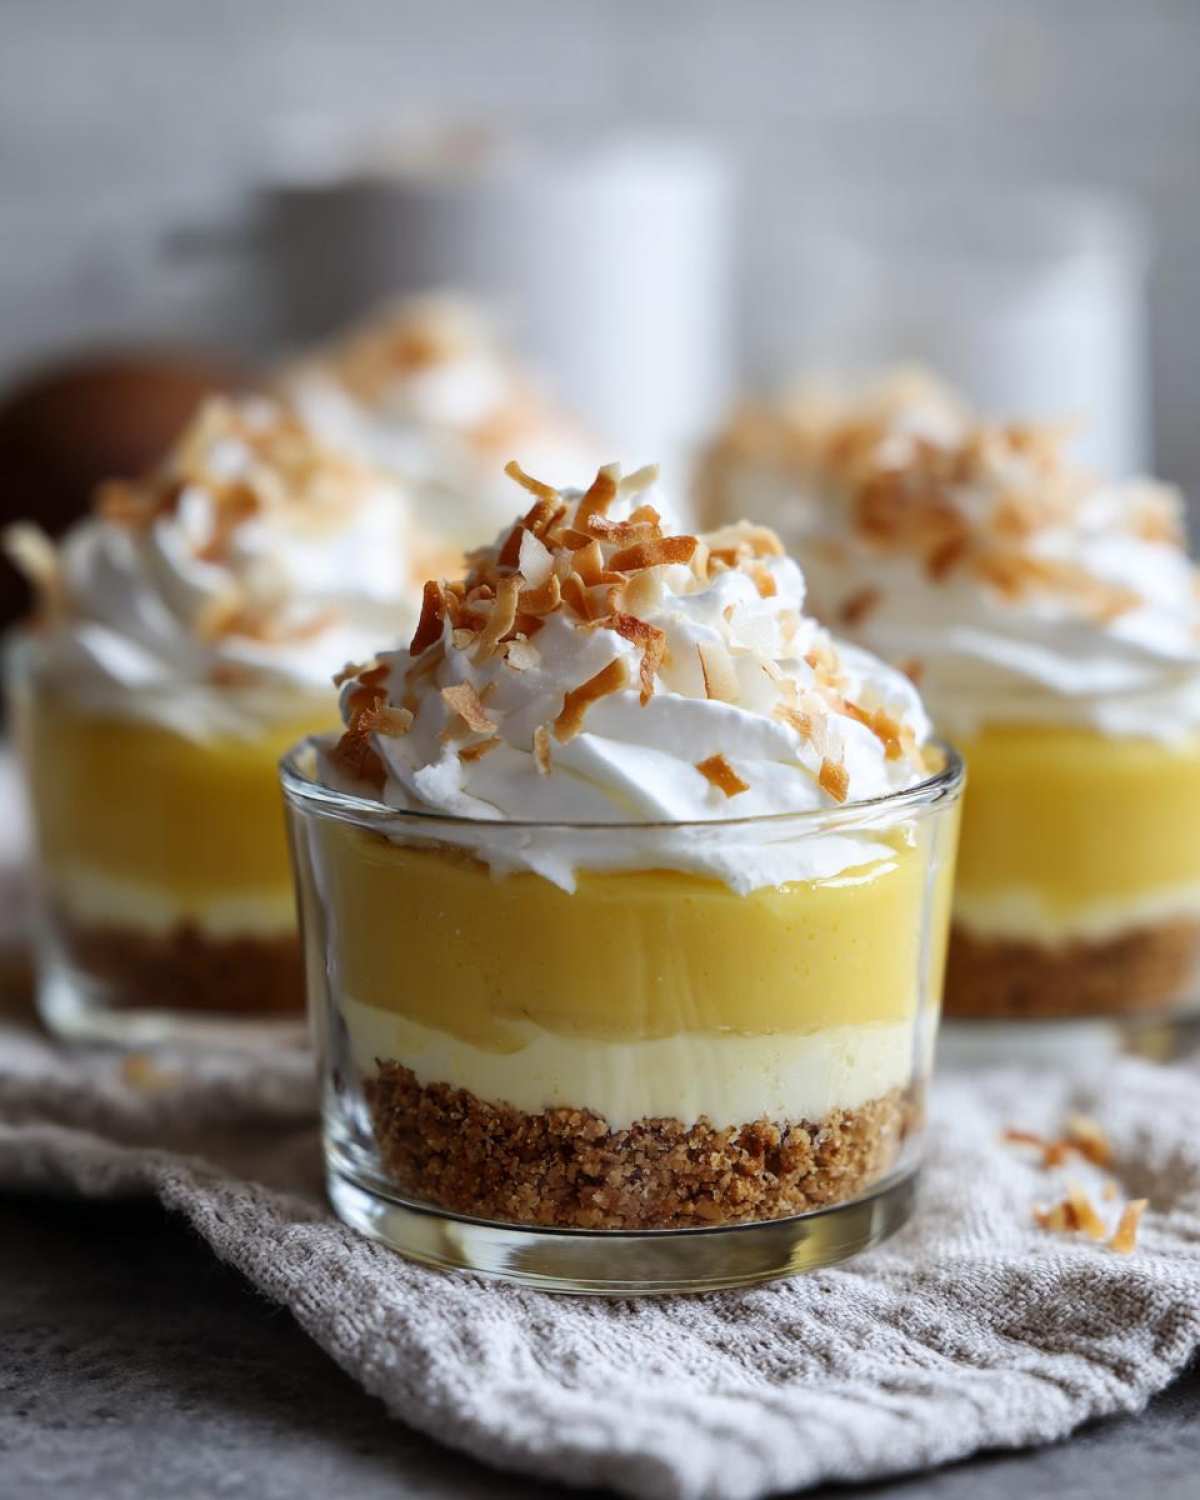
- They are perfectly portioned individual serving pies, meaning zero slicing required later!
- The creamy lemon filling sets up beautifully in the fridge.
- It’s so quick—you can have them assembled in under 20 minutes.
- That tangy-sweet flavor hits every single time!
Ingredients for the Perfect No-Bake Lemon Coconut Cream Pie Cups
You only need a few simple things for these cups, which I love because it keeps the grocery list short! I’ve got everything listed right here. Make sure your cream cheese is fully softened—that’s really important for getting a smooth base!
- 1 1/2 cups graham cracker crumbs
- 1/4 cup granulated sugar (for crust)
- 6 tablespoons unsalted butter, melted
- 1 (8 ounce) package cream cheese, softened
- 1 (14 ounce) can sweetened condensed milk
- 1/2 cup fresh lemon juice (don’t skimp on fresh!)
- 1 teaspoon lemon zest
- 1 teaspoon vanilla extract
- 1 cup whipped topping (like Cool Whip), divided
- 1/2 cup shredded sweetened coconut, toasted
Seriously, that’s it! You probably have half of this stuff already, making these incredibly accessible for a last-minute treat. Just remember to toast that coconut; it makes a huge difference in flavor!
Crafting the Coconut Graham Cracker Crust for Your No-Bake Lemon Coconut Cream Pie Cups
Before we even think about that dreamy lemon filling, we have to get the base right. This is where the no-bake peanut bark cheesecake magic comes into play—except here, we’re making our gorgeous, slightly tropical coconut graham cracker crust!
First, combine your graham cracker crumbs and that small bit of sugar in a bowl. Now, pour in that melted butter. You want to mix this until it looks like wet sand—that means every crumb is coated and ready to hold its shape. Don’t use too little butter, or it crumbles apart later!
Next, here’s the important bit for making these individual serving pies sturdy: Take about two tablespoons of that crumb mixture and press it down firmly into the bottom of each little cup or jar. Use the back of a spoon or even the flat bottom of a small glass if you have one. You need to compact it! Then, pop these into the freezer for about ten minutes while you whip up the filling. Chilling helps it set hard fast, so your crust doesn’t float away when the creamy stuff goes on top.
Creating the Creamy Lemon Filling for Your No-Bake Lemon Coconut Cream Pie Cups
Okay, now for the main event! This filling comes together so quickly, but the trick to getting that perfect, thick texture for these creamy lemon treats is the order of operations. You just can’t rush this part if you want the filling to set up nicely in those cups.
First thing: grab that softened cream cheese—it has to be truly soft, or you’ll end up with lumps, and nobody wants lumpy pie filling! Beat it until it’s silky smooth on its own. That’s step one for success.
Next, drizzle in that sweetened condensed milk slowly while the mixer is running. This combination is what gives us that luscious, dense base without any baking involved. Once those two are perfectly combined, you’ll stir in your fresh lemon juice, zest, and vanilla. Watch closely here; the acid from the lemon starts reacting with the milk and cream cheese right away, and the mixture will start to thicken up! It’s like magic happening right in the bowl.
Finally, very gently, fold in half of your whipped topping. I mean *gently*—we don’t want to deflate all that air we just built up while beating the cream cheese! This folding stage makes the filling lighter rather than heavy, which is exactly what we want in these delightful cups.
Assembling and Chilling Your No-Bake Lemon Coconut Cream Pie Cups
Alright, our crusts are chilled, and our filling is dreamy and ready to go! Now we just layer everything up in these perfect little portions. This is the easiest part, but you have to play by the chilling rules if you want these to hold up nicely when you serve them. Remember, this no bake pie filling needs time to realize its destiny!
Pull those little cups out of the freezer. Take your luscious lemon mixture and decide how you want to get it in there. You can spoon it in carefully, but honestly, I grab a piping bag with a large star tip—it makes the final presentation look so much nicer, even though it’s just a casual dessert cup. Pipe or spoon the filling right over that firm crust.
Once the filling is in, don’t be tempted to eat them yet! You absolutely need to get these into the refrigerator for a minimum of two hours. If you rush it, the filling will be too wobbly, and you’ll end up with a soupy mess instead of that gorgeous firm texture we are aiming for. Two hours is the bare minimum for the filling to set up perfectly.
Finishing Touches: Topping the No-Bake Lemon Coconut Cream Pie Cups
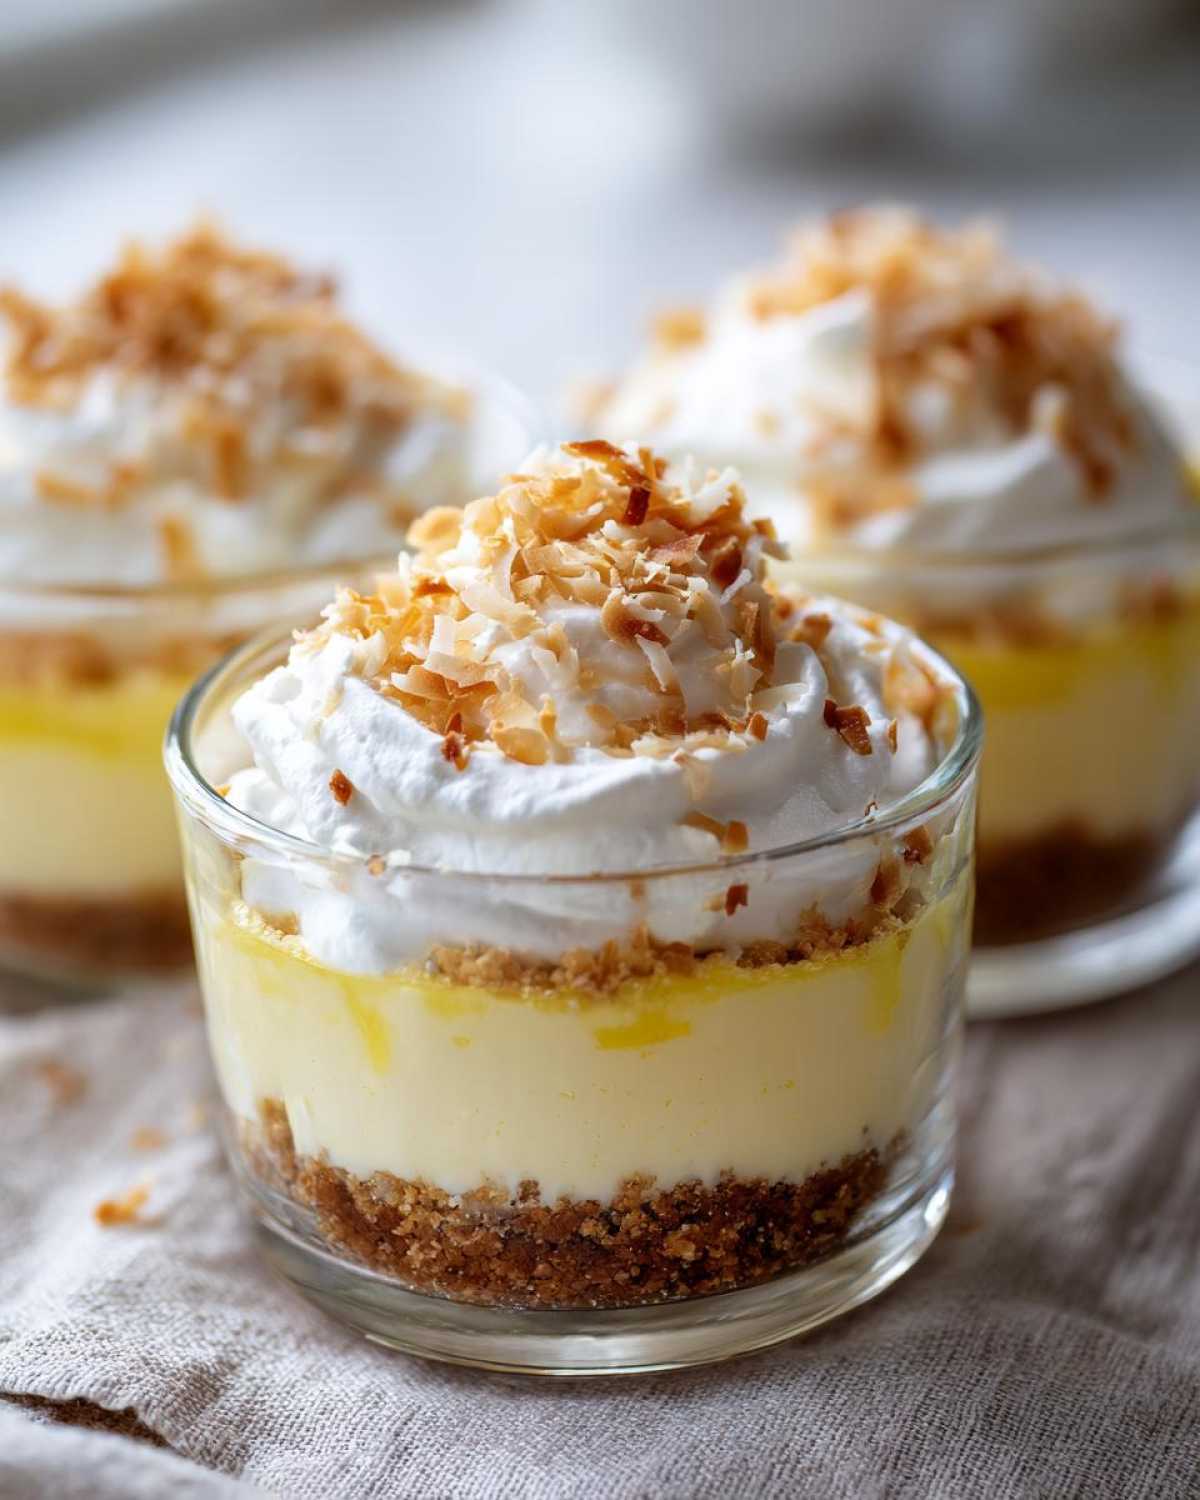
Once those cups have chilled and the filling is perfectly set, it’s time to make them beautiful! This is where the coconut really gets to shine in these lemon coconut dessert cups.
Take the remaining half-cup of your whipped topping and gently spread or pipe it right over the set lemon layer. Don’t try to overwork the topping; a pretty swirl is what we’re going for here.
Now, for the toasted coconut sprinkle! This step is non-negotiable. You absolutely must toast your shredded coconut first. I put mine in a dry skillet over medium heat and just stir constantly—I mean *constantly*. It goes from pale white to burnt perfection in about 90 seconds, so walk away and you’ll regret it!
When you pull the pan off the heat, the coconut will smell amazing and look golden brown. Immediately dump it out onto a cold plate so it stops cooking. Then, shower that lovely toasted coconut right over the whipped cream layer. Instant tropical party!
Tips for Success with No-Bake Lemon Coconut Cream Pie Cups
I always get little notes from folks saying their filling came out runny, so let’s just go over a couple of tiny tricks that make all the difference in these quick summer recipes. Following these small steps ensures you get that perfect, dense, but wonderfully creamy result every single time.
First, let’s talk acid! You absolutely have to use fresh lemon juice. That bottled stuff just doesn’t have the bright, tart punch we need to cut through the richness of the cream cheese and condensed milk. If you use bottled, you’ll likely need more of it, and the flavor profile just won’t sing the same way. Trust me on this one; squeezing lemons is way less work than trying to fix a flat-tasting dessert later!
Speaking of rich ingredients, make sure your initial cream cheese is *truly* softened—room temperature soft, not just slightly warm soft. If it’s cold, you get little hard chunks, and no amount of beating will fix that once the condensed milk is in there. Beat it alone until it looks fluffy before adding anything else.
People sometimes ask if this can be a six ingredient lemon dessert if they skip the coconut topping, and the answer is technically yes! But you’d be missing out on about 50% of the flavor profile we worked so hard to achieve. Keep the toasted coconut; it’s crucial for texture contrast against that super smooth filling.
And finally, when you fold in that whipped topping, slow down! Use a spatula and use big, gentle strokes. It feels like you aren’t mixing enough, but you’re actually just incorporating air gently. If you mix that topping aggressively, you deflate it, and the filling won’t set as nicely, returning us to the runny filling problem we are trying so hard to avoid!
Storage and Make Ahead Tips for Your No-Bake Lemon Coconut Cream Pie Cups
I love these cups because they are absolutely fantastic as make ahead party desserts! Since they don’t have any baked elements, you actually want to give them time to sit in the fridge for that filling to firm up nice and solid. I always aim to assemble them the afternoon before the party.
You can totally store these right in the cups or jars, just cover them tightly with plastic wrap—don’t let the plastic touch the coconut topping, or it will get soggy! They’ll keep beautifully in the refrigerator for up to three days. That bright lemon flavor actually gets a little deeper overnight, which is a bonus!
Now, about freezing this coconut cream dessert: I wouldn’t recommend it if you want the best texture. The whipped topping separates a little when thawed, and the crust can get a bit weird. Stick to the fridge for the best results!
Frequently Asked Questions About No-Bake Lemon Coconut Cream Pie Cups
Can I use store-bought lemon curd instead of fresh lemon juice in the filling?
You certainly can, but you’ll have to adjust a few things! If you use lemon curd, you’re adding sweetness and thickness all at once. Since the curd is already sweet, you should skip the sweetened condensed milk entirely to avoid a sugar bomb. Just beat the cream cheese until smooth, fold in the lemon curd, and you’re good! Remember, though, it won’t have that signature *tang* that fresh lemon juice gives that makes these the best no oven dessert ideas.
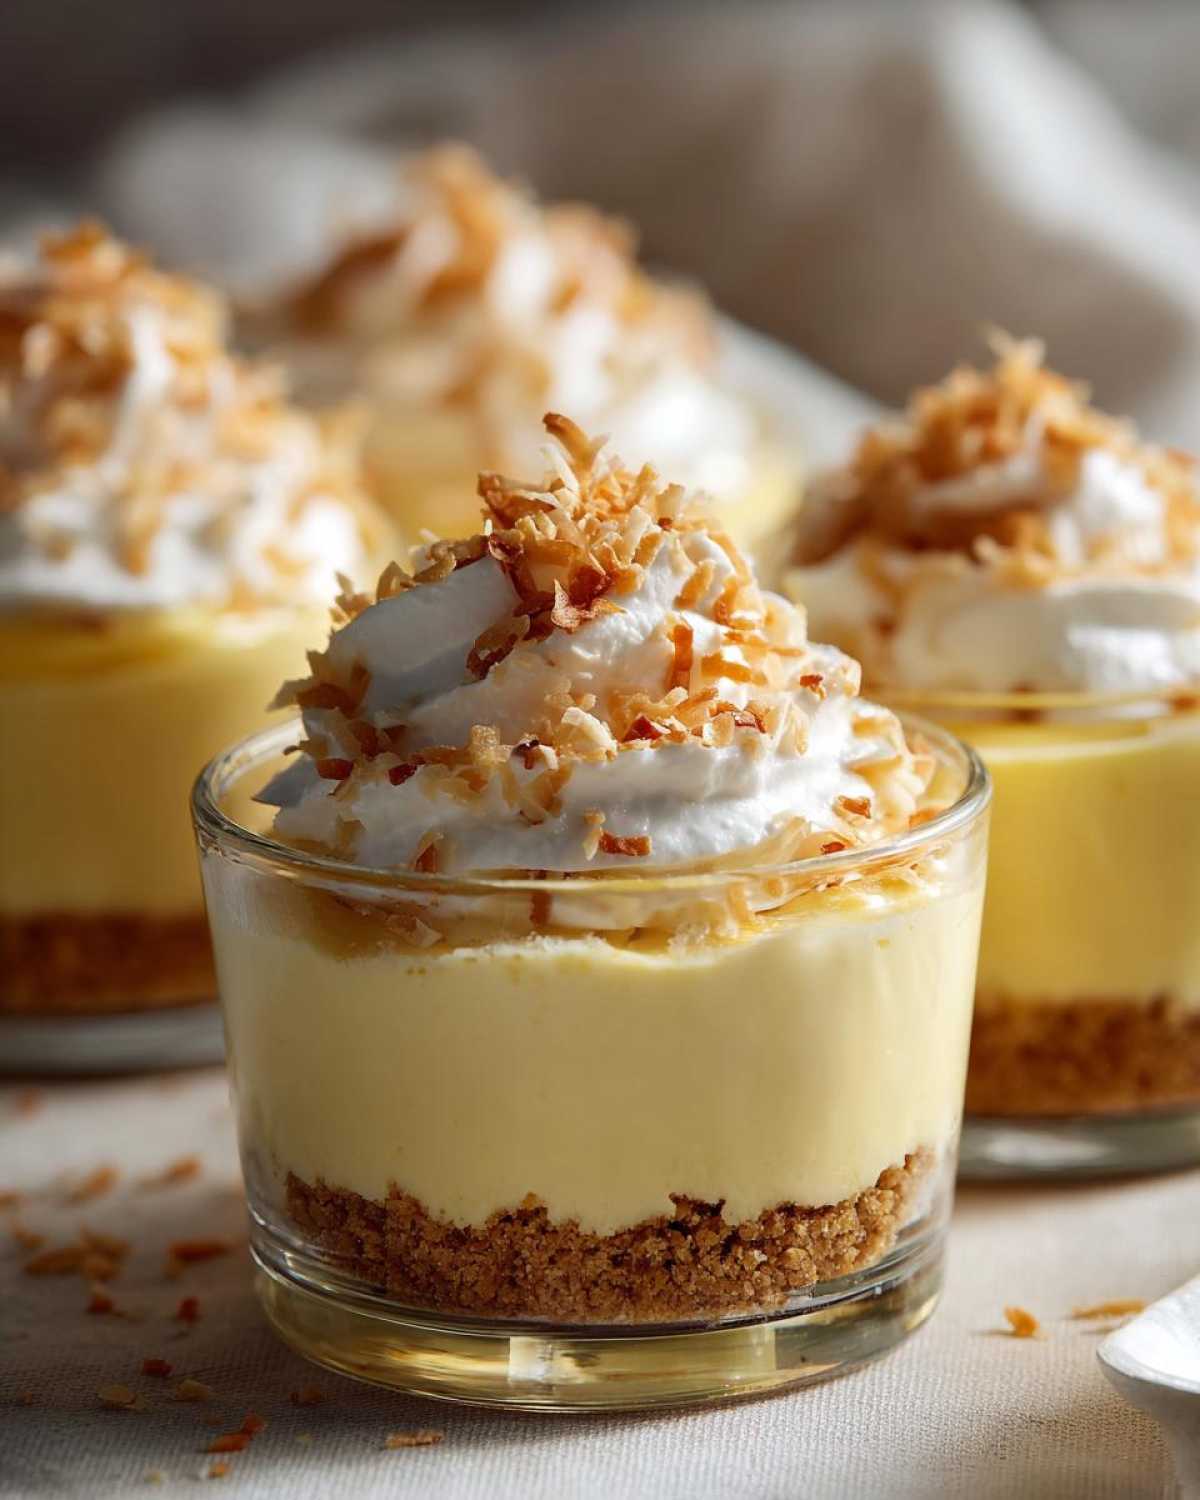
What is the best way to serve these individual serving pies?
I love serving these right out of the little jars or decorative cups I make them in! They look so elegant sitting on a platter when you’re entertaining. They are fantastic as desserts in a jar and keep everything tidy. If you use wider, shallow glasses, make sure you use a small spoon for your guests. The key for me is making sure they are very chilled when served, so stick to the 2-hour minimum chilling time!
How long will these No-Bake Lemon Coconut Cream Pie Cups last in the fridge?
They are definitely best within the first 24 hours since the whipped topping is at its fluffiest then. But honestly, they hold up really well for about three days in the refrigerator. The crust stays nicely compact, and the filling stays firm. Just keep them covered tightly!
What if I want to make this gluten-free?
That’s an easy swap! This recipe is so adaptable for gluten free no bake options. You just need to swap out the graham crackers. I highly recommend using vanilla wafer cookies that are specifically labeled gluten-free and crushing those up instead. Almond flour works too if you want a less sweet, nuttier base, but you might need an extra teaspoon of butter to make sure it sticks together well when you press it into the cups.
Print
No-Bake Lemon Coconut Cream Pie Cups
- Total Time: 2 hours 20 min
- Yield: 6 servings 1x
- Diet: Vegetarian
Description
Make individual, creamy lemon and coconut desserts that require no oven time. These cups are quick to assemble and perfect for parties.
Ingredients
- 1 1/2 cups graham cracker crumbs
- 1/4 cup granulated sugar (for crust)
- 6 tablespoons unsalted butter, melted
- 1 (8 ounce) package cream cheese, softened
- 1 (14 ounce) can sweetened condensed milk
- 1/2 cup fresh lemon juice
- 1 teaspoon lemon zest
- 1 teaspoon vanilla extract
- 1 cup whipped topping (like Cool Whip), divided
- 1/2 cup shredded sweetened coconut, toasted
Instructions
- Prepare the crust: Mix graham cracker crumbs and 1/4 cup sugar in a bowl. Pour in melted butter and mix until combined.
- Press about 2 tablespoons of the crumb mixture firmly into the bottom of 6 small serving cups or jars. Place cups in the freezer while you make the filling.
- Make the filling: Beat the softened cream cheese in a large bowl until smooth.
- Gradually beat in the sweetened condensed milk until fully incorporated.
- Stir in the lemon juice, lemon zest, and vanilla extract until the mixture thickens slightly.
- Gently fold in 1/2 cup of the whipped topping until just combined.
- Spoon or pipe the lemon filling evenly over the chilled crusts in the cups.
- Chill the cups in the refrigerator for at least 2 hours, or until the filling is set.
- Before serving, top each cup with the remaining 1/2 cup of whipped topping.
- Sprinkle the toasted shredded coconut over the whipped topping.
Notes
- Toast the coconut in a dry skillet over medium heat, stirring constantly, until golden brown. Watch carefully as it burns quickly.
- For a gluten-free option, substitute the graham crackers with gluten-free vanilla wafer crumbs or almond flour.
- You can substitute the whipped topping with homemade whipped cream if preferred.
- Prep Time: 20 min
- Cook Time: 0 min
- Category: Dessert
- Method: No Bake
- Cuisine: American
Nutrition
- Serving Size: 1 cup
- Calories: 450
- Sugar: 45
- Sodium: 250
- Fat: 25
- Saturated Fat: 15
- Unsaturated Fat: 10
- Trans Fat: 0
- Carbohydrates: 55
- Fiber: 1
- Protein: 6
- Cholesterol: 75