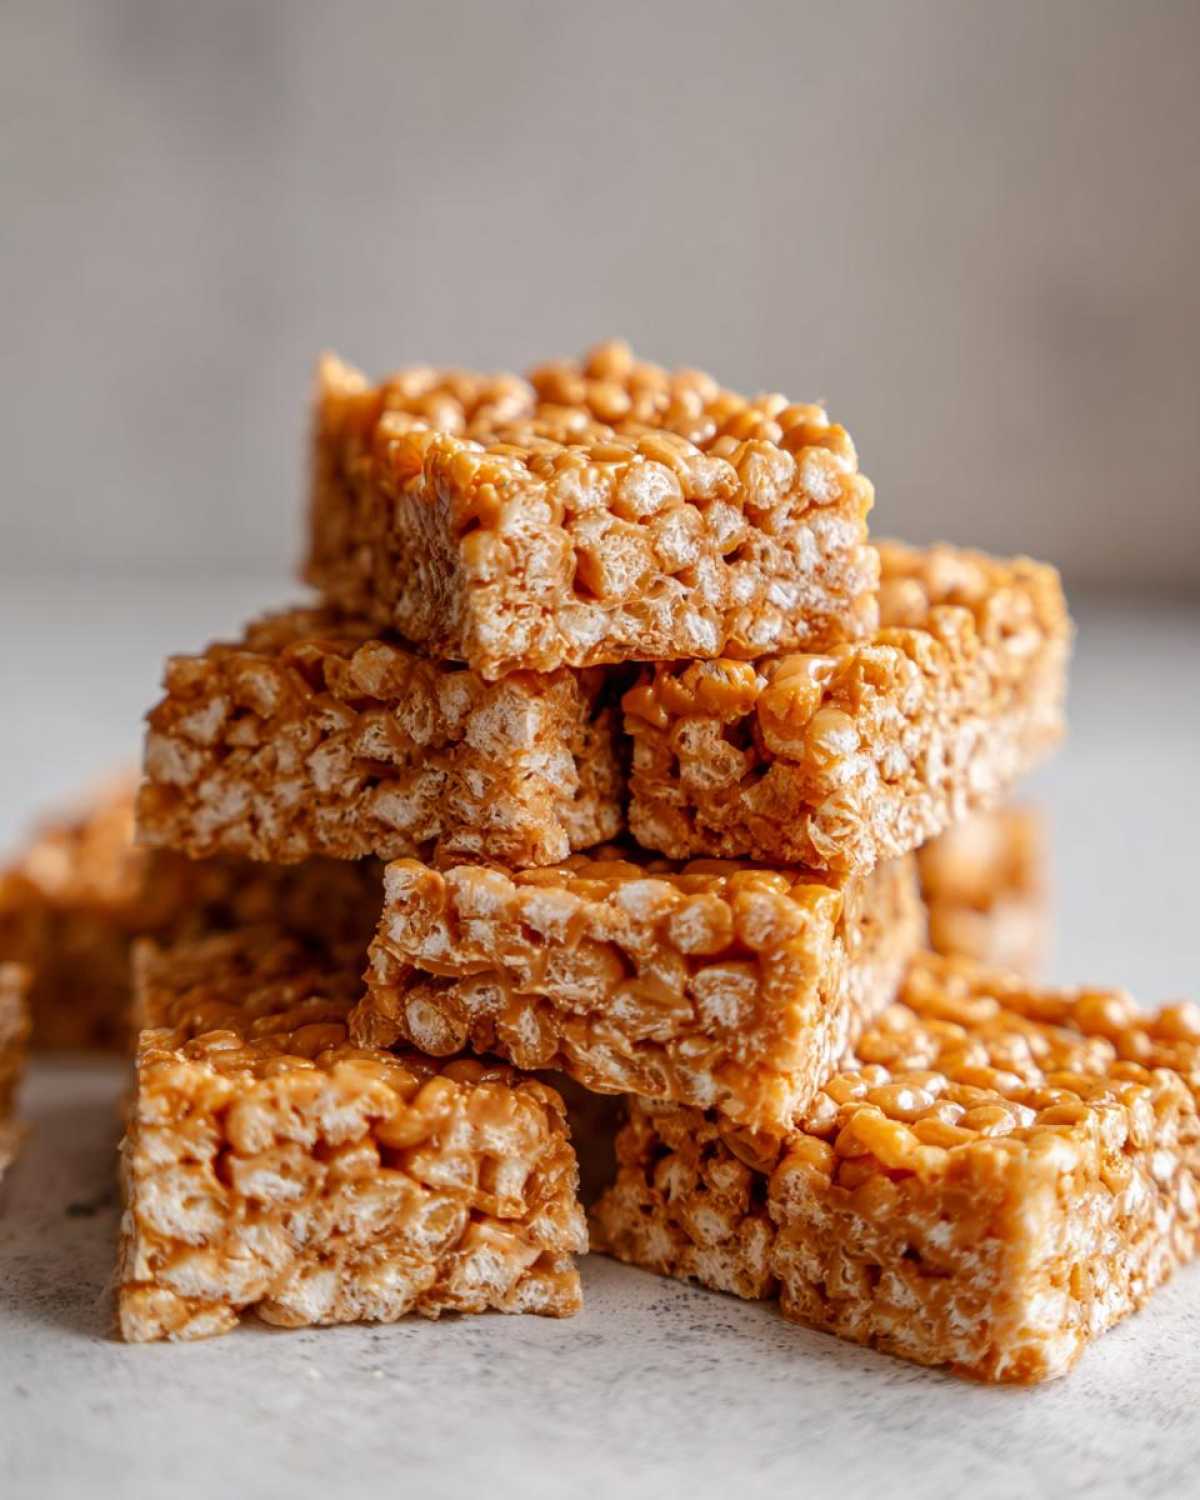
If you’ve ever had those moments where you absolutely need a sweet treat *right now* but the thought of turning on the oven makes you break out in a sweat, I totally get you! That’s why I’m obsessed with stovetop wonders, and nothing beats my go-to recipe for the ultimate No-Bake Peanut Butter Rice Cereal Bars. Forget complicated steps; these come together faster than ordering takeout. Seriously, I’ve perfected this in my kitchen over years of last-minute snack emergencies and after-school cravings. These classic cereal bars are my secret weapon when I need a reliable, delicious, and absolutely foolproof dessert using just a few pantry staples. No mixer required, just a saucepan and a spoon!
Why You Will Love These No-Bake Peanut Butter Rice Cereal Bars
- They are lightning fast—we’re talking about 10 minutes of prep before they head to the fridge!
- Zero oven time, which makes them perfect for summer afternoons or when the power’s out.
- They use basic pantry staples, so there’s no last-minute grocery run required.
- These are the ultimate kid friendly no bake snack; the kids can even help stir (once it cools a little!).
- They are incredibly sturdy and travel well, making them ideal for lunch boxes or picnics.
- The simplicity means you barely have to clean up afterwards, which is a win in my book.
- It’s the classic cereal bar recipe taste we all grew up loving, but totally homemade and delicious. Check out my oat bar version if you need more no-bake ideas too!
Honestly, if you need a quick dessert that screams comfort food without the commitment of actual baking, these are what you reach for. They are reliably good every single time—trust me on this one!
Essential Ingredients for Classic No-Bake Peanut Butter Rice Cereal Bars
You won’t believe how short this list is! That’s the beauty of these no oven dessert ideas. When you need something fast, you can’t be hunting down a dozen specialty items. I always keep these things stocked because I never know when a peanut butter craving is going to hit!
Here is exactly what you need. Make sure you measure correctly, especially the butter and peanut butter, because that ratio is key to making sure these bars hold together perfectly. And yes, I always link to my other favorite no-bake peanut butter oat bars if you want to try swapping out the cereal for oats sometime!
- 1 cup creamy peanut butter
- 1 cup granulated sugar
- 1/2 cup butter (Use the real stuff, folks! It helps the melt and the set.)
- 1 teaspoon vanilla extract
- 6 cups crisp rice cereal (The classic kind, not the toasted or honey varieties for this traditional version.)
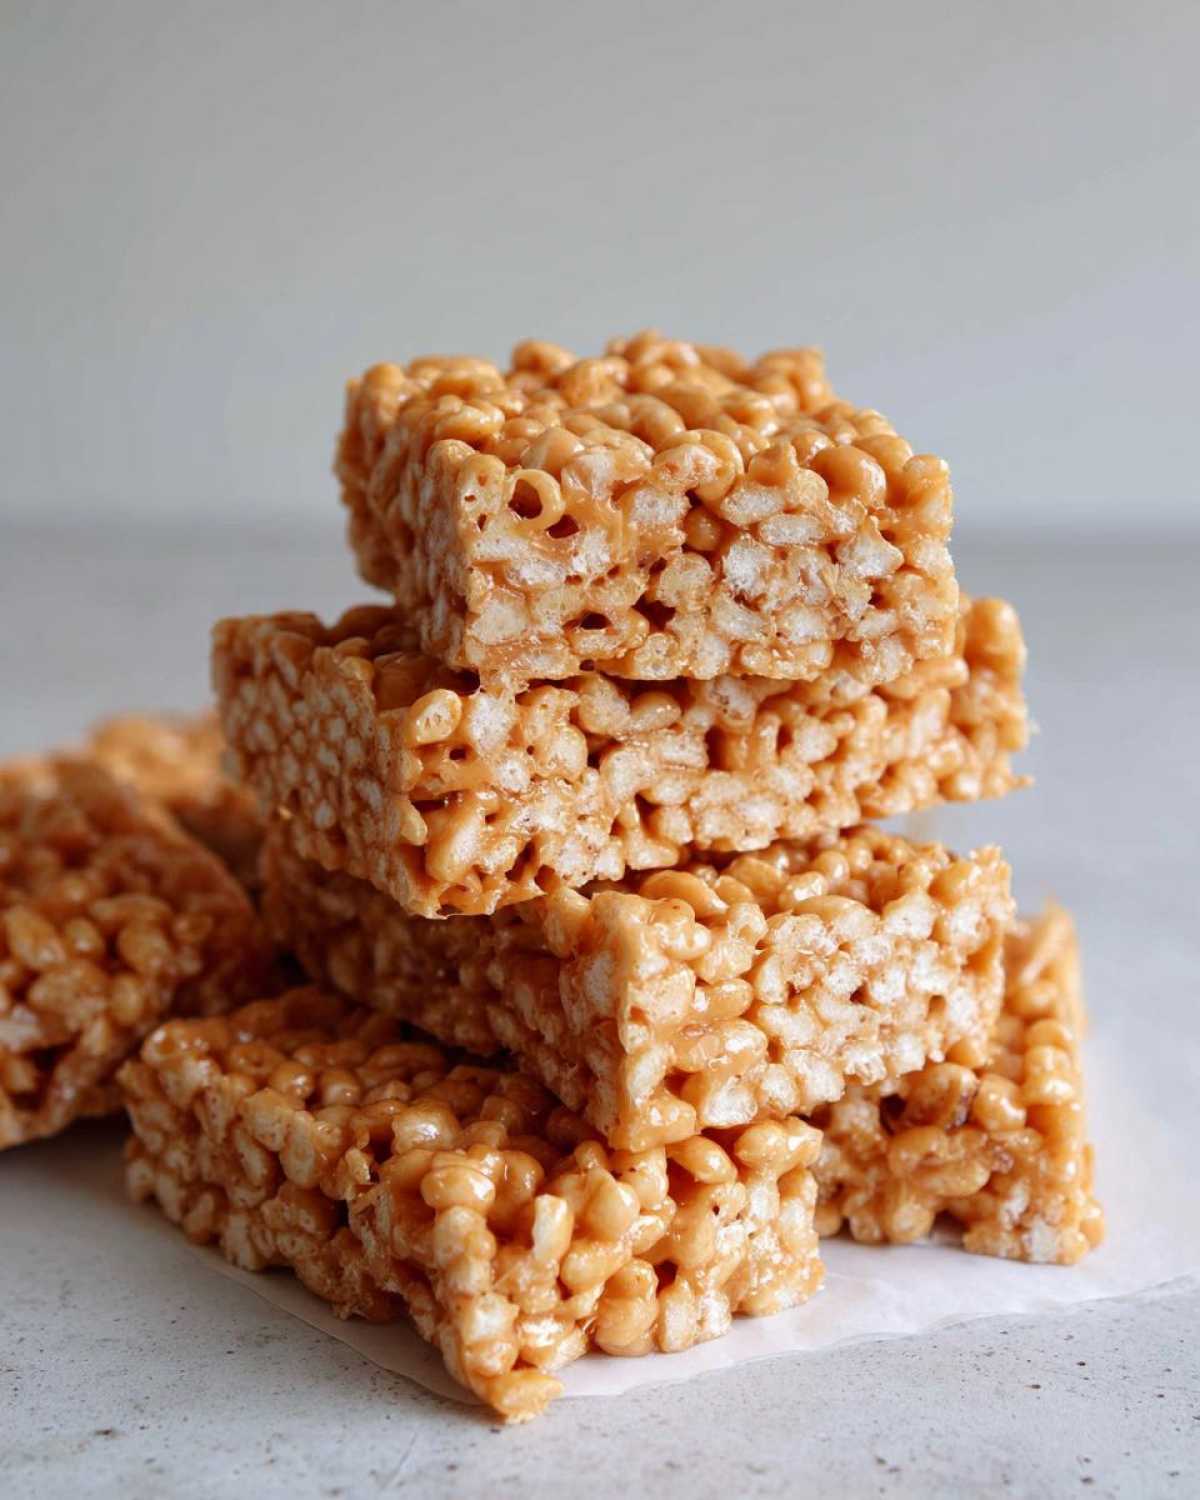
That’s it! Six simple ingredients. No marshmallows needed here, which is actually what makes this version so stable and easy to slice cleanly. Keep that butter and sugar ratio right, and you’ve got yourself the best no bake peanut butter squares imaginable.
How to Prepare Perfect No-Bake Peanut Butter Rice Cereal Bars
This is where the magic happens in about five minutes flat! Since these are literally quick no bake peanut butter treats, timing is really important so you don’t accidentally overcook the ingredients. The entire process is super intuitive, but listen closely to the stovetop warnings—that’s your main job here.
Before you even turn the heat on, get your 8×8 inch pan ready! Grab some parchment paper and line it, making sure you leave a nice overhang on two sides. This overhang is your handle later; it’s the easiest way to pull the whole slab out cleanly before cutting. Now that your station is set up, we can get to the good stuff!
Melting the Binding Mixture for Your No-Bake Peanut Butter Rice Cereal Bars
Grab a medium saucepan—this is where we build the glue! Toss in the peanut butter, the sugar, and the butter all at once. Set your burner to medium heat. You have to stay right there stirring constantly until everything melts into one gorgeously smooth, cohesive mix. Now, pay attention: this is non-negotiable! You must keep stirring so it doesn’t scorch, and for the love of easy cleanups, do not let it boil! Boiling changes the texture completely, and you’ll end up with hard, brittle bars instead of chewy squares.
Combining Cereal and Pressing the No-Bake Peanut Butter Rice Cereal Bars
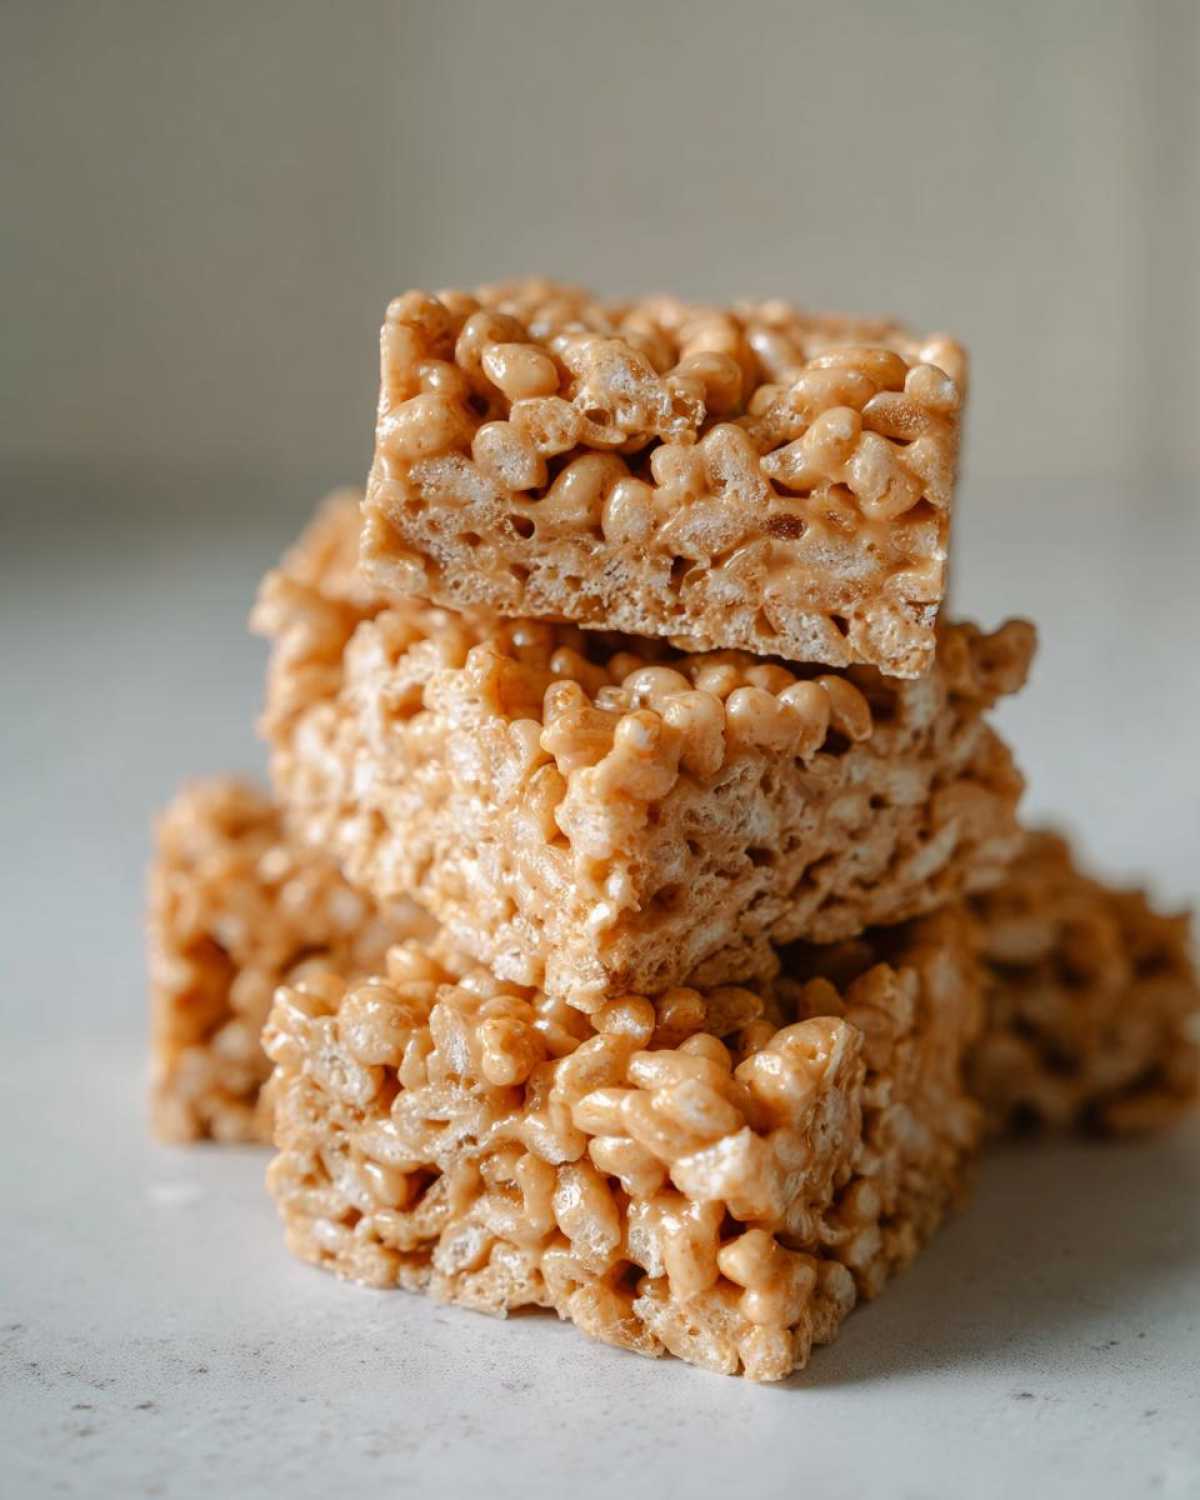
Once that peanut butter mixture is perfectly smooth, take the pan off the heat immediately! Stir in that teaspoon of vanilla extract—it really wakes up the flavor. Now, pour that hot goo over your 6 cups of crisp rice cereal waiting patiently in a large bowl. You want to fold this gently until every single piece of cereal is coated in that sweet peanut butter goodness. Don’t mash it, just fold! Then, dump the whole mixture into your prepared pan. Use a piece of wax paper or the back of a spatula to press it down firmly but evenly. Pressing firmly is key for a bar that doesn’t crumble when you eat it! After that satisfying press, pop them in the fridge for at least an hour, and you are basically done with this easy cereal bars recipe!
For more simple stovetop recipes like this, check out my guide on easy cereal bars recipe options!
Tips for Success When Making No-Bake Peanut Butter Squares
Even though these are ultra-easy, there are a few tricks I’ve picked up over the years that make the difference between a good bar and the absolute best no bake peanut butter squares.
First, forget the natural, runny peanut butter—unless you want to increase the fat and sugar to compensate for the oil separation. I know, I know, natural is healthier, but for binding? Nope! You need that standard, creamy, slightly stabilized peanut butter to give you that perfect, sturdy texture we’re after. If you use the oily kind, your bars might feel greasy and be too crumbly.
My next tip is all about coating. When you pour that hot mixture over the cereal, don’t just dump it and stir once. Give it a good four or five minutes with a gentle folding motion. You want every single flake coated beautifully, otherwise, you end up with dry pockets of cereal floating around, which defeats the purpose of making these simple peanut butter squares in the first place!
When you press them into the pan, my favorite hack is using a sheet of wax paper right on top of the mixture before you start pushing down. You can use a measuring cup or the bottom of a small glass to really smoosh them down uniformly. The wax paper prevents sticking, and the even pressure ensures they slice nicely later on. Nobody likes a wonky, lopsided bar, right?
Finally, give them the full hour in the fridge, minimum! Trust me, trying to rush that chilling time means gooey, sticky frustration when you try to cut them. If you want perfectly clean cuts, chill them until they are rock solid. You can even toss them in the freezer for twenty minutes if you’re in a major rush, but that hour in the fridge works wonders for setting up that gorgeous, chewy structure. Give these simple peanut butter squares a try, and you’ll see what I mean!
Ingredient Notes and Substitutions for Your Rice Cereal Bar Recipe No Bake
Okay, I know some of you look in your pantry and think, “Hmm, I don’t have *exactly* that.” Don’t panic! This recipe is super forgiving, but substitutions can slightly change the texture, so you need to know the trade-offs.
What about crunchy peanut butter? Yes, you absolutely can use it! If you prefer that little bit of texture, go for it. Your rice cereal bar recipe no bake will just have little peanut bits throughout. It’s delicious! Just know that the smooth binding mixture might feel slightly less uniform when you stir it all together.
Sugar swaps are tricky here because the sugar melts with the butter and peanut butter to create the main structure—it’s not just for sweetness. If you want to swap the white granulated sugar, brown sugar is your best friend. It adds a deeper, almost caramel-like flavor that I love! Just remember that brown sugar packs down differently, so measure it levelly. I find using dark brown sugar gives these a real depth of flavor, almost like a fancy toffee element.
What if you’re all out of regular peanut butter? If you try natural peanut butter (the kind you have to stir), you must reduce the butter by about one tablespoon because the natural oil in the PB will make things too loose. Trust me, I’ve learned this the hard way when I tried to get creative!
For those of you who are looking strictly for something that’s marshmallow free peanut butter bars, congratulations, you found it! This recipe avoids that sticky binding agent entirely, which is why we rely on that perfect butter/sugar/PB melt. If you want to see another take on bars without marshmallows, you should definitely check out my post on marshmallow free peanut butter bars for more inspiration!
Storage and Reheating for No-Bake Peanut Butter Rice Cereal Bars
One of the best things about making these no bake dessert bars for parties is that they are fantastic make-ahead treats! Unlike baked goods that start losing their goodness after a day or two, these babies actually seem to get even better after they settle in the fridge for a bit.
The absolute best way to keep these bars fresh is to store them in an airtight container. I always make sure they are completely cool and firm before stacking them up, and I usually put a layer of wax paper or parchment paper between the layers just to prevent any sticking. They hold up beautifully on the counter, but because we’re using butter, I strongly recommend keeping them in the refrigerator for longevity. They stay perfectly firm and chewy in the fridge for up to a full week! Honestly, they usually disappear before day five, but it’s good to know they won’t go bad.
Now, about reheating—don’t even bother! Since these are a no-bake confection, they don’t rely on an oven to taste their best. Heating these up will just result in a gooey puddle because the butter and peanut butter will melt right out. They are meant to be served cool or at room temperature. If you pull them out of the fridge and they seem a little *too* hard (especially if you used crunchy peanut butter), just let them sit on the counter for about 15 minutes before you cut them or serve them. That little bit of time softens them up perfectly. It makes cutting them much easier, too! I actually have another collection of quick no bake peanut butter treats if you ever need an alternative that sets up even faster!
If you need to transport them somewhere—to a picnic or an office party—keep them chilled until the very last minute. A slight warmth can make them start to soften up, so a small cooler bag is always my travel companion when carrying these precious cargo!
Variations to Customize Your No-Bake Peanut Butter Rice Cereal Bars
While I absolutely adore the pure, unadulterated flavor of the classic version—it’s perfect for those easy pantry dessert ideas when you’re running low on supplies—sometimes you just need to jazz things up a bit for a party or just because you feel like being fancy!
Customizing these bars is ridiculously easy because you are just tossing things into the melted butter/PB mixture, so you don’t have to worry about any complicated baking science. Here are my top three favorite ways to give these bars a little personality boost!
Chocolate Drizzle Magic
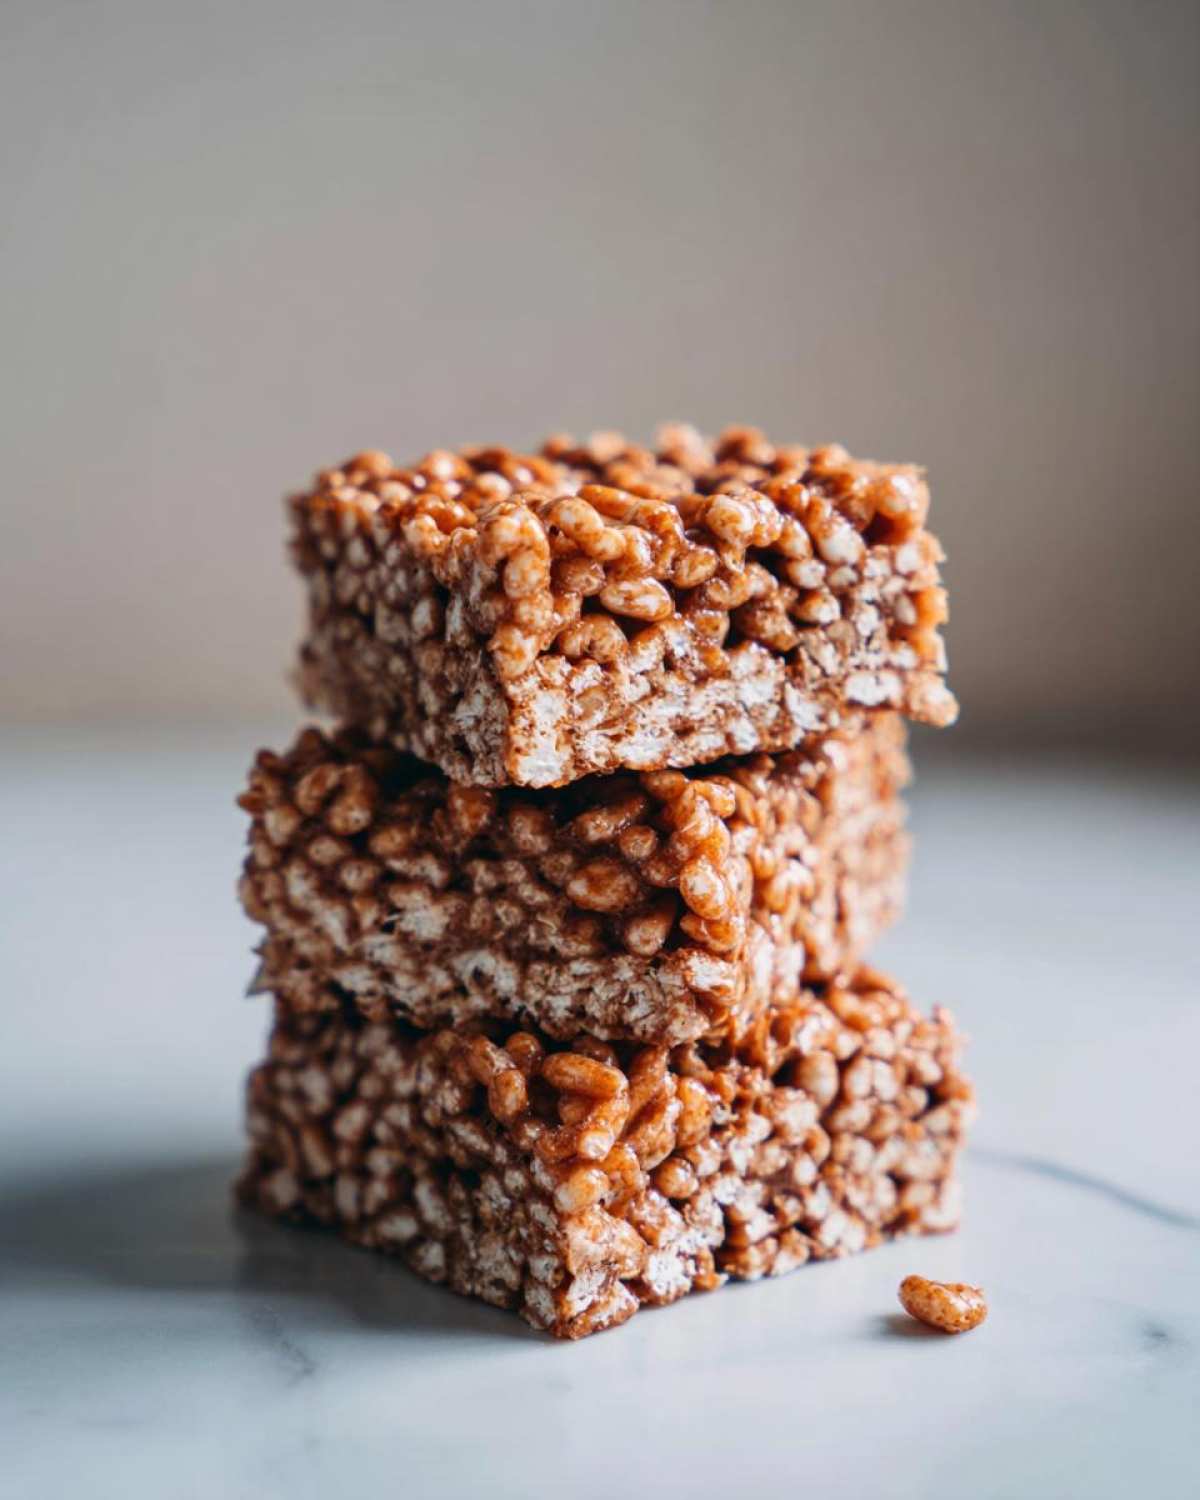
You can never, ever go wrong adding chocolate. Melt about half a cup of semi-sweet chocolate chips (or peanut butter chips for a double dose of flavor!) in a separate small bowl using a microwave safe dish. Just melt in 30-second increments, stirring in between so you don’t scorch it. Once your bars are pressed firm in the pan, just grab a fork and drizzle that glorious melted chocolate all over the top. You can make thin lines or big zigzags—it’s entirely up to you! If you want it to harden super fast, pop the whole pan back in the fridge for about 15 minutes. This instantly elevates them from a homey snack to something you’d actually serve at a get-together.
Mixing in Fun Textures
If you’re looking to make these no bake dessert bars for parties, texture is your friend! Feel free to mix in about 1/2 cup of extras along with your rice cereal. My favorite things to fold in are mini M&Ms because they add such great crunch and color, or even chopped salted peanuts if you want more savory balance against the sweetness. Sometimes, when I’m feeling extra decadent, I’ll toss in a handful of mini marshmallows, but be warned: they don’t hold their shape as well as they do in traditional crispy treats, so they mostly just melt a little and get chewy.
A Brown Sugar Swap for Depth
I mentioned this in the substitution section, but it’s worth repeating as a customization because it completely changes the flavor profile! If you swap that cup of granulated white sugar for a packed cup of dark brown sugar, you are immediately adding molasses notes. These bars become less purely sweet and more complex, tasting almost like a soft peanut butter toffee. This is perfect if you are one of those people who finds standard rice cereal bars a little too sweet. Serve these up when you’re looking for that richer, deeper flavor, and check out the other twists I have on easy pantry dessert ideas!
Frequently Asked Questions About No-Bake Peanut Butter Rice Cereal Bars
Can I make these bars ahead of time?
Absolutely! In fact, they are better when made ahead. Since they need a full hour in the fridge to set properly, making them the day before is ideal. You get a much cleaner slice, and the flavors meld together nicely. Just keep them stored airtight in the refrigerator, and they are ready to go whenever you need them. They are truly reliable no bake dessert ideas for when you need to prep for a crowd!
My mixture seems too runny to coat the cereal evenly. What went wrong?
Whoops! That usually means one of two things happened: either you didn’t stir the peanut butter/butter/sugar mixture enough while heating, or you might have used a natural, oily peanut butter without adjusting the butter down. If it happens, take it off the heat immediately, stir in your cereal, and try to press it down *extra* firmly in the pan. It might be a little messy, but chilling it longer (maybe 90 minutes instead of 60) can sometimes save it. Next time, just remember: medium heat, constant stirring, and absolutely no boiling!
Are these safe for school lunches if they contain peanut butter?
That’s an important question, especially with so many schools being peanut-free now. If your school is peanut-free, then no, these aren’t safe, sadly, because they are fundamentally peanut butter bars! But if your school allows peanuts, these are fantastic because they are contained and don’t crumble all over the lunchbox like cookies sometimes do. For nut-free alternatives, you’d have to swap the peanut butter entirely—I’d recommend sunflower seed butter for a similar texture, though the flavor will be different. For those permitted, they make wonderful easy school safe snacks!
How do I get the cleanest cuts, making these the best no bake peanut butter squares?
This is all about temperature control! The absolute best way to get those sharp, perfect squares is to chill them until they are rock solid—that hour minimum in the fridge is essential. Then, before you cut, run a large, sharp knife under very hot water for about 30 seconds, wipe it dry quickly, and make your cut. That little bit of residual heat melts the sticky binding substance just enough so the knife glides through cleanly without tearing the bar. Wipe the knife totally clean between every single cut for the best results! You can find more tips on making great cuts in my guide to no oven dessert ideas.
Can I use crunchy peanut butter instead of creamy?
You sure can! If you prefer a little crunch, swapping creamy for crunchy peanut butter works just fine. It will give you a slightly bumpier texture overall, which some people love! The binding ingredients will still melt and hold everything together the same way. Just be aware that the final texture won’t be quite as smooth, but you still get that wonderfully rich flavor profile we love in the best no bake peanut butter squares!
Estimated Nutritional Snapshot for No-Bake Peanut Butter Rice Cereal Bars
Okay, so we aren’t making these for a health kick, but I know some of you like knowing what you’re digging into! Since these bars rely on sugar, butter, and peanut butter, they definitely count as a decadent treat. But hey, we made them ourselves, and they are way better than the packaged stuff, right?
Here is a general snapshot of what you can expect per square, based on using standard, full-fat creamy peanut butter and granulated white sugar. Remember, because these are homemade, the numbers can wiggle around a little depending on how tightly you pack them or if you use dark brown sugar instead! I pulled these estimates together so you can see the general picture of these fantastic quick dessert recipes using rice cereal.
- Serving Size: 1 square (Yields 16 total)
- Calories: About 220
- Total Fat: 12g (Saturated Fat: 4g)
- Carbohydrates: 27g
- Sugar: 18g
- Protein: 6g
See? A nice little boost of protein from the peanut butter helps balance out all that delicious sugar! Think of these as the perfect fuel for an afternoon activity or a satisfying end to a meal. They hold together so well that you can easily grab one and go without making a giant mess, which is always my top priority when making any dessert!
Print
No-Bake Peanut Butter Rice Cereal Bars
- Total Time: 75 min
- Yield: 16 squares 1x
- Diet: Vegetarian
Description
Make quick, easy peanut butter bars using only a few pantry staples. These require no baking and set fast.
Ingredients
- 1 cup creamy peanut butter
- 1 cup granulated sugar
- 1/2 cup butter
- 1 teaspoon vanilla extract
- 6 cups crisp rice cereal
Instructions
- Line an 8×8 inch baking pan with parchment paper, leaving an overhang for easy removal.
- In a medium saucepan over medium heat, combine the peanut butter, sugar, and butter. Stir constantly until the mixture is completely melted and smooth. Do not let it boil.
- Remove the saucepan from the heat. Stir in the vanilla extract.
- Pour the hot peanut butter mixture over the crisp rice cereal in a large bowl. Mix gently until the cereal is evenly coated.
- Press the mixture firmly and evenly into the prepared baking pan. Use a piece of wax paper or the back of a spatula to flatten the top.
- Refrigerate for at least 1 hour, or until firm.
- Lift the bars out of the pan using the parchment paper overhang. Cut into squares before serving.
Notes
- For a richer flavor, substitute brown sugar for white sugar.
- If you prefer a firmer bar, reduce the butter by 1 tablespoon.
- Store leftovers in an airtight container in the refrigerator for up to one week.
- Prep Time: 10 min
- Cook Time: 5 min
- Category: Dessert
- Method: No Bake
- Cuisine: American
Nutrition
- Serving Size: 1 square
- Calories: 220
- Sugar: 18g
- Sodium: 150mg
- Fat: 12g
- Saturated Fat: 4g
- Unsaturated Fat: 8g
- Trans Fat: 0g
- Carbohydrates: 27g
- Fiber: 1g
- Protein: 6g
- Cholesterol: 10mg