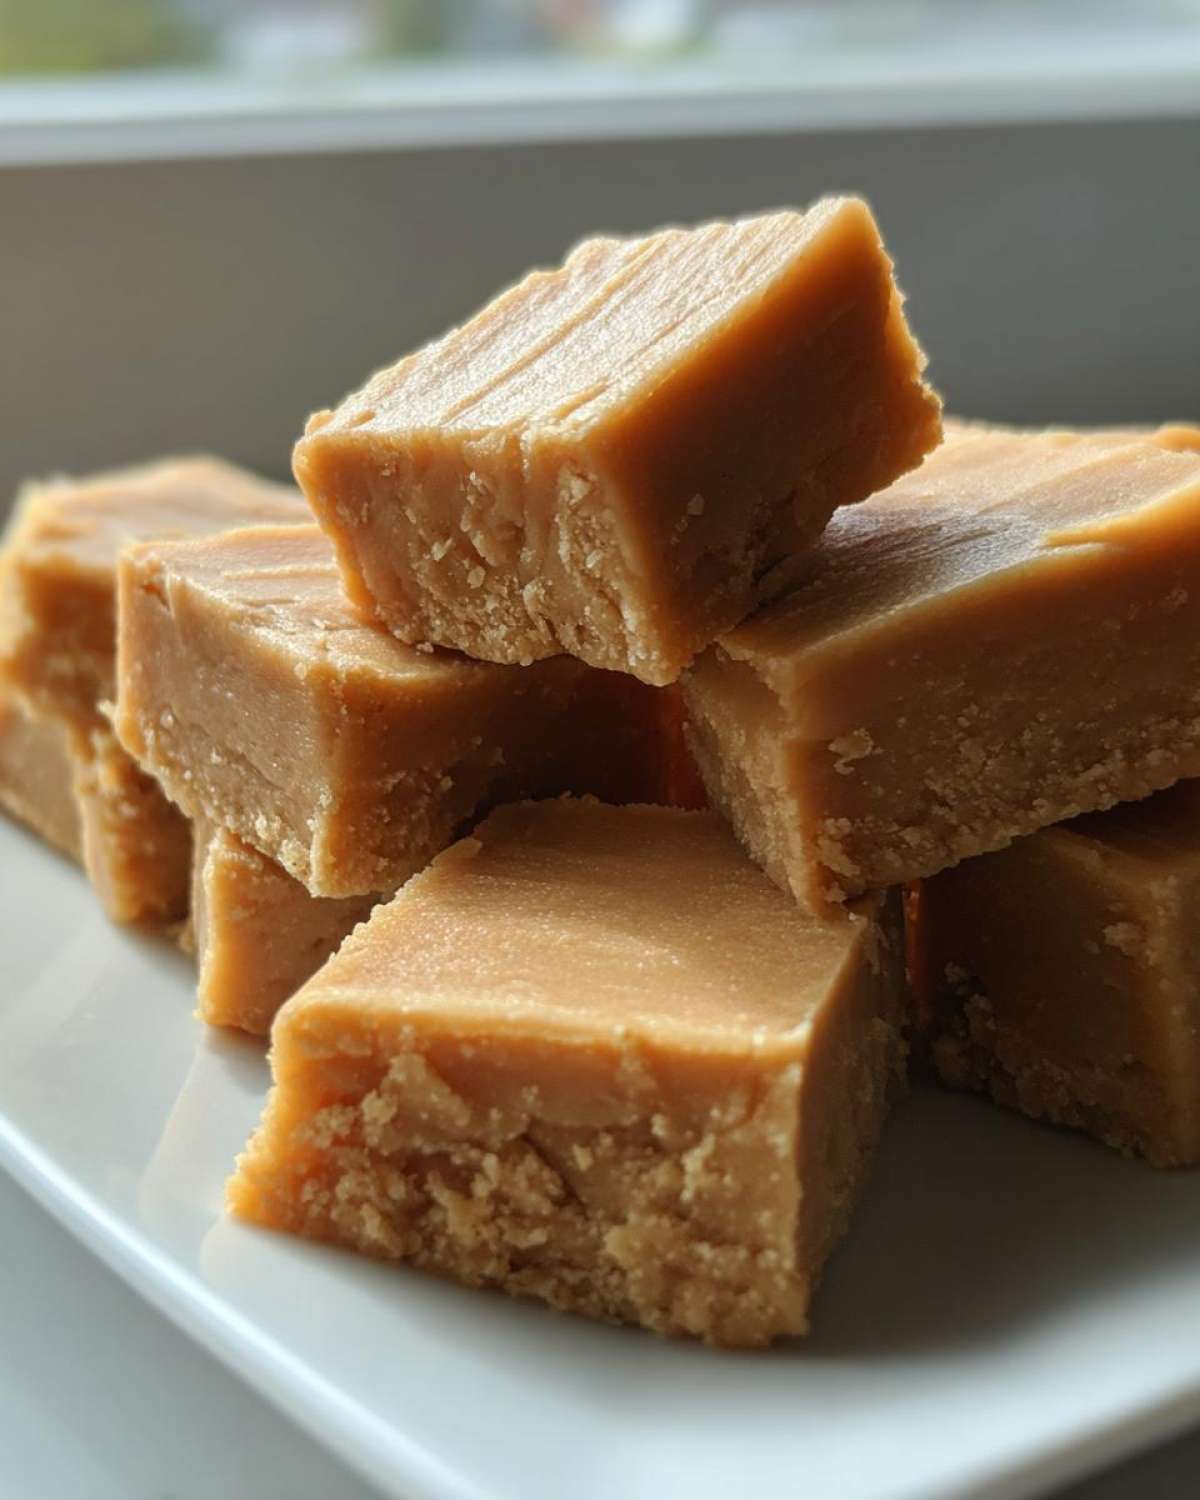
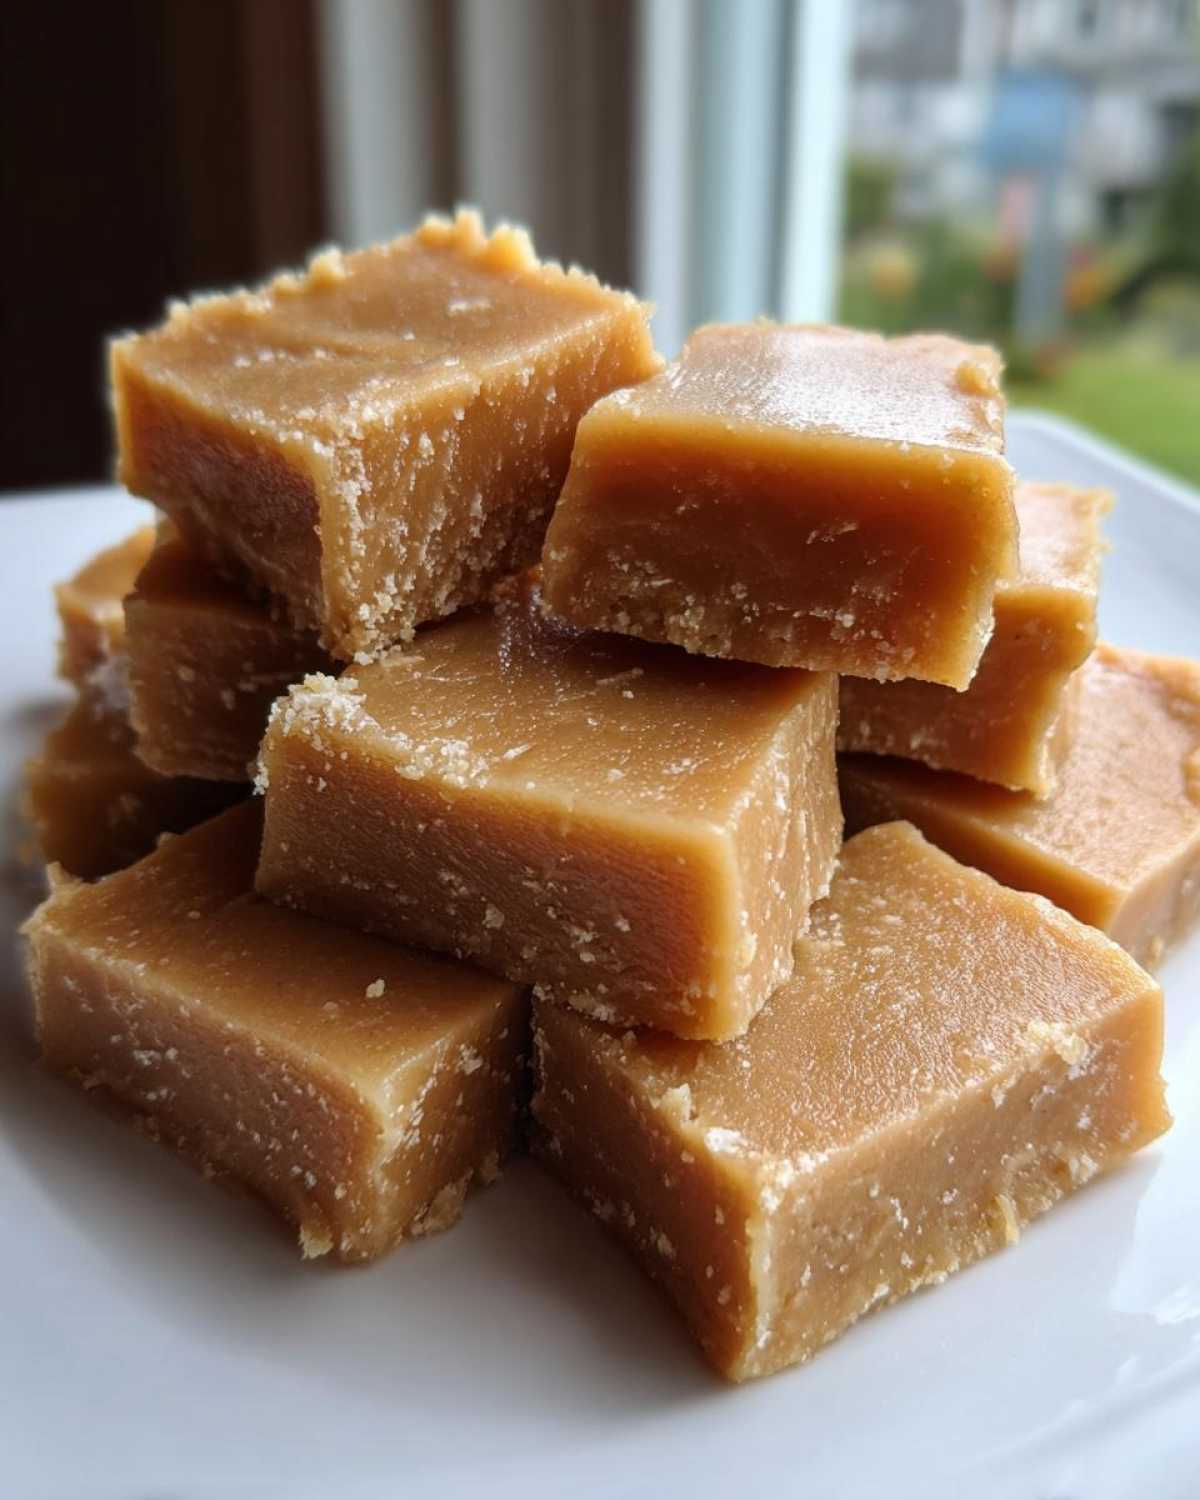
Welcome to Our Kitchen: The Secret to Perfect maple fudge
Are you ready for candy nirvana?
I mean truly melt-in-your-mouth bliss.
Making incredible maple pecan blondies felt impossible before. Not anymore.
Liam, my husband, brings the science to our kitchen.
His technical skill guarantees amazing results every time.
I just make sure we have fun making this maple fudge.
Why This maple fudge Recipe Works
So many recipes promise creamy fudge.
Ours actually delivers that smooth texture.
We focus on pure maple syrup quality first.
Imitation flavors just won’t cut it here, folks.
Liam’s method targets the soft-ball stage perfectly.
This prevents that dreaded grainy sugar crunch.
It helps us achieve a no-fail experience.
We treat cooking like play, not homework.
This approach keeps the process light and joyful.
You get rich flavor without the kitchen stress.
That sweet, pure maple taste is everything.
It’s the delicious result of inspired technique.
Equipment Needed for Your maple fudge
Making great candy needs the right stage props.
Don’t worry, you likely have most things already.
Precision matters for this rich treat.
We need tools that handle heat well.
Gather your gear before the fun starts.
Essential Tools for creamy fudge
- A heavy-bottomed saucepan is crucial.
- You need one 8×8 inch baking pan.
- Use parchment paper for easy lifting later.
- A candy thermometer is your best friend.
Ingredients for Ultimate maple fudge
Now for the star performers in our show.
Quality ingredients make all the difference here.
We need simple things, but they must be good.
Liam insists on exact measurements always.
This keeps our creamy fudge consistent.
Gather these items before we begin cooking.
- Two cups of white granulated sugar.
- Two-thirds cup of whole milk.
- Two-thirds cup of pure maple syrup.
- One-quarter cup of unsalted butter.
- One teaspoon of vanilla extract.
- One-quarter teaspoon of salt.
- One cup of marshmallow creme, if you want extra smooth.
- One-half cup of chopped nuts, totally optional.
Ingredient Clarity and Quality
Let’s talk maple syrup first, okay?
You must use 100% pure maple syrup.
Imitation pancake syrup just won’t work.
It changes the texture completely, trust me.
The marshmallow creme is my little secret.
It helps guarantee that melt-in-your-mouth feel.
If you use nuts, toasting pecans adds flavor.
But keep them out if you prefer plain fudge.
Step-by-Step Instructions for making maple fudge
Time to put on our chef hats.
This is where the magic really happens.
Remember, we are aiming for creamy perfection.
Precision keeps us on track for success.
Follow these actions closely, please.
Preparing the Pan and Initial Mix
First, get your 8×8 inch pan ready now.
Line it with parchment paper neatly.
Make sure the paper hangs over the sides.
This overhang helps lift the finished slab later.
Lightly grease that paper surface.
Next, combine sugar, milk, and maple syrup.
Put them all in your heavy-bottomed pot.
Stir this mixture over medium heat constantly.
Keep stirring until all the sugar dissolves.
You shouldn’t feel any grit on the bottom.
Reaching the Soft-Ball Stage
Now, attach your candy thermometer securely.
Do not stir the pot once boiling starts.
I repeat, stop stirring the mixture now.
Stirring causes sugar crystals to form.
That leads straight to grainy fudge, yuck.
Bring the liquid up to a rolling boil.
Watch that thermometer like a hawk, friends.
We need the temperature to hit 234 degrees Fahrenheit.
That is the soft-ball stage we chase.
It takes focus, but you can do this!
Finishing and Setting Your maple fudge
Remove the pan instantly from the heat source.
Stir in the butter, salt, and creme quickly.
Stir gently until everything melts fully.
Then, swirl in the vanilla extract next.
Fold in any chopped nuts you are using.
Pour the mixture into your prepared pan now.
Resist scraping the sides of the saucepan.
Let the fudge cool completely, undisturbed.
Room temperature is the only way to set it.
It needs about two to four hours to firm up.
Never put this candy in the refrigerator.
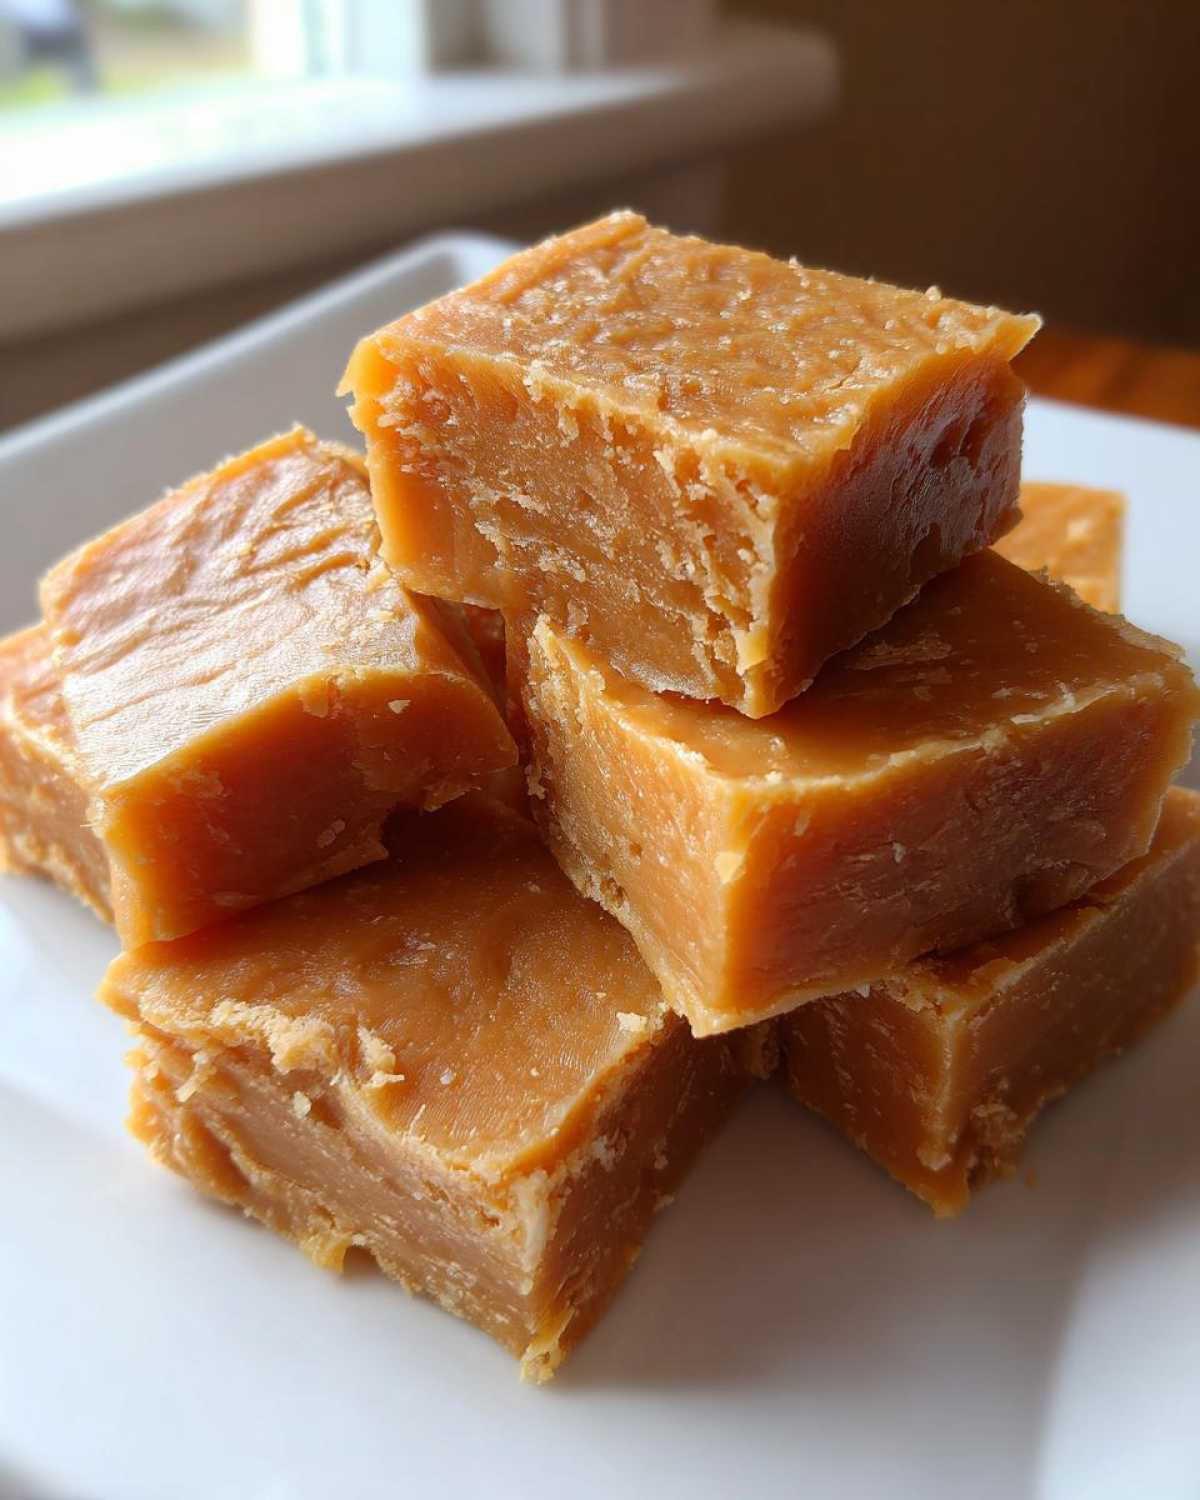
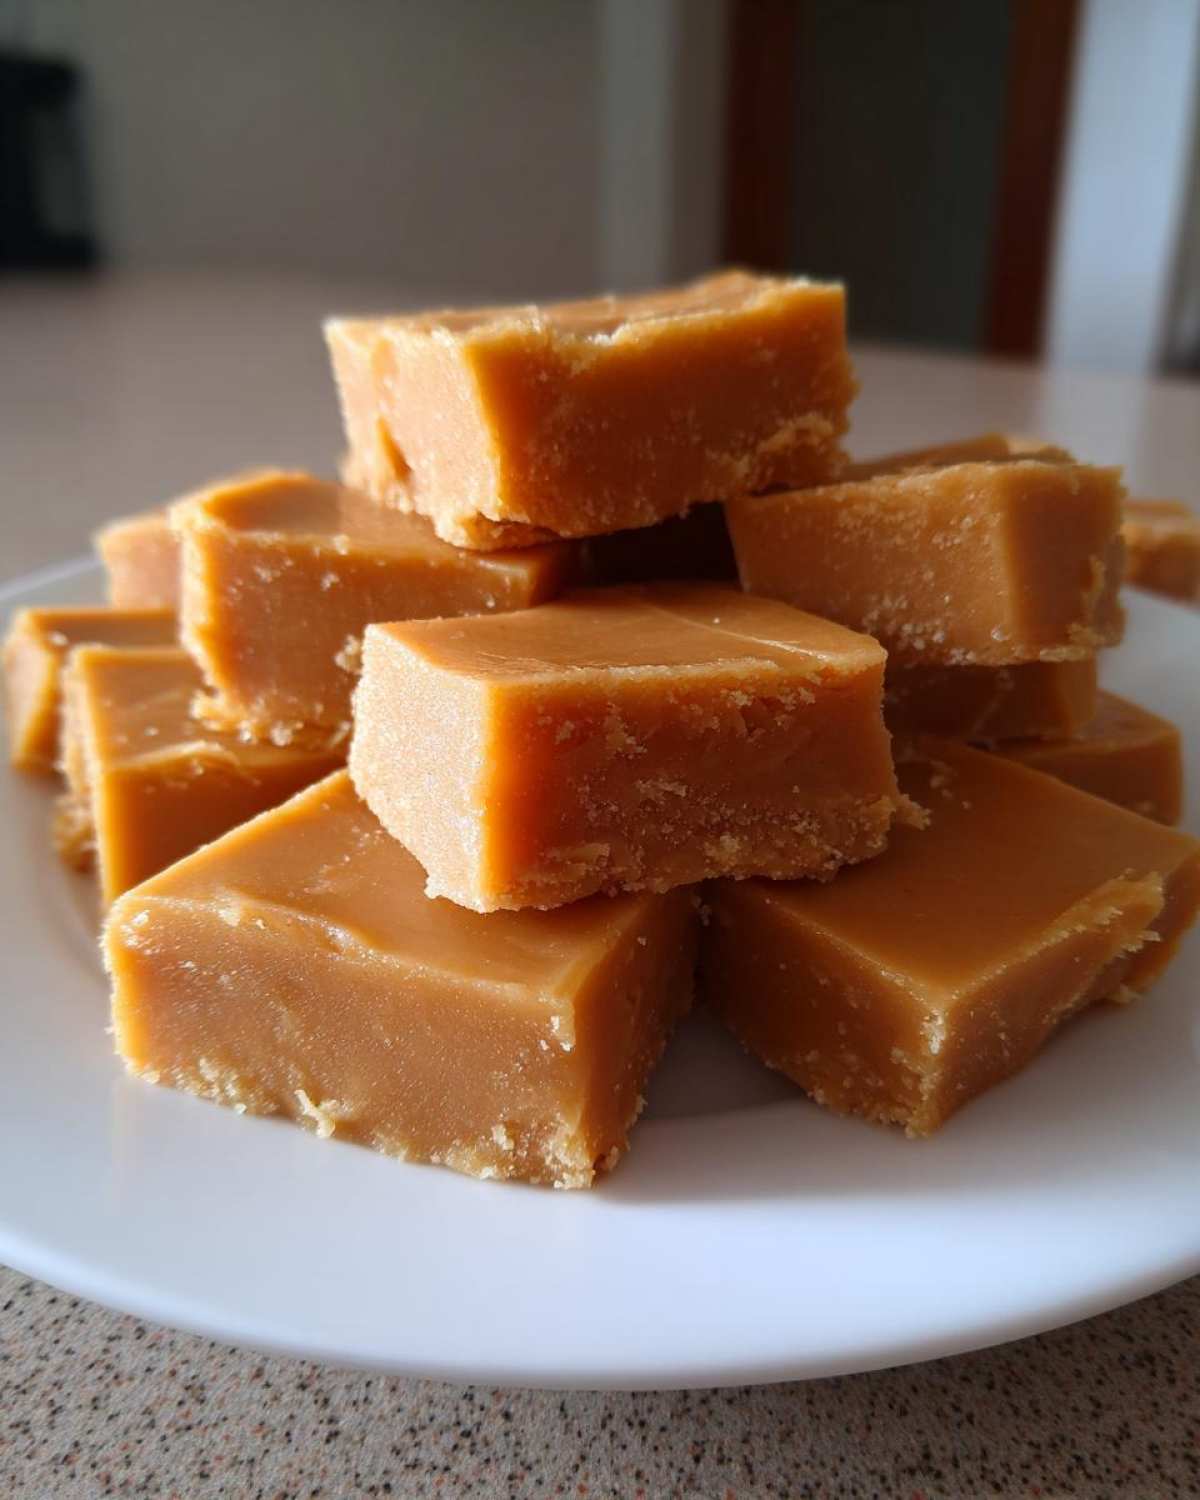
Once firm, lift and slice your beautiful squares.
Tips for Perfect maple fudge Success
We have made this recipe so many times now.
I want your results to be pure magic.
Temperature control really is the secret weapon.
Trust your thermometer completely here.
It guides us to that creamy texture.
If you skip the thermometer, be careful.
Test the water bath method slowly.
A glossy top comes from gentle pouring.
Do not rush pouring the mixture out.
Leave the thick bits clinging to the pot.
Storing it cool keeps it tasting great.
Enjoy this sweet taste of our kitchen.
Frequently Asked Questions About maple fudge
I know you might have a few lingering doubts.
Making candy can feel a bit intimidating.
Liam and I want to clear things up now.
These common questions pop up often.
Let’s make sure your creamy fudge is perfect.
Can I make maple fudge without a candy thermometer?
Yes, you absolutely can try it.
This is the old-school method, Sara’s backup plan.
Prepare a bowl of ice-cold water nearby.
When you remove the pan from heat, test it.
Drop a tiny bit of the hot mixture in water.
If it quickly forms a soft, pliable ball, you’re good.
It should not dissolve immediately in the cold water.
How long does homemade maple fudge last?
This sweet confection keeps quite well.
Store your squares in an airtight container.
Keep it at a cool room temperature always.
It stays fresh for about one week easily.
Refrigeration can sometimes dry it out faster.
What causes my fudge to become grainy?
Grainy texture means sugar crystallization happened.
It usually starts during the boiling phase.
Never stir the mixture once it boils hard.
Also, avoid scraping sugar crystals down the sides.
These tiny crystals seed the whole batch.
That ruins the smooth, melt-in-your-mouth feel.
Understanding the Nutrition in Your maple fudge
We focus on flavor and fun here at Child Recipe.
We see food as connection, not counting.
We want you to enjoy this sweet treat.
Nutrition facts are tricky for homemade candy.
Our exact values shift based on brands used.
The pure maple syrup measurement matters greatly.
Also, adding optional nuts changes things up.
These numbers are just rough estimates, truly.
Please calculate your own if needed.
Share Your Culinary Performance
Did your kitchen turn into a joyful stage?
I truly hope you loved making this treat.
Tell Liam and me how it went for you.
Rate this recipe right down below.
Share photos of your perfect squares.
We love seeing your edible art pieces.
Print
Amazing 234-Degree maple fudge Bliss
- Total Time: 4 hours 15 minutes
- Yield: About 36 small squares 1x
- Diet: Vegetarian
Description
Create the ultimate creamy, melt-in-your-mouth maple fudge using pure maple syrup. This recipe transforms your kitchen into a place of joy and delicious discovery. Follow Liam’s precise technique, inspired by Sara’s free spirit, for a perfect holiday treat or gift.
Ingredients
- 2 cups Granulated Sugar
- 2/3 cup Whole Milk
- 2/3 cup Pure Maple Syrup
- 1/4 cup Unsalted Butter
- 1 teaspoon Vanilla Extract
- 1/4 teaspoon Salt
- 1 cup Marshmallow Creme (optional, for extra smoothness)
- 1/2 cup Chopped Walnuts or Pecans (optional)
Instructions
- Prepare an 8×8 inch pan by lining it with parchment paper, leaving an overhang for easy lifting. Lightly grease the paper.
- Combine sugar, milk, and maple syrup in a heavy-bottomed saucepan. Stir constantly over medium heat until the sugar dissolves completely.
- Attach a candy thermometer to the side of the pan. Do not stir again once the mixture begins to boil.
- Bring the mixture to a rolling boil. Cook until the temperature reaches exactly 234 degrees Fahrenheit (Soft-Ball Stage). This step requires attention; watch it closely.
- Immediately remove the pan from the heat. Stir in the butter, salt, and marshmallow creme (if using) until completely melted and smooth. Do not overmix.
- Stir in the vanilla extract and nuts (if using).
- Pour the fudge mixture into the prepared pan without scraping the sides of the saucepan. Let it cool undisturbed at room temperature until firm, about 2 to 4 hours. Do not refrigerate to set.
- Once firm, lift the fudge out using the parchment overhang. Cut into small squares. Enjoy your edible art.
Notes
- Use only pure maple syrup; imitation syrups will affect texture and flavor.
- Temperature is key for the right texture. If you do not have a thermometer, the mixture should form a soft ball when dropped into cold water.
- For a glossy finish, avoid scraping the sides of the pan when pouring the mixture.
- This fudge tastes best stored in an airtight container at cool room temperature.
- Prep Time: 10 minutes
- Cook Time: 15 minutes
- Category: Candy/Confectionery
- Method: Stovetop Cooking
- Cuisine: American
Nutrition
- Serving Size: 1 square (1/36th recipe)
- Calories: Approx. 150-180
- Sugar: Approx. 25g
- Sodium: Approx. 30mg
- Fat: Approx. 5g
- Saturated Fat: Approx. 3g
- Unsaturated Fat: Varies
- Trans Fat: 0g
- Carbohydrates: Approx. 30g
- Fiber: 0g
- Protein: Approx. 1g
- Cholesterol: Approx. 10mg