There is just something utterly joyous about a dessert that looks like a party exploded right on the plate! If you’re anything like me, you need easy recipes that deliver massive visual impact, especially when you’re bringing something to a neighborhood potluck or a summer BBQ. Forget fussy layers or complicated frosting battles; I’ve got the ultimate solution for you: the classic, colorful, and ridiculously moist jello poke cake. This isn’t just a cake; it’s a vehicle for spreading happiness, and trust me, the only hard part is waiting for it to chill!
I started making this exact version so many years ago when my Aunt Carol needed a last-minute option for Fourth of July. It was a total lifesaver! It’s so simple, yet the way the bright gelatin soaks into that soft white cake base makes everyone stop and stare. It’s truly the queen of simple cake recipes, and I’m so excited to share all my secrets for making sure yours comes out perfectly saturated every single time. If you love festive flavors, you absolutely have to check out my recipe for the Holiday Jello Poke Cake later, but for now, let’s master this classic!
Why This Easy Jello Poke Cake Recipe Works So Well
Honestly, this recipe is in heavy rotation at my house because it ticks every single box for a fun dessert. It’s truly the definition of a showstopper that requires zero actual baking skill. You just need a box mix and the sheer joy of watching colorful liquid disappear into a cake!
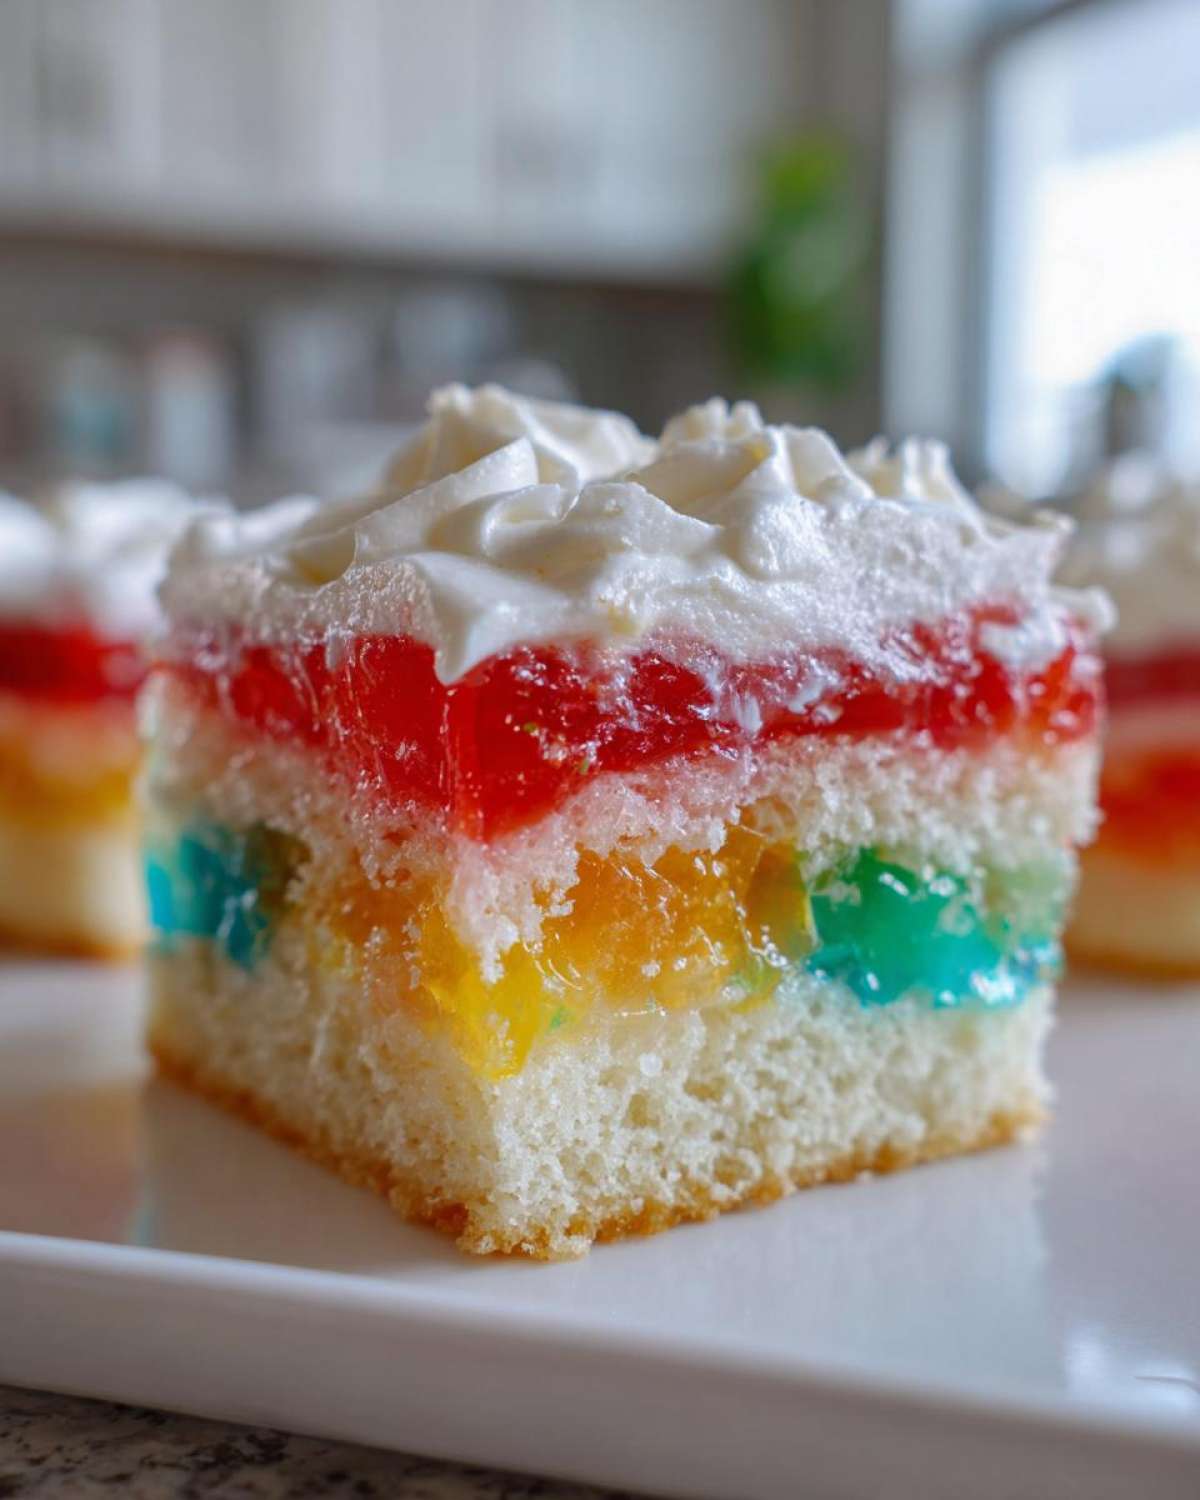
- It delivers unbelievable moisture thanks to the Jello soaking right to the bottom of the pan—that’s why this is such a moist poke cake.
- The vibrant, jewel-toned colors make this an instant hit at any party, proving you don’t need complex techniques for a colorful cake recipe.
- Seriously, this is an easy jello poke cake. If you can bake a box mix, you can master this dessert in an afternoon.
I used a couple of my favorite pointers from other simple bakes, like adding coconut to a similar recipe, which you can check out here, but the foundation here is pure simplicity.
Essential Ingredients for Your Jello Poke Cake Recipe
The beauty of this jello poke cake recipe is how few things you actually need to worry about! We’re keeping it super straightforward, focusing on the base and the colorful soak. Don’t sweat the fancy stuff; this is meant to be a home run with minimal fuss. I always lay everything out before I even turn the oven on, just so I don’t forget one of those little boxes of Jello!
You’ll need:
- One box (that big 15.25 oz size, please!) of white cake mix, plus whatever the box calls for—usually eggs, oil, and water.
- Three small boxes (the 3 oz size) of different Jello flavors. I use strawberry, lime, and maybe raspberry or blue for a good pop of color!
- For each flavor of Jello, you need exactly 1 cup of boiling water (stirred well!) and 1 cup of cold water. That’s three cups total boiling and three cups total cold, kept separate by flavor.
- For the topping, we’re whipping up something simple: one 8 oz container of Cool Whip (thawed!), a half cup of heavy cream, two tablespoons of powdered sugar, and a teaspoon of vanilla extract.
If you’re looking for a change of pace later on, I always have inspiration for other fun bakes, like this amazing caramel version here.
Step-by-Step Instructions for the Perfect Jello Poke Cake
Okay, this is where the magic happens! Making this poke cake dessert is all about timing. We need the cake warm, but not piping hot, so that gelatin sinks in deep. Don’t rush the cooling step, or you’ll just melt the gelatin into a watery mess on top. We want saturation, not soup!
Baking the Base and Preparing the Gelatin
First things first, bake up that white cake according to the box directions right in your 9×13 pan. Once the timer goes off, get it out, but let it rest on the counter for about 15 minutes. That slight cool-down is key! While it’s resting, immediately mix up your Jello. Remember the rule: dissolve one box of Jello completely in 1 cup of boiling water until it looks crystal clear. Then, stir in 1 cup of cold water for that specific bowl. Keep the three colors separate, of course, and just let them sit on the counter to cool down a bit while the cake relaxes.
Poking and Saturating the Cake
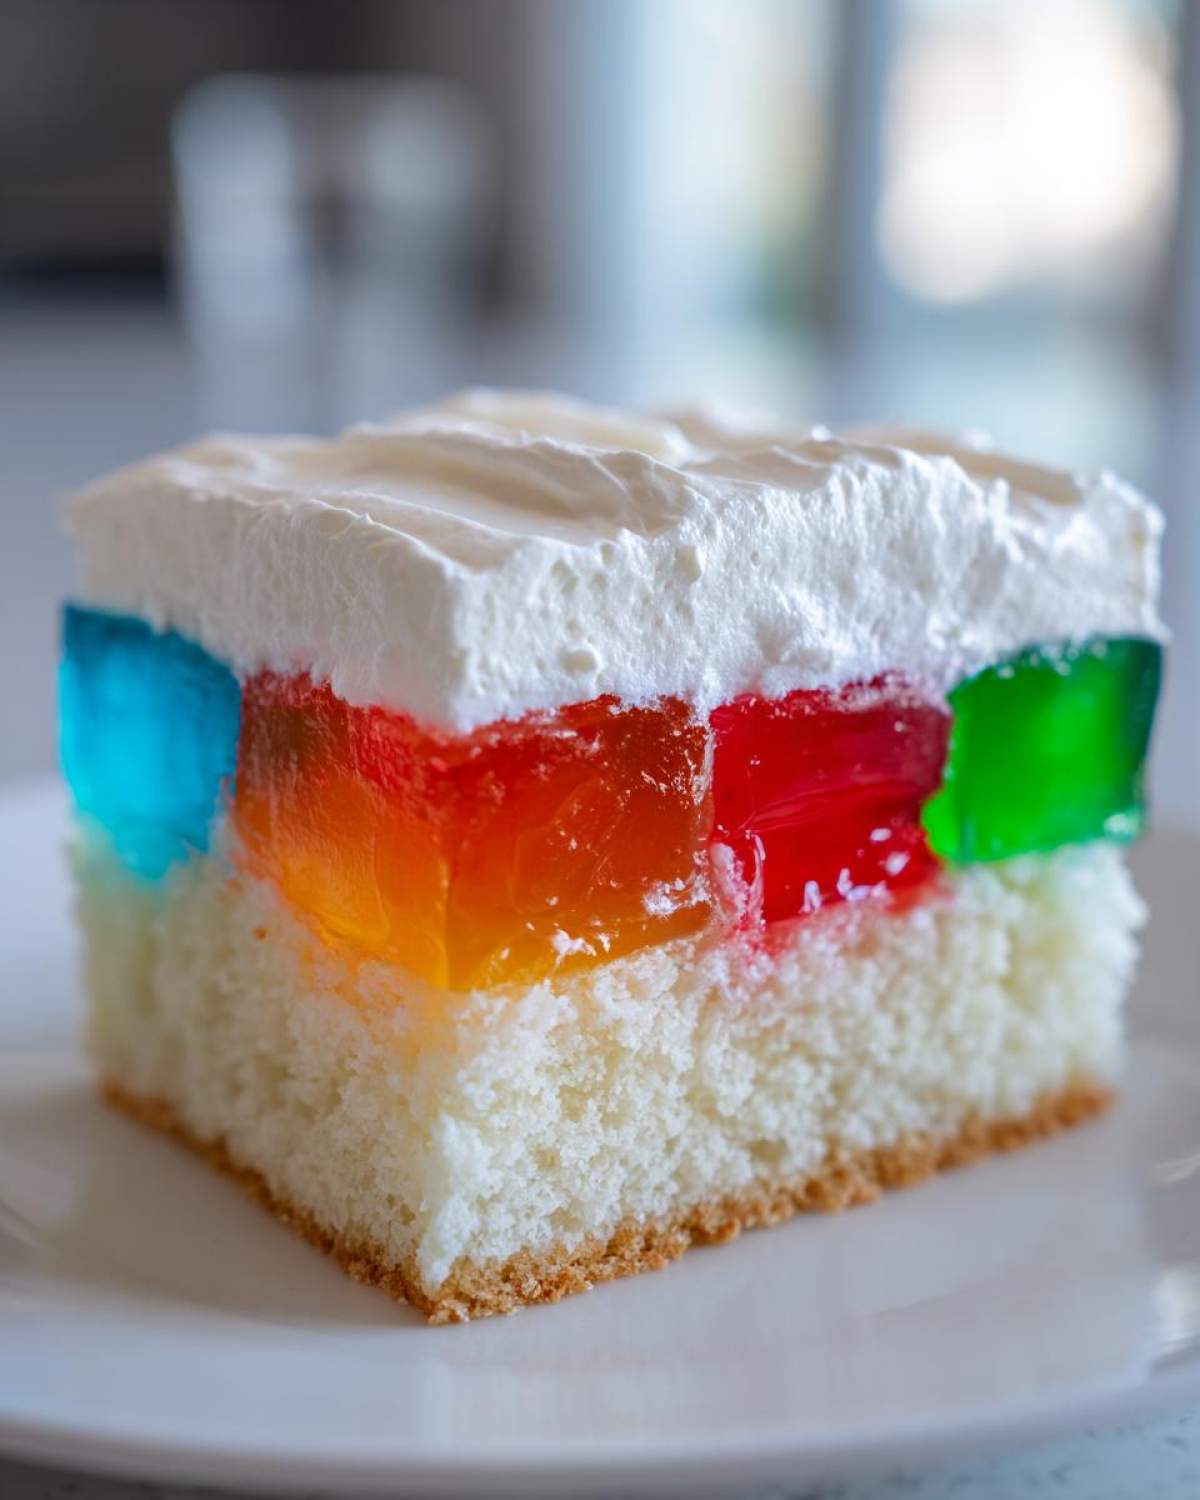
Now grab a large fork or, my favorite tool, the handle end of a wooden spoon! You need to poke holes all over the entire surface of that warm cake. Don’t just tap the top; push those holes down deep, about an inch apart, making sure you go right through to the bottom layer. Once the holes are ready—and trust me, you need a lot of holes—slowly pour one color of liquid gelatin over the top, letting it seep in. Once that first color looks absorbed, follow up immediately with the next color, alternating so you get that gorgeous mosaic effect.
Chilling and Whipped Topping Assembly
Here’s the hardest part: waiting! You must refrigerate the entire thing for a minimum of four hours. I usually just leave mine overnight because I’m impatient but I know patience pays off here. While that’s setting up, whip your heavy cream, powdered sugar, and vanilla until you have stiff peaks—it smells incredible! Then, gently fold in that thawed Cool Whip. Once the gelatin is totally firm and jiggly, spread that lovely cloud of topping evenly over the top. If you try to smear that topping on too soon, you’ll break the seal and the Jello will run right out!
For more festive ideas that involve bright colors, check out this recipe for Christmas Jello Poke Cake!
Tips for Making a Truly Moist Poke Cake
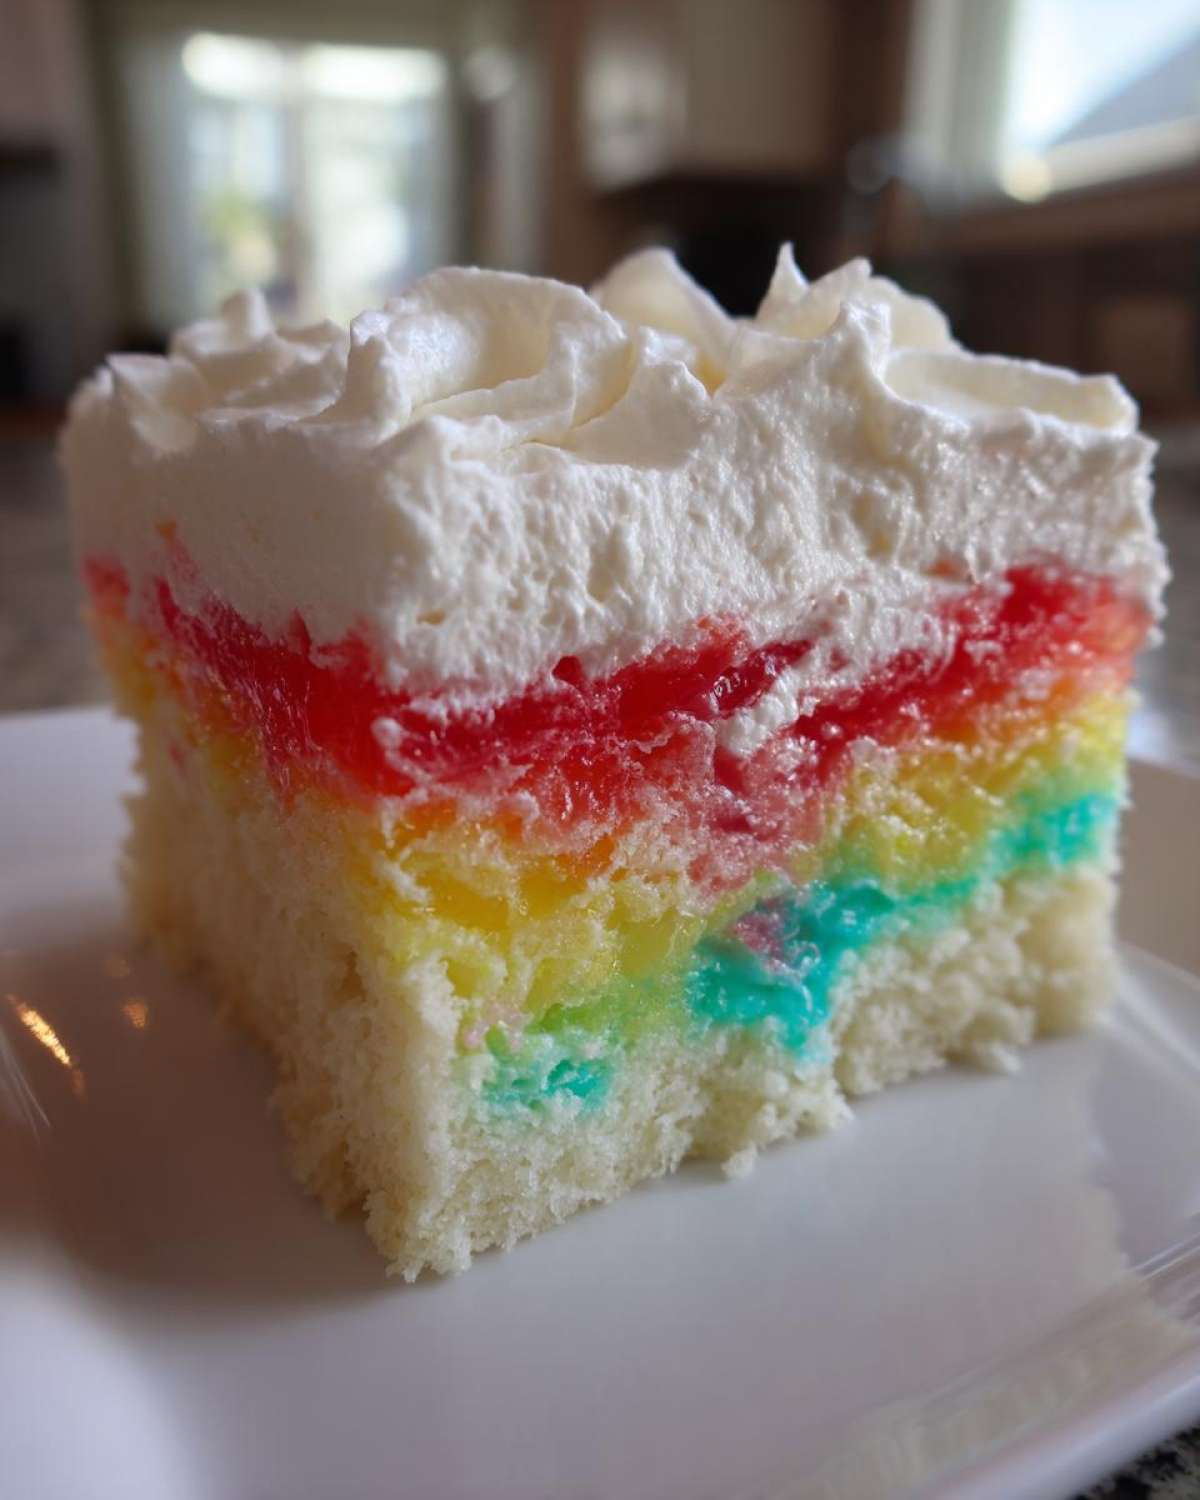
Everyone talks about how great the color is, but for me, the real victory of this jello poke cake is that unbelievable moisture. It shouldn’t taste like a dry cake that got a little bath; it should be saturated through and through. If you want that pudding-like, spongy texture, listen up—these little tricks make all the difference.
First off, don’t be shy with the poking! You have to use a tool that creates a substantial hole, not just a needle prick. I swear by using the thick handle of a wooden spoon, like I mentioned before, and I actively wiggle it a little as I pull it out. This creates a small channel for the liquid to sneak into. It gives you the best deep soak possible.
Also, think about flavor contrast! If you use three shades of red Jello—say, cherry, raspberry, and strawberry—it’s pretty, but the taste doesn’t change much. I find mixing something bright like lime with a berry flavor helps balance the sweetness. It creates a more interesting bite and makes the whole experience feel fresher. If you like experimentation, check out this recipe for coconut poke cake; that coconut always adds wonderful moisture too!
Creative Variations for Your Jello Poke Cake
Once you master the classic version, you absolutely have the green light to start playing mad scientist! This jello poke cake base is so forgiving, which makes it one of my favorite things to whip up when I need a new, colorful cake recipe fast.
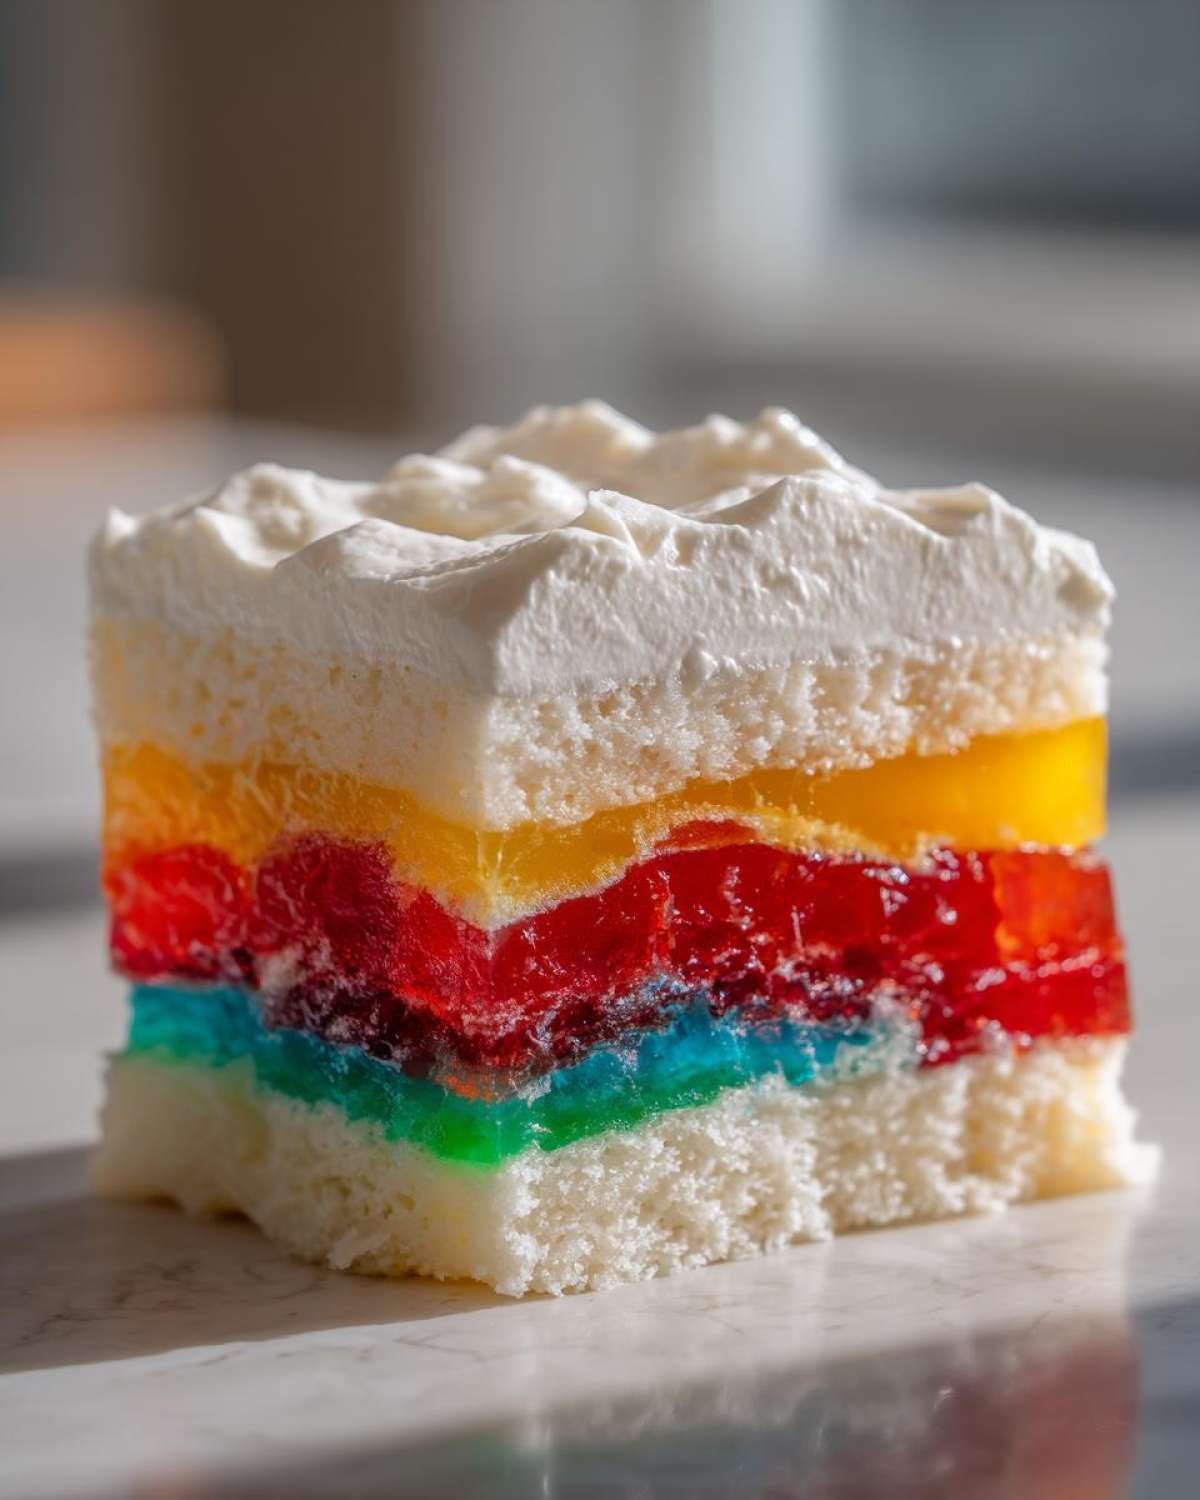
If you’re after maximum visual impact, you have to go for a true ‘rainbow poke cake‘ effect! Just use four or five different colors, pour them carefully to keep the lines somewhat separate, and let everyone marvel at the layers when you slice it. It’s pure fun!
While I usually stick to the white cake mix because it makes those Jello colors pop like stained glass, you *can* use a chocolate cake mix if you’re a chocoholic. Just know that the cake will look darker, and the gelatin’s color won’t shine through as much. For a different twist, try it with a lemon cake mix and bright yellow or green Jello—so summery!
If you’re planning a holiday spread, you have to see how easily you can turn this into a Christmas Jello Poke Cake by sticking strictly to cherry and lime flavors!
Serving Suggestions for This Party Cakes Dessert
This dessert is truly built for crowds. It travels wonderfully because it stays chilled, making it one of the absolute best potluck desserts you can bring. Forget fussy sheet cakes; this jello poke cake shows up, cools everyone down, and is gone in minutes!
It shines brightest at summer gatherings or on potluck tables. The topping is light, refreshing, and holds up well, especially if you keep it in a cooler until serving time. For a little extra pizzazz when you take it out, try sprinkling some multicolored sprinkles right over the white topping before serving. Or, if you used a strawberry flavor, a few slices of fresh strawberry on top look gorgeous! We’ve even served this alongside more adult treats, like these fun Jello shots, because presentation matters!
Storage and Reheating Instructions for Jello Poke Cake
This delightful dessert is strictly a cold-weather treat, meaning it needs to stay chilly! Once you’ve got that lovely whipped topping spread over the firm gelatin, it’s time to cover the whole 9×13 pan tightly. I use plastic wrap, making sure it doesn’t stick to the peak of the frosting.
You can safely keep this jello poke cake in the refrigerator for up to three days. After that, the cake base starts to get a little too soggy from all that liquid goodness, and we don’t want mushy cake, right? It’s usually best eaten within 48 hours for that perfect texture balance between soft cake and firm gelatin.
Now, this is important: Because the structure relies entirely on the chilled gelatin setting up the cake texture, you absolutely cannot reheat this dessert. Putting this jello poke cake in the microwave or oven will instantly turn the gelatin back into liquid and melt your beautiful whipped topping. Save the heating for something like my pumpkin spice cake recipe instead! This one is meant to be served straight from the cold.
Frequently Asked Questions About Making a Jello Poke Cake
I get so many questions when people try this recipe for the first time! It’s totally normal because even though it’s simple, there are a few tiny details that make the difference between a decent dessert and the kind of jello poke cake that vanishes instantly at a gathering. Here are the things folks ask me about most often!
Can I use a different cake flavor instead of white cake for my jello poke cake recipe?
Yes, you certainly *can*, but I highly recommend sticking to white or yellow cake mix if you can! The whole point of the classic poke cake dessert design is that those vibrant Jello colors shine brightly through the pale cake base. If you use chocolate cake—and trust me, I love chocolate!—the color gets totally washed out, and you miss that stunning visual appeal. If you’re determined to branch out, yellow cake is your next best bet for keeping those primary colors visible.
How far in advance can I make this sweet gelatin cake?
This is a brilliant question if you’re planning a party! Since the goal here is a perfectly moist poke cake, you want to give that Jello time to soak in and work its magic. I find the absolute sweet spot is making this sweet gelatin cake about 4 to 12 hours before you plan to serve it. That gives the cake plenty of time to absorb all that yummy liquid without getting soggy. If you leave it for a full 24 hours, the cake starts to break down a little too much. Stick to the same day or the night before!
What is the best tool for poking holes in the poke cake dessert?
Forget tiny toothpicks—we need deep channels! The best tool, hands down, is either a sturdy wooden skewer or, my personal favorite, the rounded handle end of a wooden spoon. You need something substantial enough to push all the way down to the bottom of the 9×13 pan without breaking off inside the cake! When you poke, gently wiggle that spoon handle slightly as you pull it out. This creates a clean, wide hole that allows the liquid gelatin to penetrate fully instead of just sitting on the surface. It’s a game changer for getting that incredible, saturated texture you want in a great easy jello poke cake!
If you ever need more inspiration for fun, colorful bakes, you should take a look at my recipe for Grinch Punch—it’s another visual winner!
Nutritional Estimates for This Simple Cake Recipe
Now, look, just know that this is an estimate, okay? We’re dealing with cake mix, sugar, and whipped topping, so we aren’t exactly aiming for “health food” status here! But if you’re bringing this amazing poke cake dessert to a gathering, it’s good to have a general idea of what everyone is diving into. These numbers are calculated based on the ingredients listed when serving 12 generous slices.
If you’re tracking everything, here is the general breakdown for one serving of this glorious jello poke cake:
- Serving Size: 1 slice
- Calories: 310
- Sugar: 40g
- Sodium: 250mg
- Total Fat: 12g
- Saturated Fat: 6g
- Carbohydrates: 50g
- Protein: 3g
This is definitely a dessert meant for enjoying on a special occasion. It’s high on the sweetness scale, but it’s got that cool, refreshing gelatin that just makes it perfect for summer parties. As always, because we’re mixing ingredients from different retail boxes and homemade additions, treat these numbers as a good ballpark estimate!
Print
Easy Classic Jello Poke Cake
- Total Time: 4 hours 55 min
- Yield: 12 servings 1x
- Diet: Vegetarian
Description
Make this simple, moist Jello Poke Cake using three different gelatin flavors for a colorful, fun dessert perfect for any gathering.
Ingredients
- 1 box (15.25 oz) white cake mix
- Ingredients called for on cake mix box (eggs, oil, water)
- 3 small boxes (3 oz each) different flavors of gelatin (e.g., strawberry, lime, raspberry)
- 1 cup boiling water (for each gelatin flavor)
- 1 cup cold water (for each gelatin flavor)
- 1 container (8 oz) frozen whipped topping, thawed
- 1/2 cup heavy cream
- 2 tablespoons powdered sugar
- 1 teaspoon vanilla extract
Instructions
- Prepare and bake the white cake according to the package directions using a 9×13 inch baking pan. Let the cake cool in the pan for 15 minutes after removing it from the oven.
- While the cake is cooling slightly, prepare the gelatin. In separate bowls, dissolve one box of gelatin in 1 cup of boiling water for each flavor. Stir for 2 minutes until completely dissolved. Add 1 cup of cold water to each gelatin mixture and stir. Set aside at room temperature.
- Use the handle of a wooden spoon or a large fork to poke holes all over the top of the warm cake, spacing the holes about 1 inch apart. Poke down to the bottom of the cake.
- Carefully pour the liquid gelatin mixtures over the cake, alternating colors if desired, ensuring the liquid seeps into the holes.
- Refrigerate the cake for at least 4 hours, or until the gelatin is completely set.
- Prepare the topping: In a medium bowl, beat the heavy cream, powdered sugar, and vanilla extract until stiff peaks form. Gently fold in the thawed whipped topping.
- Spread the whipped topping evenly over the set gelatin cake. Slice and serve cold.
Notes
- For the best color saturation, use bright, contrasting Jello flavors.
- You can substitute the homemade whipped cream topping with a store-bought whipped topping for a faster preparation.
- Chill the cake completely before slicing to prevent the gelatin from running out.
- Prep Time: 20 min
- Cook Time: 35 min
- Category: Dessert
- Method: Baking and Chilling
- Cuisine: American
Nutrition
- Serving Size: 1 slice
- Calories: 310
- Sugar: 40
- Sodium: 250
- Fat: 12
- Saturated Fat: 6
- Unsaturated Fat: 6
- Trans Fat: 0
- Carbohydrates: 50
- Fiber: 1
- Protein: 3
- Cholesterol: 15