Oh my goodness, stop everything you are doing! If you’ve ever walked into one of those old-school Italian bakeries and tried to pick up a cookie only to have it gently crumble into delicious dust in your hand, you know the texture I’m talking about. That’s the magic we are chasing today with these italian butter cookies. Forget those hard, flat discs—we want that authentic, melt-in-your-mouth tenderness!
I spent years trying to nail the Bakery Style—the one that’s rich, buttery, and just so delicate. I finally cracked the code after fiddling with the fat content and the mixing order. Trust me, once you master the technique for this simple butter cookie dough, you’ll never look back. They are seriously addictive, especially when they’re still slightly warm from the oven.
Why This is the Best Bakery Style Butter Cookies Recipe
What makes these the ultimate Italian Butter Cookie? It’s all about that texture! We nail that rich, melt-in-your-mouth feeling because of the high-quality butter and careful whisking. These are true Bakery Style Butter Cookies—delicate yet sturdy enough for a holiday platter. If you want truly Rich Butter Cookies that taste just like they came from Nonna’s kitchen, this is the recipe you keep forever. I promise, they are unbelievably good.
You can read about other soft cookie recipes here, but this authentic Italian version is special.
Ingredients for Authentic Italian Butter Cookies
Gathering your ingredients is the first act of love in Traditional Italian Baking. Get organized now, and the rest of the process flies by! Remember, quality matters when you’re working with something this simple. I always make sure my butter is perfectly softened—not melted!—and I learned the hard way that using room temperature eggs is non-negotiable. They blend into the butter mixture so much smoother, creating a fantastic emulsion that guarantees those light centers we are looking for.
For the Simple Butter Cookie Dough
- 1 cup unsalted butter, softened
- 3/4 cup granulated sugar
- 2 large eggs, room temperature
- 1 teaspoon vanilla extract
- 1/2 teaspoon almond extract
- 3 cups all-purpose flour
- 1/2 teaspoon baking powder
- 1/4 teaspoon salt
Optional Finishing Touches for Italian Butter Cookies
These next parts take your cookies from great to show-stopping, especially around the holidays. You absolutely don’t have to do them, but they look so professional!
- 1/2 cup powdered sugar (for dusting, optional)
- 4 ounces semi-sweet chocolate, melted (for dipping, optional)
- 1/4 cup white nonpareils or sprinkles (optional)
How to Make Easy Italian Cookies: Step-by-Step Instructions
Now for the fun part—turning that beautiful Simple Butter Cookie Dough into the ultimate italian butter cookies! The secret to keeping them delicate and tender lies entirely in how you handle the batter. We’re aiming for that classic, slightly crisp edge with a buttery center that melts away. Follow these steps closely, especially the chilling period, and I promise your baking will look professionally done!
You can find more great ideas for other easy Italian cookies here if you’re feeling ambitious.
Preparing the Rich Butter Cookies Dough
First up, we take our softened butter and granulated sugar and cream them together until they are legitimately light and fluffy. We mean a full three minutes with the mixer! Then, gently add those room-temperature eggs one by one. Whisk in the vanilla and almond extracts. Next, separately, whisk your dry stuff—flour, baking powder, and salt—just to combine them.
Here’s the expert tip: Add the dry ingredients to the wet ingredients slowly, mixing on low speed until *just* combined. Stop the moment the streaks of flour disappear. Seriously, don’t over-whisk once the flour is in! Overmixing develops gluten, and gluten makes things chewy, which is the absolute opposite of what we want in these buttery cookies! Once mixed, shape the dough into logs, wrap it tight, and—this is crucial—chill it for at least one hour. That rest time keeps them from spreading into puddles in the oven.
Baking Your Traditional Italian Biscuits
When the dough is chilled and firm, preheat that oven to 350°F (175°C). Line those baking sheets with parchment paper; this keeps the bottoms from getting too dark! Roll the dough out onto a lightly floured surface until it’s about 1/4 inch thick. Cut out your shapes—I love using classic sprays or rounds for these Traditional Italian Biscuits.
Bake them for only about 10 to 12 minutes. You are looking for the edges to just barely turn golden brown. If the centers look pale, that’s perfect! They keep cooking slightly on the hot pan. Let them sit on the sheet for five minutes so they firm up before carefully moving them to a wire rack to cool completely. If you move them too soon, they might fall apart!
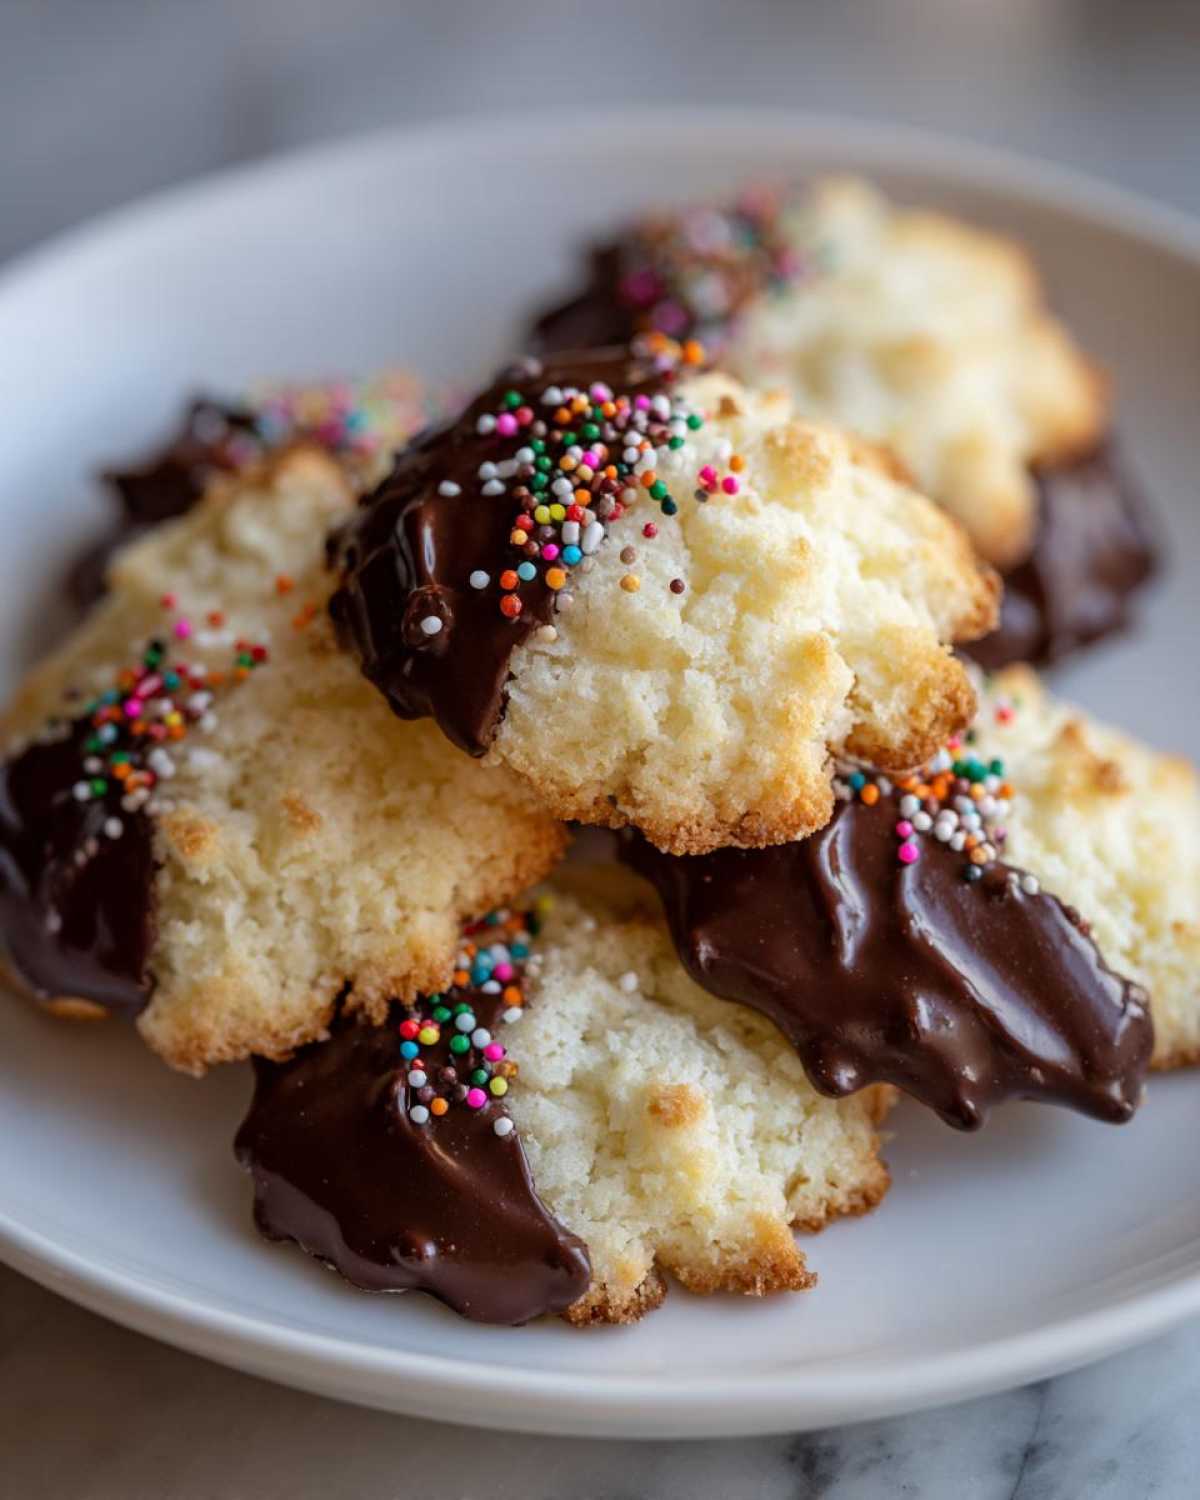
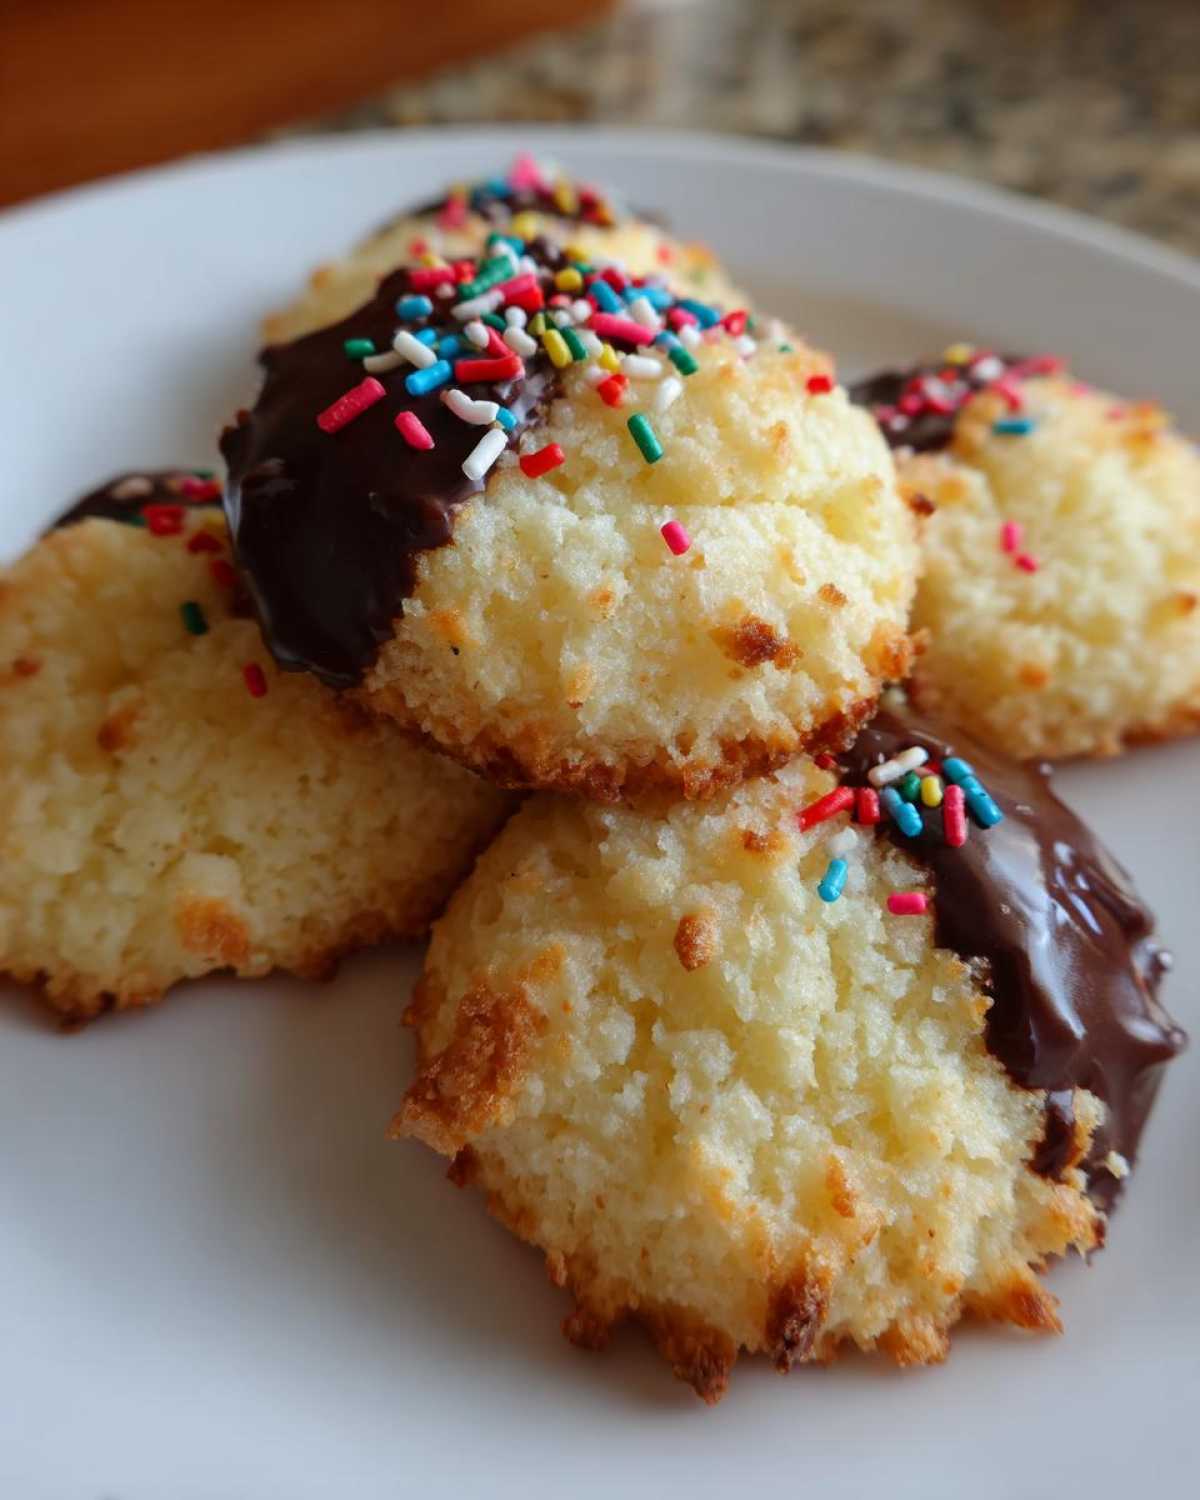
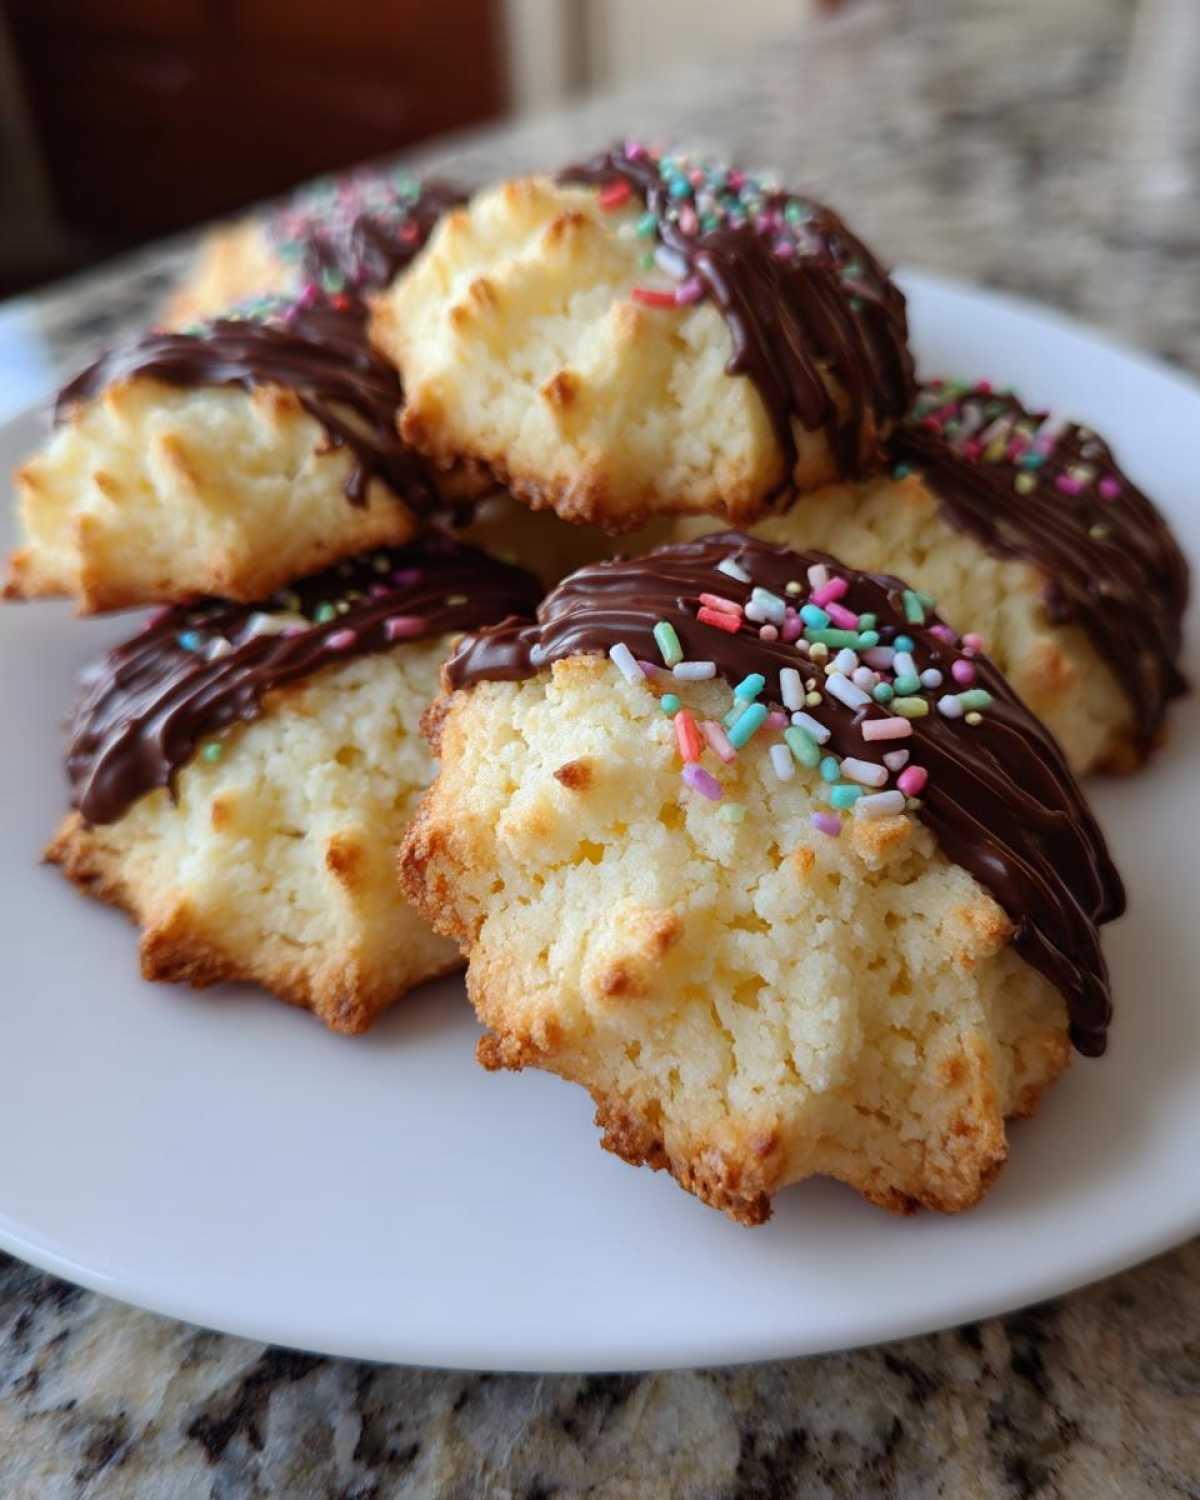
Finishing Your Chocolate Dipped Italian Cookies
Once those cookies are totally cool—and you must let them cool, or the chocolate will melt everywhere—it’s time for flair! Melt your semi-sweet chocolate gently, maybe using a double boiler if you want to be extra careful, or just use short bursts in the microwave stirring frequently. Dip half of each cookie into the smooth chocolate.
If you’re feeling festive, immediately shower the chocolate edge with your white nonpareils or sprinkles before the chocolate sets. Place them back on parchment paper to harden up. Honestly, the look of these Chocolate Dipped Italian Cookies makes them perfect for any holiday party.

Tips for Perfect Melt In Your Mouth Cookies Success
Achieving that legendary melt-in-your-mouth quality with your Simple Butter Cookie Dough takes just a couple of secrets, and they all come down to temperature and timing! First, I can’t stress enough about creaming the butter and sugar long enough. That initial fluffy stage creates the necessary air pockets. If you rush it, the cookies will be dense instead of light!
Second, don’t skip the chill time after mixing. If the dough is too warm when it hits the cookie cutters, it spreads right out, and you lose that beautiful structure that helps them bake evenly. Also, when adding the flour, mix by hand for the last few turns if you can. That way, you really feel when the dough just comes together, ensuring you don’t overwork the gluten. Follow these guidelines, and you’ll get consistently perfect Melt In Your Mouth Cookies every single time! If you’re thinking about using a glaze later, make sure you check out how to make sure icing sets just right.
Variations for Your Homemade Italian Treats
The best part about making these Homemade Italian Treats is that the base dough is so sturdy and reliable, you can dress it up a hundred different ways! I usually make a big batch of the basic dough and then divide it for different finishes. If chocolate dipping isn’t your thing, let’s talk about that lovely vanilla glaze mentioned in the notes.
To make it, just take a cup of powdered sugar, mix it with two tablespoons of milk and a dash of vanilla until it’s smooth and pourable—nothing complicated! You can find my favorite quick frosting guide over here. But if you want to change the flavor entirely, try substituting that almond extract for some fresh lemon zest right into the dough before chilling. Oh my gosh, the bright citrus pop totally transforms this cookie!
Serving Suggestions for Classic Italian Recipe
These Italian butter cookies are truly versatile! They’re not just for Christmas, although they look gorgeous piled high on a holiday platter. Honestly, the best way to enjoy them is simply as true Coffee Time Cookies. The rich butteriness pairs perfectly with a strong shot of espresso or a robust cup of black coffee. They crumble just right when you dip them gently. They also make lovely, elegant Tea Time Desserts when you have friends over for an afternoon catch-up. Keep them displayed proudly—they look as good as they taste!
Storage and Make-Ahead Tips for Italian Butter Cookies
One of the joys of making this dough is that we can prep ahead! If you’re getting ready for a big baking session or the holidays, you can totally freeze this dough. Just wrap the individual cookie shapes in plastic wrap tightly before freezing them. They keep beautifully for a couple of months, and you just pop them straight onto the baking sheet when you’re ready—no need to thaw first.
Once baked, these italian butter cookies are best kept in an airtight container. I usually just stack them carefully, maybe with a layer of parchment paper between layers to protect any chocolate dips. Stored this way at room temperature, they stay fresh and tender for a solid week. If you want to peek at one of my favorite make-ahead recipes for inspiration, check out these Boston Cream Pie Cookies!
Frequently Asked Questions About Italian Butter Cookies
Okay, I get asked about these cookies all the time, usually when someone’s batch spreads out into one giant sheet! Don’t worry, these questions are totally normal when trying to achieve that perfect bakery finish.
Can I skip chilling the dough for these Italian Butter Cookies?
Oh, please don’t! I know waiting an hour feels like forever when you are ready to bake, but chilling is absolutely necessary for these italian butter cookies. Because the recipe has such a high fat content—which is what makes them so incredibly buttery—the dough gets quite soft when you mix it. If you try to roll and cut warm dough, it just spreads out into flat circles the second it hits the hot oven. Chilling solidifies that butter, giving your shapes the structure they need to hold up. It’s crucial for that beautiful Bakery Style look!
What makes these ‘Melt In Your Mouth Cookies’?
It comes down to the science of a great shortbread base, which is really what these Traditional Italian Biscuits are! The high ratio of butter and fat to flour is the secret weapon here. When you eat them, that high fat content melts almost instantly on your tongue, which gives you that incredible “melt in your mouth” sensation. Plus, we don’t overwork the flour, so there’s very little gluten structure to fight against. It’s pure, tender richness!
Are these considered Italian Christmas Cookies?
Absolutely! While they are fantastic any time of year—they are perfect Coffee Time Cookies—you will never see an Authentic Italian Baking spread during the Christmas season without a platter of these. They look so pretty dipped in chocolate or dusted with powdered sugar. They are the definition of a Buttery Holiday Cookie, and they hold up wonderfully when you make big batches for gifting.
For more general advice on making beautiful, classic treats, you can always check out my guide to making a classic Italian recipe.
Nutritional Estimate for These Buttery Holiday Cookies
I always feel a little nervous talking about nutrition when we’re talking about cookies this rich, but since you asked, here is the general estimate for one of these glorious Buttery Holiday Cookies. Remember, these recipes are made with love, not lab precision, so take these numbers with a big grain of salt and a dash of powdered sugar!
This estimate is based strictly on the core recipe—meaning, we aren’t counting the chocolate dip or the heavier sprinkles, because those change things up a lot depending on what brand of chocolate you use. If you add that rich chocolate coating, expect the fat and sugar content to jump up a bit!
- Serving Size: 1 cookie
- Calories: 145
- Sugar: 11g
- Sodium: 45mg
- Fat: 8g
- Saturated Fat: 5g
- Carbohydrates: 17g
- Protein: 2g
I have to give you a little disclaimer here: because we are using real butter and maybe dunking half of the cookie in melted semi-sweet chocolate, these estimates are only approximate. If you use a different size egg or a different brand of butter, the numbers will shift slightly. The most important thing is that they taste amazing when served with your afternoon espresso!
Print
Authentic Bakery-Style Italian Butter Cookies
- Total Time: 1 hour 42 min
- Yield: About 3 dozen 1x
- Diet: Vegetarian
Description
Make rich, buttery Italian butter cookies with a delicate, melt-in-your-mouth texture. This recipe yields classic cookies perfect for holidays or serving with coffee.
Ingredients
- 1 cup unsalted butter, softened
- 3/4 cup granulated sugar
- 2 large eggs, room temperature
- 1 teaspoon vanilla extract
- 1/2 teaspoon almond extract
- 3 cups all-purpose flour
- 1/2 teaspoon baking powder
- 1/4 teaspoon salt
- 1/2 cup powdered sugar (for dusting, optional)
- 4 ounces semi-sweet chocolate, melted (for dipping, optional)
- 1/4 cup white nonpareils or sprinkles (optional)
Instructions
- In a large bowl, cream the softened butter and granulated sugar together until light and fluffy, about 3 minutes.
- Beat in the eggs one at a time, mixing well after each addition. Stir in the vanilla and almond extracts.
- In a separate bowl, whisk together the flour, baking powder, and salt.
- Gradually add the dry ingredients to the wet ingredients, mixing on low speed until just combined. Do not overmix the dough.
- Shape the dough into logs or disks, wrap in plastic wrap, and chill in the refrigerator for at least 1 hour.
- Preheat your oven to 350°F (175°C). Line baking sheets with parchment paper.
- Roll the chilled dough out to about 1/4 inch thickness on a lightly floured surface. Cut the dough into desired shapes using cookie cutters.
- Place the cut cookies onto the prepared baking sheets, spacing them about 1 inch apart.
- Bake for 10 to 12 minutes, or until the edges are lightly golden brown. The centers should remain pale.
- Let the cookies cool on the baking sheets for 5 minutes before transferring them to a wire rack to cool completely.
- For variations: Dip half of each cooled cookie into melted chocolate and immediately sprinkle with nonpareils, if desired. Allow the chocolate to set before serving.
Notes
- For a softer cookie, slightly reduce the baking time.
- If you prefer a vanilla glaze, mix 1 cup powdered sugar with 2 tablespoons milk and 1/2 teaspoon vanilla extract. Dip the cooled cookies and let the glaze dry.
- This dough freezes well; wrap individual cookie shapes before freezing.
- Prep Time: 30 min
- Cook Time: 12 min
- Category: Dessert
- Method: Baking
- Cuisine: Italian
Nutrition
- Serving Size: 1 cookie
- Calories: 145
- Sugar: 11
- Sodium: 45
- Fat: 8
- Saturated Fat: 5
- Unsaturated Fat: 3
- Trans Fat: 0
- Carbohydrates: 17
- Fiber: 0
- Protein: 2
- Cholesterol: 35