When that first real chill hits, you know what I immediately crave? Something deeply comforting and warm that wraps around you like a heavy blanket. Forget those sad little store-bought packets that taste mostly like sugar dust. I’m talking about the real deal—the kind of velvety smooth, intensely chocolatey drink that makes you close your eyes and sigh. This recipe for homemade hot cocoa is my non-negotiable standard every single winter. Trust me, once you see how ridiculously easy it is to make this from scratch, you’ll never go back. It’s rich, it’s creamy, and it’s ready faster than you can find a clean mug!
Why This Homemade Hot Cocoa Recipe Beats the Packets (E-E-A-T)
The biggest reason this recipe stands head and shoulders above the pre-measured stuff? It’s all about the ingredients we’re actually using. When you make your hot chocolate without mix, you control the quality of the chocolate flavor, not some manufacturer looking to cut costs. We use real unsweetened cocoa powder and a touch of salt—that tiny bit of salt is crucial, by the way! It really makes the chocolate background sing. This gives you that truly rich and creamy cocoa flavor that packets just can’t replicate. It’s the difference between instant noodles and a proper meal, honestly.
Quick Prep for Decadent Hot Chocolate
Even though this is totally from scratch, don’t sweat the time! We’re talking about twelve minutes total, start to finish. That’s right, less time than it takes to decide what movie you want to watch! This means you can whip up an incredibly decadent hot chocolate for yourself or the family whenever that craving hits. It’s my go-to for those days when the kids come in shivering, begging for a proper mugful of warmth. It really is the definition of a quick hot chocolate solution.
Ingredients for the Best Homemade Hot Cocoa
Okay, let’s talk supplies! To get that best hot chocolate recipe result, we need a few simple things, but the quality really matters here. Don’t just grab powder—we need the unsweetened stuff for true flavor control. See the list below? It looks short, but every item plays a huge role in making this drink super luxurious.
First up, grab three tablespoons of proper unsweetened cocoa powder. Then, three tablespoons of regular granulated sugar—we need that clean sweetness to balance the cocoa. Salt is non-negotiable; just a quarter teaspoon cuts through richness so it doesn’t taste flat. Cinnamon is optional but highly recommended if you like a bit of warmth! Then comes the secret weapon for texture: a mere quarter cup of hot water to bloom everything. Finally, for our liquid base, I always strongly recommend using a full two cups of whole milk. The fat content in whole milk is what gives you that amazing, almost velvety mouthfeel that store-bought stuff misses completely.
- 3 tablespoons unsweetened cocoa powder
- 3 tablespoons granulated sugar
- 1/4 teaspoon salt
- 1/4 teaspoon ground cinnamon (if you like a cozy spice)
- 1/4 cup hot water (crucial step, don’t skip it!)
- 2 cups milk (seriously, whole milk is king here for creaminess)
- 1/2 teaspoon vanilla extract (added at the very end)
Step-by-Step Stovetop Hot Cocoa Instructions
Alright, let’s get this magic happening on the stovetop hot cocoa method! What I’m showing you here is the most satisfying way to build that deep chocolate flavor because we start by ‘blooming’ the cocoa. Grab a small saucepan—nothing fancy needed. First things first: we combine all of our dry ingredients—the cocoa powder, the sugar, the salt, and that optional bit of cinnamon—and whisk them together really well.
Why do we whisk the powders first? Because dry clumps are the enemy! Then, pour in that tiny amount of hot water. Yes, hot water! Whisk it aggressively over medium heat for about a minute. You’ll see it transform from salty grit into a thick, glossy paste. This process is key for really unlocking the cocoa’s depth, showing you are using a true from scratch hot chocolate recipe, not just stirring powder into cold milk.
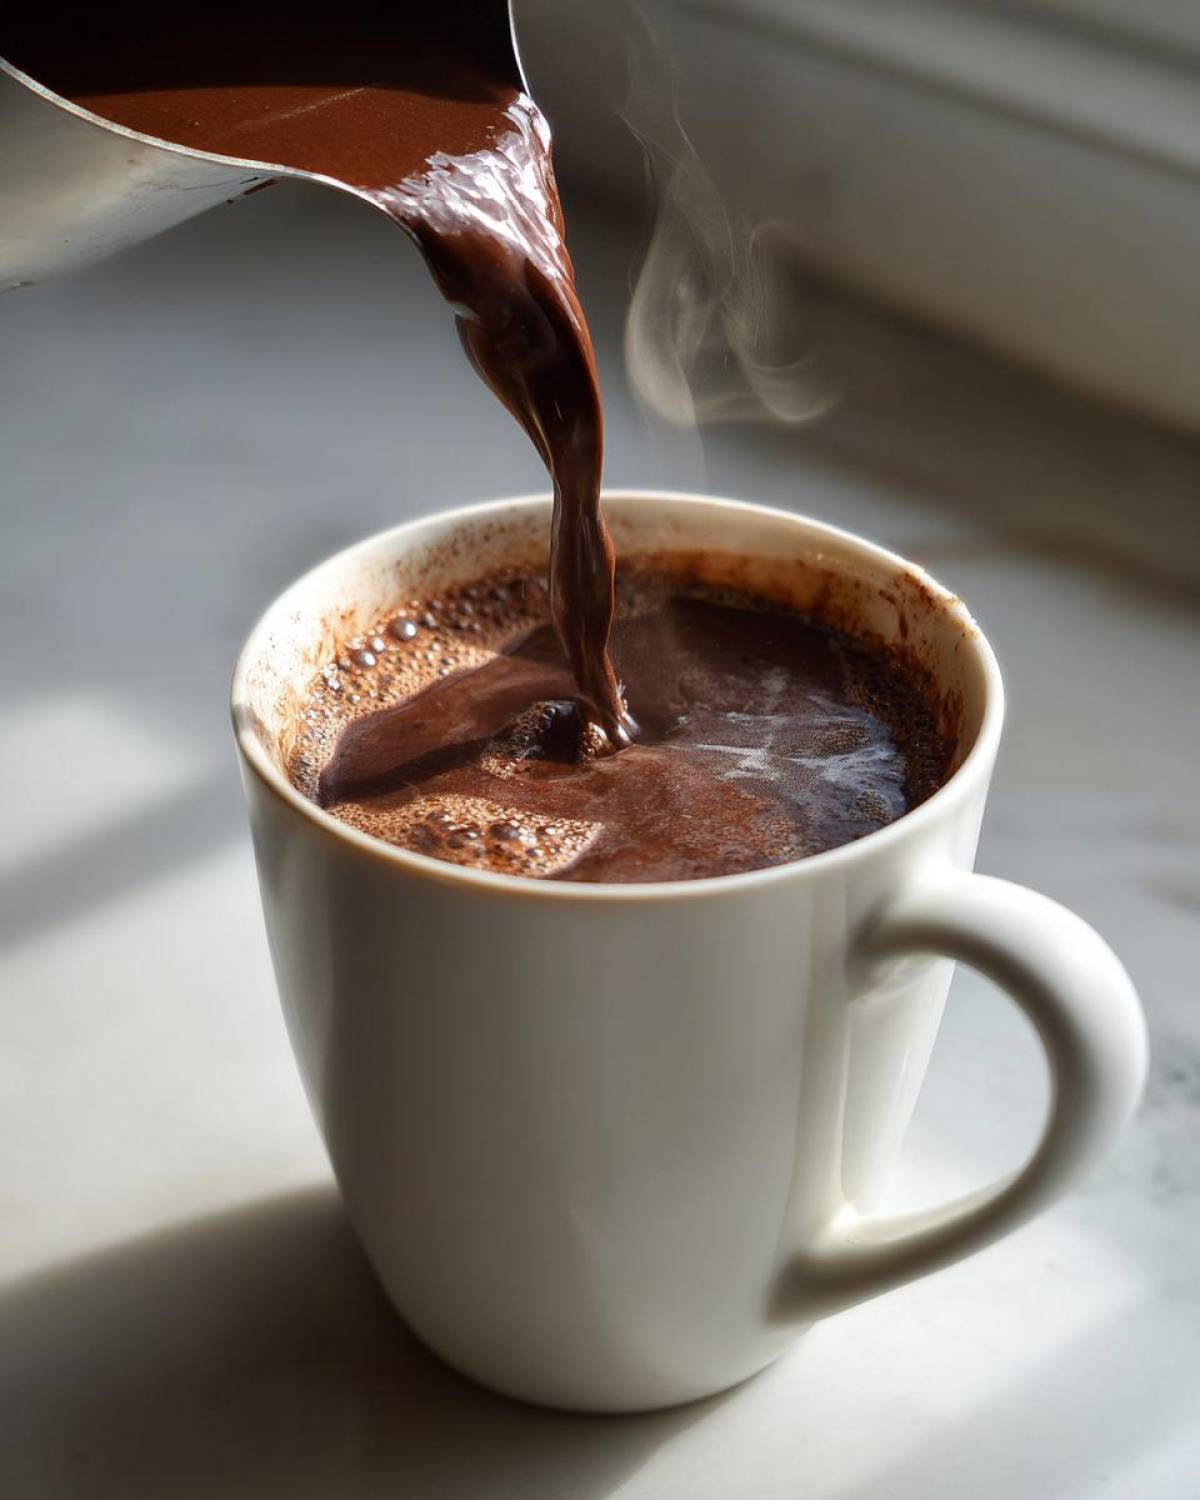
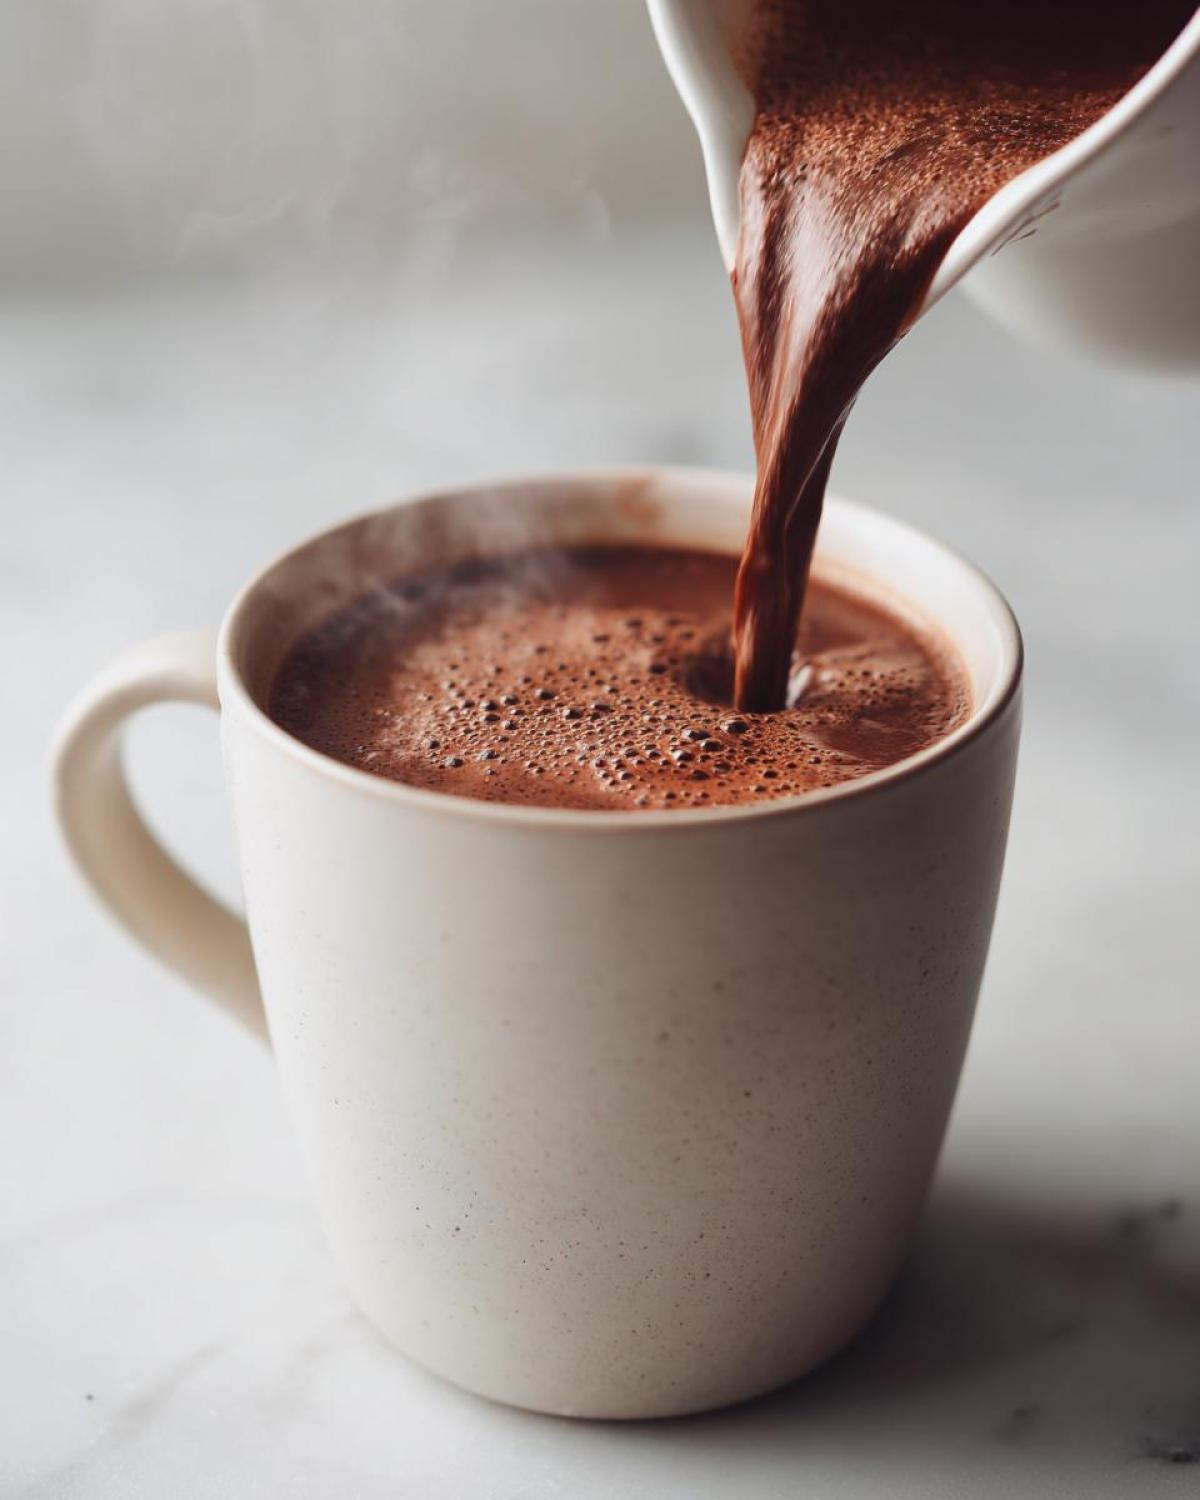
Once you have that smooth chocolate base, begin slowly pouring in your milk while whisking constantly. Keep stirring often as it heats up—we want it piping hot and comforting, but never let it come to a rolling boil! That’s how you ruin the texture. Once it’s steaming beautifully, take it right off the heat and stir in that last touch of vanilla extract. If you’re feeling extra fancy, you can check out our recipe for Secret Spice Hot Cocoa Mix for future gifting ideas, but for now, enjoy this liquid gold!
Achieving Velvety Hot Chocolate Texture
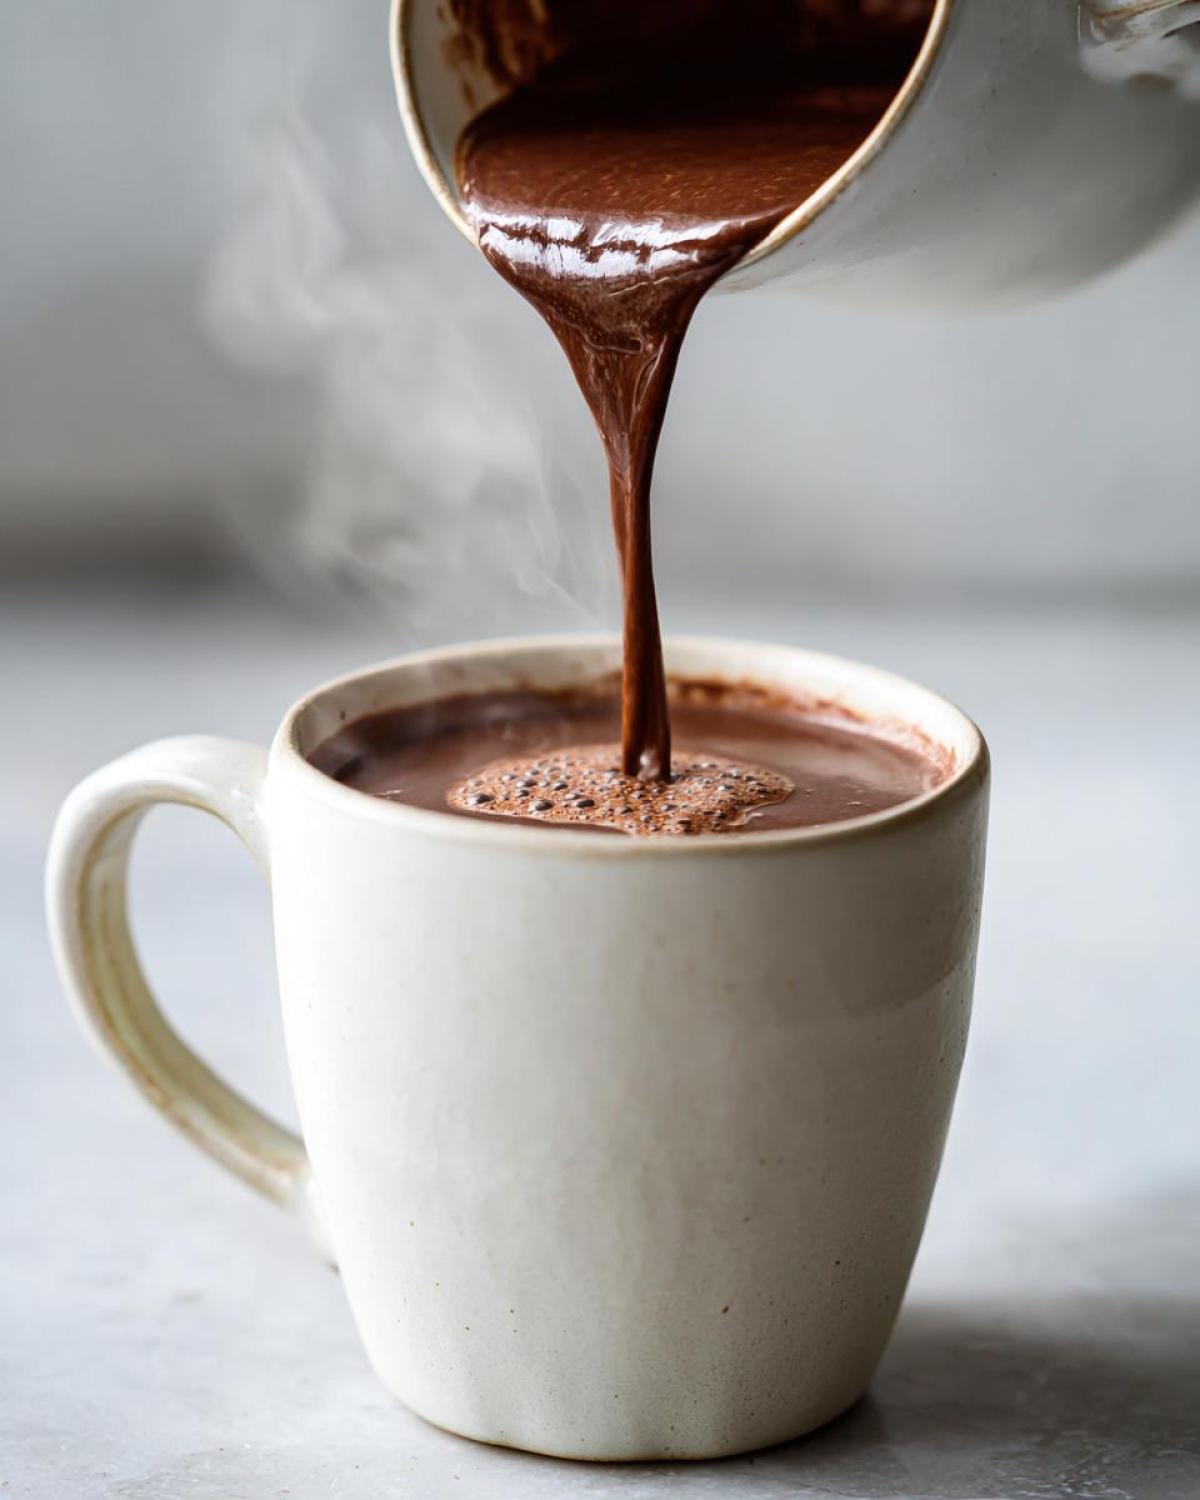
The secret to achieving that perfect velvety hot chocolate is really all about temperature management during this milk stage. Remember, we’re heating it gently, stirring it to dissolve any last bits of sugar, but we absolutely must avoid boiling. Boiling scorches the milk and ruins that smooth, luxurious feel we worked so hard to create. Pay attention to the edges of the pan; when you see just tiny bubbles forming around the rim—that’s your signal to kill the heat! If you watch your low and slow approach, I promise you’ll have the creamiest cup imaginable every time.
Ingredient Notes and Customizing Your Homemade Hot Cocoa
Now that you know the basic flow for making stellar homemade hot cocoa, let’s talk about making it *yours*. The whole point of ditching the box mix is the freedom to customize! The recipe calls for whole milk, and I stand by that—it gives you the best, richest base. If you absolutely must substitute, using half-and-half instead of milk will take this straight into ultra-decadent hot chocolate territory. Just keep in mind that skim milk will result in a thinner texture we’re trying to avoid.
For a deeper, more intense chocolate hit, you can play around with the cocoa powder itself. If you use Dutched (alkalized) cocoa, the color will be darker and the flavor smoother. Or, if you want a slight kick, you can add a pinch of cayenne pepper along with your salt—it really brings out the chocolate notes without making it taste spicy, unless you want that!
Ideas for Homemade Hot Cocoa Toppings
This is where you can really have fun! The drink tastes fantastic plain, but as far as hot cocoa toppings ideas go, standard marshmallows are just the starting line. I always keep fluffy mini-marshmallows on hand, but if you have a little extra time, a homemade dollop of fresh whipped cream is unbeatable. Don’t forget a light shake of freshly grated nutmeg over the top—it smells incredible.
For a modern twist, try a small piece of dark chocolate shaved right over the foam, or even a sprinkle of flaky sea salt if you added the optional cinnamon. A candy cane crushed up makes for a fun peppermint version perfect around Christmas time. Basically, anything that melts nicely is a winner!
Make-Ahead Homemade Hot Cocoa Mix Recipe
Okay, sometimes you just don’t have twelve minutes, or maybe you need to make gifts for the neighbors! That’s why I also keep a sealed jar of my dry homemade hot cocoa mix on hand in the pantry at all times. This is fantastic for stocking up on creamy, rich flavor for those super busy weeks. It’s shockingly easy to put together, and it makes the most thoughtful little DIY gift.
To make the mix, you just combine the dry parts of the stovetop recipe but leave out the milk, water, and vanilla. I usually whisk together about a cup of the cocoa powder, a full cup of sugar, the salt, and the cinnamon in a large bowl until everything is totally uniform. Keep it in a good airtight container, and bam! You’re set.
When you want a serving, that’s where the magic happens. Just spoon about a quarter cup of your mix into your mug. Then, you’ll need to heat up one cup of milk—again, whole milk is my number one recommendation for that luxurious texture—and pour the hot milk right over your powder. Whisk it well right in the mug until it’s all smooth, and maybe check out how to make peppermint hot chocolate bombs if you want to get really creative with your gifting!
Serving Suggestions for Cozy Winter Drinks
Honestly, a mug of this rich cocoa deserves a partner! It truly elevates the mood when you think about serving it right. This isn’t just a drink; it’s the main event for those evenings when you finally collapse onto the couch after being outside in the freezing cold. It’s one of those essential comforting hot drinks that demands a simple, buttery sidekick.
When I make a batch, I always try to have something sturdy nearby. A slice of toasted sourdough slathered with good butter works surprisingly well against the sweet chocolate. If you’re baking anyway, this cocoa pairs perfectly with something spiced, like a slice of my Gingerbread Banana Bread. That little hint of ginger and molasses is just heavenly alongside the rich cocoa. It makes the whole house smell like the best kind of holiday retreat!
Storing Leftovers of Your Homemade Hot Cocoa
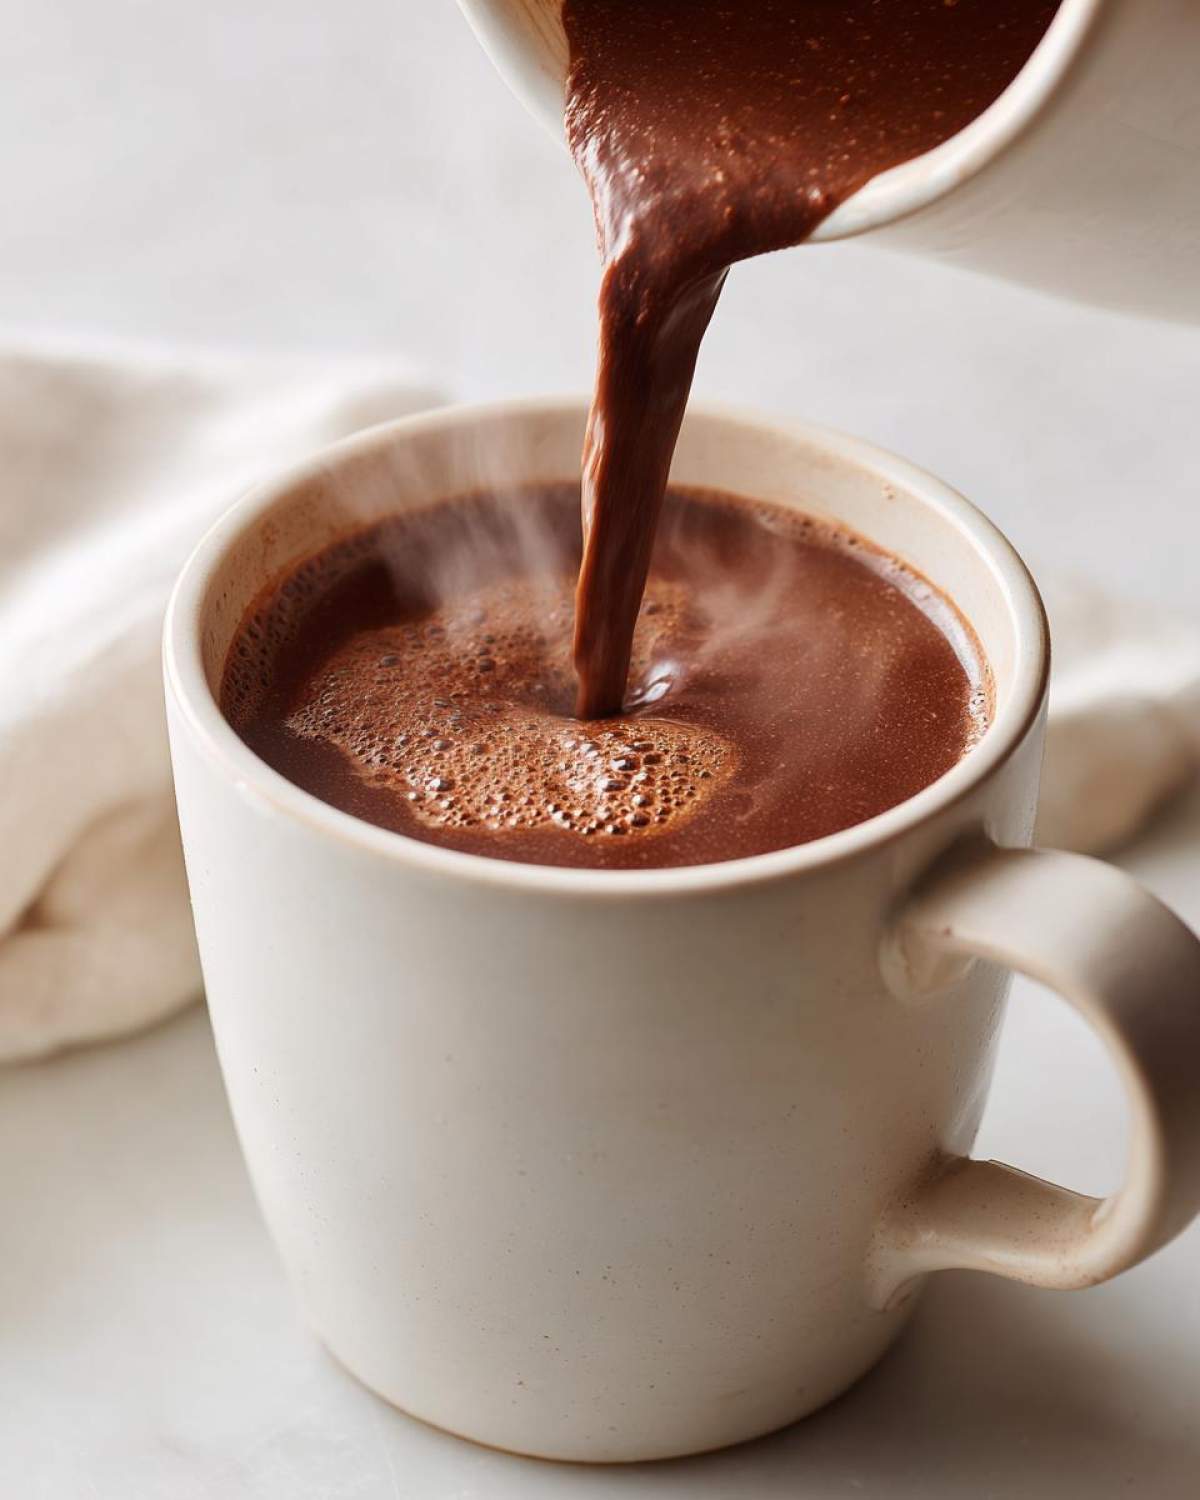
Now, the only real tragedy about making this perfect, rich hot cocoa is if you somehow end up with leftovers! If you happen to have any of this luscious liquid left (which rarely happens in my house, trust me), you want to treat it right so it tastes amazing the next day. Go ahead and pour any remaining hot cocoa into a well-sealed jar or container and pop it straight into the refrigerator. It keeps beautifully for about two or three days. Reheating is super simple—just pour what you want into a small saucepan over medium-low heat, stirring often until it’s warm again. Avoid microwaving large amounts if you can; the stovetop keeps the texture smoother!
But hey, if you made the dry mix version we talked about earlier? That one is built for the long haul! Remember that airtight jar of homemade hot cocoa mix? As long as it stays sealed up tight and stored safely away from light and excess heat, that mix will stay perfectly potent and ready to go for several months—sometimes up to six months, depending on the freshness of your cocoa powder. That’s why keeping those dry ingredients on hand is such a lifesaver for emergency cozy moments. It simply can’t be beaten for convenience!
Frequently Asked Questions About Homemade Hot Cocoa
I always get tons of questions when people realize they can make a truly decadent hot chocolate right at home! Here are the ones I hear most often:
Can I use water instead of milk for this homemade hot cocoa?
You absolutely can make a cup using just water if you need to, but hear me out: it won’t be the same! If you use water, you drastically lose that rich and creamy cocoa texture we are aiming for. The texture will be much lighter, tasting more like a dark chocolate milk drink. For the best flavor and velvety result, please stick to milk, or at least a combination of half water/half milk if you’re conserving calories.
How do I make this spicy? I love heat in my drinks!
Oh, I love that! If you want to make this batch a little warmer, I suggest adding a small pinch of cayenne pepper right into the dry ingredients when you whisk them initially. Just a tiny pinch is enough to give you that slow lingering warmth on the finish. If you want to go full-on authentic, check out my recipe for Spicy Mexican Hot Chocolate, which uses chili powder and a little more cinnamon for a completely different experience!
Is it okay to use dark or Dutch-processed cocoa powder?
Yes, that’s a great question about achieving the best hot chocolate recipe! You can certainly use Dutch-processed cocoa powder. It will give you a deeper, smoother, less acidic flavor, and the color will be much darker, which I personally love for a dramatic look. Just know that Dutch-processed cocoa is less acidic, so the overall flavor profile might be slightly different than if you used natural cocoa powder, but it’s a fantastic variation for a genuinely deep, velvety hot chocolate.
How long will the dry homemade hot cocoa mix last?
If you store that DIY mix in a genuinely airtight container, away from light, it should stay fresh for about six months. Just make sure all your ingredients were totally dry when you mixed them—any moisture can cause clumping or spoilage. It’s the perfect way to ensure you always have ingredients ready for those unexpected needs for easy winter beverages!
What to Do Next After Making Homemade Hot Cocoa
Now that you’ve got the ultimate mug of velvety goodness in your hands, the next step is critical: you have to tell me about it! Seriously, the best part of sharing these homemade hot cocoa recipes is hearing how you customized yours. Did you go wild with the whipped cream? Are you now obsessed with your new favorite spicy addition?
Please, take a second to leave a quick rating right below the recipe card—it helps other folks know this stuff is genuinely good! And if you snapped a picture of that perfectly topped mug, tag me on social media! I absolutely love seeing your creations and hearing which of our hot cocoa toppings ideas worked best for your family. Go enjoy that incredible mug; you earned it!
Print
Rich and Creamy Homemade Hot Cocoa
- Total Time: 12 min
- Yield: 2 servings 1x
- Diet: Vegetarian
Description
Make a rich, creamy hot chocolate from scratch on the stovetop. This recipe yields a decadent drink superior to any store-bought mix.
Ingredients
- 3 tablespoons unsweetened cocoa powder
- 3 tablespoons granulated sugar
- 1/4 teaspoon salt
- 1/4 teaspoon ground cinnamon (optional)
- 1/4 cup hot water
- 2 cups milk (whole milk recommended for creaminess)
- 1/2 teaspoon vanilla extract
Instructions
- In a small saucepan, whisk together the cocoa powder, sugar, salt, and cinnamon until combined.
- Pour in the hot water and whisk constantly over medium heat until the mixture is smooth and slightly thickened, about 1 minute. This dissolves the cocoa solids.
- Gradually whisk in the milk. Heat the mixture, stirring often, until it is hot but not boiling, about 5 to 7 minutes.
- Remove the saucepan from the heat and stir in the vanilla extract.
- Pour the hot cocoa into mugs and add your preferred toppings.
Notes
- For a richer flavor, substitute 1/4 cup of the milk with heavy cream.
- To make a make-ahead mix for gifting, combine 1 cup cocoa powder, 1 cup sugar, 1/2 teaspoon salt, and 1/2 teaspoon cinnamon in an airtight container. Use 1/4 cup of this mix per 1 cup of milk, heating gently on the stovetop.
- Top with marshmallows, whipped cream, or a sprinkle of sea salt.
- Prep Time: 5 min
- Cook Time: 7 min
- Category: Beverage
- Method: Stovetop
- Cuisine: American
Nutrition
- Serving Size: 1 cup
- Calories: 220
- Sugar: 28g
- Sodium: 150mg
- Fat: 8g
- Saturated Fat: 4.5g
- Unsaturated Fat: 3.5g
- Trans Fat: 0g
- Carbohydrates: 32g
- Fiber: 3g
- Protein: 9g
- Cholesterol: 20mg