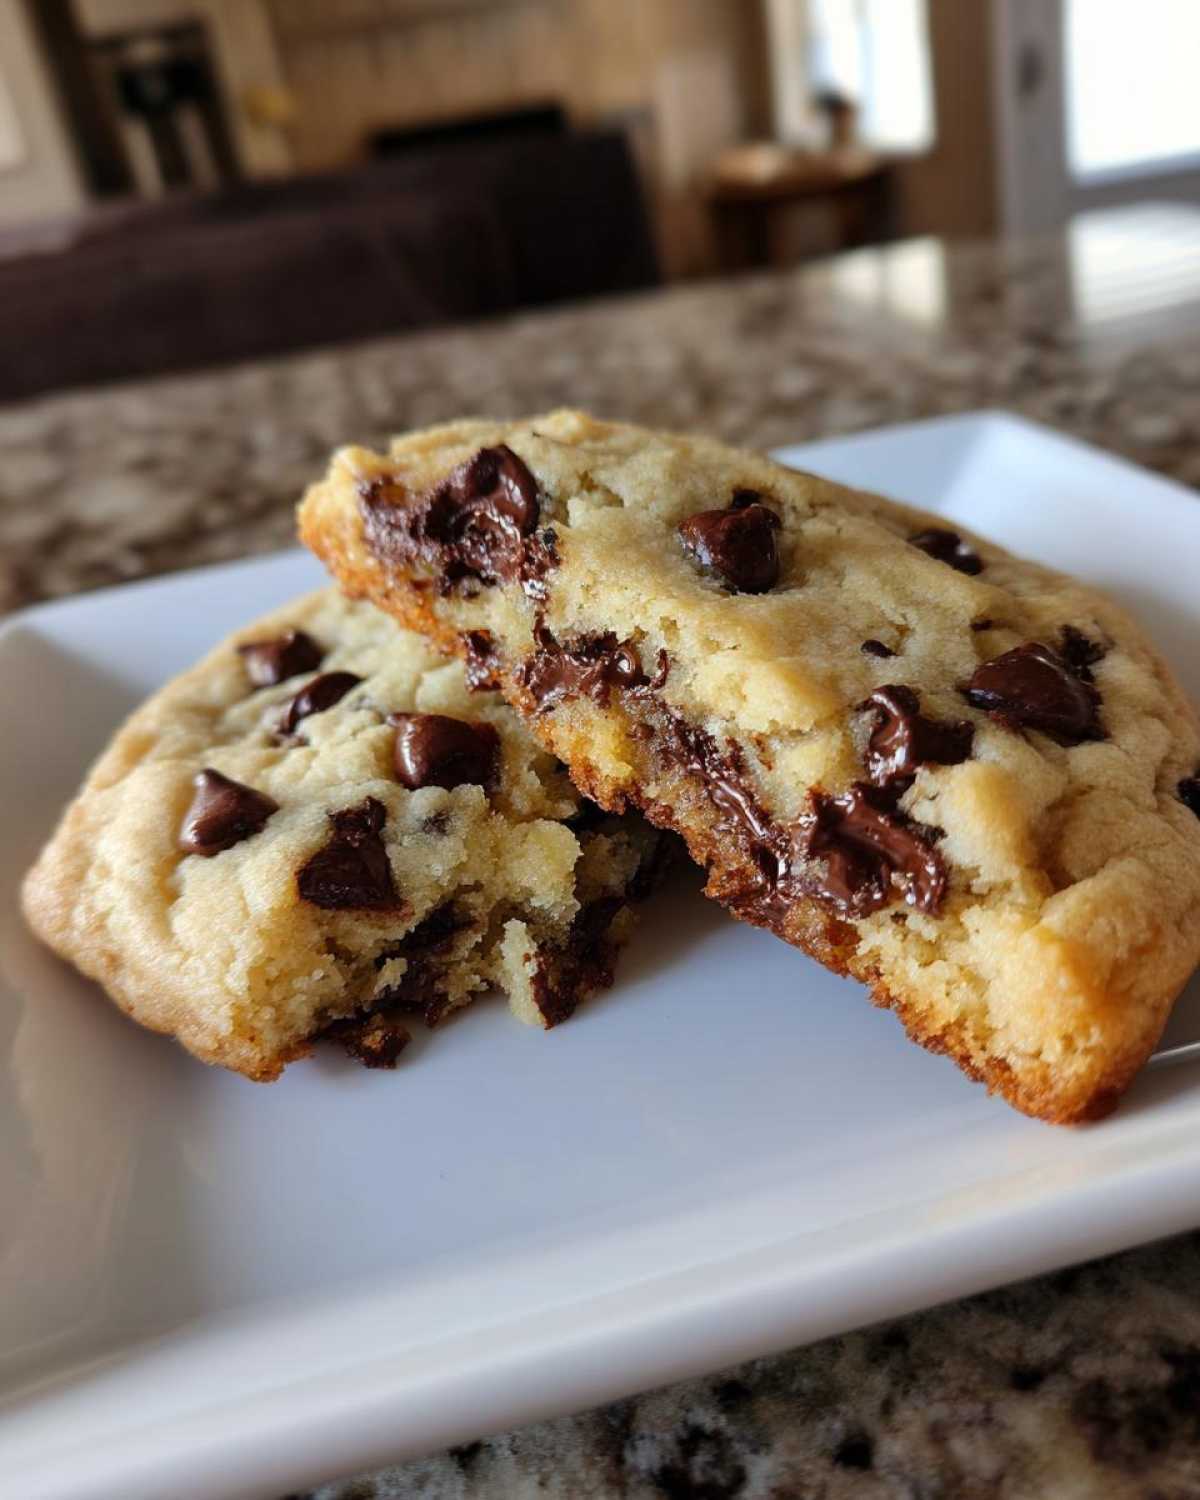
Oh my goodness, there is nothing – and I mean *nothing* – that stops a room faster than the smell of fresh chocolate chip cookies baking, right? Liam always says they are the universal language of ‘I love you.’ But let’s be real, we’ve all been burned by cookies that turn into thin, greasy puddles. Not anymore! I am thrilled to share what we now consider the absolute Gold Standard for homemade chocolate chip cookies. This is the keeper recipe that delivers the glorious bakery-style texture we all dream about: perfectly thick, a beautifully soft and gooey center, and just the right amount of crispy edge. If you’re like me and sometimes throw caution (and the recipe card) to the wind, trust me, this one is surprisingly foolproof! If you ever want to see how we play around with flavor variations later, check out our thoughts on brown butter bakery style chocolate chip cookie experiments!
Why This is the Ultimate Homemade Chocolate Chip Cookies Recipe (E-E-A-T Focus)
We spent ages trying to nail down the Best Chocolate Chip Cookie Recipe, and what we found is that the magic isn’t just luck—it’s science wearing comfy clothes! To get those thick, chewy centers you see in high-end bakeries, you need specific temperatures and proportions working together. When Liam first starts, he gets the butter just right—soft enough to squish easily, but definitely not melty. That soft butter is essential for trapping air during that first creaming step. Forget flat cookies; we are chasing that perfect cookie texture that holds its shape!
We don’t just throw things in willy-nilly; we need structure here. It’s all about that blend. Even though it’s a quick bake (we love that it’s almost a 30-minute wonder!), those little details make sure we don’t end up with a disaster. If you’re looking for other reliable comfort bakes, I’ve really enjoyed using this method for my best easy apple cobbler recipe when I need something familiar to share.
Achieving Bakery Style Cookies Texture
So, here’s the real secret to those amazing Bakery Style Cookies: the sugar ratio! We use significantly more light brown sugar than granulated white sugar. The molasses in that brown sugar keeps things soft and super chewy, which is exactly what we want in the middle. The white sugar? That’s for the lovely structure and those slightly crispy edges that give that wonderful contrast. Just watch your mixer when you add the flour—stop as soon as it disappears! Over-mixing the flour is the fastest way to develop too much gluten, and suddenly, instead of soft dough, you’ve got tough, flat guys. Don’t let that happen to your glorious cookies!

Gathering Ingredients for Perfect Homemade Chocolate Chip Cookies
Okay, let’s rally the troops! Getting the right ingredients ready makes all the difference, and I learned this the hard way when I tried making these when I was half-asleep. For these amazing, big homemade chocolate chip cookies, everything needs to be ready to go. Make sure your butter is *softened*—not melted, or they will spread into one giant sheet of chocolate grease, trust me! Your eggs should come out of the fridge early so they are at true room temperature; it helps them blend better into the sugars.
And please, use good chocolate chips! We sneak in a few chunks too because that uneven melt is just heavenly. If you’re looking to practice your frosting skills for a fancy cake soon, I highly recommend checking out vanilla buttercream frosting recipe, but for cookies, quality chips are non-negotiable!
Ingredient Notes and Substitutions
Here’s where we get bossy—in a fun way! The vanilla extract needs to be the good stuff. If you use that cheap imitation, you’ll taste it. If you accidentally melt your butter, don’t panic, but you absolutely MUST skip creaming it initially and instead chill the entire dough mixture for at least an hour before scooping. That cold stops the spread!
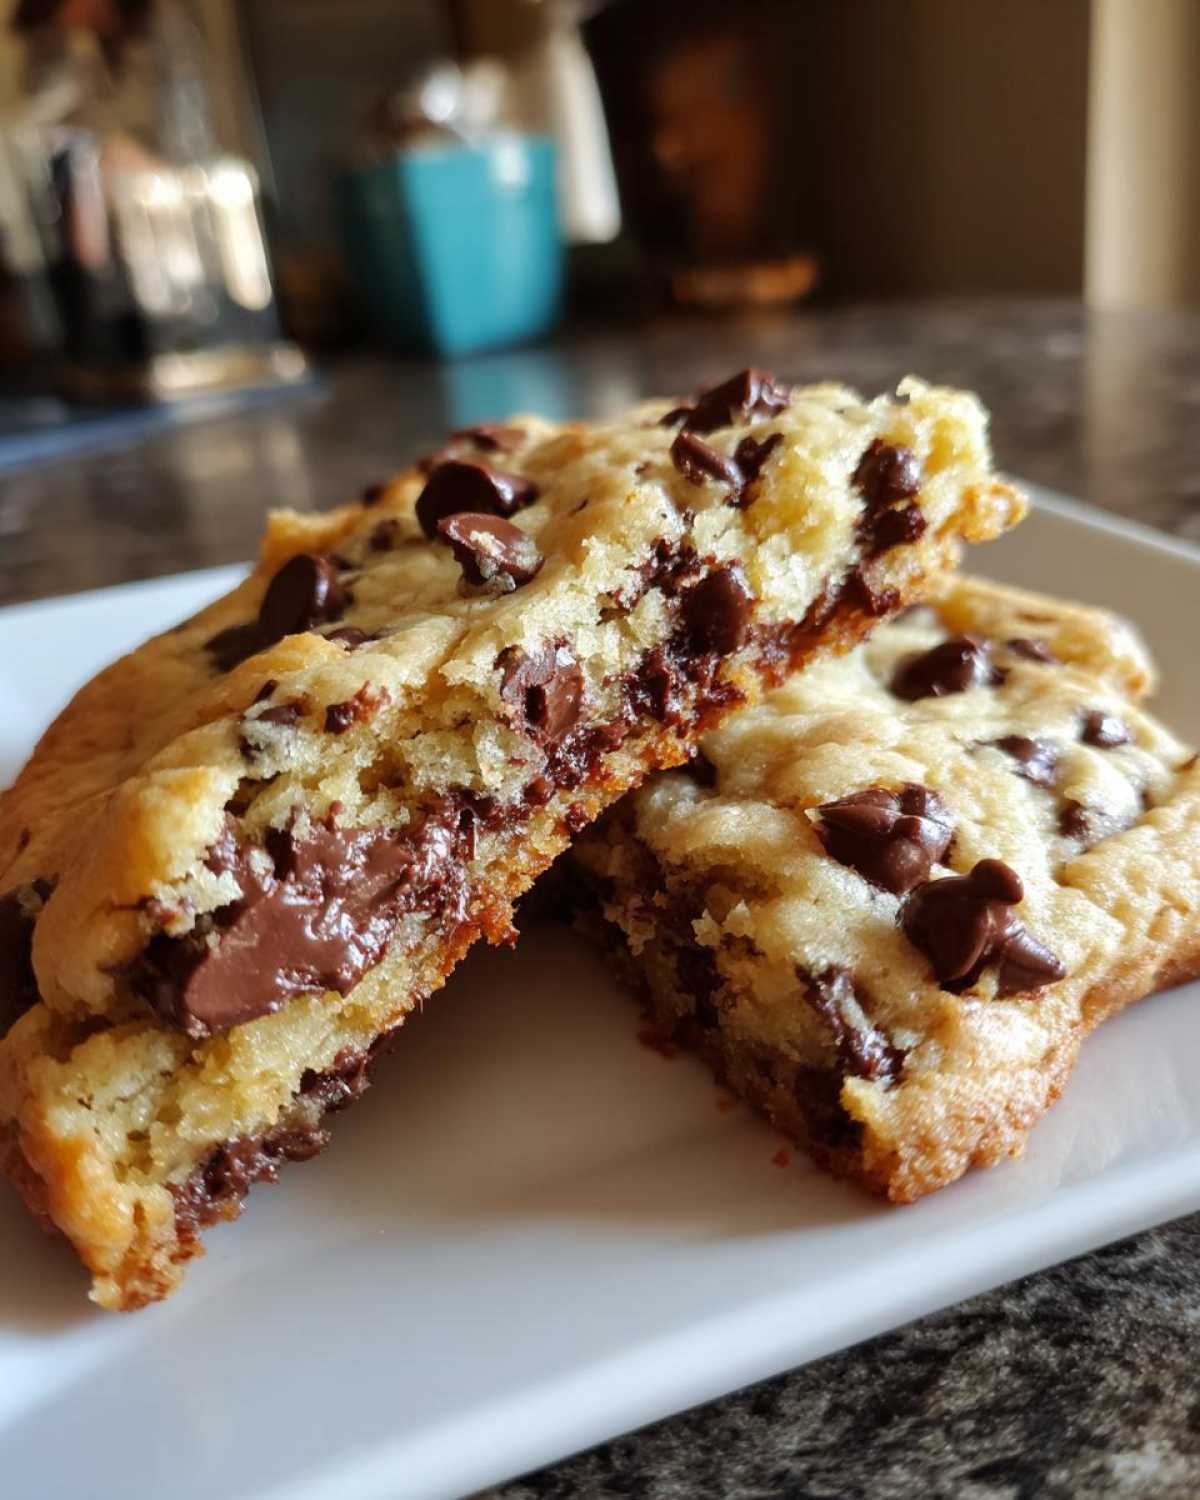
Also, to get those lovely pockets of chocolate everywhere, don’t just use chips. Grab some chocolate bars, chop them roughly, and mix those chunks in with your chips. The chunks melt differently than the chips, giving you ribbons, pools, and pockets of pure joy. It makes the difference between a good cookie and a showstopper!
Step-by-Step Instructions for Thick and Chewy Cookies
This is where the real show starts! Even though we call these a quick cookie recipe because the active work is fast, we need to be precise during the mixing phase so everything comes together beautifully. First things first: get that oven fired up to 375 degrees F and layer those baking sheets with parchment paper. It’s the easiest clean-up ever, I swear!
Grab your biggest bowl. You need to cream that softened butter with both sugars until it’s looking pale and fluffy—Liam sets a timer for about three minutes when he does this; it really makes a difference! Then, we add the room-temperature eggs, one by one, followed by that lovely vanilla. Don’t rush this blending part; it whips structure right into the dough!
Next, your dry stuff—flour, baking soda, and salt—should meet in a separate bowl and get a quick whisk. Now, add this dry mixture into the wet ingredients slowly. I mean it—low speed, just until you see the last flour streak disappear. Seriously, stop the mixer! Overmixing the flour is the quickest way to ruin the chewiness here. Finally, fold in those precious chocolate chips with your spatula. Scoop big mounds—we’re aiming for thick cookies here—and pop them in the oven. You’ll have that amazing aroma filling your kitchen in under 12 minutes. That’s why these are such a fantastic treat when you need a sweet fix fast!
The Secret to Soft Gooey Center Cookies: Baking Time
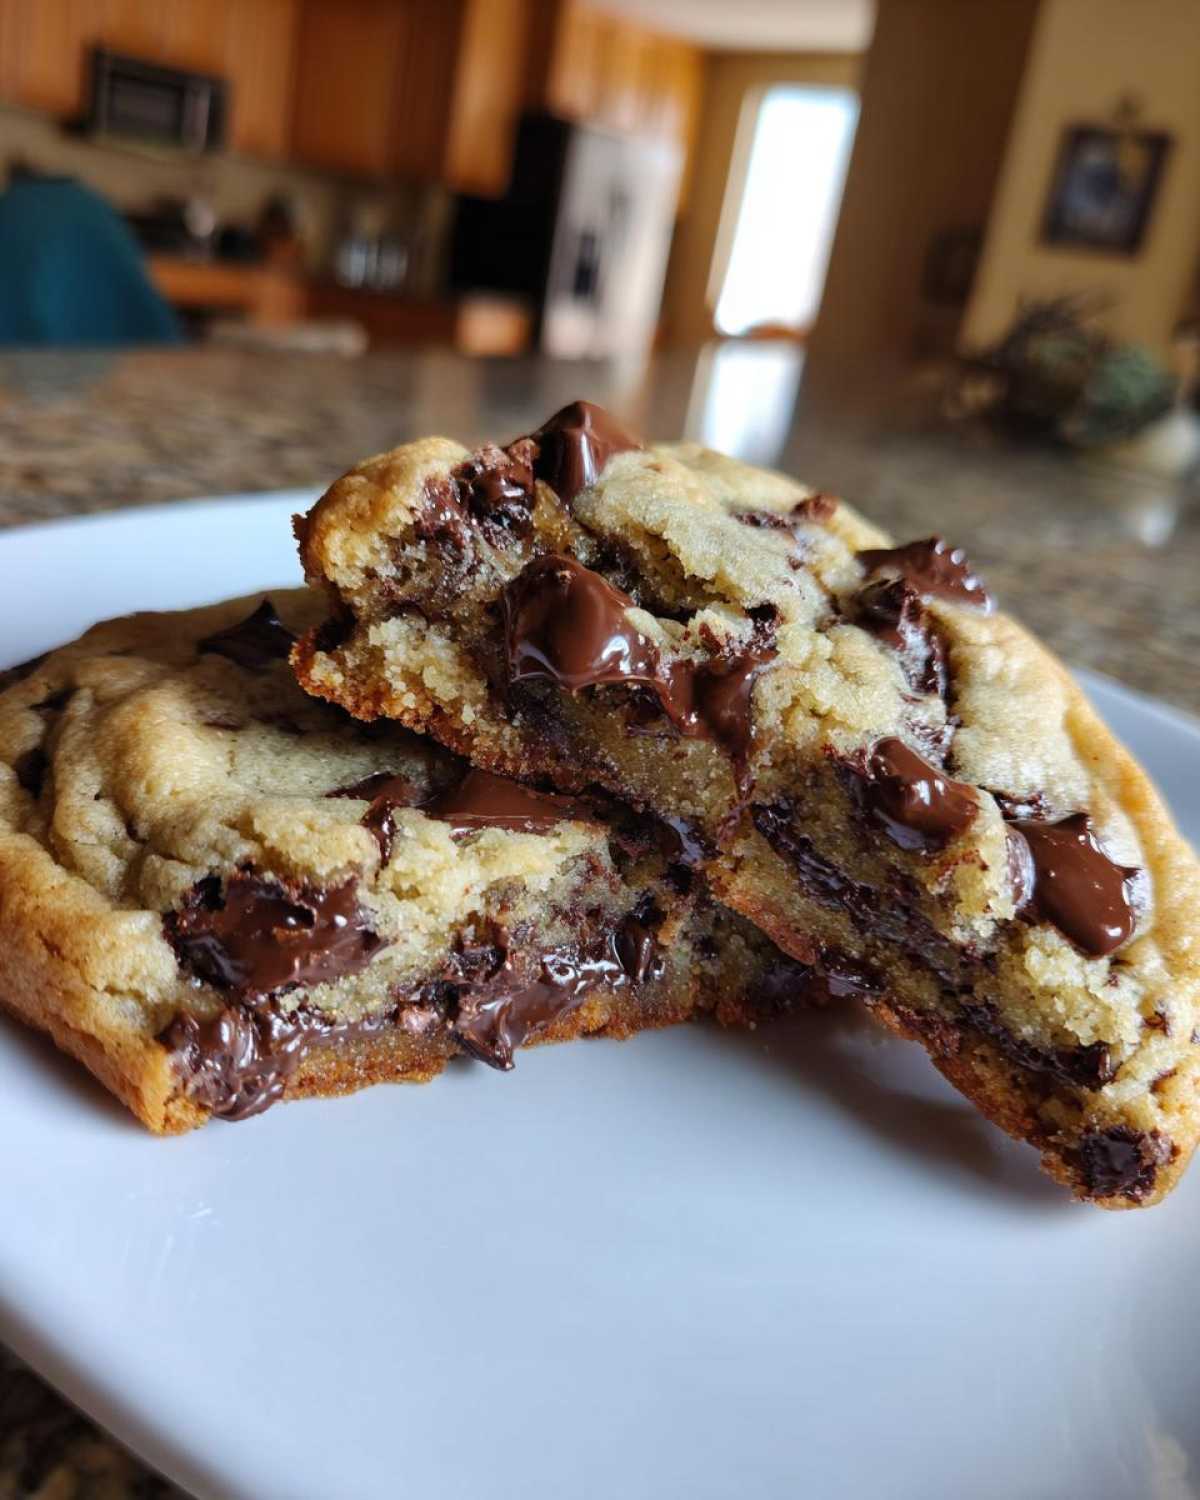
Okay, this next part is non-negotiable if you want those Soft Gooey Center Cookies! You pull them out when they look slightly strange, honestly. The edges should be golden brown and just starting to look set, but the middle has to look seriously underbaked. If you wait until the center looks done in the oven, it will be dry by the time it cools. Don’t touch them! Let them hang out on that hot pan for a full five minutes. That residual heat finishes gently cooking the middle, setting it up perfectly without drying it out. After those five minutes of patience, slide them gently onto a wire rack. You did it! You made perfection!
Tips for Mastering Homemade Chocolate Chip Cookies
Liam always wants to rush right through this part, bless his heart! But mastering that perfect shape—those tall, beautifully thick cookies—needs a little discipline. My best advice? Even though this is a fast recipe, introducing some chill time is one of the best Chocolate Chip Cookie Hacks I’ve learned. Seriously, even if you only chill the dough balls for 30 minutes in the fridge, it firms up the butter just enough to stop them from spreading into those sad, flat discs we talked about avoiding.
If you’ve ever accidentally used butter that was too warm, you’ll know what I mean about spreading! That’s the first thing to check. If you find yourself with dough that looks totally wrong, try adding just one extra tablespoon of flour when you mix the dough in, but mix that flour in *gently*. Remember, we want a chewy center, not a tough texture. This little adjustment often saves the batch for me when I know I messed up the creaming a bit!
Troubleshooting Flat or Spreading Homemade Chocolate Chip Cookies
Flat cookies are the bane of our existence, aren’t they? The number one culprit is always warm butter or over-mixing the flour. If you can’t chill the dough (because the craving is too instant!), try using cold butter instead, but you’ll have to cream it with the sugars for way longer to compensate. If that fails and your cookies are still running sideways on the pan, try scooping the dough onto the baking sheet and gently pressing the edges inward with your fingers before baking. It physically reinforces the cookie wall!
If you’re looking for other easy fixes in the kitchen to make things less stressful, I know Liam references his foolproof dough advice frequently when we make easy homemade pizza recipe, and the principles of keeping things cold and not overworking the structure are the same! It’s all about giving the ingredients a framework.
Variations for Your Classic Chocolate Chip Treats
Now that you’ve mastered the ultimate thick and chewy cookie, it’s time to let your inner artist come out and play! That’s the whole point of a Child Recipe, right? Don’t feel locked into the standard semi-sweet chips. I love making these Classic Chocolate Chip Treats feel brand new every time I bake them. If you want a serious flavor upgrade, swap out half of your chips for dark chocolate chunks—they bring a deeper, almost smoky note that is just divine with the buttery dough.
Or, maybe you want some crunch? Go ahead and fold in about a cup of toasted pecans or walnuts! Toasting them first makes the nut flavor really pop, I promise. And if you want that gorgeous, gourmet look when they come out of the oven (the ones that look like they cost $5 each), keep a handful of extra chocolate chunks and gently place them right on top of the dough balls before they go into the oven. It looks intentional, and Liam always says that presentation is half the fun!
If you want to try another fun fruit/chocolate combo, these aren’t cookies but they are so good—you have to try my cranberry orange muffins with streusel for breakfast!
Storage and Reheating for Buttery Chocolate Chip Cookies
Having these amazing, Buttery Chocolate Chip Cookies around is dangerous because they vanish so fast! But if you manage to save any (and Liam never seems to!), you need to store them correctly to keep that gooey center intact. Keep them in a solid airtight container at room temperature. Seriously, skip the fridge! Cold temps are the enemy of soft cookies; they make them hard faster than you can say ‘second batch.’
Now, if you’ve saved cookies hoping to eat them later, and you want that melt-in-your-mouth texture back, I have the perfect trick. Pop one cookie on a small plate and zap it in the microwave for just 10 seconds. It sounds short, but that brief heat reactivates the chocolate and makes the center soft and luxurious again, like they just came out of the oven. They are great with a warm cinnamon roll cocktail on the side, trust me on that one!
Frequently Asked Questions About These Cookies
I knew you’d have questions! Baking, especially when chasing that **Perfect Cookie Texture**, always brings up a few tricky queries. We’ve tried just about everything over the years, standing here in the kitchen, taste-testing until it was dark outside. Here are some of the things I get asked the most about getting these the absolute best **homemade chocolate chip cookies**!
Can I make these cookies ahead of time?
Oh yes, absolutely! I highly recommend making the dough ahead, honestly. I usually mix it up and then cover the bowl tight and stick it in the fridge for at least a few hours, but you can safely keep that dough for up to three days. It actually deepens the flavor! If you want longer storage, roll the dough into balls, freeze them on a tray, and then pop them into a freezer bag. If you bake them straight from frozen, just add maybe 2 or 3 extra minutes to the baking time, but keep checking them!
What is the best way to get crispy edge cookies?
This goes back to the sugar ratio, but here’s the trick I noticed: if your heart is set on maximum crispiness around the border while keeping that gooey middle, you need to tilt the balance slightly more towards the white sugar when creaming. Also, right before they go onto the baking sheet, take your palm and gently press the dough down just a tiny bit more than usual, flattening the edges out further. That extra spread allows those edges to crisp up beautifully while the center stays thick and chewy!
If you want to see how Liam approaches structure in other recipes, take a peek at my About Me page; he sometimes uses my silly notes to help him structure his more serious bakes!
Nutrition Snapshot for Your Homemade Chocolate Chip Cookies
You know that Liam, my very organized husband, loves his spreadsheets, and he crunched some numbers for these cookies, but I need to give you the big disclaimer right up front, because this is the fun part, not the science part!
Please know that all the facts and figures you might see about calories, sugar, or fat in these **Buttery Chocolate Chip Cookies** are just estimates based on what we used on the day we tested it. Every brand of butter, every type of chocolate chip—it all changes the final count, right?
So, think of this as a fun guideline, not a contract! We cook to feel good and share joy, not to count grams, so don’t stress over the exact numbers. For the official (and slightly boring) breakdown, make sure you check out the detailed information on our disclaimer page. Seriously, just bake a batch, share them warmly, and enjoy how wonderfully buttery they are!
Share Your Culinary Performance
Now that you have the script, it’s time for your performance! I truly hope you loved making these cookies. Please hop back here when you’re done and leave a little rating—did you get that perfect chewy center? I’d love to hear about it! Don’t forget to tag us on social media and tell me what beautiful improvisation you made. Maybe your inner muse told you to add sprinkles? Let us see your masterpiece!
If you have any behind-the-scenes questions about flavor casting or substitutions, feel free to reach out via our contact page!
Print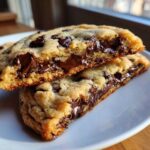
The Best Bakery-Style Soft and Chewy Homemade Chocolate Chip Cookies
- Total Time: 27 min
- Yield: 18 large cookies 1x
- Diet: Vegetarian
Description
Follow this foolproof recipe to make ultra thick, bakery-style chocolate chip cookies with soft, gooey centers and perfectly crispy edges. This is the ultimate homemade cookie experience.
Ingredients
- 1 cup (2 sticks) unsalted butter, softened
- 1 cup packed light brown sugar
- 1/2 cup granulated sugar
- 2 large eggs, room temperature
- 1 tablespoon vanilla extract
- 2 1/4 cups all-purpose flour
- 1 teaspoon baking soda
- 1/2 teaspoon salt
- 1 1/2 cups semi-sweet chocolate chips (or a mix of chips and chunks)
Instructions
- Preheat your oven to 375 degrees F. Line baking sheets with parchment paper.
- In a large bowl, cream together the softened butter, brown sugar, and granulated sugar until the mixture is light and fluffy. This takes about 3 minutes with an electric mixer.
- Beat in the eggs one at a time, mixing well after each addition. Stir in the vanilla extract.
- In a separate medium bowl, whisk together the flour, baking soda, and salt.
- Gradually add the dry ingredients to the wet ingredients, mixing on low speed until just combined. Do not overmix the dough.
- Fold in the chocolate chips using a spatula.
- Scoop the dough using a large ice cream scoop (about 3 tablespoons per cookie) and place them about 3 inches apart on the prepared baking sheets. For thicker cookies, gently press the dough balls down slightly in the center, but keep the edges high.
- Bake for 10 to 12 minutes. The edges should be golden brown, but the centers should still look slightly underbaked and soft.
- Remove the cookies from the oven. Let them cool on the baking sheet for 5 minutes to allow the centers to set up before transferring them to a wire rack to cool completely.
Notes
- For the chewiest centers, use slightly more brown sugar than white sugar in the recipe.
- If you have time, chilling the dough for 30 minutes helps prevent spreading and deepens the flavor.
- Use high-quality chocolate chips for the best melt and flavor.
- Prep Time: 15 min
- Cook Time: 12 min
- Category: Dessert
- Method: Baking
- Cuisine: American
Nutrition
- Serving Size: 1 cookie
- Calories: 250
- Sugar: 18
- Sodium: 150
- Fat: 14
- Saturated Fat: 8
- Unsaturated Fat: 6
- Trans Fat: 0
- Carbohydrates: 30
- Fiber: 1
- Protein: 3
- Cholesterol: 40