Introducing Our Festive Holiday Deviled Eggs (Red & Green)
No heading needs to be written for the introduction. Welcome to the stage, friends! I’m Sara, and I’m so happy you stopped by. When the holidays roll around, the kitchen needs a little sparkle. Forget the quiet lab cooking Liam used to do. We need joyful noise! These Holiday Deviled Eggs (Red & Green) are pure fun. They bring that needed festive cheer right to your platter. I think making food that pops with Christmas spirit is key. These colorful eggs transform any spread. They are a simple way to add big holiday impact. Let’s make something bright together!
Why You’ll Love These Holiday Deviled Eggs (Red & Green)
These little bites are my absolute favorite addition to any holiday table. They are simple magic! You get big impact with very little fuss. They really scream Christmas cheer.
- Quick Prep for Your Party: Total time is under an hour.
- Eye-Catching Presentation: Red and green make them festive!
Quick Prep for Your Party
We know the holidays get busy. You’re juggling so much! This recipe takes just 35 minutes total. That means more time for wrapping presents. Or maybe just time for a quick sip of something warm.
Eye-Catching Presentation
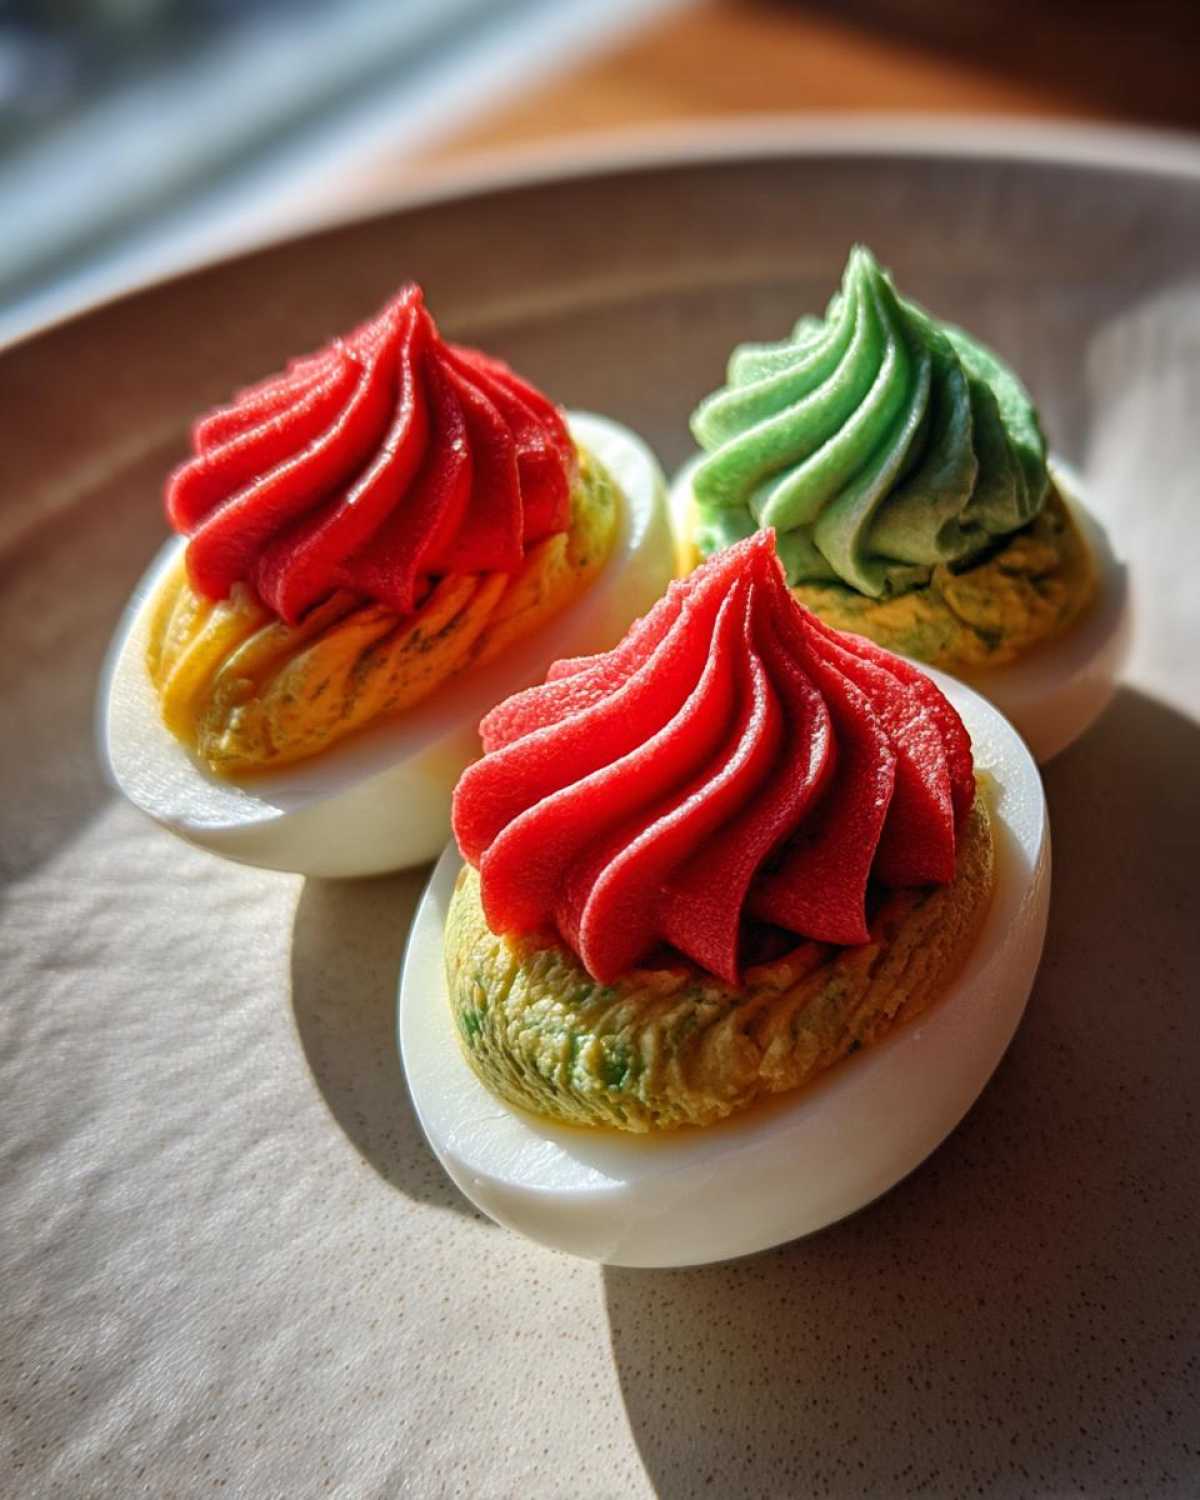
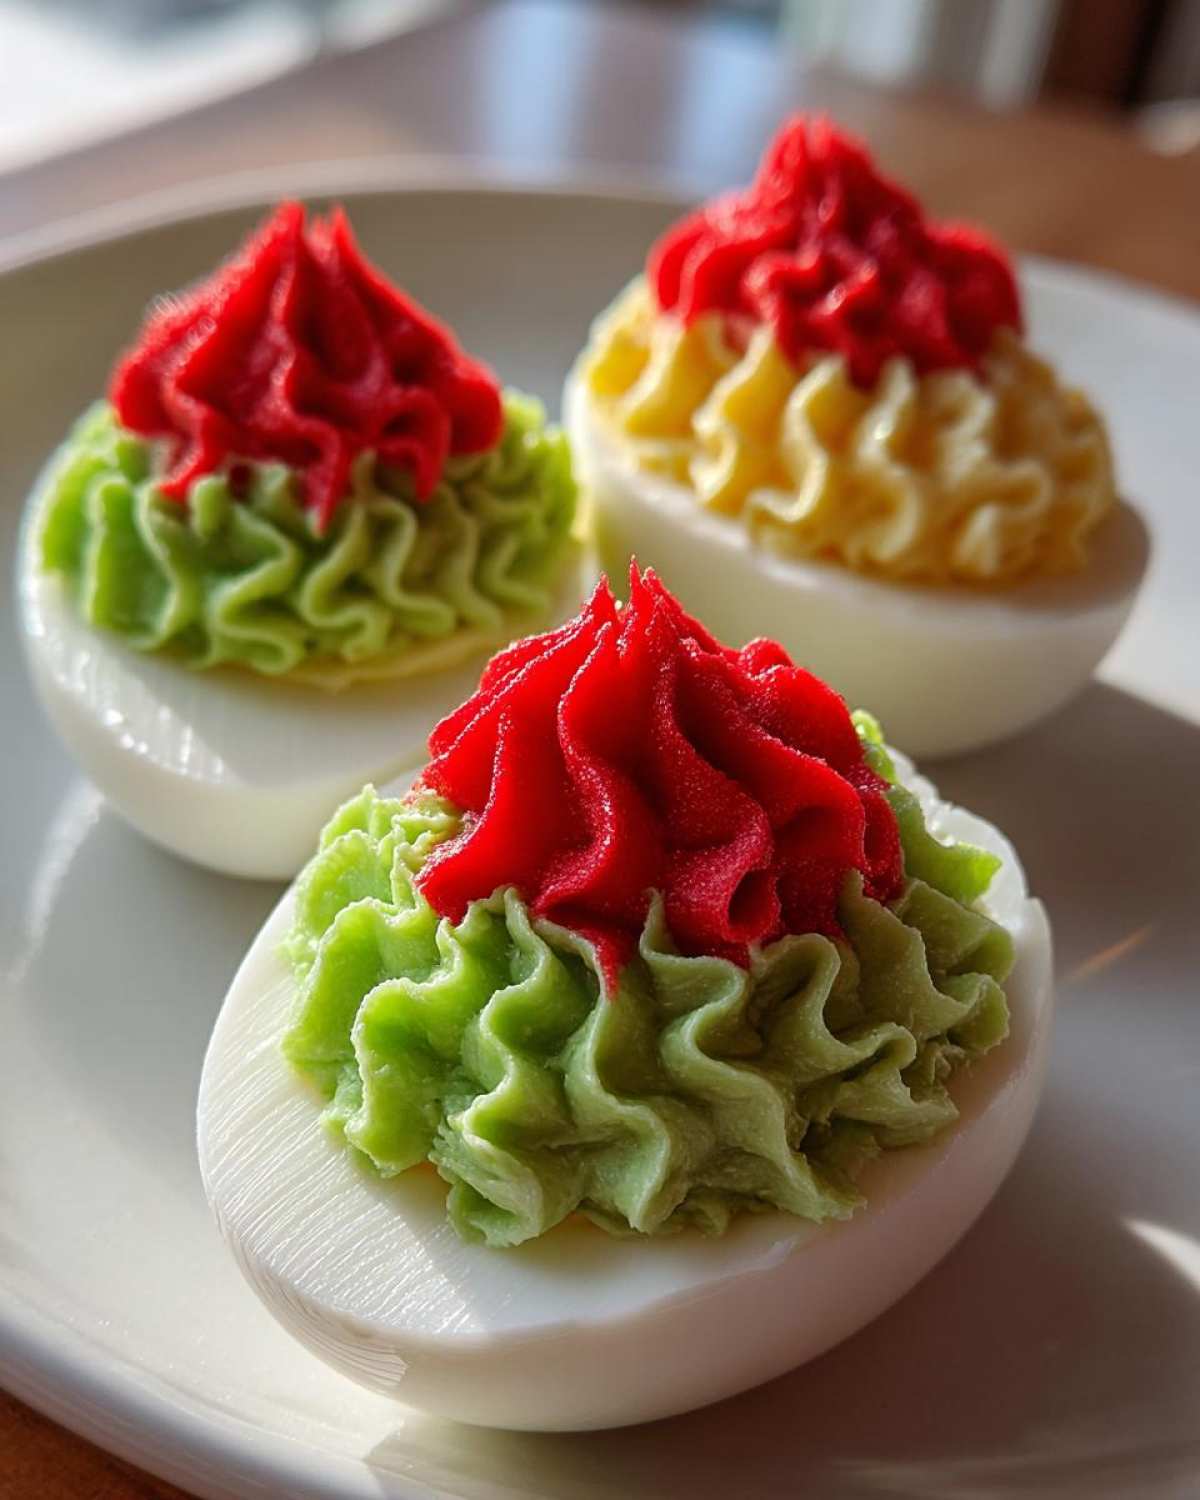
Who needs boring white eggs? Not us! The bright red and green filling makes them a stunning Christmas Appetizer. They look like tiny edible ornaments. They are truly a memorable Festive Finger Food.
Equipment Needed for Perfect Holiday Deviled Eggs (Red & Green)
Before we start our performance, let’s gather our props! Having everything ready makes things smooth. This prep work supports my expertise here. You want to focus on the fun part. Don’t skip this step, okay?
Must-Have Tools
- A medium saucepan for boiling your eggs.
- Several small mixing bowls for dividing colors.
- A sturdy fork for mashing the yolks well.
- Piping bags with a star tip, if you want fancy swirls.
- If no bags, grab a small zip-top bag instead.
Ingredient List for Holiday Deviled Eggs (Red & Green)
Gathering your ingredients is like setting the stage. Precision matters here for a great final look. We need clear measurements for the base. Then we add the magic colors. Make sure you have everything laid out before mixing!
Base Ingredients
- We need 12 large eggs for this batch.
- Measure out 1/2 cup of good mayonnaise.
- One tablespoon of Dijon mustard goes in too.
- Add one teaspoon of simple white vinegar.
- Salt and black pepper are added to taste now.
Coloring and Garnish
These liquids give us our Christmas look. Be ready with your coloring agents.
- Use liquid or gel food coloring.
- You need both red and green shades ready.
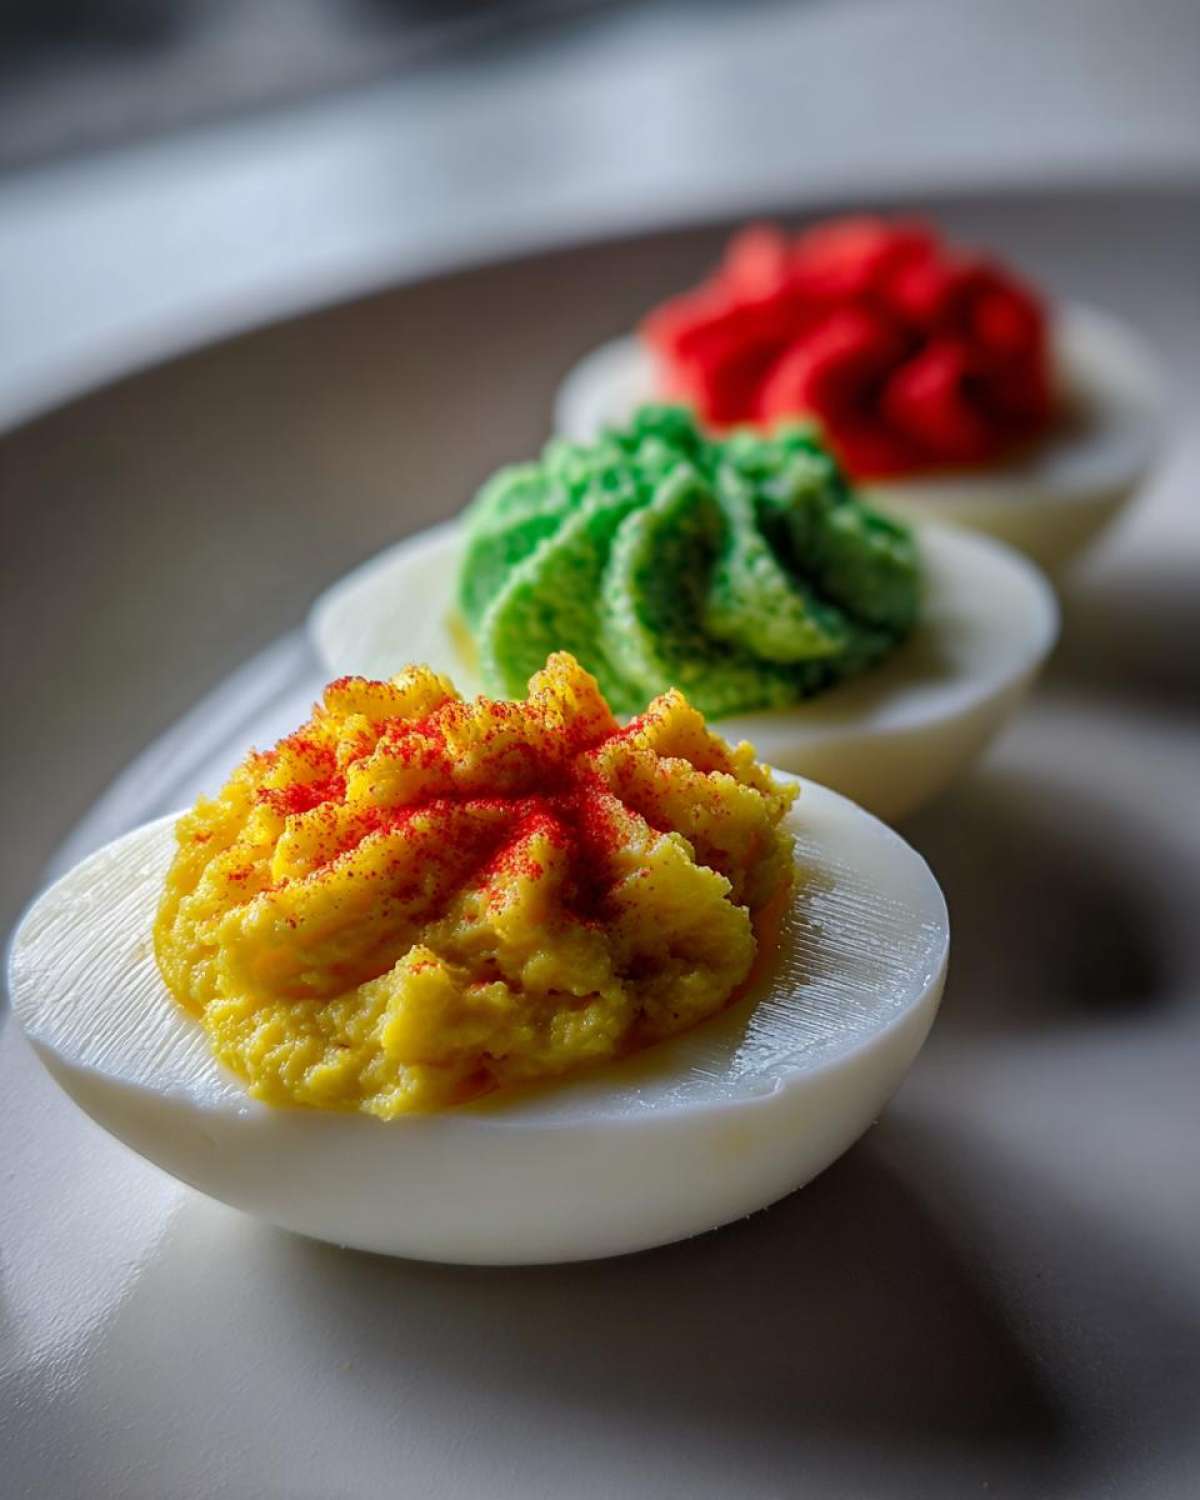
- A tiny pinch of paprika is optional garnish.
Step-by-Step Instructions for Festive Holiday Deviled Eggs
Time to put on our aprons! This part is where the real fun begins. We move from prep to actual creation. Follow these steps closely. You’ll see these eggs transform fast.
Cooking and Preparing the Eggs
Start by putting your 12 eggs in a pan. Cover them with cold water completely. Bring that water to a rolling boil now. Once boiling, kill the heat immediately. Cover the pan tightly. Let them stand there for 10 minutes only. Drain the hot water right away. Next, hit them with ice water fast. This stops the cooking. Let them cool down fully before peeling. Using slightly older eggs helps them peel better, trust me.
Creating the Base Yolk Filling
Carefully peel all your cooled eggs now. Slice them in half lengthwise down the middle. Gently scoop out all the yolks. Place these yolks in a mixing bowl. Mash them super smooth with a fork first. Then add the mayo, mustard, and vinegar. Mix it all until it looks creamy. Taste this base filling now! Make sure the salt and pepper are perfect before moving on.
Dividing and Coloring the Holiday Deviled Eggs Filling
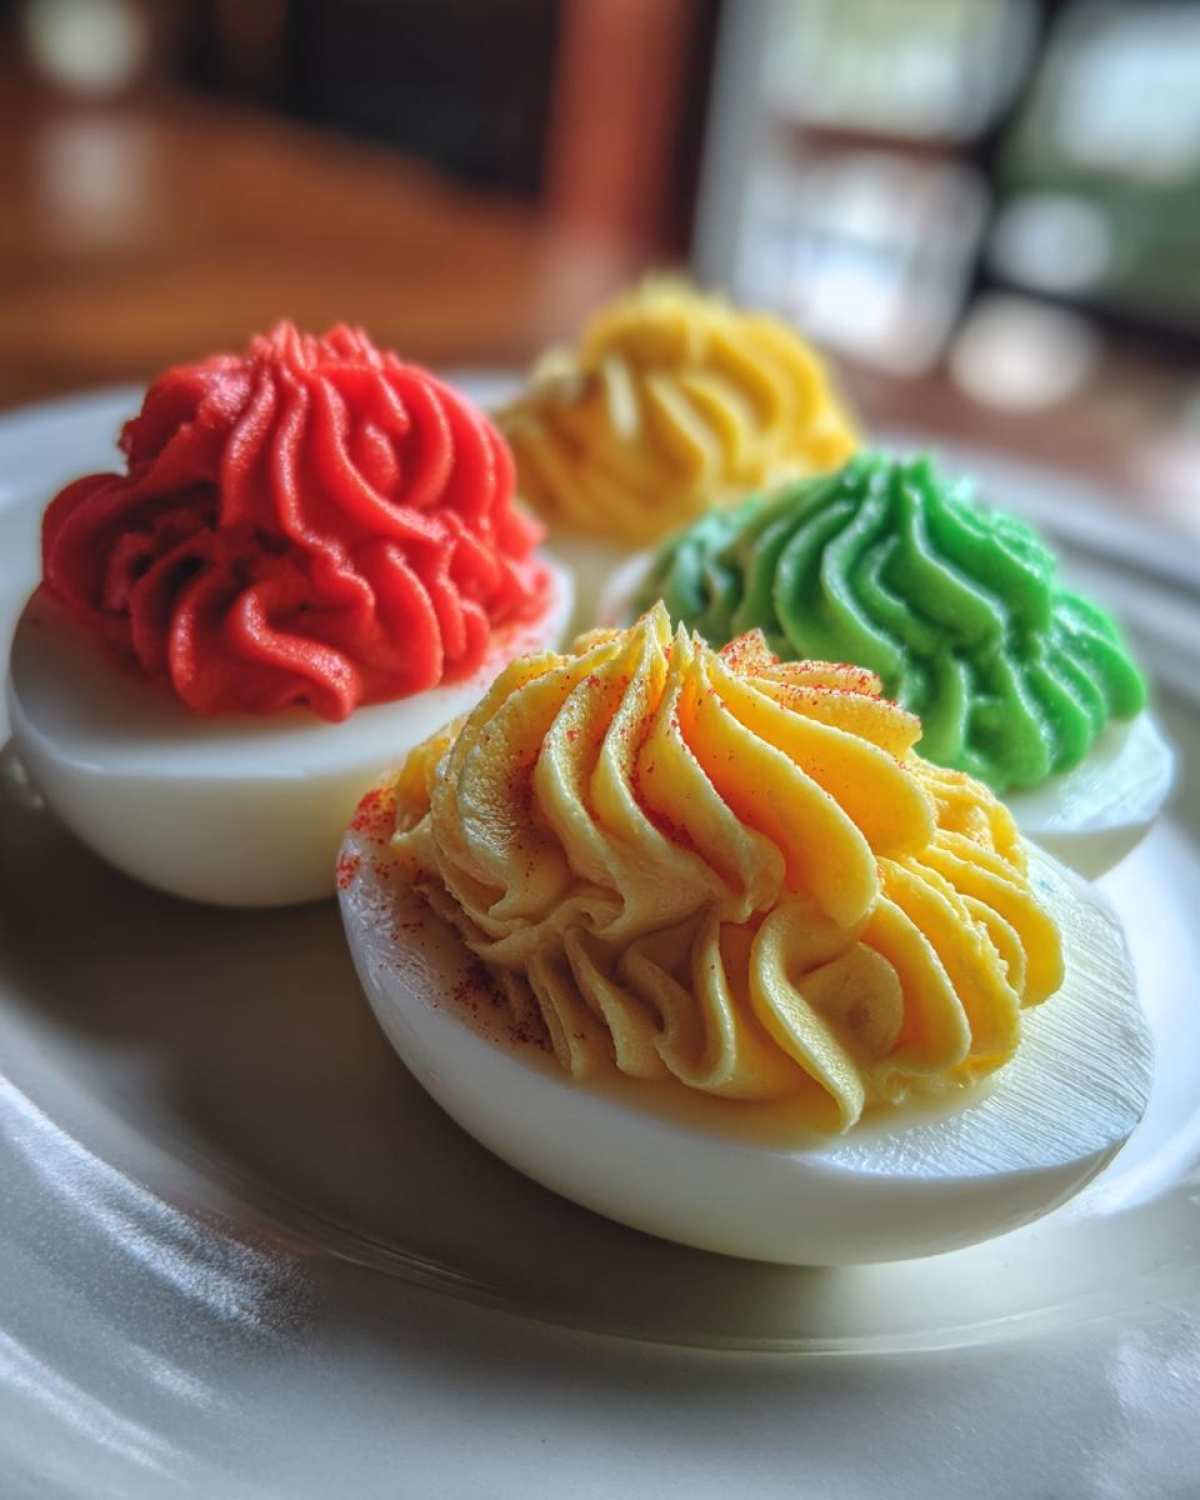
Divide that yummy yolk mix into three small bowls. Keep one bowl plain white, that’s our base. Add just a few drops of red coloring to the second bowl. Mix that red in well. Do the same with the green coloring in the third bowl. You want bright, festive shades here. Don’t be shy with the dye for the best look!
Assembling Your Christmas Appetizer
Load your fillings into piping bags now. Use a star tip for pretty swirls. If you skipped the tip, just use a small spoon. Pipe or spoon the plain filling into some whites. Then alternate with the red filling next. Follow that with the green filling. Arrange them nicely on your platter. A tiny bit of paprika looks nice as a final touch. Serve these beauties chilled!
Tips for Success Making Holiday Deviled Eggs (Red & Green)
Even the best performances need a little rehearsal! I’ve learned a few tricks over the years. These tips help keep things easy. They make sure your final spread looks amazing. Don’t let little things trip you up, okay?
Achieving Perfect Peeling
Getting those shells off cleanly is half the battle. That ice bath is non-negotiable! Plunging the hot eggs into ice water shocks them. This rapid cooling separates the membrane from the white. You’ll thank me later, I promise.
Color Saturation Advice
For that true Christmas look, you need bold shades. Start small with the food coloring, yes. But then add more drops until you love the color. We want vibrant red and green, not pale pastels. Be generous to get the best Festive Finger Food result.
Storage and Reheating for Your Party Snack
These colorful eggs are perfect for making ahead, which is a lifesaver! Store your finished Holiday Deviled Eggs in an airtight container. Keep them in the refrigerator right away. They stay fresh and tasty for about two days. Since they are a chilled Christmas Appetizer, never leave them out too long. Food safety first, always! Food safety guidelines are important when serving eggs.
Frequently Asked Questions About Holiday Deviled Eggs (Red & Green)
I know you might have a few questions bubbling up. Cooking for a party can bring out the best queries! Liam and I get asked these things a lot. Let’s clear up any last bits of confusion.
Can I make the filling ahead of time?
Yes, you absolutely can make the filling early! Mix the plain base filling. Keep it covered in the fridge. Wait to divide and color it. Do the coloring just before you plan to assemble them. This keeps the texture perfect.
What if I don’t like Dijon mustard?
Dijon adds a nice little kick. If it’s not your jam, swap it easily. Use a teaspoon of yellow mustard instead. Or try a tiny dash of apple cider vinegar for tang. Keep the flavor bright!
How do I keep the colors from mixing?
This is key for the look! Use separate piping bags for each color. If you pipe one color, wipe the tip clean before the next. This separation makes them a stunning Christmas Appetizer. It keeps your Festive Finger Food looking sharp.
Estimated Nutritional Data for Holiday Deviled Eggs (Red & Green)
I always want you to know what you’re serving. Remember these numbers are just estimates, folks! I’m a cook, not a nutritionist, after all. We base this on the ingredients listed above. This helps you plan for your gathering.
- Serving Size is two egg halves.
- Calories clock in around 90 per serving.
- Fat content is about 8 grams total.
- Protein offers a nice little boost at 3 grams.
- Carbohydrates are very low, just 0.5 grams.
Share Your Culinary Performance
That’s a wrap on our show! I hope you loved making these. Did your Holiday Deviled Eggs shine brightly? Tell us how your performance went below. We love hearing from you! For more fun appetizer ideas, check out our guide on Mediterranean Hummus Platter.
Print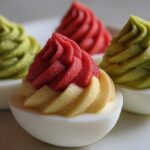
Amazing Holiday Deviled Eggs: 3 Great Colors
- Total Time: 35 minutes
- Yield: 24 halves (12 eggs) 1x
- Diet: Vegetarian
Description
Make festive Holiday Deviled Eggs with vibrant red and green colors perfect for your Christmas gathering. These fun eggs bring holiday cheer to any appetizer spread.
Ingredients
- 12 large eggs
- 1/2 cup mayonnaise
- 1 tablespoon Dijon mustard
- 1 teaspoon white vinegar
- Salt to taste
- Black pepper to taste
- Red food coloring (liquid or gel)
- Green food coloring (liquid or gel)
- Pinch of paprika for garnish (optional)
Instructions
- Place eggs in a saucepan and cover with cold water. Bring water to a boil, then immediately remove from heat, cover, and let stand for 10 minutes.
- Drain hot water and immediately cover eggs with ice water to stop the cooking process. Let them cool completely.
- Peel the cooled eggs carefully. Slice each egg in half lengthwise.
- Gently scoop the yolks into a bowl. Set the egg white halves aside.
- Mash the yolks thoroughly with a fork.
- Mix in the mayonnaise, Dijon mustard, and vinegar until smooth. Season with salt and pepper. This is your base filling.
- Divide the yolk mixture evenly into three small bowls. Leave one bowl plain.
- Add a few drops of red food coloring to the second bowl and mix until you achieve a festive red color.
- Add a few drops of green food coloring to the third bowl and mix until you achieve a festive green color.
- Transfer the plain, red, and green fillings into separate piping bags fitted with a star tip (or use a small spoon for a rustic look).
- Pipe or spoon the fillings back into the empty egg white halves, alternating colors for a fun holiday pattern.
- Arrange the finished deviled eggs on a serving platter.
- Garnish lightly with a tiny sprinkle of paprika, if desired. Serve chilled.
Notes
- For the best peeling experience, use slightly older eggs.
- If you don’t have piping bags, use a small zip-top bag with a corner snipped off.
- Be generous with the food coloring; you want bright, noticeable holiday shades.
- Taste the base filling before dividing it to ensure the seasoning is perfect.
- Prep Time: 25 minutes
- Cook Time: 10 minutes
- Category: Appetizer
- Method: Boiling and Mixing
- Cuisine: American
Nutrition
- Serving Size: 2 halves
- Calories: 90
- Sugar: 0.5g
- Sodium: 120mg
- Fat: 8g
- Saturated Fat: 2g
- Unsaturated Fat: 6g
- Trans Fat: 0g
- Carbohydrates: 0.5g
- Fiber: 0g
- Protein: 3g
- Cholesterol: 90mg