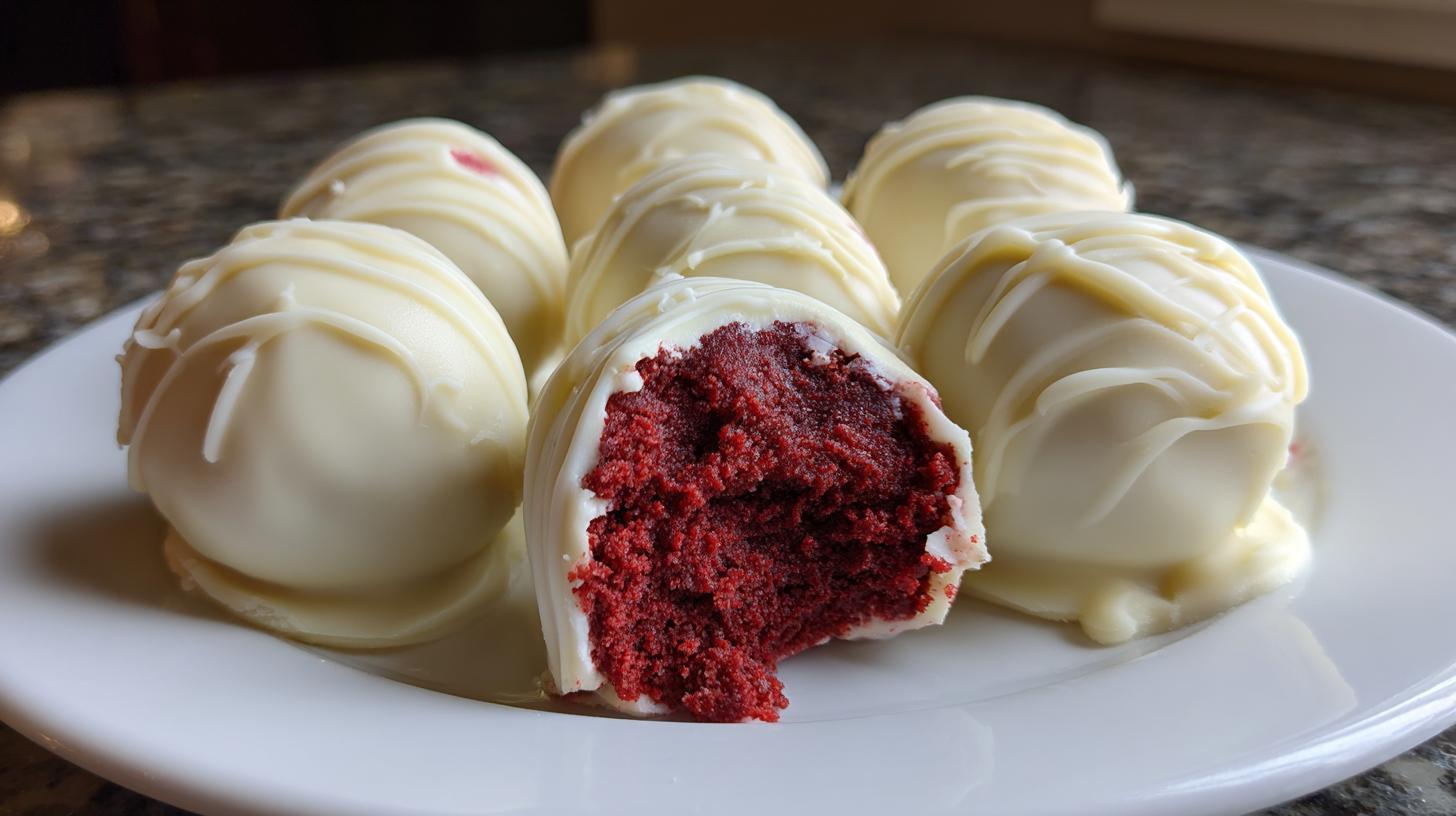
The Secret to Perfect Red Velvet Cake Balls
Are you ready for a treat that screams celebration? I mean truly screams joy? Forget fussy baking. We are making easy no-bake red velvet cake balls today. I am Sara, and this is where the fun begins. My husband, Liam, used to cook like a scientist. Everything perfect. Everything quiet.
My kitchen style is much louder, much messier. I am the muse here. I reminded him food is about feeling. It is about connection, not just technique. This recipe shows that shift perfectly. It is pure, joyful creation.
We created this recipe for you.
Why Our Easy No-Bake Red Velvet Cake Balls Recipe Works
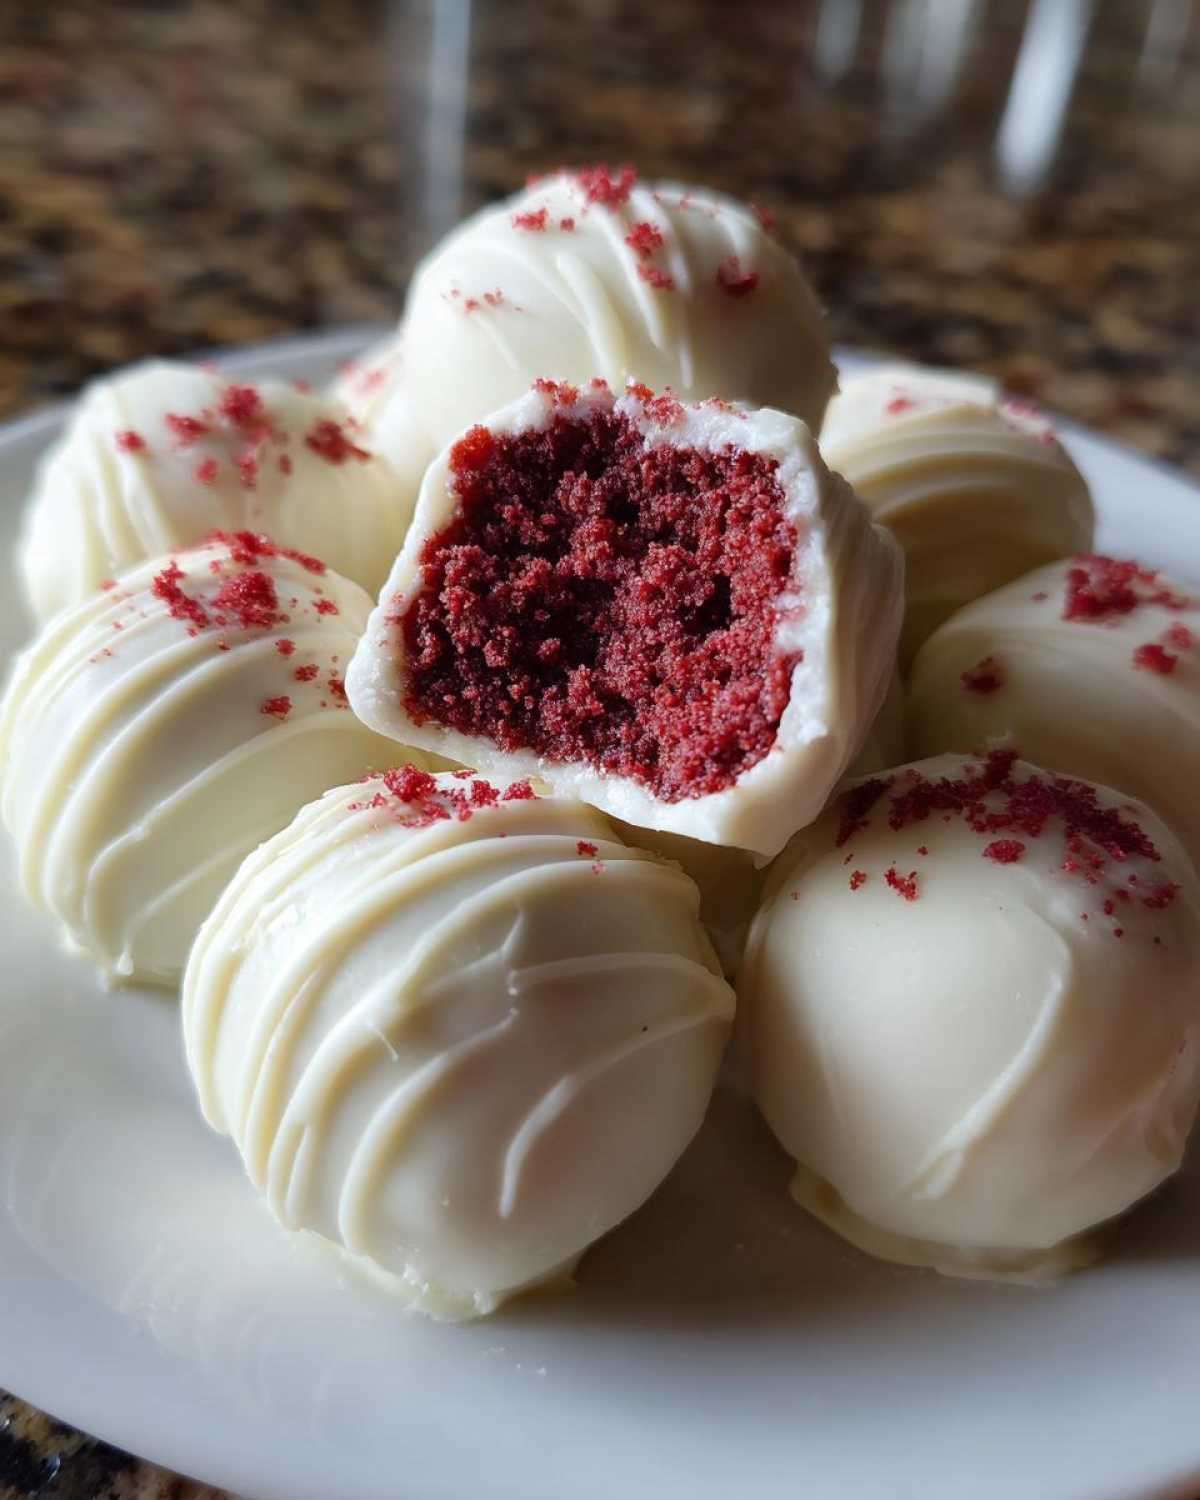
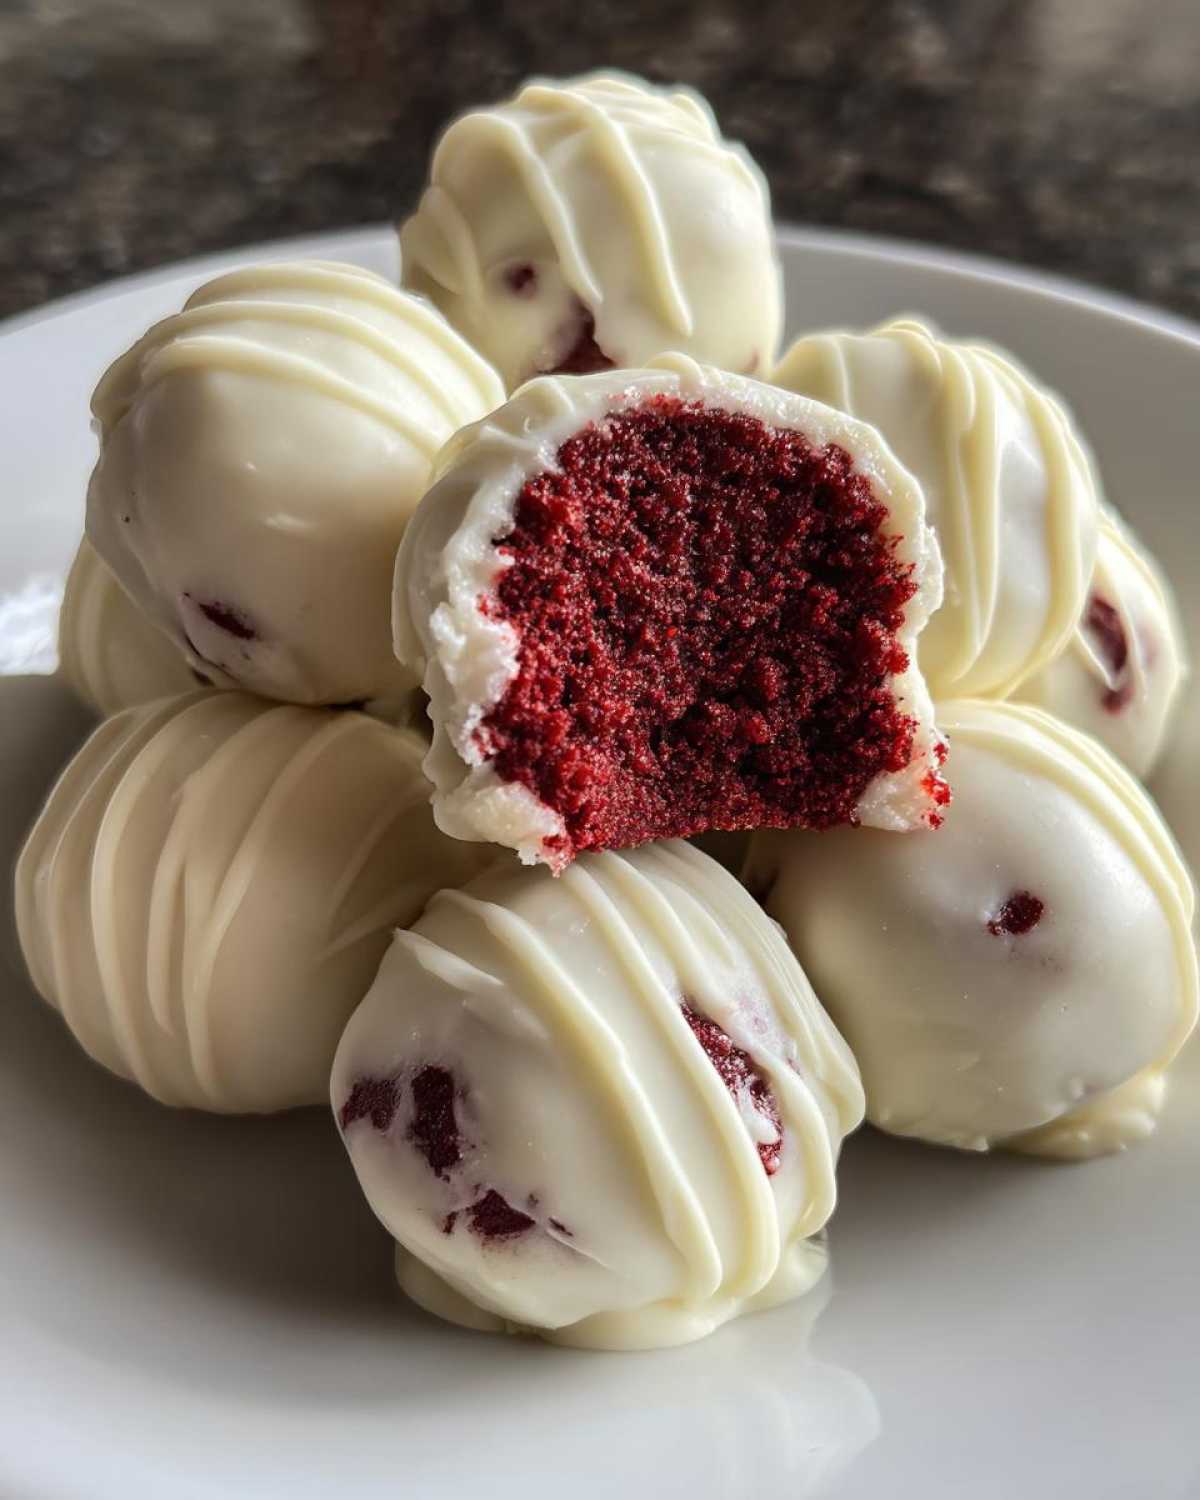
This recipe skips the whole oven drama. We use a boxed cake mix. Yes, really! Mix it with good cream cheese frosting. This combo gives us instant flavor. It makes the perfect moldable dough. No more dry cakes, ever. They are small bites of velvety goodness. They look amazing for any party. Think Valentine’s Day or Christmas gatherings!
These treats are simple magic.
Ingredients for Incredible Red Velvet Cake Balls
Getting ready to make these little flavor bombs? I promise, the ingredient list is short. You probably have most things already. We keep this super simple for you. Remember, cooking should be fun, not a chore.
This recipe focuses on speed. It really shines when time is short.
Essential Components for Your Red Velvet Cake Balls
- One box Red Velvet Cake Mix (about 15.25 oz)
- The wet items the box asks for (eggs, oil, water)
- One full tub Cream Cheese Frosting (16 oz size)
- Twelve ounces White Chocolate Melting Wafers
- One teaspoon Coconut Oil or shortening (optional)
Notes on Ingredient Selection and Substitutions
For the frosting, store-bought works great. It makes this recipe truly no-bake assembly. You can use homemade frosting too. That just takes extra time, of course.
That tiny bit of coconut oil is my secret weapon. It makes the white chocolate so smooth. It helps everything coat evenly. Don’t skip it if you can help it!
You must use good quality melting wafers. Cheap chocolate can seize up easily. We want shiny, pretty coatings.
Equipment Needed for This No-Bake Recipe
Before we start mixing, let’s gather our tools. Having everything ready makes the process flow better. This helps keep things tidy too!
We aren’t using much heavy gear here. This is quick assembly work.
- A 9×13 inch baking pan for the cake.
- A large bowl for mixing the dough.
- Parchment paper for lining sheets.
- A small microwave-safe bowl for melting chocolate.
- A fork or dipping tool for coating.
Gathering these items first is key.
Step-by-Step Instructions for Red Velvet Cake Balls
Now for the fun part, turning ingredients into deliciousness! Making red velvet cake balls is mostly assembly. It feels like playing with edible playdough. Follow these steps closely. You will have amazing results fast.
We need to handle the cake baking first. Then it is all chilling and dipping.
Baking and Crumb Creation
First, bake the cake mix as the box says. I sometimes use extra milk instead of water. This adds a little richness.
Cool the cake completely on a wire rack. This step is super important. Warm cake crumbles poorly. Let it rest until it is totally cool.
Forming the Red Velvet Cake Balls Dough
Crumble that cool cake into a big bowl. Make sure there are no big lumps left. Get those crumbs fine.
Dump the whole container of frosting in. Mix it up well. Use a spatula or your hands. Keep mixing until a solid dough forms.
Chilling and Preparing for the Chocolate Dip
Roll the dough into small balls. About one inch wide works well. Put them on parchment paper.
Chill these balls in the fridge. Thirty minutes is the minimum time. They must be firm for dipping!
Melting Chocolate and Dipping Your Red Velvet Cake Balls
Melt the white chocolate wafers slowly. Use 30-second bursts in the microwave. Stir well between each burst. Add the oil now if you are using it.
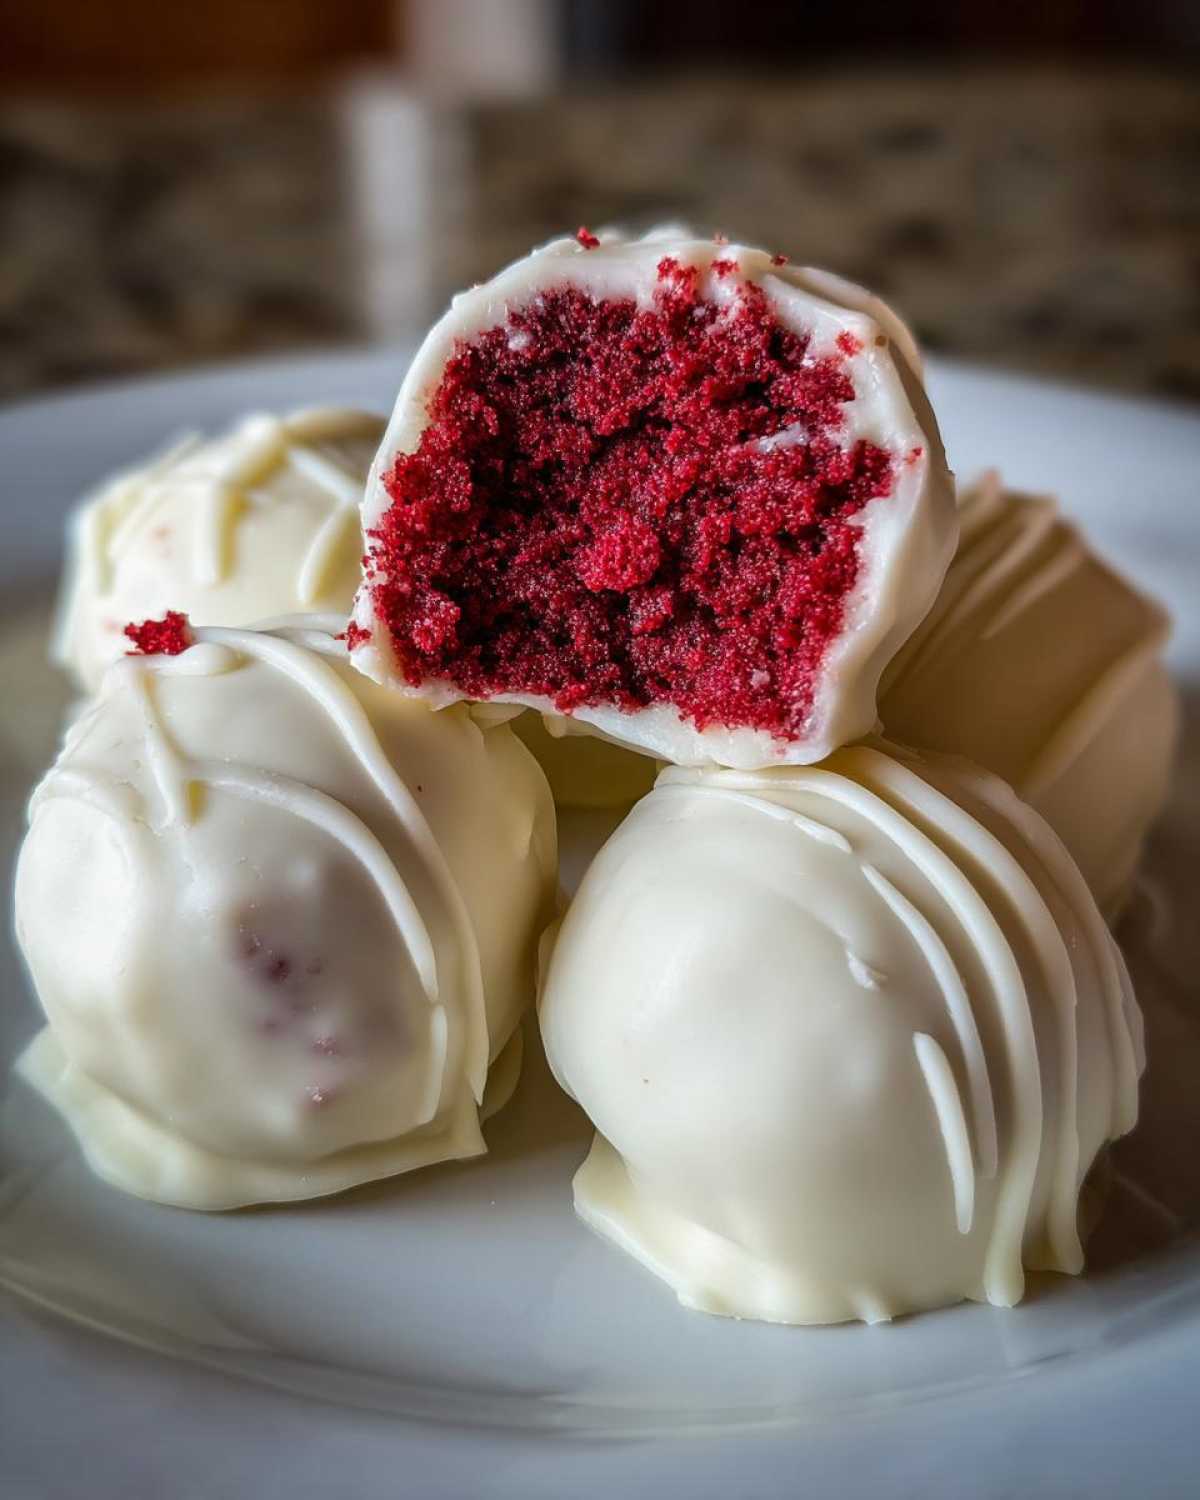
Dip one cold ball deep into the chocolate. Lift it out using a fork. Tap the fork gently on the bowl’s edge. This removes extra coating.
Put the dipped treats back on the paper. Add sprinkles right away if you want them.
Let the chocolate set fully. Room temperature works fine. Then your red velvet cake balls are ready!
Tips for Making Perfect Red Velvet Cake Balls Every Time
Even easy recipes need a few tricks up their sleeve. I learned these through trial and error. Don’t let sticky dough frustrate you. We want perfect, round treats always.
These tips make your red velvet cake balls shine.
Troubleshooting Sticky Dough or Warm Balls
If your dough feels way too sticky after frosting, stop mixing. Don’t add more frosting!
Chill the dough mixture for fifteen extra minutes. That usually firms it up nicely. Cold dough rolls much easier for you.
Never dip warm cake balls. They will just melt right away. They turn into chocolate soup quickly. Cold is the secret to a smooth, thick shell. For more general baking science tips, you can check out resources like King Arthur Baking’s basics.
Remember, these little bites need to be firm.
Storing and Serving Your Red Velvet Cake Balls
Once these beauties are set, you need to keep them fresh. They are so tempting to eat right away! Proper storage keeps them tasting great for days.
Presentation is part of the fun too. Keep these tips in mind.
Keeping Your Cake Balls Fresh
Store finished cake balls in an airtight container. This keeps out fridge smells. Keep them in the refrigerator always.
They stay good for up to one full week. That is a full seven days of sweet treats! Don’t leave them out too long.
If you serve them, let them warm slightly first. Cold makes the chocolate hard to bite.
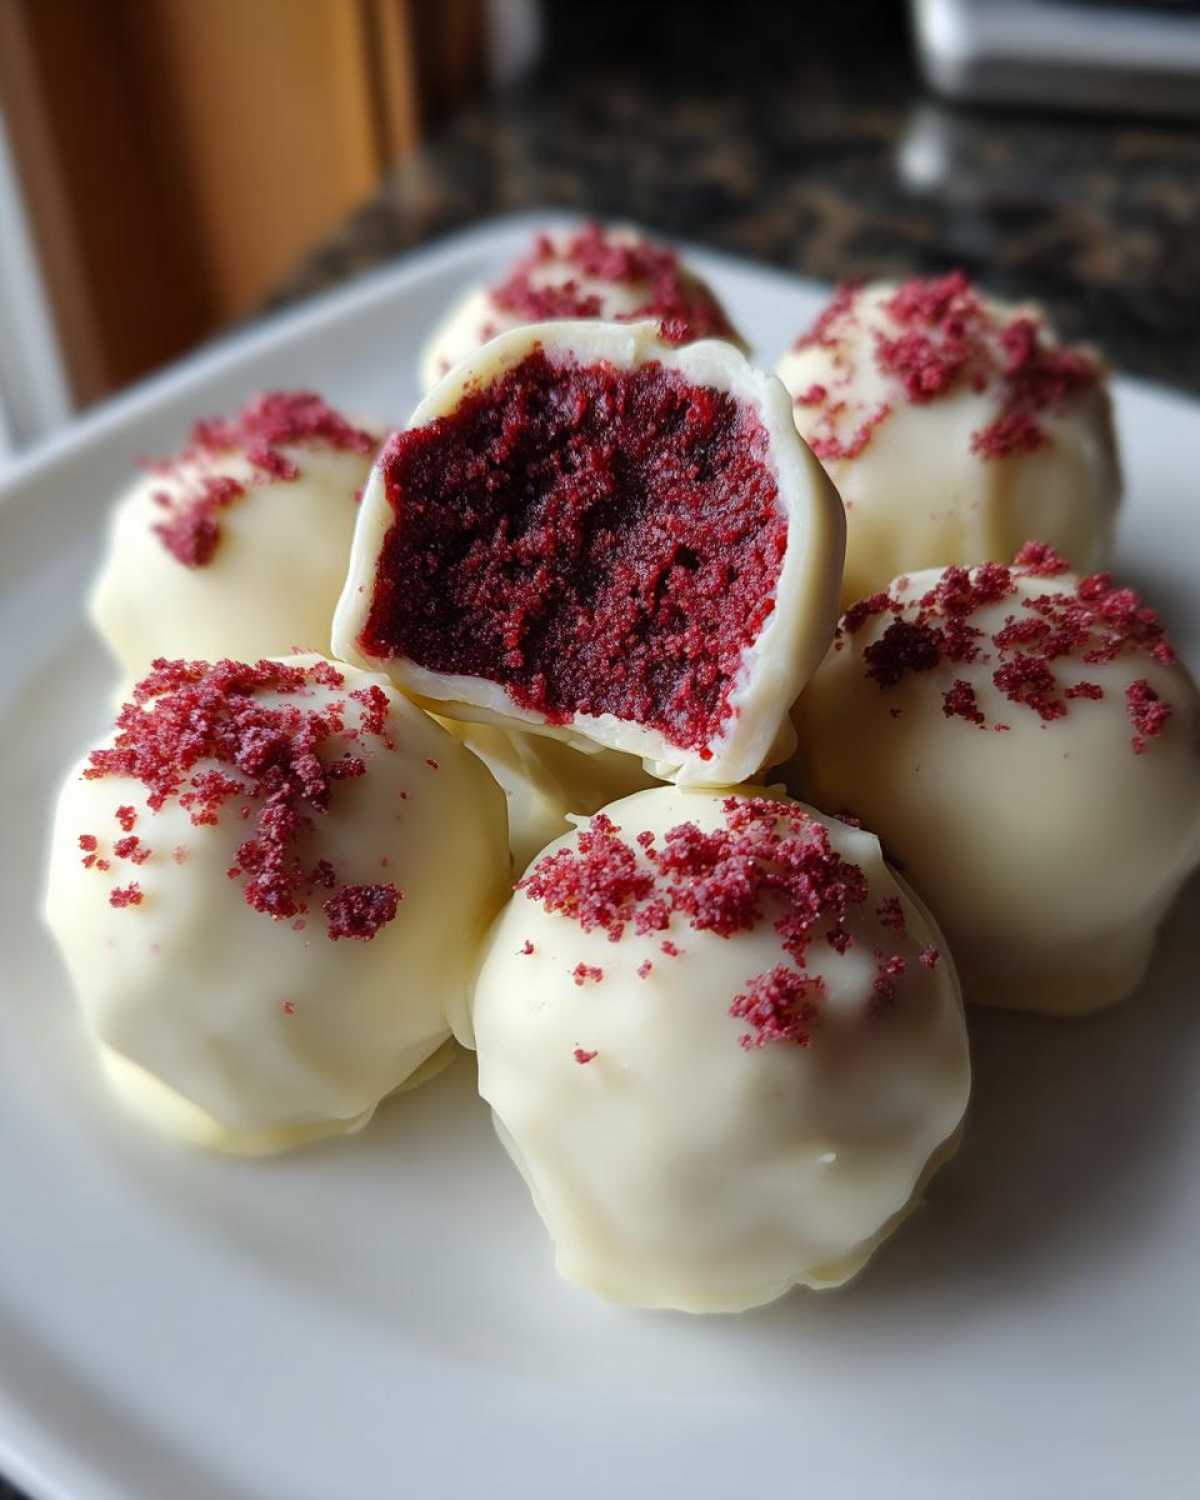
Enjoy your amazing red velvet cake balls!
Common Questions About Red Velvet Cake Balls
I know you might have questions bubbling up. Cooking should feel natural, not scary. Liam and I get asked these things a lot. Let’s clear up any last doubts about making these easy treats.
We want everyone to succeed here. Ask away!
Can I use cake scraps instead of baking a whole cake for these red velvet cake balls?
Absolutely! That is the beauty of this no bake method. If you have leftover red velvet cake, use it up. Store-bought cake works too. Just crumble it fine. It skips our first step entirely.
It keeps the recipe fast and simple.
What is the best chocolate for coating red velvet cake balls?
Melting wafers are my top pick. They give a clean, shiny finish. Chocolate chips can sometimes be tricky to melt smoothly.
If you must use chips, add that coconut oil. It helps them thin out better. This makes dipping much less of a struggle.
How long do these no-bake treats last?
These little gems last well. Store them airtight in the fridge. They stay fresh for about seven days. That is a good long time for snacking!
Try to eat them within the first few days though. They taste best when the chocolate is crisp.
Sharing Your Culinary Performance
We poured our hearts into these red velvet cake balls. Now it’s your turn to shine!
Did you make them for a party? Did they bring a smile?
Tell us how your mixing went. Leave a rating below for us. Sharing food is sharing joy. We can’t wait to hear from you!
Go make some happy kitchen noise!
Print
3 Divine Red Velvet Cake Balls Secrets
- Total Time: 1 hour 30 minutes (includes chilling time)
- Yield: 24-30 cake balls 1x
- Diet: Vegetarian
Description
Create easy, no-bake Red Velvet Cake Balls using boxed cake mix and cream cheese frosting. These treats are dipped in smooth white chocolate, making them perfect for parties or holidays. Have fun making these delicious bites.
Ingredients
- 1 box (approx. 15.25 oz) Red Velvet Cake Mix
- Ingredients called for on cake mix box (usually eggs, oil, water)
- 1 tub (16 oz) Cream Cheese Frosting (store-bought or homemade)
- 12 oz White Chocolate Melting Wafers or high-quality white chocolate chips
- 1 teaspoon Coconut Oil or shortening (optional, for smoother dipping)
Instructions
- Prepare the red velvet cake according to the box directions, substituting water with a little extra milk if desired for a slightly richer texture. Bake the cake in a 9×13 inch pan.
- Let the cake cool completely on a wire rack. You want it fully cooled so it crumbles properly.
- Crumble the cooled cake into a large bowl. Break up all the lumps until you have fine crumbs.
- Add the entire tub of cream cheese frosting to the cake crumbs. Mix well with a spatula or your hands until a uniform, moldable dough forms.
- Roll the dough into small, uniform balls, about 1 inch in diameter. Place them on a parchment-lined baking sheet.
- Chill the cake balls in the refrigerator for at least 30 minutes. This step is important to keep them firm while dipping.
- Melt the white chocolate wafers in a microwave-safe bowl in 30-second intervals, stirring well after each interval, until smooth. Stir in the coconut oil if using.
- Dip each chilled cake ball into the melted white chocolate, completely coating it. Use a fork to lift it out, tapping the fork gently to remove excess chocolate.
- Place the dipped balls back onto the parchment-lined sheet.
- If you want extra decoration, immediately sprinkle with red or white sprinkles before the chocolate sets.
- Allow the chocolate coating to set completely at room temperature or briefly chill them again until firm.
Notes
- For a richer flavor, you can use a homemade red velvet cake recipe instead of the mix.
- If the dough seems too sticky after adding the frosting, chill it for an extra 15 minutes before rolling.
- Do not skip chilling the balls before dipping; warm balls will melt into the chocolate coating.
- Store finished cake balls in an airtight container in the refrigerator. They keep well for up to one week.
- Prep Time: 30 minutes
- Cook Time: 30 minutes
- Category: Dessert
- Method: No-Bake (Assembly)
- Cuisine: American
Nutrition
- Serving Size: 1 cake ball
- Calories: Estimate 150-200
- Sugar: Estimate 15-20g
- Sodium: Estimate 80-120mg
- Fat: Estimate 8-12g
- Saturated Fat: Estimate 5-8g
- Unsaturated Fat: Estimate 2-4g
- Trans Fat: Trace
- Carbohydrates: Estimate 18-25g
- Fiber: Less than 1g
- Protein: Estimate 2-3g
- Cholesterol: Estimate 15-25mg