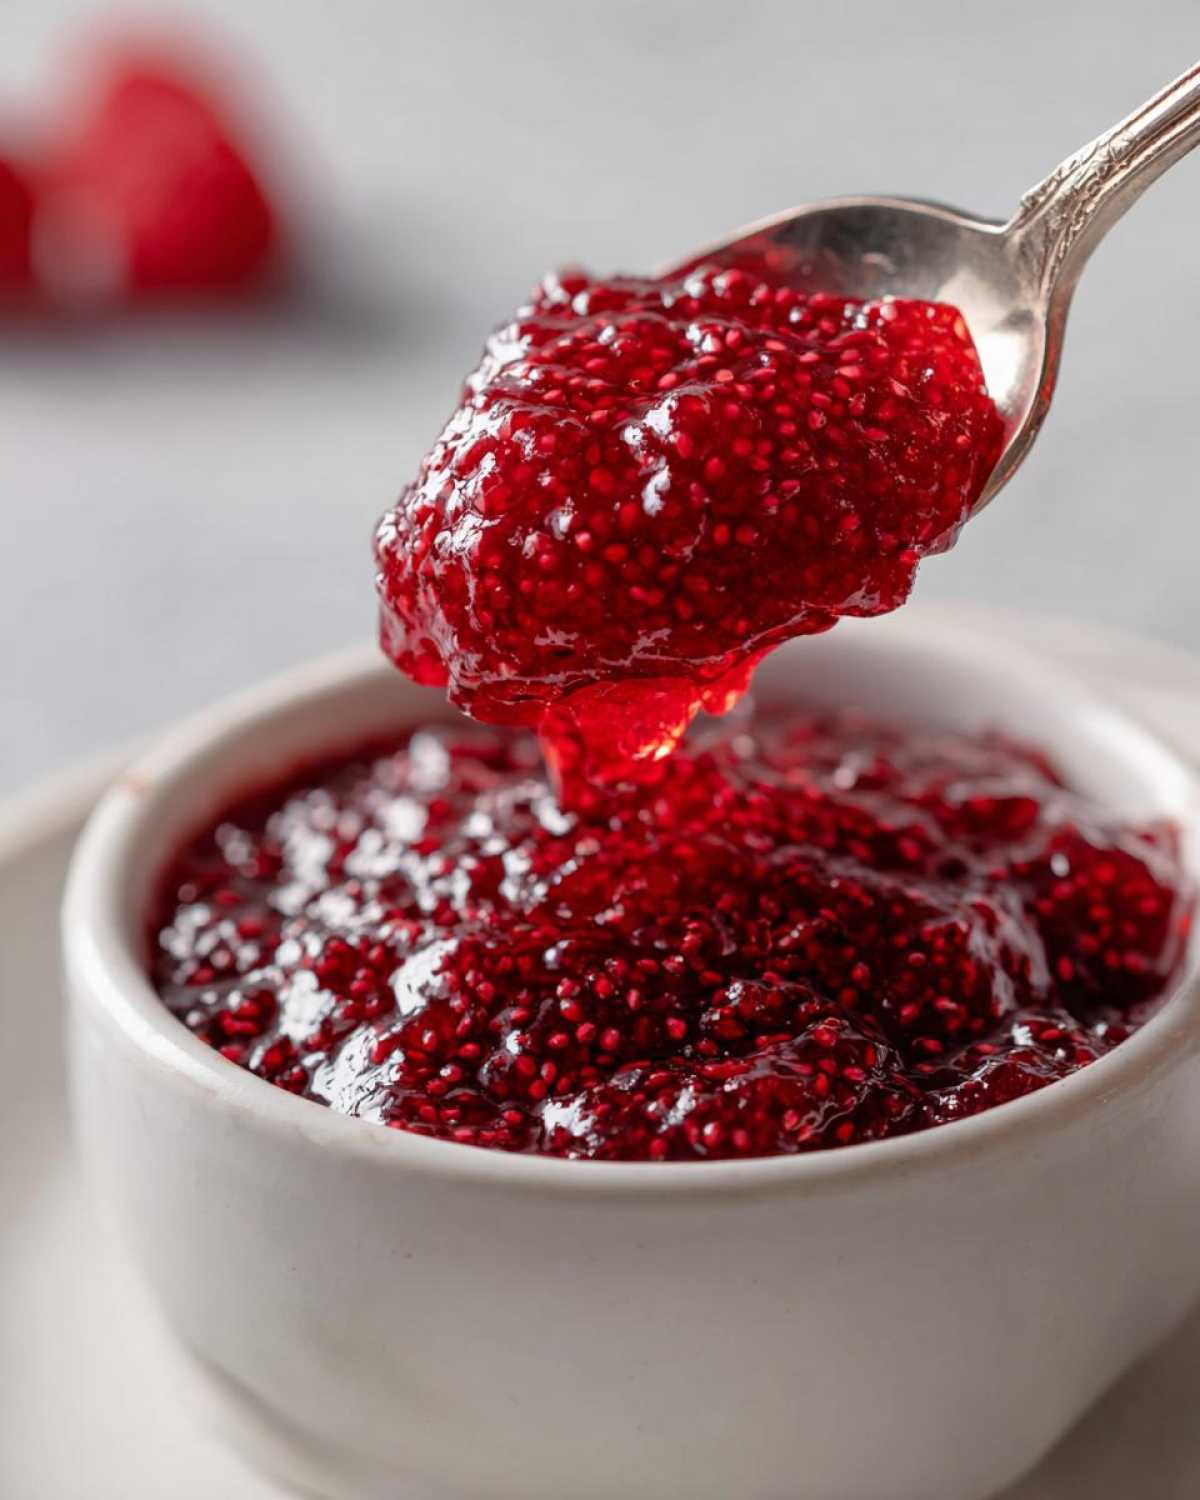
Oh, friends, when summer hits and those raspberries are practically begging to be jumped into a jam pot, you absolutely *must* drop everything and listen to me. Liam, bless his precise heart, used to measure jam ingredients down to the milligram, but that’s not how you treat sunshine in a jar! This is about soulful, simple cooking, which is why I’m so excited to share my recipe for the Easy 3-Ingredient Raspberry Jam Recipe (No Pectin Required, suitable for Fridge/Freezer Storage). Forget the complexity; we’re making the best raspberry jam you’ve ever tasted with basically nothing but berries, sugar, and a little bit of magic acid from a lemon. It’s quick, it’s bright, and it tastes like pure, unadulterated summer. Let’s get messy!
Why This Easy Raspberry Jam Recipe is Your New Summer Staple
I truly believe this is the absolute best way to preserve raspberries without spending all day over a boiling pot. Seriously, we make batches just because we ran out on toast! This recipe is foolproof, and it respects the fruit. You are going to feel like a genius when you see how fast this comes together.
- Only three ingredients—that’s it!
- Total time commitment is less than half an hour.
- It keeps beautifully in the fridge or freezer for easy access.
If you love my Simple Chocolate Fudge, you’ll love how this captures pure flavor with minimal fuss.
Quick Raspberry Jam: Ready in Under 30 Minutes
When those raspberries are at their peak, you want to capture that sunshine *immediately*, right? That’s why this is my go-to. We are talking about maybe 15 minutes of actual cooking time. It’s such a fantastic quick raspberry jam that you can whip up a batch while your coffee is brewing. No major cleanup, no stress—just speed!
The Magic of Homemade Raspberry Jam Without Pectin
Listen, I know using commercial pectin sounds complicated, and honestly, I just don’t like the texture it sometimes gives me. The secret here is the lemon juice! It contains natural acids that work with the sugar and the fruit’s own natural setting power. That little bit of zing reacts perfectly, letting us create a beautiful, thick raspberry jam without pectin. It’s completely natural and lets the real raspberry flavor shine through!
Gathering Ingredients for Perfect Raspberry Jam
Okay, Liam always says this is the easy part, but pay attention because these three things are non-negotiable for perfect preserves. We’re sticking to a cute, manageable small batch jam recipe here, so you don’t end up drowning in jars!
- Two pints of raspberries—go ahead and use frozen if the farmer’s market isn’t cooperating!
- Four cups of regular granulated sugar. Don’t try fancy sweeteners here!
- One tablespoon of fresh lemon juice—it has to be fresh, promise me!
That’s it! Mix them up, get ready for summer magic, and try not to eat all the berries before they hit the pot!
How to Prepare Quick Raspberry Jam: Step-by-Step Instructions
Okay, now for the fun part! This whole process for making such a vibrant homemade raspberry jam flies by so fast. Grab your biggest, heaviest pot—we don’t want any scorching here. Remember, we are encouraging spontaneous joy, not kitchen fires!
Cooking Down the Berries and Dissolving Sugar for Raspberry Jam
First things first, get those raspberries into the pot over medium heat. Stir them often! They need a few minutes—maybe five or six—to totally break down and get juicy. If I want a smoother texture, I sneak in my potato masher and give them a good whack right then. Once they look mushy and happy, dump in all that sugar. Okay, here’s the key: stir constantly until you absolutely cannot feel any grittiness on the bottom of the pot. The sugar must be dissolved before we bring the heat up!
The Critical Set Test for Your Easy Jam Recipe
Once you have that full, rolling boil—one that you can’t stir away—Toss in the lemon juice and boil hard for just a minute. Then, you HAVE to test it. This is the make-or-break moment for your easy jam recipe! Take a tiny spoon of jam and dab it onto a plate you stuck in the freezer five minutes ago. Wait one minute. If you push the jam with your finger and the surface wrinkles up nicely? Bravo! You’ve made perfect jam! If it’s still liquidy, boil for one more minute and test again. Don’t skip this step; it proves your jam has set!
Preservation Methods for Your Raspberry Jam: Canning vs. Freezer Jam Instructions
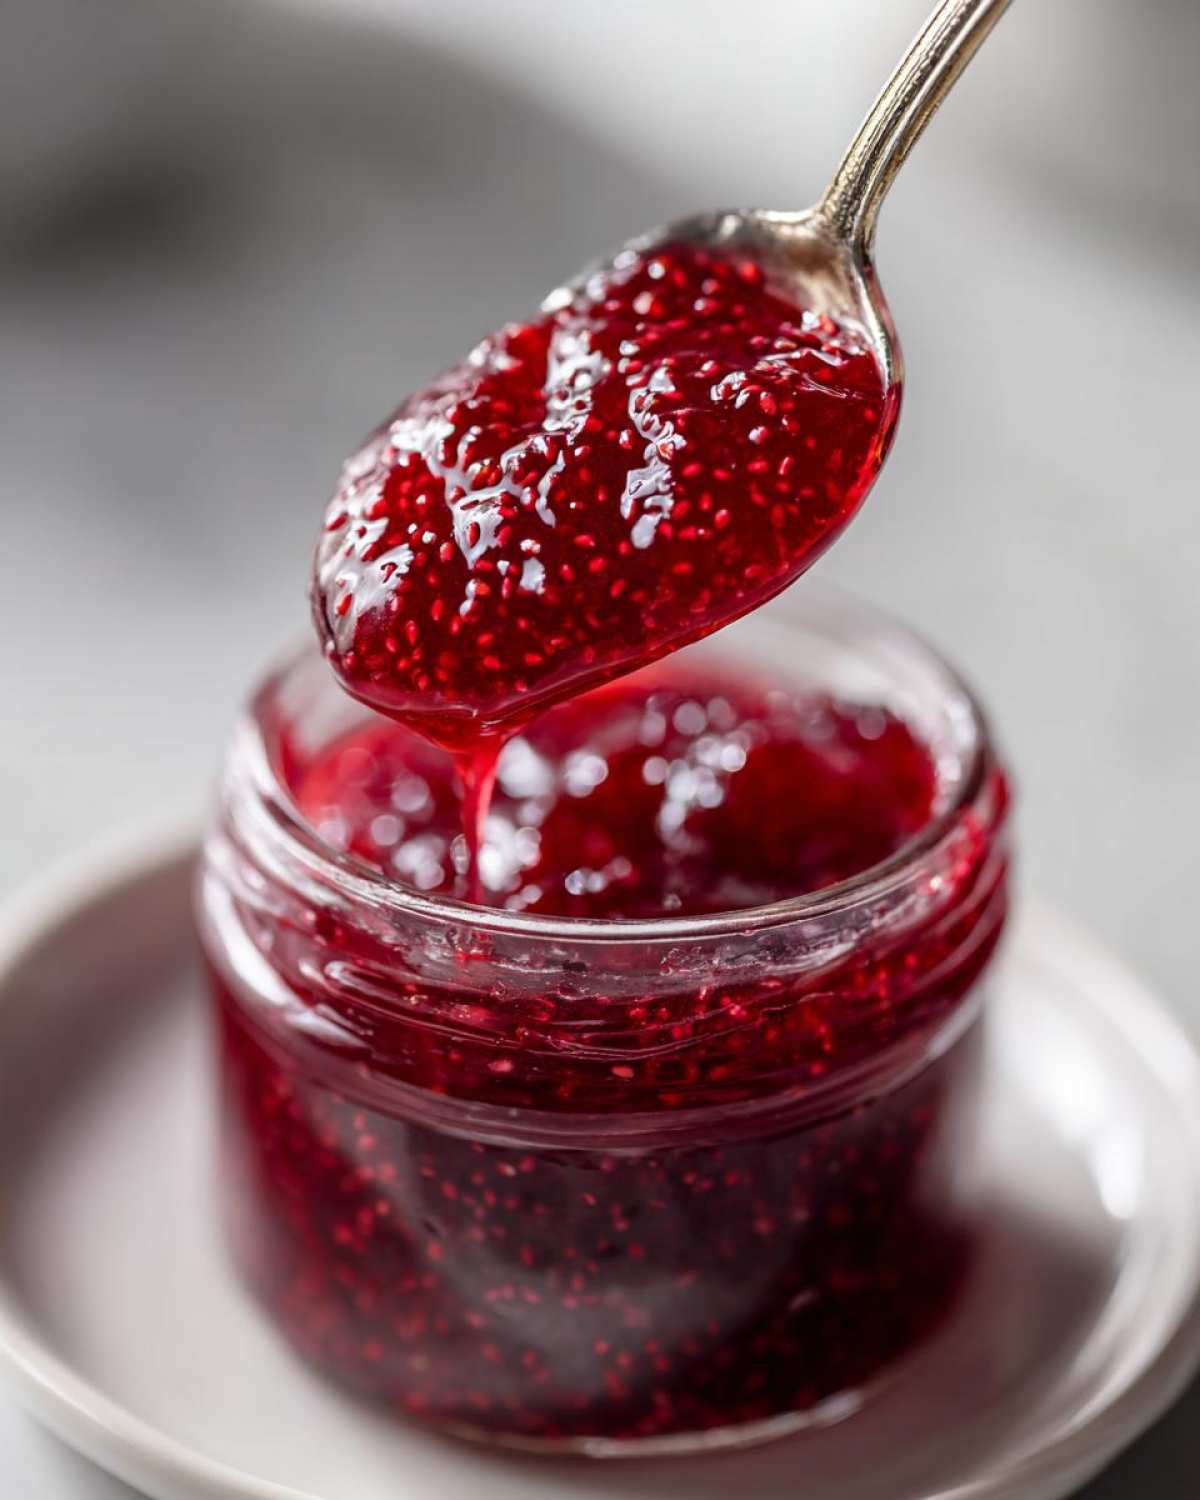
So you’ve got this gorgeous, fragrant homemade raspberry jam simmering, and now you have a choice! Do you want to preserve it the long way, or the super speedy way? If you just want something for your toast tomorrow morning, just skim off any foam, ladle it into a clean container, and pop it in the fridge or freezer. That’s your quick refrigerator jam, and it’s ready in minutes!
But if you want to capture the whole summer harvest, you need to go for water bath canning. I find following specific freezer jam instructions easier when I first started, but the full processing for canning raspberry jam means it’s shelf-stable for up to a year. Just make sure your jars are sterilized and you process them for the full 10 minutes. Either way, you win, because you have jam!
Expert Tips for the Best Raspberry Jam Texture and Flavor
Now that you know the basic process for this simple fruit preserves, I have two little secrets to make your batch truly extraordinary. Liam is really particular about texture, and I remember the first time I tried to make him a homemade raspberry jam that was totally smooth. He loves it, but it took some extra elbow grease!
If you absolutely cannot stand the seeds—and want a true seedless raspberry jam—you have to press the cooked berries through a fine-mesh sieve *before* you add the sugar. It’s an extra sticky step, but that’s how you get that silky texture he prefers for his morning toast. Also, don’t forget to peek at the notes on the recipe card; making a small batch lets you try your favorite flavor combinations!
Serving Suggestions: How to Use Your Summer Fruit Jam
Don’t let this beautiful summer fruit jam just sit waiting for toast; that would be a crime! We seriously go through jars fast because we use it everywhere. I love swirling a spoonful into plain yogurt—it makes it taste instantly gourmet, which is Liam’s favorite way to eat it for a snack.
It’s also incredible in baking! Try filling thumbprint cookies with it, or use it as a gorgeous layer in a quick trifle. And for those of you who like a grown-up treat, a little bit of this bright jam mixed into a cocktail shaker gives you instant fruity flavor. See? It’s versatile!
Storage & Reheating Instructions for Refrigerator Jam
Here’s where we talk safety, because Liam gets twitchy if the food isn’t stored right! If you made this as a quick refrigerator jam (the non-canned route), it’s happy in the fridge for about three weeks. Don’t leave it too long! If you filled a freezer container, it’s fantastic for up to six months—just thaw it overnight.
Now, if you went through the whole water bath canning process earlier? Those sealed jars are shelf-stable for a whole year! Never worry about reheating unless you’re using it in a baking recipe; this simple fruit preserves is meant to be eaten cold or room temperature right out of the jar!

Frequently Asked Questions About Making Raspberry Jam
Can I use frozen raspberries to make raspberry jam?
Oh, absolutely! That’s one of the best things about this recipe—it works great with frozen berries, especially in the dead of winter when I’m craving that summer flavor. If you go that route, just let them thaw out a little bit on the counter before they go into the pot. Or, if you’re impatient like I sometimes am, just let them cook for an extra minute or two until they release all their lovely juices. Easy peasy!
Why didn’t my homemade raspberry jam set?
Don’t panic if your jam is still runny! This is the scariest part when you’re first making homemade raspberry jam without pectin. Almost every single time I hear about a runny batch, it means one of two things: either you didn’t let it hit a true, full rolling boil (the kind you can’t stir down!), or you tested it too early. If you suspect it’s not set, just put it back on the heat, boil hard for another minute, and test it again using that chilled plate trick. It almost always works!
Is this recipe suitable for a beginner canning project?
It totally is! Liam says I’m the reigning champion of beginner projects because they’re low-stakes, and this truly is. Because it’s such a small batch jam recipe, you won’t stress out if something goes a tiny bit wrong. If you’re nervous about the whole water bath process, just skip Step 6 and do the freezer jam instructions instead. You get almost the same amazing flavor, and there’s zero pressure about sealing jars. Start small!
Nutritional Snapshot of This Simple Fruit Preserves
Now, I know Liam checks the nutrition labels, even on our spontaneously made jams! Since this simple fruit preserves recipe relies on fruit and natural sugar, it isn’t exactly “diet food,” but my goodness, it’s worth every single sweet spoonful. Remember, these are just estimates based on the amounts of sugar and berries we use in that small batch.
Here is a look at what you can expect per serving (about two tablespoons):
- Serving Size: 2 tablespoons
- Calories: 100
- Sugar: 25g (Yes, a good amount, but it’s necessary for the set!)
- Fat: 0g
- Protein: 0g
- Fiber: 1g
Again, these numbers are just a helpful guide for how you use your homemade raspberry jam. If you use just a tiny dollop on your yogurt instead of slathering it on a scone, the numbers change! The main takeaway is that you’re enjoying pure fruit flavor without any weird stabilizers or commercial pectin messing with the process.
Print
Easy 3-Ingredient Raspberry Jam Without Pectin
- Total Time: 20 min
- Yield: About 2 half-pint jars 1x
- Diet: Vegetarian
Description
Make this bright, flavorful homemade raspberry jam with just three simple ingredients. This recipe is quick, requires no added pectin, and is perfect for beginners. You can store it in the refrigerator, freezer, or use water bath canning for shelf stability.
Ingredients
- 2 pints fresh or frozen raspberries
- 4 cups granulated sugar
- 1 tablespoon fresh lemon juice
Instructions
- Prepare your jars and lids if you plan to can, or gather your freezer-safe containers. If using frozen berries, thaw them slightly first.
- Place the raspberries in a large, heavy-bottomed saucepan. Cook over medium heat, stirring often, until the berries break down and release their juices, about 5 to 7 minutes. You can gently mash them with a potato masher if you prefer a smoother texture now.
- Stir in the granulated sugar until it is completely dissolved. Bring the mixture to a full, rolling boil that cannot be stirred down.
- Add the lemon juice. Continue to boil hard, stirring constantly to prevent scorching, for about 1 minute. The mixture will begin to thicken as it boils.
- Test for set: Remove the pan from the heat. To check if the jam has reached the setting point, place a small spoonful on a chilled plate from the freezer. Return the plate to the freezer for 1 minute. Push the jam; if the surface wrinkles, it is ready. If it is still runny, return the pan to the heat and boil for another minute, then test again.
- For Refrigerator/Freezer Jam: Carefully skim off any foam from the surface. Ladle the hot jam into clean jars or containers, leaving 1/4 inch headspace. Seal and cool. Store in the refrigerator for up to 3 weeks or in the freezer for up to 6 months.
- For Water Bath Canning: Ladle the hot jam into sterilized canning jars, leaving 1/4 inch headspace. Wipe rims clean, apply lids and bands fingertip tight. Process in a boiling water bath canner for 10 minutes, adjusting for altitude. Remove jars and let them cool undisturbed for 12-24 hours until sealed. Store sealed jars in a cool, dark place for up to one year.
Notes
- If you prefer seedless raspberry jam, press the cooked berry mixture through a fine-mesh sieve before adding the sugar and continuing with the recipe.
- This recipe makes a small batch, perfect for keeping one jar in the fridge and one in the freezer.
- Use this fresh berry preserves as a topping for toast, yogurt, or even in your favorite cocktails.
- Prep Time: 5 min
- Cook Time: 15 min
- Category: Preserves
- Method: Stovetop Cooking/Canning
- Cuisine: American
Nutrition
- Serving Size: 2 tablespoons
- Calories: 100
- Sugar: 25
- Sodium: 1
- Fat: 0
- Saturated Fat: 0
- Unsaturated Fat: 0
- Trans Fat: 0
- Carbohydrates: 26
- Fiber: 1
- Protein: 0
- Cholesterol: 0