Oh, there’s just something about a deeply comforting, nostalgic dessert, isn’t there? You know, the kind that feels like a warm hug from a bygone era. For me, that instant dose of soul-soothing sweetness comes from the absolute best **butterscotch pie**. Now, Liam, my technically brilliant husband, usually sticks to the recipe like glue, but even he agrees that for this one, we have to go all out. We’re not talking about shortcuts here; we’re diving deep into the beautiful art of making it completely from scratch to get that dreamy, silky smooth pie filling texture. It’s my job—as the flavor muse—to drag his precise baking skills into the realm of indulgent, imperfect joy. If you want to know more about how Liam and I ended up here, you can always check out our little story over on the About Page! Welcome to our theater; prepare for sweet, buttery magic!
Why This Old-Fashioned Butterscotch Pie is Your New Favorite Dessert
When you’re looking for truly rich dessert recipes, this butterscotch pie has to be at the top of the list. Forget those overly sweet, one-note versions you get sometimes; this is an old fashioned butterscotch pie that tastes like someone cooked brown sugar and butter low and slow just for you. It’s absolutely the best holiday pie recipe because it feels special, but truly, it’s perfect anytime! If you love our gooey cinnamon buns, you’ll definitely want to try this recipe for some variation on rich sweets—check them out here!
- Deep, complex caramelized flavor that sings.
- That perfect, impossibly creamy texture we are striving for.
- It’s sturdy enough for packing to gatherings, yet melts in your mouth.
I’ve had some watery custard disasters in my day, but Liam perfected the balance here. This pie stands out because the flavor isn’t just ‘sweet’—it’s deep and buttery. You won’t want to skip a single step for this one, trust me.
Achieving the Silky Smooth Pie Filling
The secret weapon for texture here isn’t a fancy ingredient, it’s the careful cooking technique. We have to make sure that custard base is perfectly smooth, which means we use careful tempering when adding those egg yolks. If you rush that one step, you end up with warm, sweet scrambled eggs! Slow addition is the magic that ensures you get that gorgeous, silky smooth pie filling that just glides off the spoon.
Gathering Ingredients for Your Creamy Butterscotch Pie Recipe
Alright, let’s get our station set up! Making a truly excellent butterscotch pie starts with having everything measured out just right—Liam calls it “mise en place,” but I just call it not having five minutes to scramble for the salt while the custard overheats! This list is strictly for the stovetop filling and the final topping, assuming you’ve already tackled that flaky, beautiful from scratch pie crust (though I won’t tell if you grab a store-bought one in a pinch).
Remember, the better the base ingredients are, the richer your pie will be. Quality butter and good vanilla really make a huge difference here.
- For the crust: 1 recipe for a single 9-inch pie crust, already blind baked until golden brown.
- For the filling: 1 cup packed light brown sugar, 1/4 cup cornstarch, 1/2 teaspoon salt, 1 1/2 cups cold water.
- The egg component: 3 large egg yolks, lightly beaten.
- Finishing fats and flavor: 2 tablespoons unsalted butter and 1 teaspoon vanilla extract.
- The topping: 1 cup heavy cream, chilled, and 2 tablespoons powdered sugar.
- Garnish: Extra butterscotch chips, if you’re feeling fancy!
Ingredient Notes and Substitutions for Butterscotch Pie
So, about the sugar: I strongly encourage using light brown sugar in this recipe. Dark brown sugar has too much molasses flavor and can overpower that delicate butterscotch nuance we’re chasing. Also, please, please use real butter! Margarine just won’t give you the depth of flavor this caramel custard dessert deserves. If you are pressed for time, using a store-bought, pre-baked crust is totally fine for your first go, but I highly, highly recommend making your own for the ultimate experience. We want that flaky texture to contrast the creamy filling!
Step-by-Step Instructions for the Best Butterscotch Pie Recipe
Now for the performance! Making this butterscotch pie is truly where Liam shines because, honestly, the custard needs precision. It’s not hard, but if you drift off while stirring, you’ll scorch the sugars, and then we lose that beautiful caramelized depth. We’re basically making a fancy caramel custard, and we need to treat it with respect. Make sure your baked crust is totally cool before you even think about pouring in the filling. If it’s even slightly warm, the filling won’t set correctly, and we’ll be swimming in sweet soup. If you’ve ever struggled with homemade mayo, you know the feeling of needing precision, and that same focus applies here! You can grab our tips for easy homemade mayonnaise if you want practice in carefully emulsifying ingredients!
Mastering the Velvety Butterscotch Pudding Pie Filling
Okay, grab that medium saucepan. First, we whisk the dry stuff—brown sugar, cornstarch, and salt—until they are totally unified. Then, slowly add the cold water. Liam insists on adding the water while whisking constantly; he says it prevents weird lumps from hiding later. Cook this mixture over medium heat. Keep stirring! Seriously, don’t stop until it gets thick and starts bubbling. That usually takes about five to eight minutes. Once it bubbles, cook for just one more minute on low, still stirring.
This next part is the absolute key for that velvety butterscotch pudding pie texture: tempering the eggs. Take your lightly beaten yolks and very, very slowly drizzle about half a cup of that hot mixture into them while whisking the yolks like crazy. If you dump it in, you’ll curdle them! Once tempered, pour the yolk back into the main saucepan. Return it to medium-low heat and stir constantly for just another minute or two until it tightens up again. Remember, we never want it to boil once the yolks are in! Pull it right off the heat and stir in that final tablespoon of butter and the vanilla until glossy.
Chilling and Topping Your Homemade Butterscotch Dessert
Get that gorgeous, hot filling right into your cooled shell. This is a crucial trick for any good custard dessert: press plastic wrap directly onto the surface of the filling. I mean touching it! This stops that horrible skin from forming on top while it chills. You need to chill the whole thing for at least four hours, but honestly, overnight is best for these indulgent sweet treats to get truly firm and sliceable.
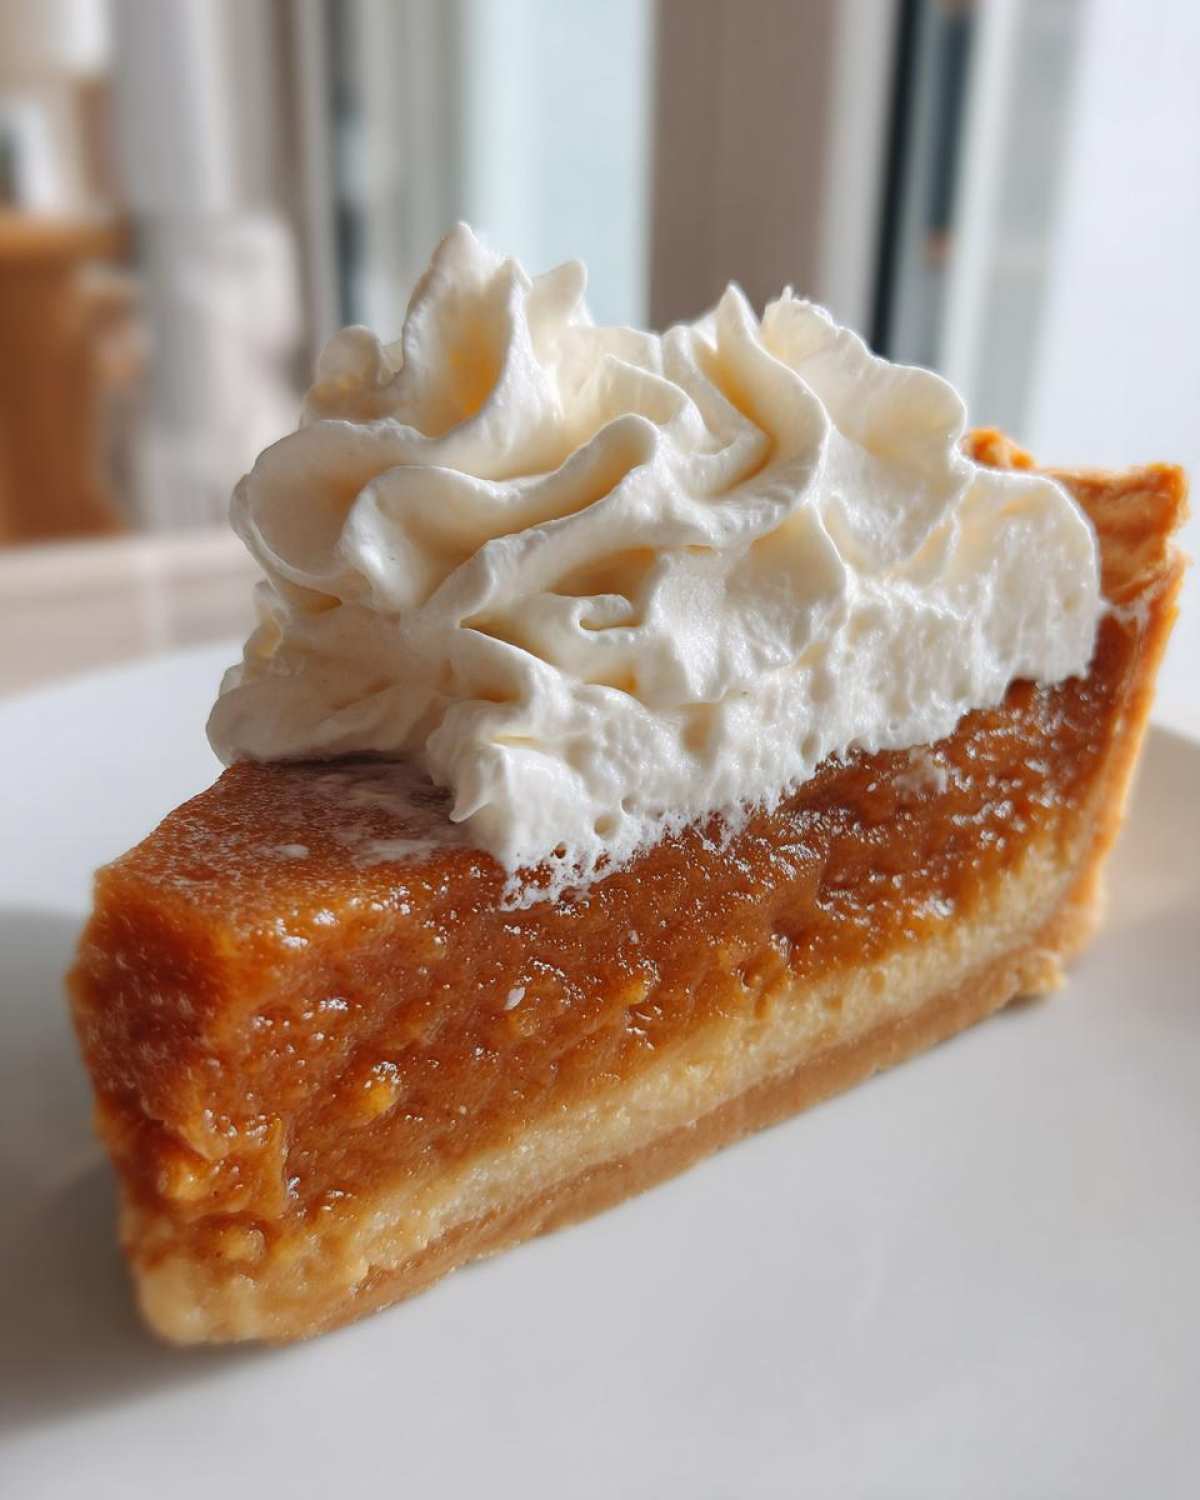
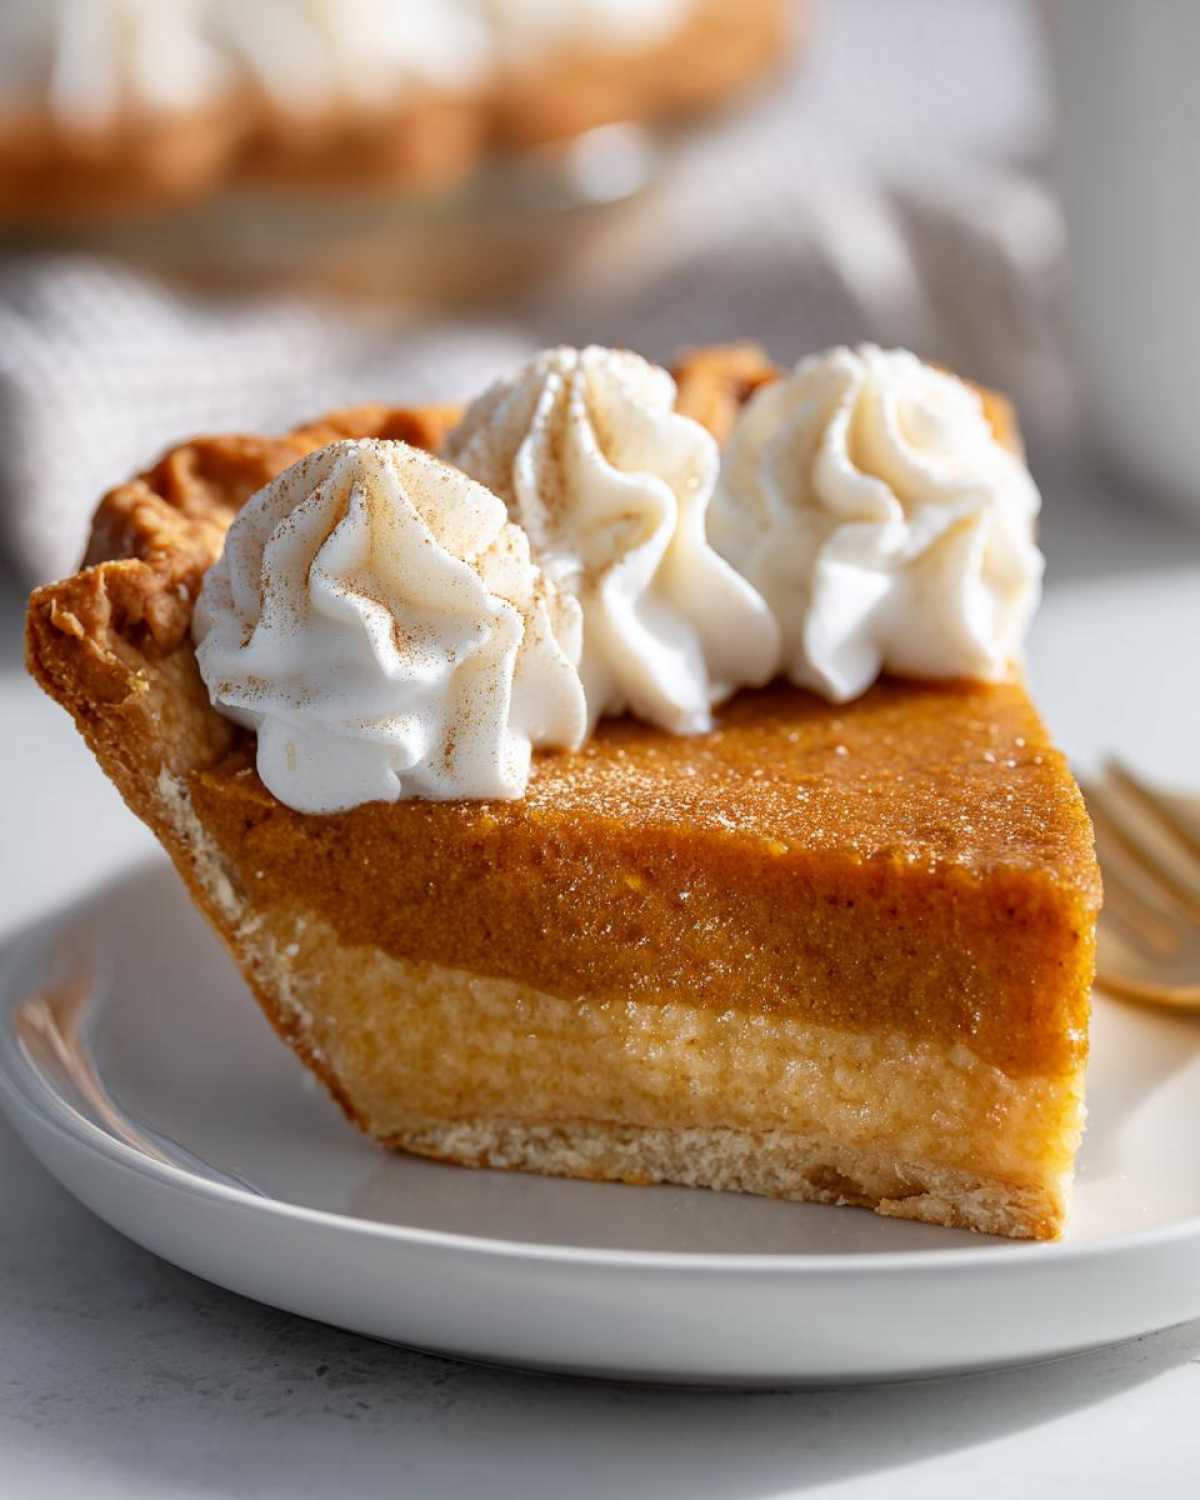
Right before serving—and I mean *just* before—you whip that heavy cream with the powdered sugar until you get stiff peaks. Don’t overbeat, or you’ll have butter! Spread that cloud of whipped cream over the chilled pie. If you want to use some of those extra chips we talked about, sprinkle a few over the top. That’s it! You just nailed a classic dessert.
Tips for a Perfect Old Fashioned Butterscotch Pie
So, we’ve conquered the mixing and the cooking, but let’s talk about making sure your finished old fashioned butterscotch pie is truly unforgettable. Remember that advice from the recipe notes about achieving a truly silky smooth filling? That also applies to patience! If we look at this through the lens of southern style pies, patience is always the number one ingredient.
One time, Liam was so excited, he tried to serve the pie after only two hours of chilling because we had guests coming over early. Big mistake! It looked like a beautiful, caramelized puddle on the plate. We looked like amateurs! Ever since then, we are strict about that chill time. It needs that minimum of four hours for the custard (made with brown sugar and butter, of course) to really firm up and set right. This is one of those vintage dessert recipes where you just cannot rush the final construction phase.
Another thing you must do, like the notes mentioned, is to whisk the cornstarch and sugar fiercely before adding water. If you don’t smash those cornstarch clumps, you end up with small, unmixed pockets of starch—definitely not a velvety experience! If you need a refresher on patience in baking, check out our fluffy pancake recipe, which requires similar gentle love right here. Seriously, chilling is non-negotiable for that perfect slice!
Variations on the Classic Butterscotch Pie
Part of the fun of finding a truly wonderful base recipe, like this one, is thinking about how you can twist it a little bit for different occasions! While I love the precision Liam puts into the traditional from scratch pie crust, sometimes you just need a texture swap, right? For a crunchy alternative, go for a graham cracker crust—it’s super easy and gives you that nice salty-sweet contrast.
Or, if you happen to be a huge cookie fan like some of our friends, try crushing up those spiced Biscoff cookies instead! That adds such an interesting warmth. If we’re leaning into making this one of the truly cozy best winter desserts, I sometimes sneak a tiny pinch of cinnamon or nutmeg into the filling right before adding the butter. It doesn’t change the look, but it adds this amazing, unexpected warmth, perfect when paired with a festive drink like our Pomegranate Cinnamon Roll Cocktail—check that fun recipe out when you have a minute!
Making a No Bake Butterscotch Pie Alternative
Okay, yes, I am committed to the stovetop custard because that’s where the real silky magic happens. But I totally get it—sometimes you don’t want to stand over the stove, or maybe your oven decided to take a vacation. If you need a true no bake butterscotch pie, you can definitely adapt! You’ll skip the whole cornstarch/yolk cooking dance. Instead, you usually melt butterscotch chips into softened cream cheese, then fold that into stabilized whipped cream. It’s faster, sure, but the texture is much more fluffy and less like a true, rich custard. It’s great for a quick fix, but I still think our baked version delivers that deep, authentic flavor you deserve!
Serving Suggestions for Your Rich Dessert Recipes
Once you’ve mastered this pie—and I know you will, because you followed all the fussy steps!—the final performance is serving it up. This is one of those truly rich dessert recipes, which means it begs for something bright on the side to cut through all that wonderful butter and brown sugar. If you serve a huge slice plain, it might just knock someone right off their feet with richness!
For me, the perfect contrast is always something slightly tart. If you made this for Thanksgiving or a holiday gathering, skip the extra heavy sauces and go for something tart and crisp. A small side of tart spiced cranberries or even just a few fresh raspberries really help reset the palate between bites. It’s a beautiful contrast of color, too!
If you’re enjoying this as a cozy evening treat, strong coffee is the absolute perfect partner. The bitterness of a good, dark roast is just the friendliest pairing for that deep, caramelized sweetness. If you’re looking to make a whole evening of it, Liam sometimes plays around with festive drinks—he recently made this amazing winter aperol spritz with pomegranate that would look gorgeous next to a slice of this pie on a dessert platter. Honestly, though, a simple cup of hot black coffee is sometimes all you need to let this beautiful pie shine!
Storage and Make-Ahead Tips for Your Butterscotch Pie
This is where we talk about preservation, because trust me, you’ll want to stretch this butterscotch pie out! The most important thing to know is that the filling and the topping are best kept separate until the very last minute. The custard base—that rich, custardy layer—is fantastic and will keep beautifully covered tightly in the fridge for about three days. If you want the recipe for keeping other baked goods fresh, check out our general tips on our site.
However, the glorious whipped cream topping? That needs to wait. Make the pie filling completely, chill it until it’s rock solid, and *then* whip your cream and top the pie right before you plan to serve it. Custard pies really don’t like being frozen because the texture just breaks down when it thaws. For the best experience, enjoy this pie within 72 hours of making it!
Frequently Asked Questions About Making Butterscotch Pie
I know sometimes the technical parts can make you nervous, especially when you are aiming for something as lovely as a perfect **creamy butterscotch pie recipe**. Liam and I get a lot of questions after our performances, so I rounded up a few of the most common ones we hear about this classic custard treat. If you have another question that didn’t pop up here, feel free to reach out through our contact page!
Can I substitute heavy cream with Cool Whip in this creamy butterscotch pie recipe?
Oh, the classic shortcut question! You absolutely *can* use Cool Whip if you need to save time or if you just don’t want to deal with whipping heavy cream—I get it, sometimes the moment calls for speed over perfect technique. But here’s the thing: for this recipe, using real, stiffly whipped heavy cream is what gives us that luxurious, rich flavor foundation that makes it the best. Cool Whip will make it lighter and fluffier, but you lose that deep, indulgent richness you get from real cream. It changes the overall vibe of the dessert entirely!
What makes the filling grainy instead of a silky smooth pie filling?
This breaks Liam’s heart every time because it signals uneven cooking! Graininess almost always boils down to two things. First, you didn’t whisk your dry ingredients—the cornstarch and sugar—thoroughly enough before adding the water. Those dry starches need to be fully dispersed before they even see heat. Second, and this is vital, if your custard boils *after* you’ve added the tempered egg yolks back in, those proteins can seize up and create those unfortunate little tiny rubbery bits. Keep the heat honest and stirring constantly, and you’ll maintain that beautiful, silky smooth pie filling you are dreaming of!
Share Your Experience Making This Classic Dessert to Bake
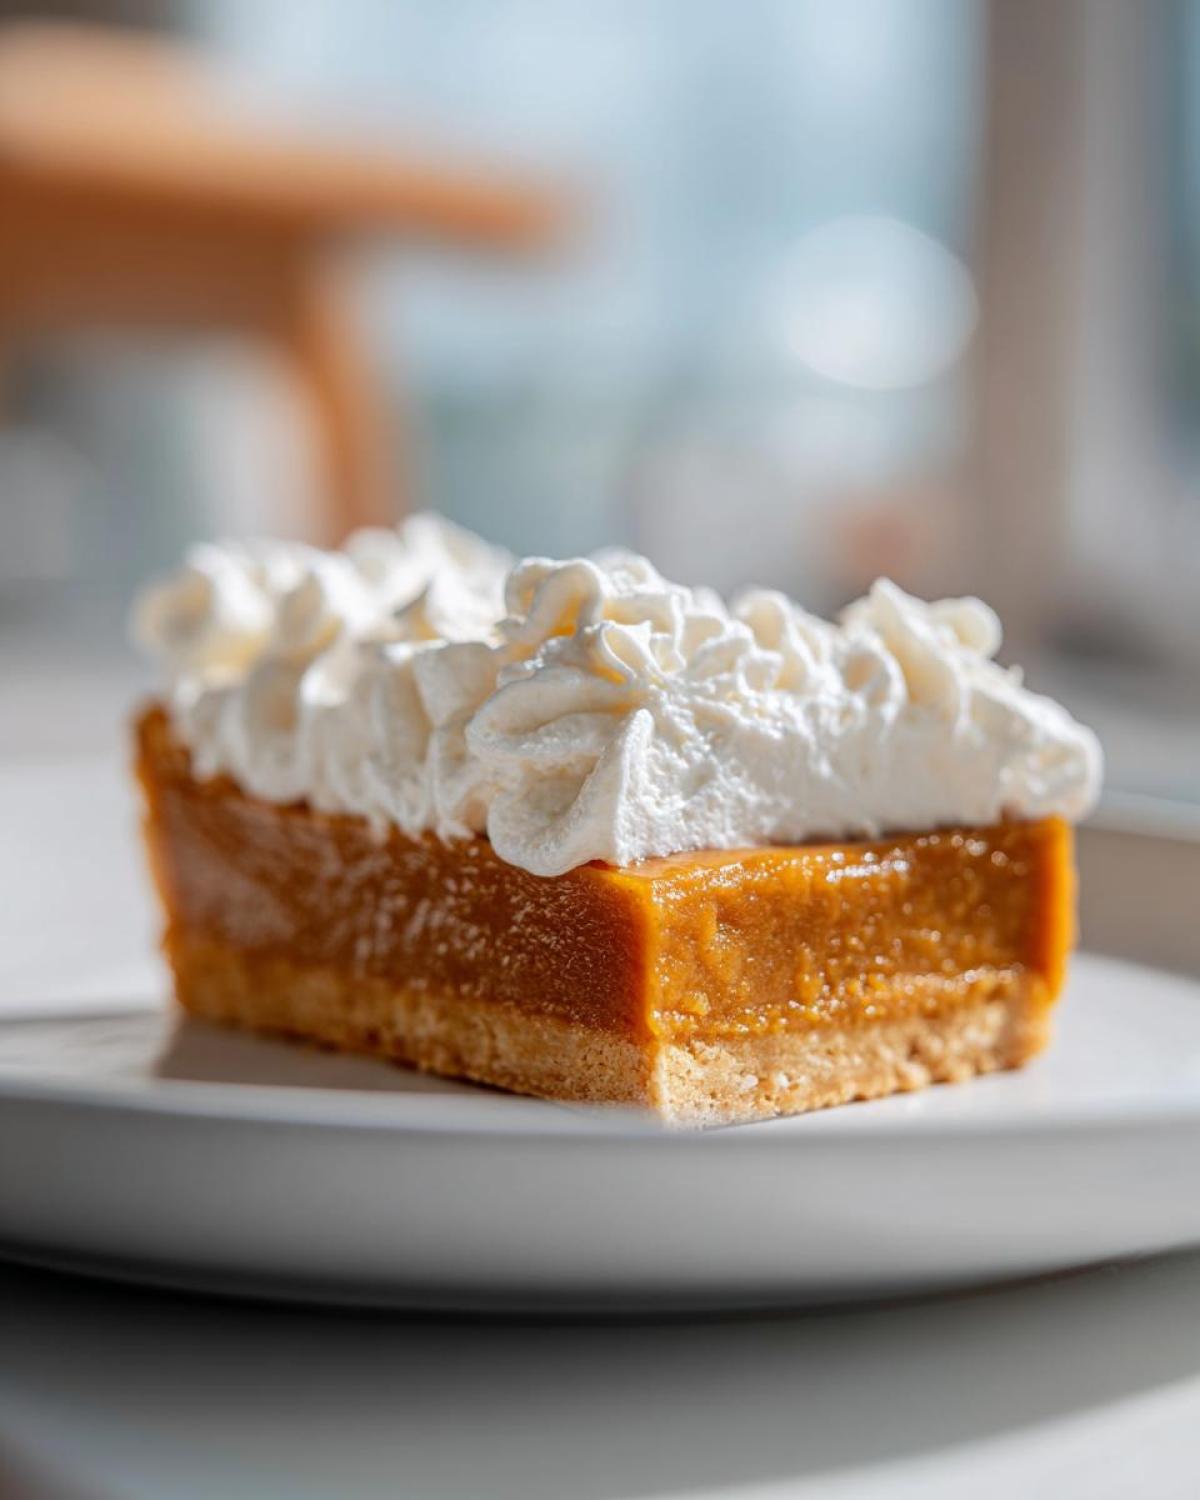
When you are done baking this magnificent pie, I really want to hear about it! Did you manage to get that beautiful, almost mirror-like shine on the filling? Did you end up dusting it with sugar like my inspiration, or did you go all-out with the whipped cream?
This is our show, after all, and we need an audience! Please leave a rating right below this section—five stars if it tasted like pure buttery heaven, which I am certain it will! Tell us in the comments how this classic dessert to bake worked for you. Did you serve it alongside coffee, or maybe next to some tart fruit? If you’re interested in the fine print behind how we run this whole operation, you can always check out our Privacy Policy.
And honestly, if you took a picture of your final, amazing creation, please tag us on social media! We absolutely live for seeing our recipes come to life in your kitchens. It truly inspires the next performance. We promise to look at every single one!
Thank you so much for joining our Culinary Theater today. We hope this rich, creamy dessert brought a little bit of joy—and a lot of butter—to your table. We’re already getting inspired for what we’ll cook up next!
Bravo to you!
Warmly,
Sara & Liam
Print
Old-Fashioned Creamy Butterscotch Pie
- Total Time: 4 hours 40 min
- Yield: 8 servings 1x
- Diet: Vegetarian
Description
Make this rich, velvety butterscotch pie completely from scratch. This classic dessert delivers deep, caramelized flavor perfect for holidays and gatherings.
Ingredients
- 1 recipe for a single 9-inch pie crust (blind baked)
- 1 cup packed light brown sugar
- 1/4 cup cornstarch
- 1/2 teaspoon salt
- 1 1/2 cups cold water
- 3 large egg yolks, lightly beaten
- 2 tablespoons unsalted butter
- 1 teaspoon vanilla extract
- 1 cup heavy cream, chilled
- 2 tablespoons powdered sugar (for topping)
- Extra butterscotch chips for garnish (optional)
Instructions
- Prepare your 9-inch pie crust and blind bake it until golden brown. Let the crust cool completely on a wire rack.
- In a medium saucepan, whisk together the brown sugar, cornstarch, and salt.
- Gradually whisk in the cold water until the mixture is smooth.
- Cook the mixture over medium heat, stirring constantly, until it thickens significantly and begins to bubble. This takes about 5 to 8 minutes. Reduce the heat to low and cook for 1 more minute, still stirring.
- Remove the saucepan from the heat. In a small bowl, lightly whisk the egg yolks. Temper the yolks by slowly pouring about 1/2 cup of the hot sugar mixture into the yolks while whisking constantly.
- Pour the tempered yolk mixture back into the saucepan with the remaining sugar mixture. Return the pan to medium-low heat. Cook, stirring constantly, for 1 to 2 minutes until the filling thickens again. Do not let it boil after adding the yolks.
- Remove the pan from the heat. Stir in the 2 tablespoons of butter and the vanilla extract until the butter melts completely and is incorporated.
- Pour the hot butterscotch filling immediately into the cooled, pre-baked pie crust. Press plastic wrap directly onto the surface of the filling to prevent a skin from forming. Chill the pie in the refrigerator for at least 4 hours, or until the filling is completely set.
- Just before serving, whip the chilled heavy cream with the powdered sugar until stiff peaks form. Spread or pipe the whipped cream over the chilled pie filling.
- Garnish with extra butterscotch chips if desired. Slice and serve this rich dessert recipe.
Notes
- For a truly silky smooth pie filling, make sure you whisk the sugar and cornstarch together thoroughly before adding liquid.
- Tempering the egg yolks slowly is the secret to avoiding scrambled eggs in your custard.
- If you want a Southern style pies flavor, use a homemade butterscotch sauce base instead of relying only on sugar and cornstarch.
- This pie tastes best when served cold, making it a great Thanksgiving pie alternative.
- Prep Time: 25 min
- Cook Time: 15 min
- Category: Dessert
- Method: Stovetop Cooking and Baking
- Cuisine: American
Nutrition
- Serving Size: 1 slice
- Calories: 410
- Sugar: 45g
- Sodium: 250mg
- Fat: 22g
- Saturated Fat: 13g
- Unsaturated Fat: 9g
- Trans Fat: 0.5g
- Carbohydrates: 52g
- Fiber: 1g
- Protein: 5g
- Cholesterol: 110mg