I swear, Liam used to treat store-bought mayonnaise like it was a personal betrayal! He’d painstakingly craft these gourmet burgers, only to frown when reaching for that jar of suspiciously pale, slightly sweet goo. It always felt like the quiet, disappointing ending to a wonderful performance. But guess what? Mastering this one simple technique—making my own **homemade mayonnaise**—changed everything! It’s so unbelievably fast, ridiculously creamy, and it tastes like actual flavor, not just oil and resentment. Trust me, once you whip up a batch of this quick, rich condiment, you’ll never go back. It was our first big win together in the kitchen, moving us away from science and toward joy!
Why This Creamy Mayonnaise Recipe is Your New Kitchen Staple
Honestly, this easy condiment recipe is the one Liam actually asks me to make now! It’s all about showcasing how incredible real food tastes when you let the quality ingredients shine. It’s honestly the best mayonnaise recipe we’ve tried because it’s just so straightforward.
- It’s unbelievably quick—we’re talking less than five minutes here.
- It relies on just five simple ingredients you probably already have on hand.
- The flavor is so much brighter and cleaner than anything store-bought. Check out the full recipe instructions here: Easy Foolproof 5-Ingredient Homemade Mayonnaise.
Achieving Rich and Smooth Mayo Every Time
If you’re worried about this breaking, don’t be! The immersion blender method is my secret weapon here. It makes this whole process part of my **making mayo foolproof** routine. That rapid blending creates the perfect structure for a super **creamy mayonnaise recipe** without any fuss.
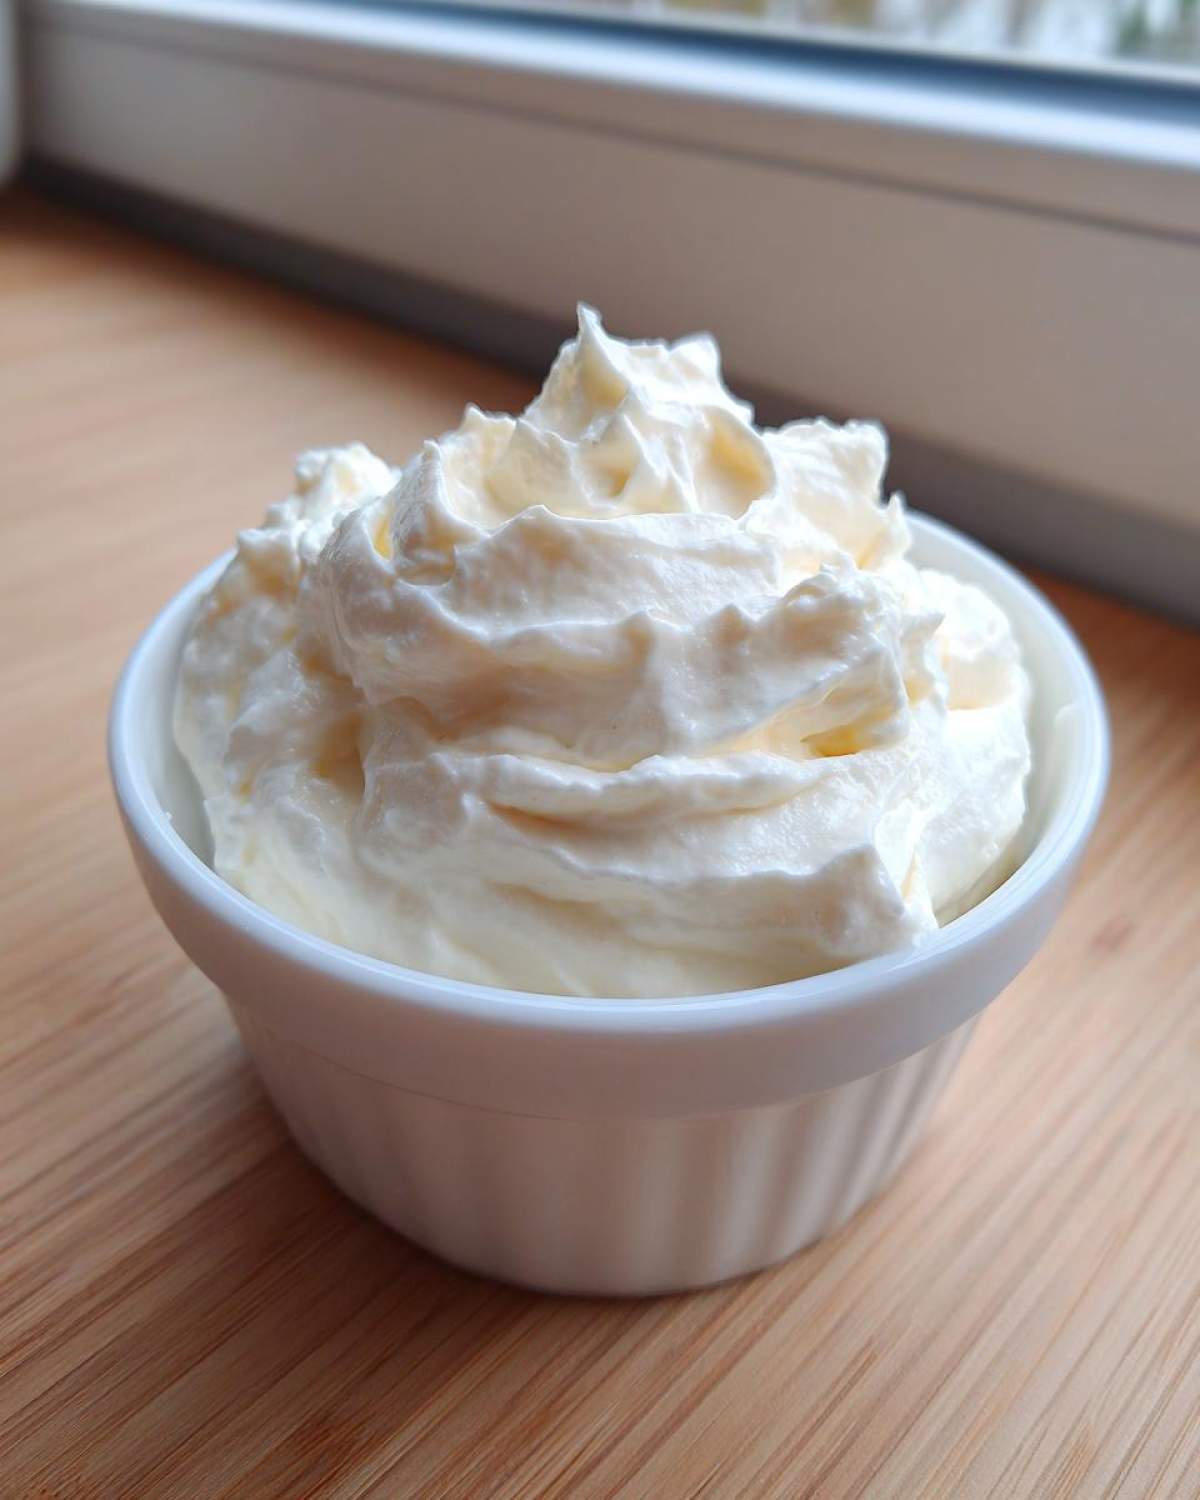
Quick Mayo From Scratch: Ready in Under 5 Minutes
Seriously, you can make **quick mayo from scratch** while the bread is still in the toaster. I time it sometimes just to gloat! Have you ever had a fresh condiment that was ready faster than you could drive to the store? Me neither, until this one!
Gathering Ingredients for Your 5 Ingredient Homemade Mayonnaise
Okay, Liam always says the key to great food is amazing ingredients, and since we’re making **homemade mayonnaise**, simplicity is key. You only need five things! Before you even grab the blender, just make sure that one single egg is sitting out on the counter. This isn’t optional; it’s part of our connection to this **fresh condiment recipes** base! If you’re trying to figure out what to serve it with, check out my Avocado Egg Salad for a non-mayo option inspiration.
Ingredient Notes and Substitutions for Homemade Mayonnaise
Listen to me: the egg absolutely must be room temperature. If it’s straight from the fridge, the cold shocks the mixture and you run a huge risk of it breaking—we want foolproof, remember? If you don’t have fresh lemon juice, white vinegar works perfectly fine as a substitute for that essential bright tang. For the oil, I strongly recommend a neutral flavor like canola or grapeseed oil so you get that pure, **rich and smooth mayo** flavor. If you use extra virgin olive oil, be warned, the taste can get super dominant!
Step-by-Step Blender Mayonnaise Tutorial: DIY Mayonnaise Instructions
This is where the magic happens, and honestly, it’s faster than making coffee! I always pull out the immersion blender because it’s the closest thing to guaranteed success in achieving perfect **DIY mayonnaise instructions**. Dump your room-temperature egg, Dijon, lemon juice, and salt right into the bottom of the tall, narrow container. Don’t stir anything yet! If you’re using a standard blender, just put it all in the jar.
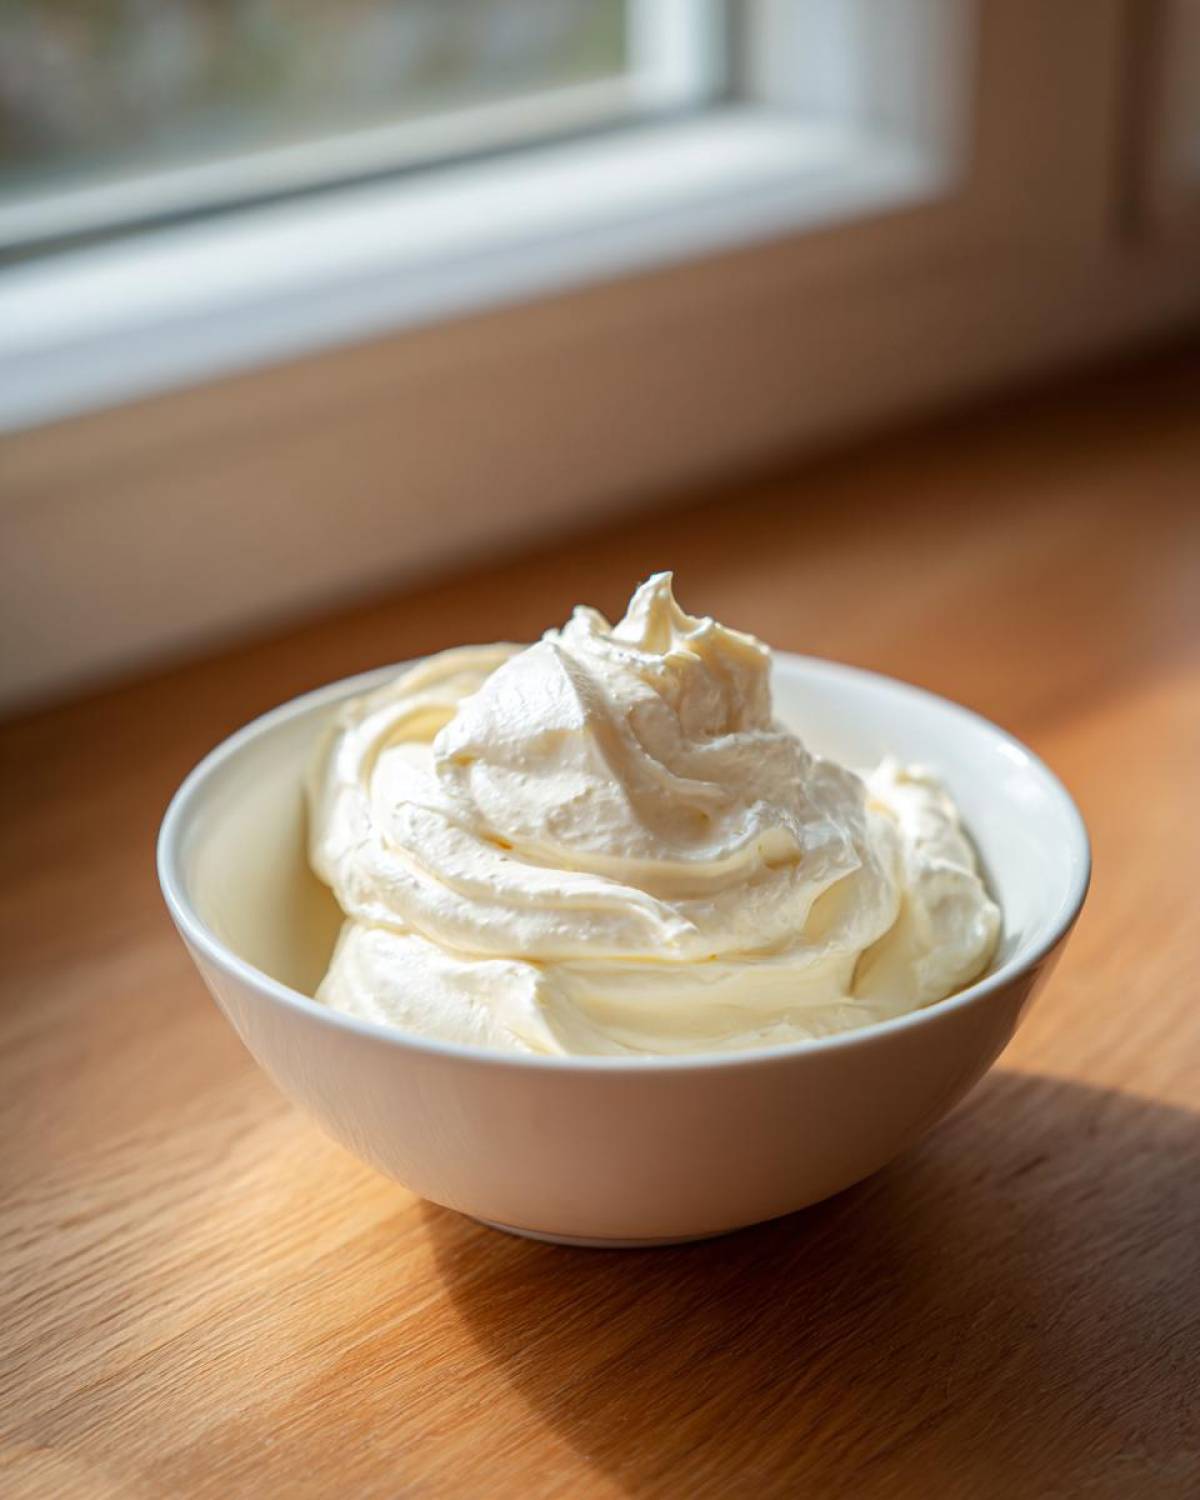
Now, with the immersion blender head all the way down touching the bottom—this is key!—you start blending on low speed. As soon as you see it start to froth, very, very slowly—and I mean a thread-thin stream—drizzle in that cup of neutral oil. Watch closely! It will look like it’s not working for the first ten seconds, and then WHOOSH! It instantly turns into this thick, gorgeous, pale cloud. That’s our emulsification happening. If you stop pouring or start pouring too fast, it’ll separate, so keep that slow, steady pace. Once all the oil is gone, you’re done! Seriously, check out how Liam makes his ultimate sauce base here: Easy Smash Burger Sauce Recipe. Remember, this technique is the secret to amazing **homemade mayonnaise**!
Troubleshooting Common Issues: How to Make Mayo Without Separating
Okay, so maybe you got excited, or maybe your ingredients were too cold, and you ended up with soupy liquid instead of that beautiful **creamy mayonnaise recipe**. Don’t panic! This used to happen to Liam all the time when he’d rush. The fix is so simple! Grab a completely clean bowl and drop in just one extra egg yolk. Now, take your broken, separated mixture and drizzle it *very slowly* into that egg yolk while whisking or blending constantly. It’s like magic; that new yolk grabs onto the struggling oil and brings everything back together into a thick, perfect emulsion. See? No waste, just learning! For more inspiration on home condiments, check out this great post: Homemade Mayonnaise Recipe.
Tips for Success When Making Mayo Foolproof
I know I keep hammering on the temperature, but it’s vital for **making mayo foolproof**! Seriously, if you take away only one thing from this guide to **homemade mayonnaise**, let it be this: ingredients must be warm to touch, not cold. I remember the first time Liam tried to sneak some cold Dijon into the mix, ignoring my dramatics—it totally broke! We stared at the watery mess, and he just laughed, “Well, there goes that performance!”
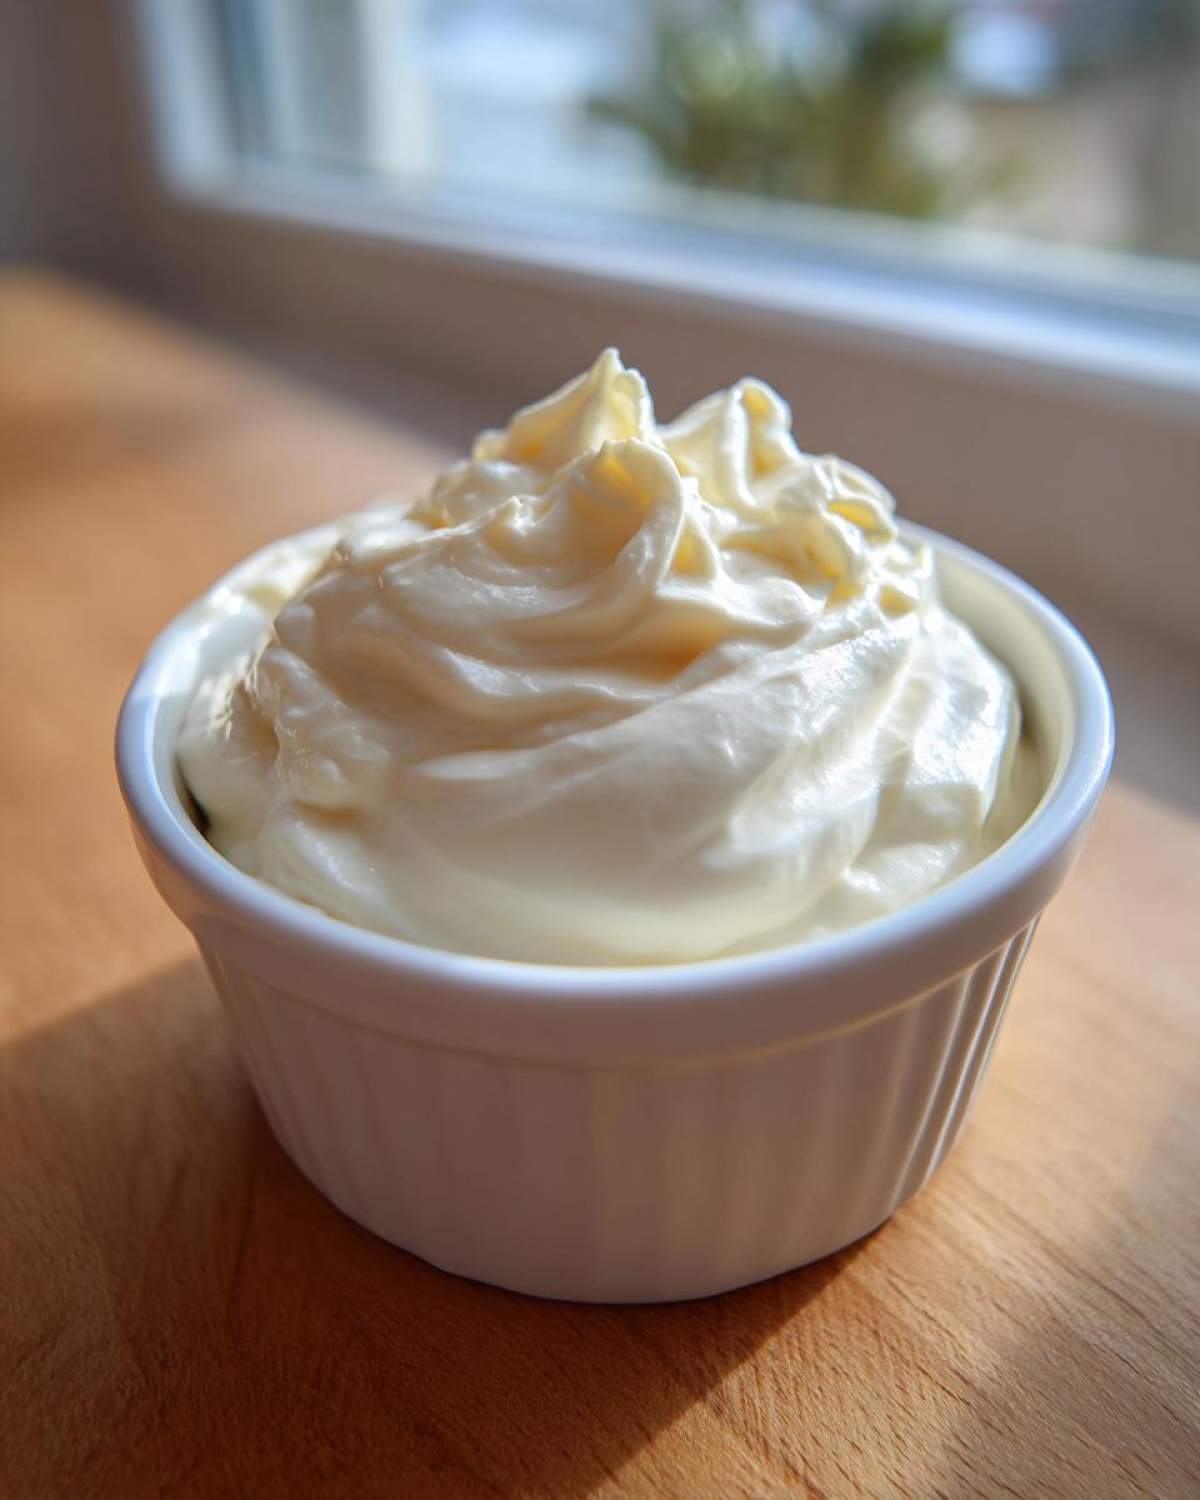
But that failure taught us the lesson. Now, before any blending session, everything—the egg, the mustard—sits on the counter for at least thirty minutes. Also, don’t forget about storage! Once you have that beautiful, **rich and smooth mayo**, get it into a clean, airtight jar and stick it in the fridge. Remember, since we aren’t using preservatives, this fresh condiment needs to be enjoyed within about a week for the best flavor. You can see how others create their perfect batches here: Homemade Mayonnaise.
Serving Suggestions for Your Fresh Condiment Recipes
Now that you’ve made the most incredible, fresh **homemade mayonnaise**, what do you do with that jar of liquid gold? Beyond making the ultimate sandwich spread—which, trust me, happens instantly around here!—this **fresh condiment recipes** base is brilliant! Think about using it as a **dressing base recipes** for vinaigrettes or even thinning it out for quick chip dips. It tastes leagues better than anything bottled, period. You should see how amazing it makes our salad dressings; check out the inspiration here: Turkey Cobb Salad with Honey Mustard.
Customizing Your Tangy Homemade Dip Base
This is my favorite part because it involves playing! You can totally jazz up this **tangy homemade dip** base. Want a simple roasted garlic mayo? Just stir in some roasted garlic paste. Feeling bold? A dash of sriracha turns it into a spicy kick for fries. I also love adding a little smoked paprika for a deeper flavor profile. You’re in charge now; have fun reinventing your sauces!
Storage and Shelf Life of Homemade Mayonnaise
You made it! You successfully created that gloriously thick, rich **homemade mayonnaise**. Now, we have to keep it happy in the fridge. Since we skipped all those weird preservatives the jarred stuff relies on, this fresh condiment is definitely on a tighter clock, but honestly, it tastes so good you’ll use it up quickly anyway!
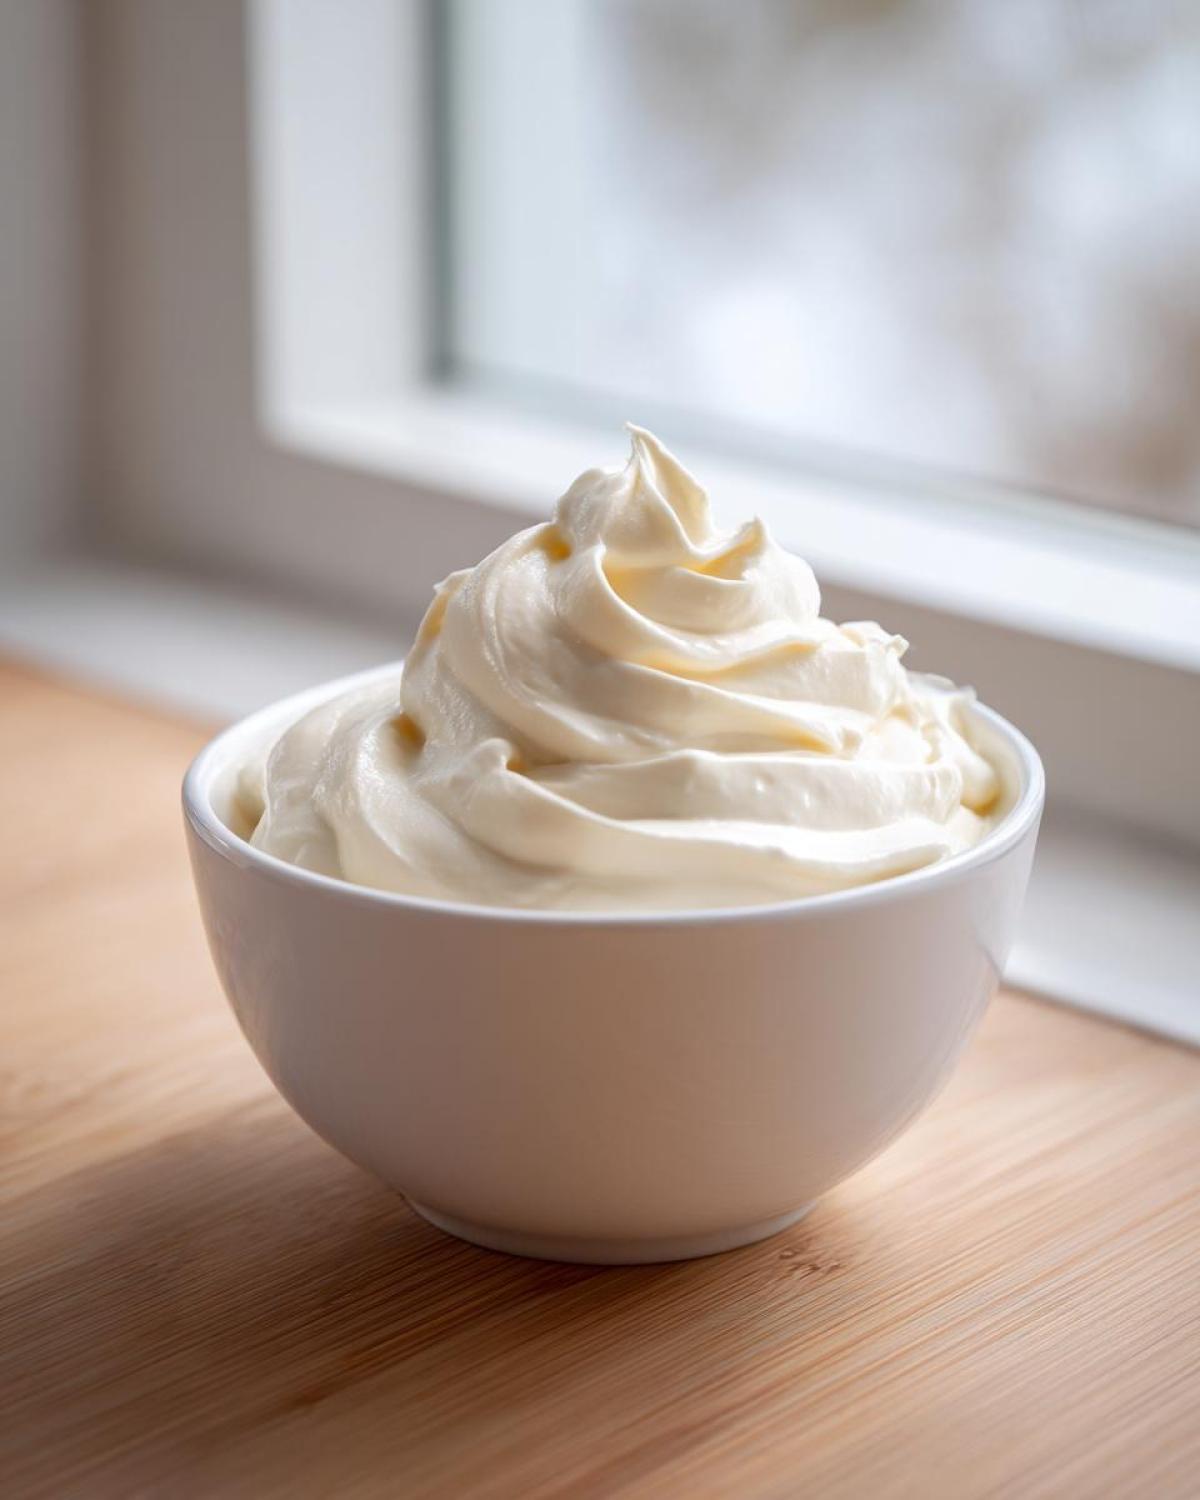
The rule here is simple: always store your fresh mayo in a clean, airtight container. I use these cute little glass jars we saved from pickles—they look so much better than a plastic tub sitting in the door. Keeping it sealed tight keeps everything fresh and prevents unwanted flavors from sneaking in.
When it comes to shelf life, give yourself about a week. That’s right, about seven days is the sweet spot for peak flavor and texture. If you try to push it past that, you might notice it starts to smell a little *off* or the texture thins out again. Always trust your nose when dealing with uncooked eggs; if it smells even slightly tangy in a bad way, toss it! Safety first, even when making the best sauces!
Frequently Asked Questions About Making Mayo
We’ve made so much **homemade mayonnaise** here at Child Recipe that some questions pop up every single time! Liam and I gathered the ones we hear most often, so you can feel totally confident next time you whip up this **kitchen staple recipes** base.
Can I make mayonnaise in a jar without an immersion blender?
You absolutely can dip your toe into **mayonnaise in a jar** territory, but I have to be real with you: it takes effort! If you’re using a regular jar, you’ll need a tightly sealed lid and you have to shake or whisk like your life depends on it for about five straight minutes. You need amazing arm strength to get the oil incorporated fast enough before it separates. Honestly, if you want the guaranteed, foolproof, creamy result we brag about, the immersion blender is your friend. It does all the hard work for you! If you’re curious about other jar methods, check out this inspiration: Easy Homemade Mayonnaise in a Jar Recipe.
Is this the best mayonnaise recipe regarding flavor?
Oh, honey, YES it is! I’d stake my reputation as The Muse on it! This simple process delivers the **best mayonnaise recipe** because you are in control of every single drop. There’s no weird aftertaste or stabilizers. It’s pure, clean, rich flavor that instantly upgrades anything, whether you’re serving it with fries or using it as a **healthy sandwich spread**. It tastes vibrant, fresh, and exactly how real mayo should taste!
We used this ultra-fresh mayo base to make the dressing for our Homemade Chicken Ramen Bowls last week, and I swear Liam actually cheered when he tasted it!
Share Your Culinary Performance
Now for the best part! I’ve given you the script for this amazing **homemade mayonnaise**, but I want to see your performance! Did you try the immersion blender trick? Did you actually manage to keep pouring the oil slowly enough? I need to hear all about it!
This whole idea behind Child Recipe is finding that childlike joy in the kitchen, and nothing makes me happier than when you try one of our foolproof recipes and realize just how talented you are. Don’t be shy—come back and leave a rating for us; five stars are always welcome, wink!
More importantly, tell me in the comments below: what are you going to use your first batch of gorgeous, rich mayo on? Are you going for a towering sandwich masterpiece, or are you mixing up a tangy dip? I always use my freshly made condiment base for dipping crispy sweet potato fries!
We love connecting with everyone who stops by our little kitchen theater. If you’re curious about my life as Liam’s muse and director of chaos, you can read all about how we cook together here: About Sara & Liam. Happy blending, and show off that incredible mayo!
Print
Easy 5-Ingredient Creamy Homemade Mayonnaise (Blender Method)
- Total Time: 3 min
- Yield: About 1 1/4 cups 1x
- Diet: Gluten Free
Description
Whip up rich, smooth homemade mayonnaise in minutes! This easy, 5-ingredient recipe guarantees creamy results every time, tasting far better than store-bought versions. Use this fresh condiment for your best sandwiches and salads.
Ingredients
- 1 large egg, room temperature
- 1 teaspoon Dijon mustard
- 1 teaspoon fresh lemon juice or white vinegar
- 1/4 teaspoon salt
- 1 cup neutral oil (like canola, grapeseed, or light olive oil)
Instructions
- Place the egg, Dijon mustard, lemon juice (or vinegar), and salt into the container of an immersion blender or a standard blender jar.
- If using an immersion blender, place the head of the blender all the way to the bottom of the container.
- Begin blending on low speed. Slowly drizzle the 1 cup of oil into the mixture in a very thin, steady stream. Do not stop blending.
- Continue blending and slowly adding the oil. After about 30 seconds, the mixture will begin to thicken rapidly and turn white.
- Once all the oil is incorporated and the mixture is thick and creamy, stop the blender. You have made your rich and smooth mayo!
- If the mixture is too thick, you can whisk in 1 teaspoon of warm water until you reach your desired consistency.
- Transfer the fresh condiment to an airtight container and refrigerate.
Notes
- Use room temperature ingredients; cold ingredients increase the chance of the mayonnaise separating.
- If your mayonnaise separates, place one additional egg yolk in a clean bowl and slowly drizzle the broken mixture into the yolk while whisking constantly until it emulsifies.
- This homemade mayo is best used within one week for peak freshness.
- You can easily customize this base recipe by adding 1/2 teaspoon of garlic powder for garlic mayonnaise or a dash of hot sauce for a spicy dip.
- Prep Time: 3 min
- Cook Time: 0 min
- Category: Condiment
- Method: Blending
- Cuisine: American
Nutrition
- Serving Size: 1 tablespoon
- Calories: 90
- Sugar: 0
- Sodium: 70
- Fat: 10
- Saturated Fat: 1.5
- Unsaturated Fat: 8.5
- Trans Fat: 0
- Carbohydrates: 0
- Fiber: 0
- Protein: 0.5
- Cholesterol: 25