Oh, when the air gets crisp and those first Christmas lights flicker on, you just *need* something rich and comforting, right? Forget those cartons from the store that taste vaguely of vanilla and regret—we are making the real deal: authentic homemade eggnog! Trust me, the magic of this spiced holiday beverage only truly happens when you make it yourself. This recipe is my absolute go-to because it guarantees the creamiest, thickest batch of eggnog you’ve ever tasted. Whether you’re looking for that warming kick from some aged rum or a perfectly soothing non-alcoholic version for the kids (and designated drivers!), this classic custard base sets us up for success every single time.
Why This Homemade Eggnog Recipe Stands Above the Rest
If you’re serious about the holidays, you need seriously rich drinks, and that starts here. My version delivers that unbelievably smooth, creamy eggnog texture you dream about. We aren’t dealing with thin, watery stuff here; we are focusing on creating an actual rich holiday custard.
The trick, and this is where we show off a little culinary know-how, is building a proper egg base. We cook the base on the stove until it perfectly coats a spoon. That slow heating process is what separates an amateur drink from a true celebration staple.
Achieving That Perfect Thick Eggnog Consistency
This thickness isn’t just luck; it’s science! We use those six gorgeous egg yolks because the fat and lecithin in the yolk are natural emulsifiers. When we cook that mixture slowly, keeping it just below a boil—aiming for about 170 degrees F—we gently thicken those proteins. That slow heat prevents scrambling and results in that perfect, luxurious sludge—I mean, *custard*—that defines a genuinely thick eggnog. When you dip your spoon and run your finger across the back, if the line holds, you know you’ve nailed it!
You absolutely must check out how we use this custard base technique in other treats, like this amazing custard eggnog recipe for desserts!
Gathering Ingredients for Classic Eggnog
Alright, let’s get down to business. You can’t make magic without the right tools, and for this classic eggnog, that means quality dairy and fresh spices. I always lay everything out first, so nothing sneaks up on me mid-cook. Remember, we aren’t buying a mix; we are building flavor from the ground up!
Here’s what you need for about six wonderful servings. Take note of the dairy amounts; that’s a big part of the richness.
- 6 large egg yolks – make sure they are fresh!
- 1 cup granulated sugar – this feeds the whole mixture.
- 1 quart whole milk – please use whole milk; low-fat just doesn’t cut it here.
- 1 pint heavy cream – this is what gets us that luxurious mouthfeel.
- 1 teaspoon vanilla extract – the essential background note.
- 1/4 teaspoon ground nutmeg – fresh ground is *heaven*, but store-bought is fine if you’re in a pinch.
- 1/4 teaspoon ground cinnamon – just enough warmth.
- 1 cup aged rum or brandy (optional) – optional but highly encouraged for holiday cheer!
- A tiny pinch of salt – don’t skip this; it balances the sweetness.
Ingredient Notes and Substitution Options
Every ingredient serves a purpose here. The nutmeg and cinnamon aren’t just decorative; they are the soul of this nutmeg cinnamon drink. Nutmeg is mandatory year-round, believe it or not, because it deepens the creamy flavor of the custard itself.
Now, about the rum or brandy: If you are making this for a family party where kids or abstainers are present, just skip the spirits entirely. It is incredibly easy! Simply omit the whole cup of alcohol, and you instantly have a fantastic non alcoholic eggnog. The flavor profile remains robust because the dairy and spices are so strong. If it’s just adults, I usually go with a good quality aged rum—it just seems to pair right.
If you’re feeling experimental but want to stick close to the original, you could swap the rum for bourbon—it makes a slightly warmer, more caramel-toned beverage we call an old fashioned eggnog variation!
Step-by-Step Instructions for Easy Eggnog From Scratch
Okay, here is where the actual cooking happens! Don’t let the word ‘custard’ scare you; this is truly easy eggnog from scratch once you follow the sequence. We need to move with clear intention here, but we aren’t rushing. Grab your saucepan, your whisk, and let’s go! First things first, we whisk those six yolks with the sugar until it gets pale and stiff—that takes focus but sets the foundation for a beautiful, rich base.
While that’s happening, get your milk and cream warming up on the stovetop. We want steam and tiny bubbles around the edge, but seriously, *do not* let it boil! A true boil ruins the whole custard dream before it even starts.
Now for the most important part of these instructions: tempering. We need to introduce that hot milk to the cold eggs slowly so they don’t turn into sweet scrambled eggs! Once that’s done, everything—the yolk mixture and the hot milk—goes back into the saucepan to cook slowly until it coats the back of your wooden spoon. That usually takes gentle stirring over low heat for about 10-15 minutes.
Once it’s thick enough to hold a line, pull it right off the heat! That’s when we add the vanilla, the spices, and any rum you might be using. If you want the smoothest possible texture possible for your finished holiday eggnog drink, pour the whole batch through a fine-mesh sieve into a bowl before chilling. It catches any tiny accidental bits of cooked egg or spice clumps!
Finally, get it into a sealed container. This recipe is fantastic as a make ahead holiday drink, but you must let it chill for at least four hours. Overnight is better by a mile. The flavors need time to mingle and the texture firms up perfectly in the cold.
Speaking of rum, you can explore how well spirits work with other drinks, like my recipe for eggnog French Toast Casserole—even though that’s food, the spice notes are the same!
Tempering the Yolks for Smooth Eggnog Preparation Tips
Tempering is the most crucial step, so listen up! You take about one cup of that hot milk/cream mixture—the one you just heated up—and you pour it in a super slow, steady drizzle into your bowl of yolks and sugar *while whisking non-stop*. If you pour too fast, you’ll cook those yolks right there in the bowl! It’s like a slow dance between the hot and the cold.
Why do this? Because it gently warms the eggs up gradually, so when they finally meet the rest of the hot liquid in the pot, they don’t shock and scramble. It makes all the difference! And here is my pro tip for smoothness: After the mixture is cooked and spiced, run it through a very fine sieve before you bottle it up for chilling. It removes any tiny potential lumps and guarantees a glass-smooth finish.
Adding Spirits: Making Your Eggnog with Rum
If you’re going the spirited route, patience is still key! Never, ever add your rum or brandy while the custard is still actively cooking on the stove. Heat destroys some of the nuanced flavor of good liquor, and you spent good money on that booze!
Wait until you have removed the saucepan completely from the heat. Once everything else—the vanilla, the spices—is stirred in, *then* you pour in that cup of eggnog with rum. Stir it well to combine. If you are using brandy, either works beautifully, but I find rum pairs better with extra grated nutmeg on top. This ensures the alcohol integrates perfectly into the already thickened base before it all heads to the fridge.
Chilling and Serving Your Classic Eggnog
We’re almost there! You’ve cooked your custard, you’ve added the spice, and maybe even the rum. Now, the hardest part: waiting! This classic eggnog absolutely needs time for the flavors to marry. Seriously, don’t even think about serving this warm (unless you’re making warm milk punch, which is a different story!). You need at least four hours in the fridge for that texture to set up properly and become truly thick.
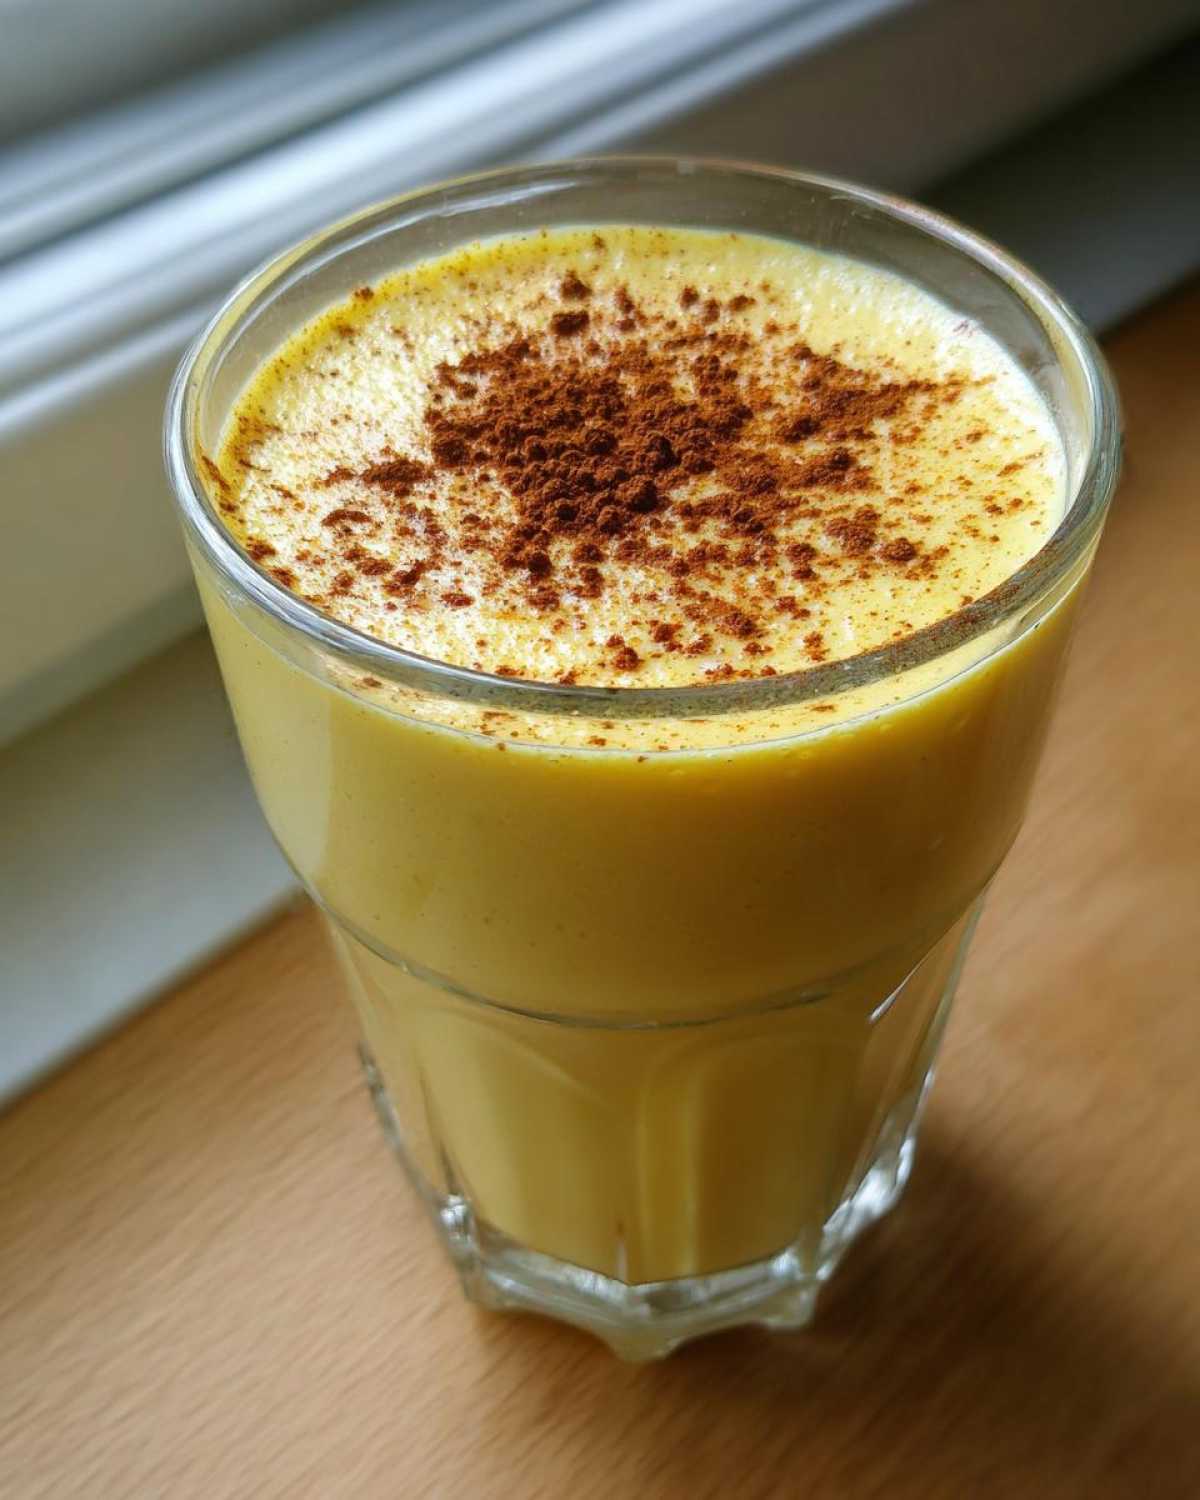
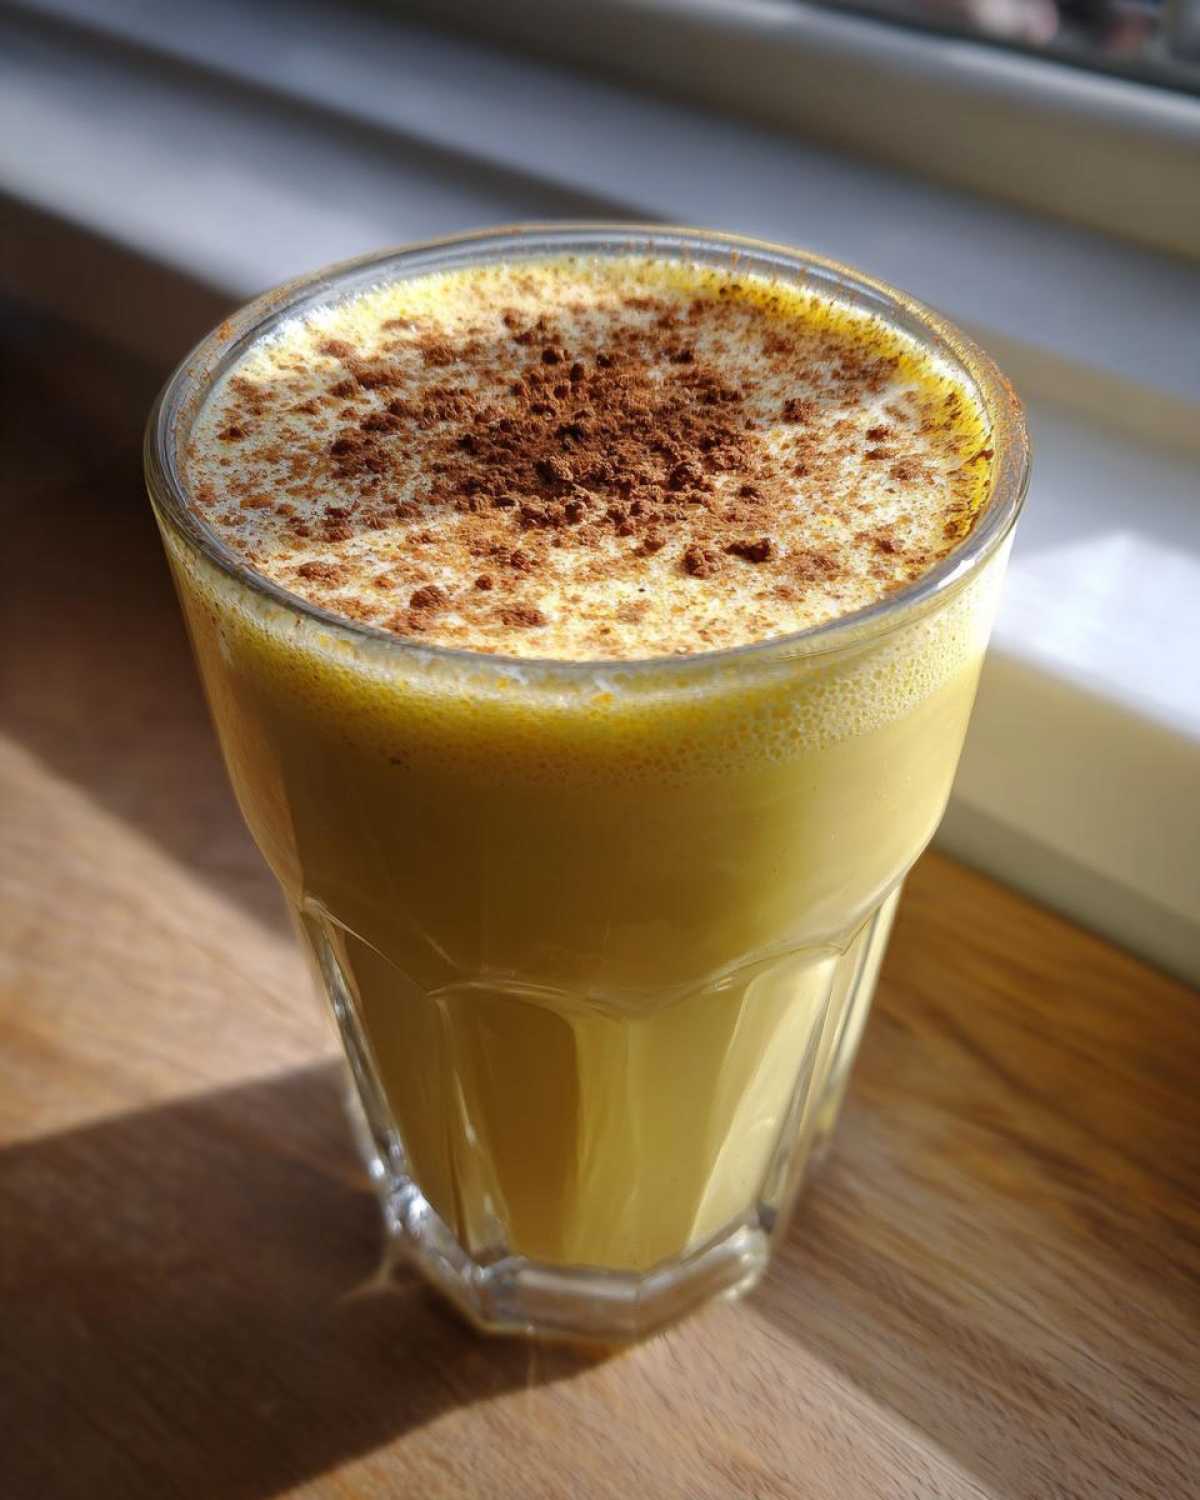
When it’s time to serve this amazing spiced holiday beverage, make sure your glasses are cold! I like to serve mine in small, heavy glasses and always top it off with a fresh, generous grating of nutmeg. Don’t forget to check out my recipe for the cinnamon roll cocktail if you’re feeling extra festive!
Making Ahead Holiday Drinks: Storing Your Homemade Eggnog
One of the best things about this recipe is planning ahead, which is essential when you’re hosting a bustling holiday party. You absolutely can make this batch up to three days before you actually need it! That buys you so much sanity when Christmas Eve hits, trust me.
The key to successful storage is containment. You need to pour that finished, strained beverage into an airtight container. Mason jars are fantastic, or any sturdy pitcher with a tight-fitting lid works wonders. We aren’t worried about contamination here, especially since we cooked the base, but keeping it sealed prevents it from soaking up any weird smells from your fridge.
Keep it tucked away in the coldest part of your refrigerator. When you are ready to serve, give it a good stir—it might get a little thicker than when it first went in—and garnish right before you pour. This is such a lifesaver when preparing for big family gatherings. If you’re looking for more ideas on excellent make ahead holiday drinks, I’ve got a whole list!
Creative Variations on the Traditional Eggnog Drink
While this classic eggnog is perfection as it stands—that beautiful combination of nutmeg and cinnamon always wins—sometimes you need to jazz things up for the party crowd, right? We are making a holiday eggnog drink, so let’s have some fun! If you used rum the first time, try bourbon next time around. Bourbon brings a deeper vanilla and oak note that plays miraculously well with the cooked custard base. Brandy is another fantastic swap!
But we can go beyond just switching the liquor. I love experimenting with the spice blends! A tiny pinch of cardamom added right at the end with the cinnamon elevates the whole drink to something truly exotic. Or, if you want just a whisper of warmth, try a pinch of ground allspice along with your nutmeg. These little tweaks encourage people to try the drink again once they realize it’s homemade, even if they usually stick to store-bought versions.
If you want to get *really* wild and turn this into an epic dessert shot, definitely check out my recipe for the eggnog White Russian! It takes this rich base and turns it into something truly special for the end of the night.
Frequently Asked Questions About Homemade Eggnog
I know when you look at a recipe that calls for six egg yolks, you might have a few jitters, especially about using raw ingredients. That’s totally fine! When people talk about classic eggnog, they often mean the old-school version made with totally uncooked eggs, but honestly, I worry about that for big parties. That’s why this recipe is your best friend—it’s still rich and festive, but we cook it into a safe custard base.
When we cook the yolks, we eliminate those safety concerns while achieving that signature decadent texture. It’s the perfect balance of taste and peace of mind for your holiday celebrations!
Is it safe to make eggnog without cooking the egg yolks?
Well, technically, recipes for traditional old fashioned eggnog use raw yolks. However, I strongly advise against it unless you are absolutely certain about the freshness and source of your eggs! My recipe cooks the yolks gently until they reach 170 degrees F. This heat pasteurizes them, which is brilliant because you get that amazing richness without any worries. If you’re serving this to anyone—especially kids or older relatives—please stick to cooking the base. Safety first for this beautiful spiced holiday beverage!
How can I make this eggnog recipe thicker without adding more cream?
That’s a great question if you’re watching the dairy intake! If you want a truly superb, thick eggnog but don’t want to use the whole pint of heavy cream, rely on chilling time more than anything else. Four hours is my minimum recommendation, but if you can let it sit overnight, it will firm up considerably! The starches and fats need that time to settle and bind in the cold.
Another tiny adjustment, without adding more full-fat cream, is to slightly increase the yolk-to-sugar ratio by maybe one extra yolk, provided you cook it extra carefully. More yolk equals more body! But honestly, chilling is the easiest way to get that perfect density without changing the balanced flavor.
What is the best alcohol to use in homemade eggnog?
I love talking booze pairings! For a traditional flavor, my heart belongs to a good aged dark rum; it brings molasses notes that complement the nutmeg wonderfully. That’s why I highlighted the eggnog with rum option initially.
However, excellent quality brandy or Cognac works beautifully too, especially if you prefer those stone-fruit, slightly drier notes. If you want something warmer, try a decent quality bourbon instead of rum or brandy. Bourbon adds a lovely vanilla-oak layer that turns this into a fantastic cozy nightcap. Whatever you choose, make sure it’s something you’d enjoy sipping on its own!
Nutritional Snapshot of This Creamy Eggnog
Now, let’s talk fuel! I know most of us aren’t whipping up this gorgeous creamy eggnog because we are counting macros, but I think it’s always good to have a general idea of what’s in your festive glass. We rely on the richness of the whole milk, heavy cream, and those six beautiful egg yolks, so yes, this is a treat for sure!
Here is the estimated breakdown based on a one-cup serving size, using the recipe as written (assuming the optional alcohol is included). Remember, this is just an educated guess, like most home recipes!
- Calories: Roughly 450 per cup
- Fat: About 28g (Be warned, 17g of that is the good saturated fat that makes it so dreamy!)
- Sugar: Around 35g
- Protein: A solid 10g to keep you satisfied
- Cholesterol: Yep, it’s high due to those yolks! (Around 350mg)
This is why we treat this as a special occasion spiced holiday beverage and not something to sip every afternoon! If you skip the rum or brandy entirely, you’ll drop the calories down a bit, but honestly, the fat and sugar content are the real stars here—they give the drink that incredible body and mouthfeel we are aiming for.
If you decided to swap some of that heavy cream out for something lighter, as suggested in the notes, these numbers will definitely drop. But if you want that perfect rich holiday custard, you pretty much need to embrace the richness! Enjoy every sip!
Share Your Perfect Homemade Eggnog Experience
Well, now you have all the secrets! You’ve seen how we take simple dairy and eggs and transform them into the ultimate festive classic. Making homemade eggnog recipe doesn’t have to be intimidating; it’s just about respecting the process, especially that slow cook time for the custard base.
I really, truly hope you give this a go this season. There is absolutely nothing better than serving a house full of guests that rich, creamy pour, knowing it came straight from your own pot. It fills the whole house with that wonderful scent of nutmeg and warmth!
When you do whip up a batch—whether you stuck with the classic rum version or went fully non alcoholic eggnog for your family—please do me a favor! Come back here and leave a rating. I want to know how long you chilled it for, and if you found it to be the perfect thick eggnog you were looking for.
Your feedback helps other bakers feel confident trying this recipe next year. Use the contact form here if you have any specific questions while you’re cooking. Happy holidays, and enjoy every single drop of that perfect, rich, spiced holiday beverage!
Print
Classic Homemade Eggnog
- Total Time: 35 min
- Yield: 6 servings 1x
- Diet: Vegetarian
Description
Make a rich, creamy, and thick eggnog from scratch, perfect for holiday gatherings. This recipe includes options for both alcoholic and non-alcoholic versions.
Ingredients
- 6 large egg yolks
- 1 cup granulated sugar
- 1 quart whole milk
- 1 pint heavy cream
- 1 teaspoon vanilla extract
- 1/4 teaspoon ground nutmeg
- 1/4 teaspoon ground cinnamon
- 1 cup aged rum or brandy (optional)
- Pinch of salt
Instructions
- In a medium bowl, whisk the egg yolks and sugar together until the mixture is pale yellow and thick.
- In a large saucepan, combine the whole milk and heavy cream. Heat over medium heat until steam rises and small bubbles form around the edges, but do not boil.
- Slowly temper the egg mixture by pouring about one cup of the hot milk mixture into the yolks while whisking constantly.
- Pour the tempered yolk mixture back into the saucepan with the remaining milk and cream.
- Cook over low heat, stirring constantly with a wooden spoon or spatula, until the mixture thickens enough to coat the back of the spoon (reaching about 170 degrees F). Do not let it boil.
- Remove the custard from the heat immediately. Stir in the vanilla extract, ground nutmeg, cinnamon, and salt.
- If making the alcoholic version, stir in the rum or brandy now.
- Pour the eggnog into a sealed container. Chill in the refrigerator for at least 4 hours, or preferably overnight, to allow the flavors to meld and the mixture to thicken further.
- Serve cold, garnished with extra grated nutmeg or cinnamon.
Notes
- For a non-alcoholic version, simply omit the rum or brandy.
- You can make this recipe up to three days ahead of time.
- For a smoother texture, strain the mixture through a fine-mesh sieve before chilling.
- If you prefer a lighter drink, substitute some of the heavy cream with half-and-half.
- Prep Time: 20 min
- Cook Time: 15 min
- Category: Beverage
- Method: Stovetop Cooking
- Cuisine: American
Nutrition
- Serving Size: 1 cup
- Calories: 450
- Sugar: 35
- Sodium: 80
- Fat: 28
- Saturated Fat: 17
- Unsaturated Fat: 11
- Trans Fat: 1
- Carbohydrates: 38
- Fiber: 0
- Protein: 10
- Cholesterol: 350