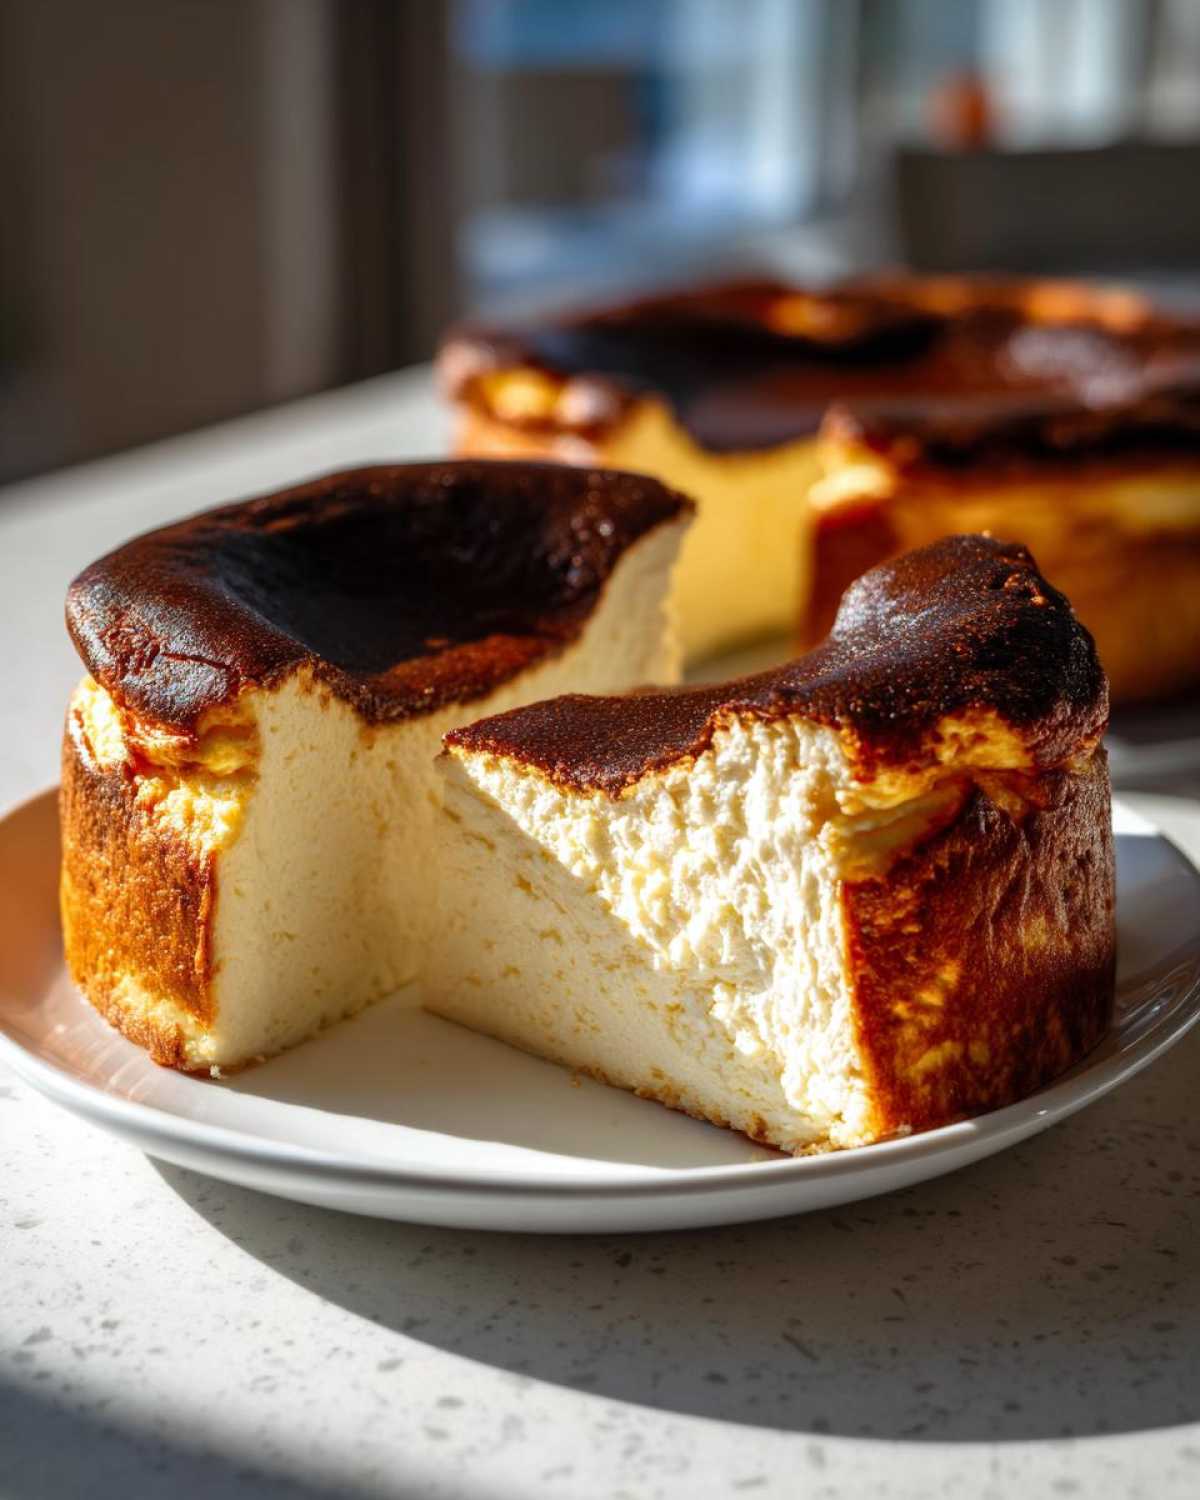
You know those desserts that look like they belong in a fancy Michelin-starred window? They seem impossible, right? Well, get ready, because I’m about to let you in on the secret to making the most stunning **basque cheesecake** right in your own kitchen, and honestly, it’s so simple it feels like cheating. This isn’t your grandma’s dense, fragile New York style! We’re talking about a **creamy cheesecake** that melts in your mouth, topped with that gorgeous, dark, *intendedly* burnt exterior. The best part? No crust, no fiddly water bath—nothing complicated. I remember the first time I made this **burnt basque cheesecake**; I was sure I ruined it when the top went dark, but wow, was I wrong! This **easy cheesecake recipe** is foolproof, trust me.
Why This is the Best Basque Cheesecake Recipe (E-E-A-T Focus)
I’ve tried every **cheesecake recipe** under the sun, and this one always wins because it cuts straight to the good stuff. It delivers that gourmet, restaurant-quality result without any of the usual panic. Because I struggled with traditional baked cheesecakes for ages, mastering this specific style felt like a huge win, and I’m happy to share exactly why it works so well for everyone.
When you read my notes about my baking background, you’ll see I really focus on results that are worth the effort. This recipe minimizes fuss while maximizing flavor and texture. It’s honestly the best way to feed a crowd when you want something truly impressive but don’t want to spend all day stressing in the kitchen. You can learn more about my baking philosophy over on my About Me page!
Achieving the Perfect Caramelized Cheesecake Top
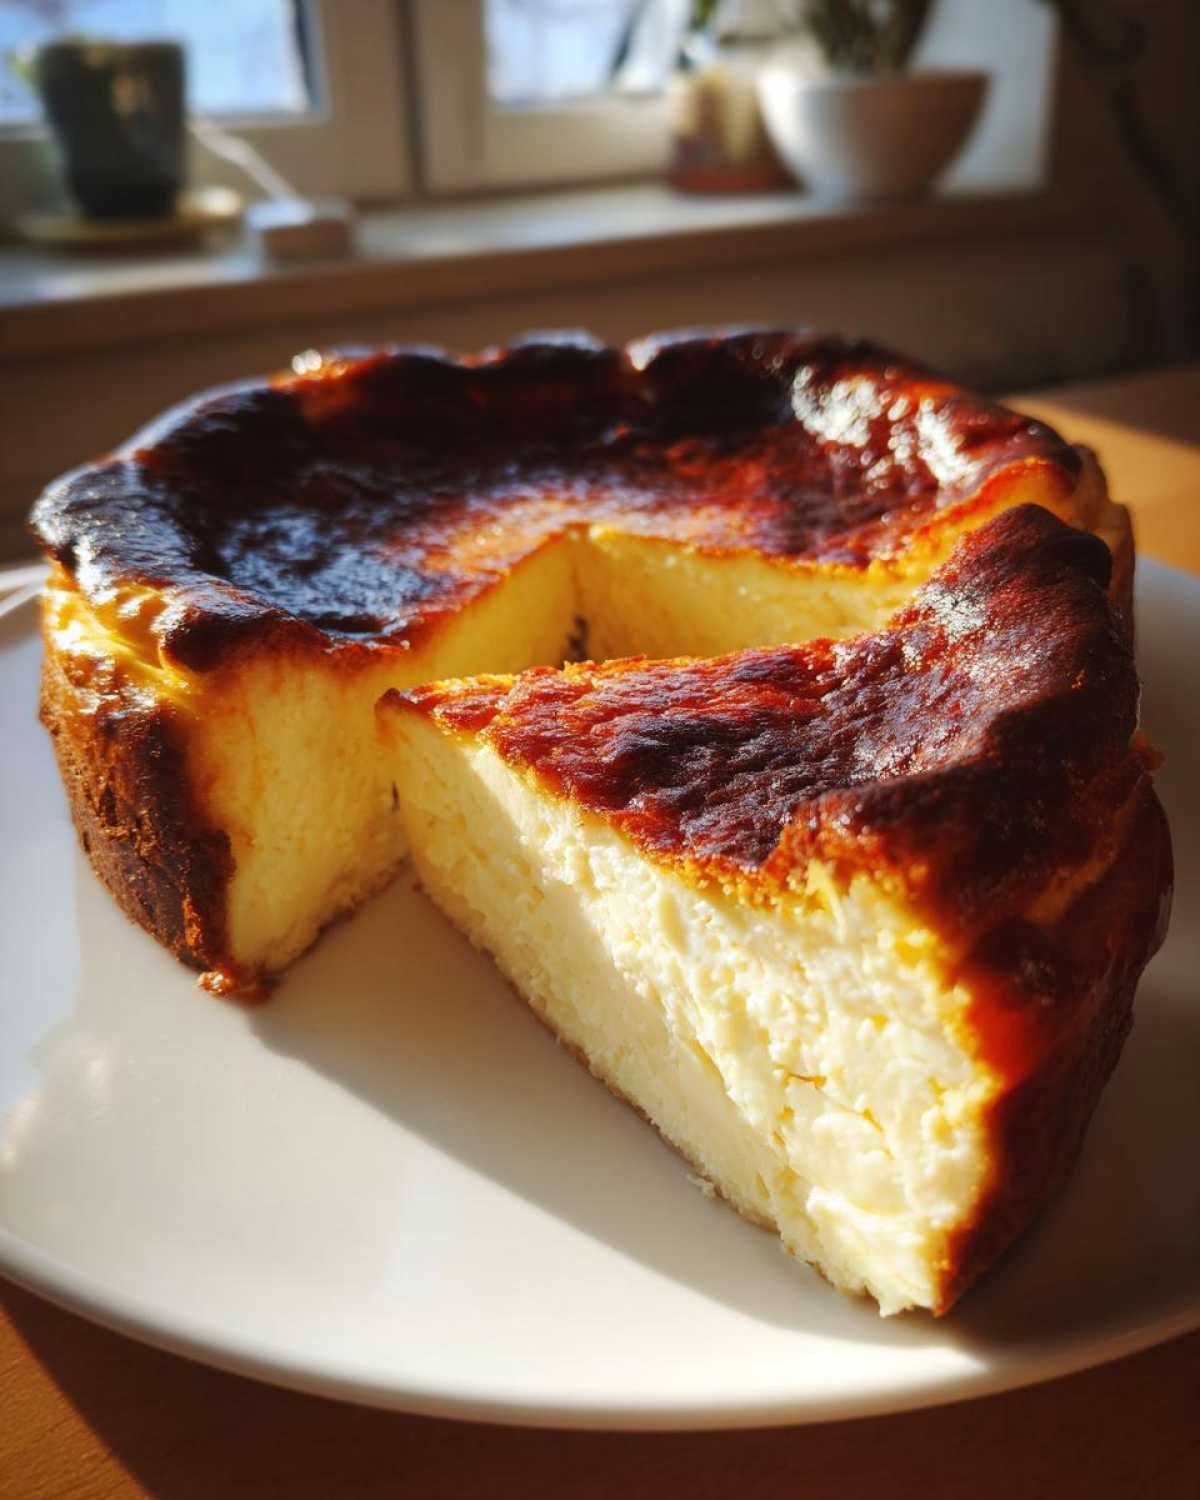
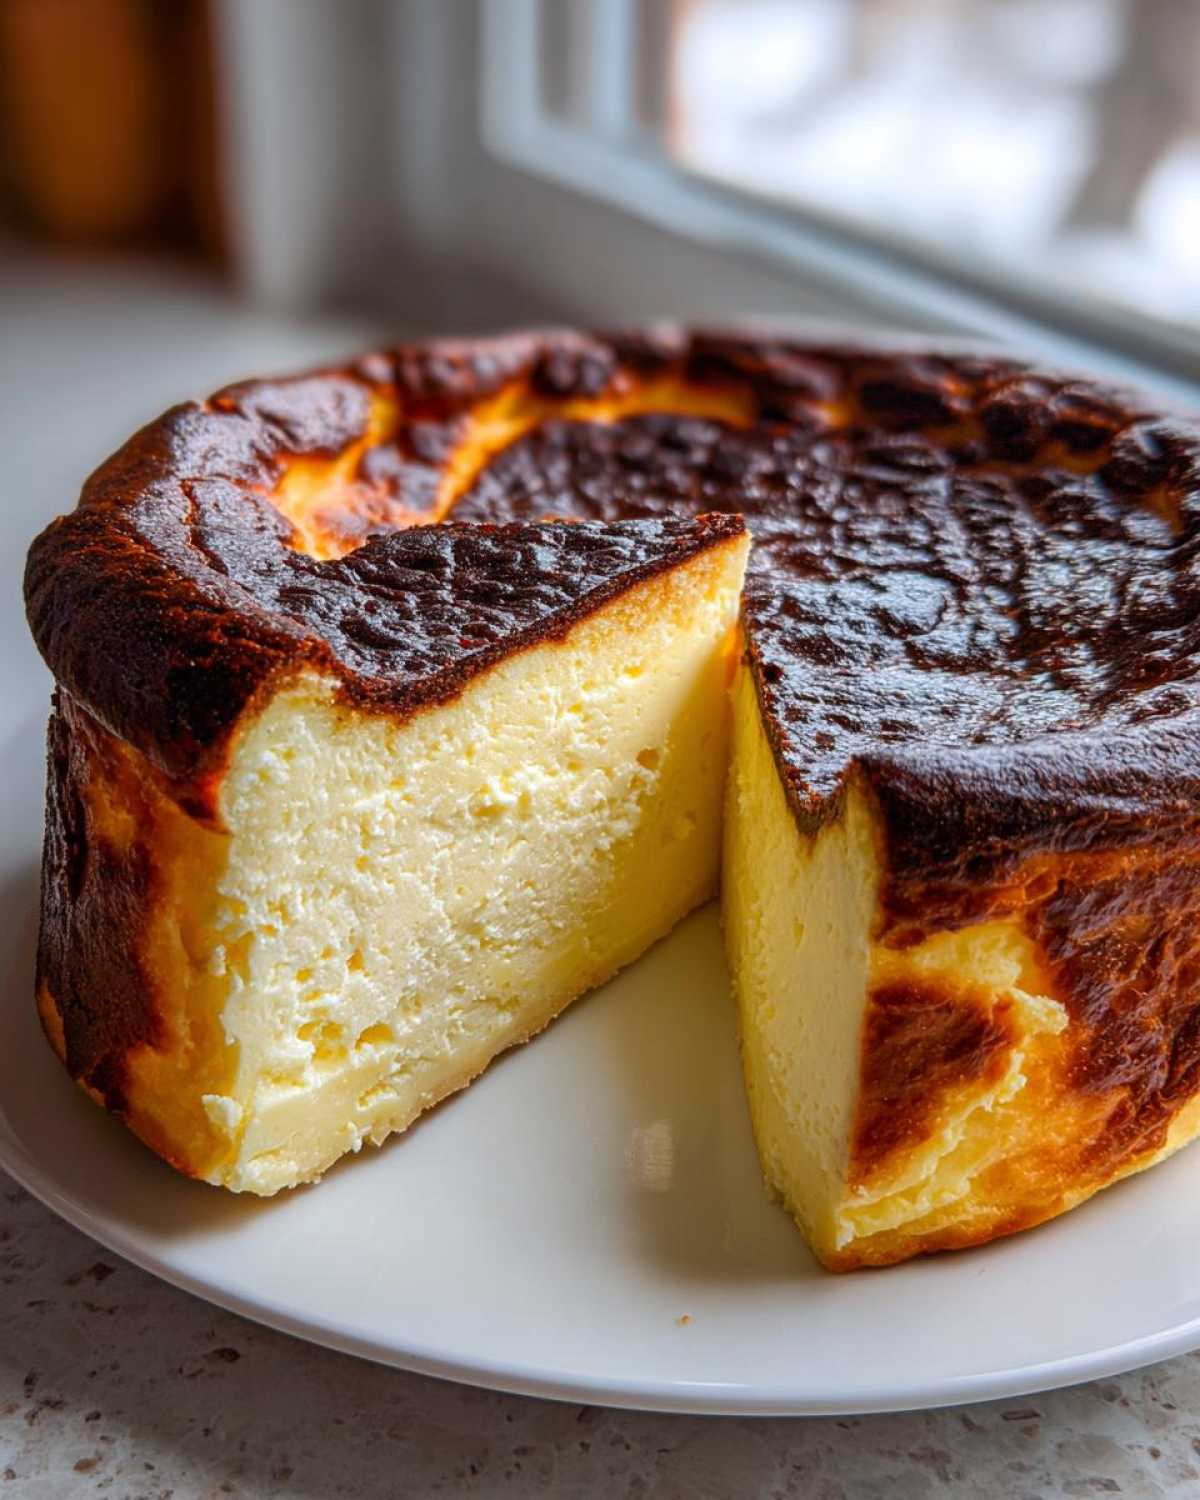
That deeply browned, almost black top isn’t an accident—it’s the whole point! High heat is what gives us that gorgeous, slightly bitter mahogany crust. This intense caramelizing is what makes a **burnt basque cheesecake** taste so complex; it balances the sweetness underneath perfectly. Don’t panic when it darkens; that beautiful color is where the flavor lives!
The Secret to a Crustless Cheesecake That Sets Perfectly
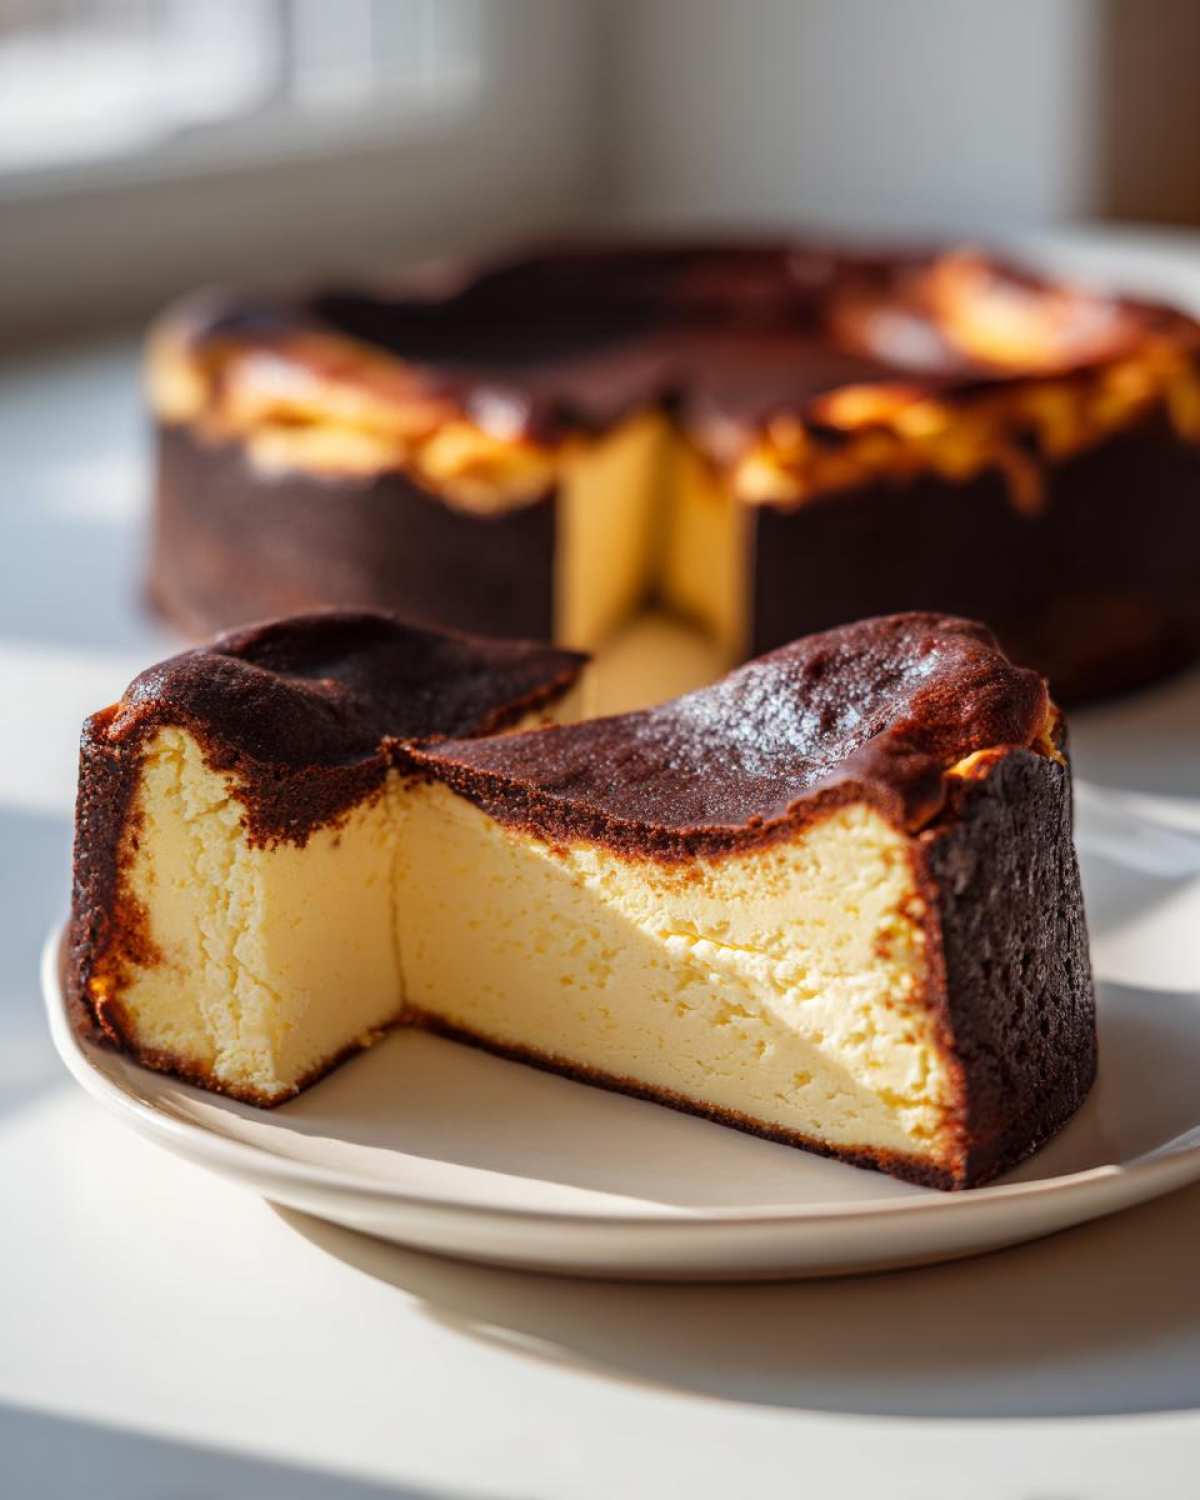
Getting rid of the crust just simplifies our lives, doesn’t it? Since there’s no crust to worry about baking evenly or holding in place, all the attention goes to that beautiful filling. This style is famous because it throws out the old rules; you don’t need a stressful water bath here! That’s why this is such an amazing **easy cheesecake recipe**. It just bakes up beautifully every time, resulting in that impossibly **creamy cheesecake** interior.
Gathering Ingredients for Your Basque Cheesecake
Okay, let’s talk ingredients! The beauty of the **basque cheesecake** is that it’s seriously minimalist. We aren’t making a crazy shopping list for this one. You only need six things, but trust me, quality really matters when you’re using so few components to create such a **rustic cheesecake** experience.
You absolutely must use 900 grams of full-fat, softened cream cheese—I mean, it’s the base! Grab six large eggs, sugar, salt, vanilla, and then the liquid component: 480 milliliters of heavy cream, and I mean the good stuff, the 35% fat kind. Don’t bother trying to sneak in low-fat dairy here; you need that richness for the magic to happen.
Ingredient Notes and Substitutions
My biggest piece of advice right here: make sure that cream cheese is room temperature! If it’s cold, you will end up with little white lumps, and nobody wants a lumpy, gorgeous cheesecake. Seriously, let the block sit out for at least two hours.
Also, while all these ingredients are essential, that high-fat heavy cream is what guarantees that unbelievably rich and creamy dessert texture we crave. We are aiming for pure decadence, so stick to full-fat cream cheese and heavy cream. That’s the secret handshake for success!
Step-by-Step: How to Make Basque Cheesecake
Alright, buckle up because this is where we turn soft cheese into gold! We start by getting that oven screaming hot—we need 200°C (400°F). Now, the pan prep is crucial for that beautiful, rustic cheesecake finish. Grab a 9-inch springform pan. You’re going to use two layers of good quality parchment paper, and this is the fun part: really crinkle it up! Don’t be gentle; you want those wild, uneven edges sticking way up over the sides of the pan. This gives the cake its signature look, and frankly, it makes getting it out later super easy.
Once that’s ready, we start mixing. Remember, smooth first! Get that softened cream cheese beaten until it’s totally creamy—no lumps allowed. Then, slowly pour in the sugar and beat until it looks light. This is where you have to watch yourself: add the eggs one at a time. Mix each one in until it’s *just* combined, and then stop. We are not trying to incorporate tons of air here; that’s what causes cracking in other cheesecakes!
Preparing the Pan and Mixing the Basque Cheesecake Batter
First things first, get your oven to blast furnace temperature—200°C or 400°F. Line your pan dramatically with two layers of parchment paper, making sure that paper sticks up high over the rim. I mean, really crumple it beneath the paper layer; this is what creates those fantastic, uneven peaks that make this cake look so artisanal. It’s intentionally messy, so lean into it!
Now for the batter! In your biggest bowl, take your softened cream cheese and beat it alone until it’s velvety smooth. Then, gradually add the sugar, scraping down the bowl until everything is dreamy looking. Next up are the eggs—and this is where you slow down. Add those six eggs one by one. You want to mix just enough after each addition so that the yolk disappears, but stop right there! Overmixing these eggs is how you ruin the texture, so be disciplined!
Baking for the Signature Caramelized Cheesecake Top
Pour that beautiful, liquid batter into your messy parchment nest. Now, pop it into that screaming hot oven for about 50 to 60 minutes. You need patience here, but you’re looking for two things: the edges should look set, and the top should be deeply, gloriously dark—think dark mahogany or even black. Don’t pull it out early just because it looks too dark!
What tells you it’s truly done? The center! When you gently shake the pan, the outer edges should be firm, but that very center should still have a noticeable, significant wobble. That wobble is non-negotiable! It means you’ve achieved the perfect balance for that signature interior of a truly **creamy cheesecake**.
Cooling and Chilling Time for the **Easy Cheesecake Recipe**
Congratulations, the hard work is done! Now we enter the waiting game, and honestly, this resting period is just as important as the mixing, especially for this **no fuss cheesecake**. First, let the cheesecake cool down completely on a wire rack at room temperature. That takes a good three hours—just leave it alone!
After it’s cooled to room temperature, cover it loosely and send it to the fridge for at least six hours, but seriously, overnight is ideal. This chilling time lets the structure set properly without cracking or collapsing weirdly. It’s annoying, I know, but this long chill is what perfects the texture of this **easy cheesecake recipe**.
Variations: Making a Loaf Pan Cheesecake Recipe
I totally get it—sometimes you don’t want a giant 9-inch round dessert for the family. Maybe you just need a smaller treat, or perhaps your party is more intimate. That’s why I experimented immediately with baking this **basque cheesecake** in different shapes. People often ask if they can use a loaf pan, and the answer is a resounding YES!
If you want to use a loaf pan, grab an 8.5 x 4.5 inch size. Line it just like you would the springform pan—with parchment paper extending high over the edges. Because the loaf shape is deeper, the center takes a little longer to heat through, so you’ll need to adjust the time. You should plan on taking about 10 to 15 minutes off the total baking time compared to the 9-inch round.
Look for that wobble, just like before, even in the loaf pan. It means the inside is still perfectly gooey. This is such a great way to make a smaller, but equally stunning, **gourmet dessert idea**. If you’re looking for other festive bakes for smaller gatherings, you absolutely have to check out my recipe for the holiday jello poke cake—it’s a totally different vibe, but equally fun!
Tips for Success with Your Burnt Basque Cheesecake
Handling the Parchment Paper Release
Okay, once that beautiful **burnt basque cheesecake** is completely chilled, you have to gently remove the parchment. Don’t just yank it; that paper has stuck itself right into those beautiful caramel crevices! I like to slowly peel the paper away using my hands, letting it tear naturally where it wants to. It might look a little ragged, but that’s what makes it authentic!
The Critical Temperature for Serving
This is where so many people get it wrong after all that work! You need to take this beauty out of the fridge about an hour before you plan to eat it. When it’s fridge-cold, this **creamy cheesecake** is stiff. Letting it sit out allows it to warm up just slightly, making the texture unbelievably luxurious and soft, just like it should be.
Don’t Fear the High Heat
If your top didn’t get dark enough, don’t stress—just give it more time in the oven next time! This cake relies on that extreme heat to caramelize the sugar properly. If you’re nervous, keep the oven thermometer handy, but honestly, you want it hot and you want that deep color. If you’re looking for other cozy bakes, check out my pumpkin spice latte oatmeal bake for a morning treat!
Serving Suggestions for This Decadent Dessert
Since the **basque cheesecake** is already so wonderfully rich and decadent all on its own, you don’t need much fuss when it comes to serving this decadent dessert. I like to keep it simple to let that wonderful caramelized flavor shine through. A very light dusting of powdered sugar never hurts; it just gives it a little visual pop.
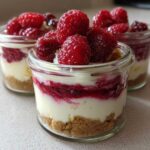
For a real showstopper at your next gathering, fresh fruit is your best friend! Bright, slightly tart raspberries or blackberries cut through the richness beautifully while still keeping the plate looking elegant. This is truly the ultimate **cheesecake for dinner party** centerpiece because it looks so impressive without demanding complicated plating.
If you’re serving this stunning cake in the afternoon or evening, remember that a nice, light sip pairs well! You might want to try whipping up a batch of my Pomegranate Spritz—the tartness of the pomegranate goes shockingly well with the burnt sugar notes of the cheesecake. You can find that easy recipe here: Winter Aperol Spritz with Pomegranate. Honestly, though, sometimes just a simple slice all by itself is the best way to enjoy this masterpiece!
Storage and Reheating for Your San Sebastian Cheesecake
Good news! This **San Sebastian cheesecake** keeps incredibly well, which is perfect for making ahead of time. If you have any leftovers—and I admire your restraint if you do!—cover the pan loosely (or transfer the slice to an airtight container) and keep it in the fridge. It’s fantastic for up to five days.
Now, reheating isn’t really a thing here, but tempering is! Just like I stressed before, never serve this straight from the fridge. Take whatever slice you want out about an hour before serving and let it sit on the counter. This slow return to room temperature is what reactivates that stunningly creamy texture. It really turns it back into that perfect **rich and creamy dessert**!
Frequently Asked Questions About Basque Cheesecake
I know you might have some lingering questions, especially if this is your first time making this Spanish beauty! That’s totally understandable; sometimes **basque cheesecake** seems too good to be true. Since this is an **easy cheesecake recipe**, most problems are super simple to fix. Here are the things I get asked about most often when people try this recipe!
What temperature should the cream cheese be for the basque cheesecake?
This is probably the most common question, and it’s crucial! Your cream cheese absolutely needs to be fully softened to room temperature. If I can feel any cold spots when I press it, I wait longer. If you try to mix cold cream cheese, you won’t get that signature smooth, **creamy cheesecake** batter; you’ll just end up with lumps you can’t beat out, even if you try really hard!
Is the dark top truly supposed to look burnt on a burnt basque cheesecake?
YES, 100% yes! I can’t stress this enough. If you’re worried it’s too dark, you’re probably just getting to the perfect spot. That deep, almost black surface is the hallmark of a true **burnt basque cheesecake**. It creates this beautiful, slightly smoky, caramelized flavor that cuts through all the sweetness of the interior. Don’t pull it out early!
Can I make this recipe ahead of time?
You totally can, and I actually recommend it! This cheesecake tastes even better the next day after it has had a full night to chill and settle in the fridge. If you’re worried about timing for a party, you can keep it covered in the fridge for up to five days. Just remember to take it out an hour before serving so it comes back up to that perfect room temperature for serving.
Why did my cheesecake sink drastically in the middle?
Don’t panic if your cake dips—they all do that! It’s designed to have a dramatic center wobble when it comes out of the oven. If it sinks *too* much—like collapsing into a puddle in the base of the pan—it usually means it was slightly underbaked. Remember, we want that dramatic center wobble after the hour! Also, if you made any bubbly cocktails for the party, like my champagne jello shots, serve those first!
Share Your Gourmet Dessert Ideas
Now that you’ve successfully conquered the world of the crustless, **burnt basque cheesecake**, I absolutely need to hear all about it! Seriously, seeing your creations is honestly half the fun of sharing recipes.
Did you manage to get that perfect, wild parchment paper edge? Did the edges look dark enough for you, or are you already planning to crank the heat higher next time for that extra layer of character? Please, use the comments section below to tell me how it went!
If you made this incredible **basque cheesecake** for a special occasion, I’d love to see photos! Tag me on social media so I can admire your **gourmet dessert ideas**. Knowing that my recipe helped you pull off a truly show-stopping treat makes all the testing and writing worth it. Go grab a slice, a cup of coffee, and tell me everything about your decadent dessert experience!
Print
Classic Burnt Basque Cheesecake (Crustless)
- Total Time: 7 hours
- Yield: 10 servings 1x
- Diet: Vegetarian
Description
Make a rich, creamy, crustless Basque cheesecake with a distinct caramelized top. This recipe requires no water bath and is simple to prepare.
Ingredients
- 900 g cream cheese, softened
- 250 g granulated sugar
- 6 large eggs
- 480 ml heavy cream (35% fat)
- 1 teaspoon vanilla extract
- 1/4 teaspoon salt
Instructions
- Preheat your oven to 200°C (400°F). Line a 9-inch springform pan with two layers of parchment paper, allowing the paper to extend high above the rim of the pan. Crumple the paper slightly before placing it in the pan for a rustic look.
- In a large bowl, beat the softened cream cheese until smooth.
- Add the sugar and beat until fully combined and creamy. Scrape down the sides of the bowl.
- Add the eggs one at a time, mixing well after each addition until just incorporated. Do not overmix.
- Gently whisk in the heavy cream, vanilla extract, and salt until the batter is smooth.
- Pour the batter into the prepared pan.
- Bake for 50 to 60 minutes. The top should be deeply caramelized, and the edges should look set, but the center should still have a significant wobble.
- Remove the cheesecake from the oven and let it cool completely on a wire rack at room temperature for at least 3 hours.
- Once cooled, cover the pan loosely and chill in the refrigerator for at least 6 hours, preferably overnight.
- Before serving, carefully remove the parchment paper sides. Serve at room temperature for the best texture.
Notes
- For a loaf pan variation, use an 8.5 x 4.5 inch loaf pan lined with parchment paper and reduce the baking time by about 10 to 15 minutes.
- Do not worry if the top looks very dark or burnt; this is the desired characteristic of this cheesecake.
- Ensure your cream cheese is fully softened to prevent lumps in the batter.
- Prep Time: 15 min
- Cook Time: 60 min
- Category: Dessert
- Method: Baking
- Cuisine: Spanish
Nutrition
- Serving Size: 1 slice
- Calories: 450
- Sugar: 35
- Sodium: 250
- Fat: 35
- Saturated Fat: 22
- Unsaturated Fat: 10
- Trans Fat: 0.5
- Carbohydrates: 28
- Fiber: 0
- Protein: 8
- Cholesterol: 200