The Perfect Gingerbread House Icing: Your Structural Secret
Building a gingerbread house feels like magic. Until it collapses, right?
That sad, leaning roof spells disaster. I learned this lesson hard.
Liam used to make technically perfect, flat gingerbread panels. They tasted great.
But when we tried to build, the icing just slumped. It was too weak.
I told him we needed true structural support. Our gingerbread house icing needed soul!
This royal icing recipe is our answer. It acts like delicious cement.
It’s sturdy, reliable, and holds walls square against gravity. Now we build castles!
Why This Gingerbread House Icing Holds the Key to Success
This icing does two big jobs for you.
First, it’s the heavy-duty glue. It locks those baked walls in place.
Second, it’s your beautiful decorative medium. Think tiny window frames.
Mastering this stability is where the real fun starts.
We tested countless batches until we got this perfect hold.
Trust me, this recipe offers the reliability you need for grand designs.
It hardens rock solid when dry. That’s our secret weapon.
Ingredients for Your Strong Gingerbread House Icing
You don’t need fancy things for this work.
Just quality staples make our gingerbread house icing incredible.
Gather these four simple items for the best results.
We need powdered sugar, meringue powder, and some warm water.
A tiny splash of vanilla is optional for flavor.
Keep everything measured out before you start mixing.
Precision in Measurement for Sturdy Gingerbread House Icing
Exact amounts matter here, friends.
Four cups of powdered sugar must be sifted first.
Sifting removes lumps. Lumps ruin smooth piping.
Three tablespoons of meringue powder adds necessary strength.
Adding the water slowly helps the texture form right.
Precision means your final structure won’t wobble.
Essential Equipment for Your Icing Project
You need the right tools ready.
Grab a large mixing bowl first.
An electric mixer is non-negotiable for stiffness.
Have several piping bags on hand too.
And assorted piping tips for decorating later.
A rubber spatula helps scrape the bowl clean.
Step-by-Step: Making the Best Gingerbread House Icing
Let’s get mixing! This is where the magic happens.
First, put your sifted sugar into the big bowl.
Add the meringue powder right on top of that sugar.
Next, slowly pour in your warm water while mixing.
Start your electric mixer on a low setting just to combine things.
Once it looks like thick paste, turn up the power.
Now, we whip it hard for seven to ten minutes straight.
This beating develops the strength we really need.
If you are using vanilla, add it right at the end of the beating.
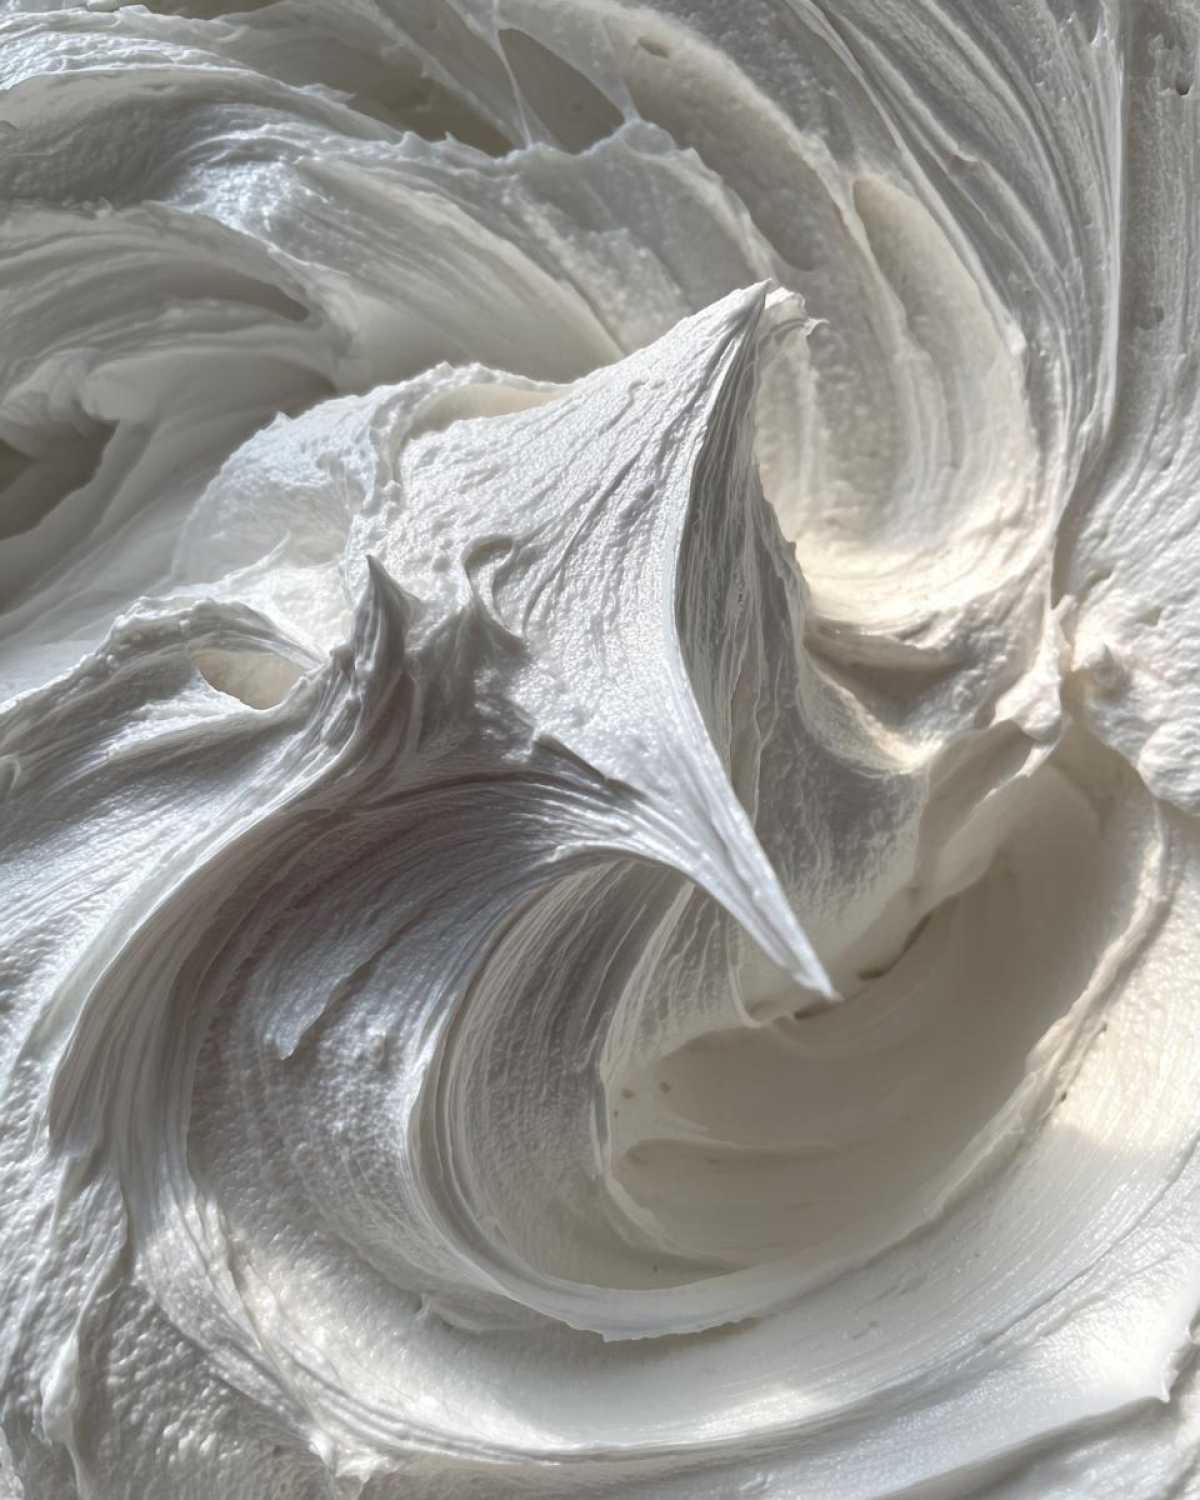
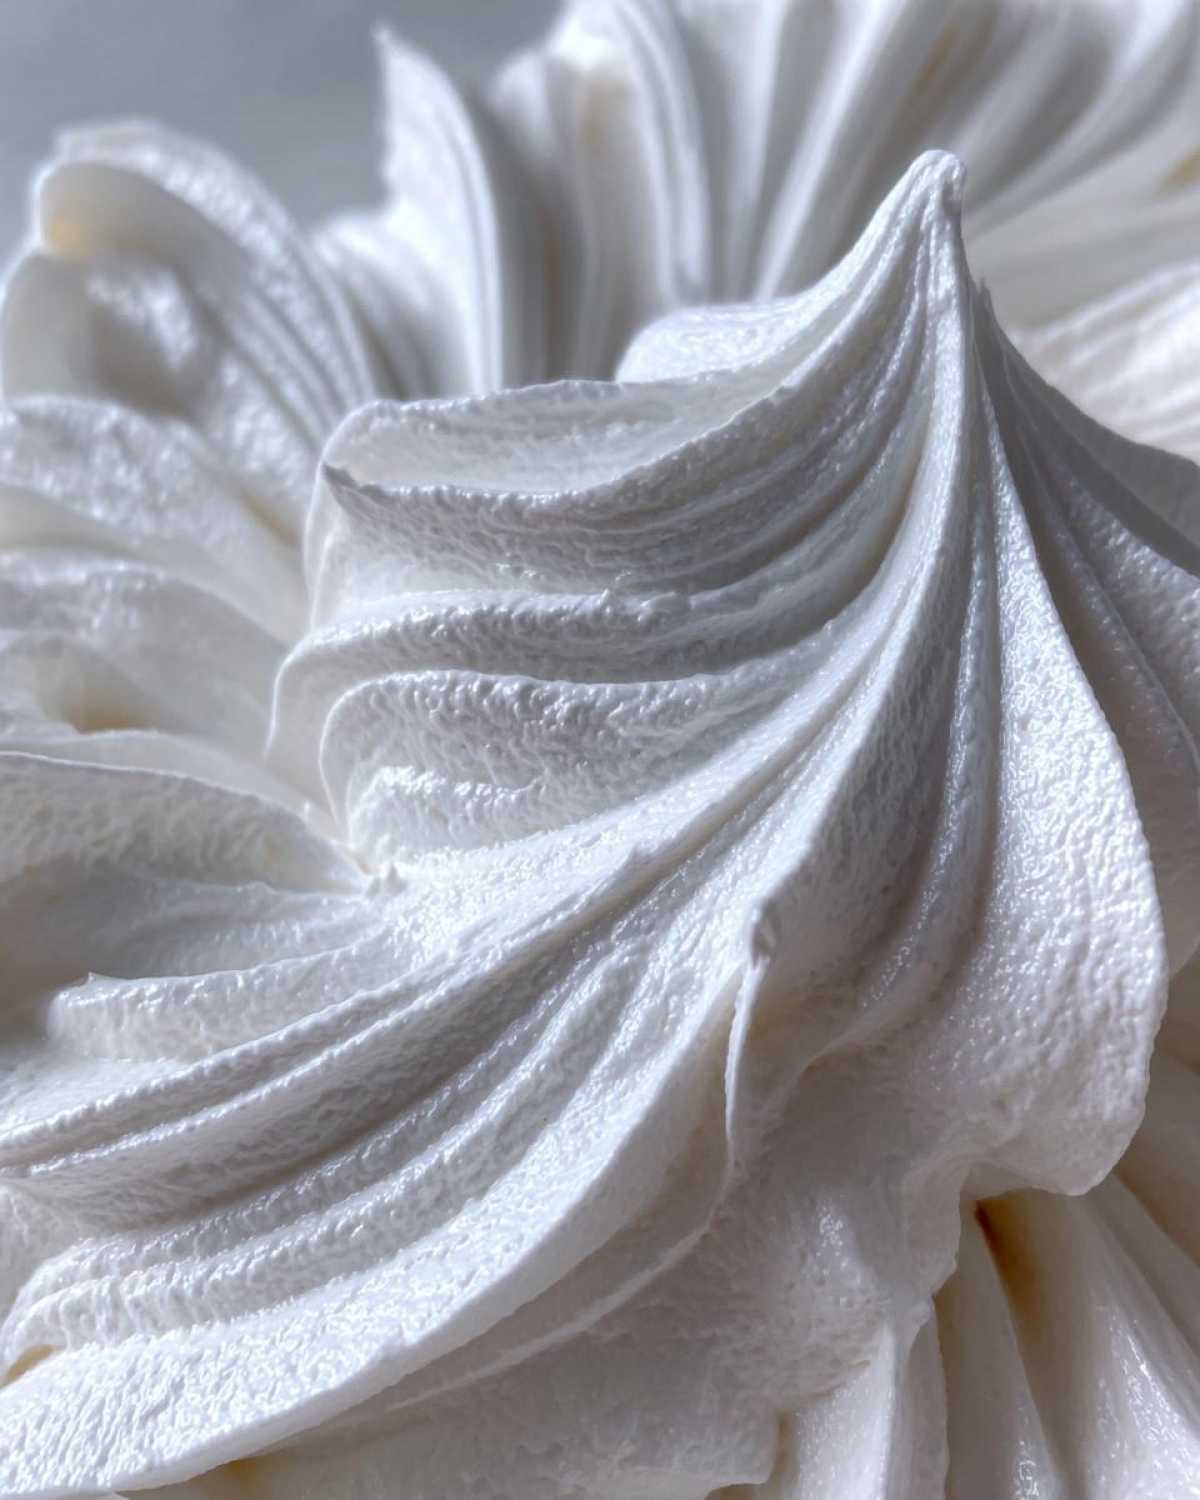
Your icing should look brilliant white and hold stiff peaks.
Test it out before you stop the machine.
This finished gingerbread house icing is ready for action.
The Critical Whipping Time for Stiff Gingerbread House Icing
Do not rush this beating phase, please.
Seven minutes is the absolute minimum time needed.
This whipping whips air into the mixture well.
Air makes the structure incredibly strong when dry.
It transforms from grainy sugar paste to smooth cement.
Liam used to stop at five minutes. The house always sagged.
Beat it until it holds its shape perfectly stiff.
This step guarantees your walls won’t lean over.
Adjusting Consistency: Glue vs. Detail Piping
Your needs change depending on the task.
For construction, you want it super thick.
It should feel like firm toothpaste in the bag.
If it’s too stiff for assembly, add water slowly.
Use water half a teaspoon at a time only.
For fine details, you want it slightly softer.
Use more powdered sugar if your piping droops.
Get that perfect texture before you start gluing walls.
Tips for Success with Your Gingerbread House Icing
Baking gingerbread is fun. Building is the true test.
I always tell people this icing is your best friend.
When Liam first tried building, he got frustrated fast.
His icing would crust over while he was cutting out windows.
I teased him about his ‘sad, crusty icing blob’.
He learned quickly to keep that bowl covered up tight.
Don’t let your hard work dry out before assembly time.
Storage and Handling of Unused Gingerbread House Icing
This icing dries faster than you think, seriously.
If you stop decorating, cover it immediately.
Use plastic wrap against the surface of the icing.
Press the wrap right down onto the icing itself.
This keeps air from touching the sugar mixture.
If it gets a bit stiff later, just add a tiny drop of water.
Beat it briefly to bring back the smooth texture.
Ingredient Notes and Substitutions for Royal Icing
Meringue powder is my preference here, truly.
It offers such reliable results every single time.
It’s pasteurized and easy to measure out exactly.
If you lack meringue powder, you can use egg whites.
Use two fresh egg whites instead of the powder.
Remember to beat the fresh whites much longer.
You need very stiff peaks for good structural icing.
Fresh whites can sometimes feel a bit trickier though.
Meringue powder just gives me peace of mind.
It ensures your final gingerbread house icing is strong.
Frequently Asked Questions About Your Gingerbread House Icing
Okay, you’ve made the batch.
Now what about the little details?
I get asked these questions all the time.
Let’s clear up any last little worries you have.
We want your build to be rock solid.
Here are a few common tips we use.
How long does the gingerbread house icing take to dry completely?
Drying time depends on humidity levels.
For construction, let the glued pieces sit overnight.
The structural joints need time to set hard.
If you use thin layers for decoration, it’s faster.
Thick dollops of gingerbread house icing take longer.
Patience ensures your roof doesn’t suddenly fall in!
Can I color my sturdy royal icing?
Yes, absolutely you can add color!
Use gel food coloring only for best results.
Liquid colors add too much unwanted moisture.
Moisture weakens that crucial structural hold.
Add the color slowly while mixing on low speed.
A little bit of gel goes a very long way here.
Serving Suggestions for Your Completed Gingerbread Creation
Your structure is up! Now for the fun part.
This is where your inner child comes out to play.
Use leftover icing for snowy roof drifts.
Dot gumdrops around for colorful bushes.
A dusting of powdered sugar looks like fresh snow.
Line pathways with small, colorful candies, too.
Understanding the Nutrition of This Royal Icing
We focus on flavor and structure here.
Nutrition facts are just estimates, remember that.
This recipe is mostly sugar, as expected.
One quarter cup serving has about 180 calories.
It is naturally fat-free, which is nice.
Enjoy this sweet creation responsibly, folks!
Share Your Culinary Connection
Did your gingerbread house stand tall and proud?
I hope this recipe gave you the strength you needed.
Show us your finished edible masterpiece!
Share your photos and stories below this post.
Let’s keep the joy of creation spreading.
We love seeing your culinary adventures!
Print
Amazing gingerbread house icing: 1 strong hold
- Total Time: 10 minutes
- Yield: Enough icing for one medium-sized gingerbread house
- Diet: Vegetarian
Description
You need a strong, pipeable Royal Icing to act as the ‘glue’ for holding your gingerbread house together and for adding detailed decorations. This recipe delivers that sturdy, reliable hold every time.
Ingredients
- 4 cups Powdered Sugar, sifted
- 3 tablespoons Meringue Powder
- 6 tablespoons Warm Water
- 1 teaspoon Vanilla Extract (optional)
Instructions
- Place the sifted powdered sugar and meringue powder into a large mixing bowl.
- Slowly add the warm water while mixing on low speed with an electric mixer.
- Once combined, increase the speed to medium-high. Beat the icing for 7 to 10 minutes until it becomes very stiff, bright white, and holds stiff peaks. This whipping process is key to its strength.
- If using, mix in the vanilla extract during the last minute of beating.
- Test the consistency: For ‘glue,’ the icing should be very firm. For piping details, it should hold its shape perfectly when piped. If too stiff, add water half a teaspoon at a time. If too soft, beat in a little more powdered sugar.
- Use immediately for construction or cover tightly with a damp cloth while decorating or waiting to assemble.
Notes
- Always cover the icing with plastic wrap pressed directly onto the surface when not in use; it dries very quickly.
- If you skip the meringue powder, you can substitute 2 fresh, pasteurized egg whites, but beat for a longer time until very stiff peaks form.
- This icing hardens completely, providing the necessary structural support for walls and roofs.
- Prep Time: 10 minutes
- Cook Time: 0 minutes
- Category: Baking / Holiday
- Method: Mixing/Beating
- Cuisine: American/Holiday
Nutrition
- Serving Size: 1/4 cup
- Calories: 180
- Sugar: 45g
- Sodium: 5mg
- Fat: 0g
- Saturated Fat: 0g
- Unsaturated Fat: 0g
- Trans Fat: 0g
- Carbohydrates: 45g
- Fiber: 0g
- Protein: 1g
- Cholesterol: 0mg