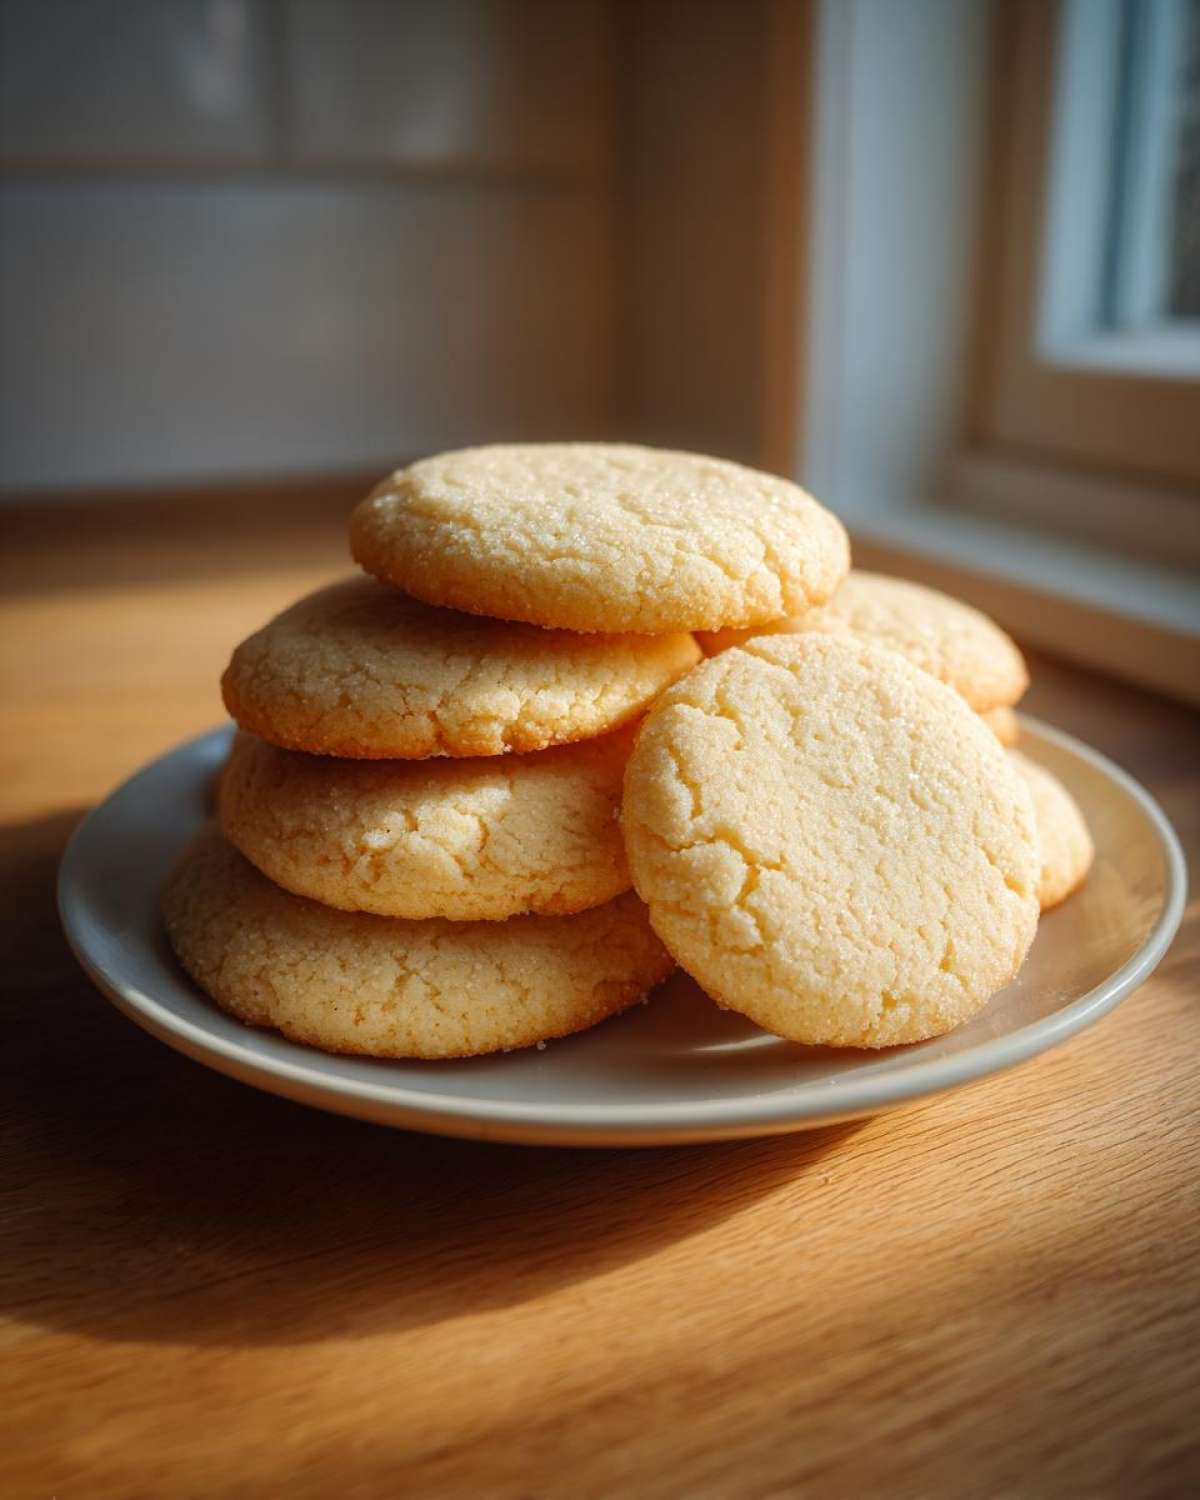
Oh my goodness, I’m so glad you’re here! If you’re tired of sugar cookies that turn into hard little discs the second they hit room temperature, then you are in the right place. I spent *years* fighting with recipes that promised “chewy” but delivered “cracker.” This recipe, though? This is the one. We finally cracked the code for the ultimate **soft sugar cookies** that somehow manage to stay delightfully tender in the center but firm enough around the edges to handle cutters and frosting. Trust me, this texture is superior—it’s what cookies were meant to be!
Why This is the Best Soft Sugar Cookies Recipe (Texture Secrets)
The struggle is real when trying to get that heavenly, soft bite without having the cookie melt into a puddle when it hits the oven. My secret isn’t about one magical ingredient; it’s about creating a specific balance of fat, flour, and temperature. We use just a touch of baking powder—not enough to puff them too high, but just enough to give them that lift we want. Also, using granulated sugar instead of all brown sugar keeps the flavor bright and crisp, perfect for balancing sweetness. When you nail these ratios, you get the absolute best cookie texture! For more inspiration on achieving ultimate buttery softness, definitely check out my thoughts on soft butter cookies.
But the real game-changer, the step I skip only if I’m mad at myself later, is chilling. I know, I know, everyone says chill your dough, but we *really* need to chill this one to lock in all that dreamy softness.
Achieving No Spread Sugar Cookies
Chilling the dough for at least two hours—sometimes I let it go three, don’t judge—is non-negotiable here. When the fat (our butter) is super cold, it takes longer to melt in the oven. This means the cookie has time to set up its structure before the butter fully liquifies and makes it spread everywhere. This technique is what guarantees you end up with lovely, thick sugar cookies that look just as pretty after baking as they did when you cut them out. Cold dough equals thick cookies!
Gathering Ingredients for Soft Sugar Cookies
Okay, now that we understand the science of soft cookies, let’s talk about what you need to put into the bowl! Remember, for the absolute best cookie texture, you can’t cheat on quality here. The butter needs flavor, and the eggs need to be room temperature so they incorporate seamlessly. Simple ingredients, but they need to be treated right!
Ingredient Measurements and Preparation
Make sure everything is measured out before you start creaming, because once you get going, you don’t want to stop! Grab your bowl and line up these essentials:
- 1 cup unsalted butter, softened—and I mean *softened*, not melted! Leave it out for an hour, easy.
- 1 1/2 cups granulated sugar
- 2 large eggs, brought up to room temperature
- 1 teaspoon vanilla extract
- 3 3/4 cups all-purpose flour
- 1 teaspoon baking powder
- 1/2 teaspoon salt
Having your butter exactly right is half the battle for lighter, easy sugar cookies!
Step-by-Step Instructions for **Soft Sugar Cookies**
Alright, let’s get mixing! This process flows really nicely, but you must respect the refrigeration step—it’s the hinge that keeps the whole operation from collapsing into a greasy mess. We need to build a structured dough that stays fluffy when baked. If you’re planning on decorating after, quick tip: you’ll want your icing to dry firm. I rely on my recipe for perfect sugar cookie icing when the time comes!
Mixing the Dough for **Easy Sugar Cookies**
First thing’s first: grab that softened butter and the sugar. Beat them together until they are pale and properly fluffy—this traps the air we need for softness! Don’t rush this part. After that, add your two eggs, one at a time, mixing well after each one goes in, followed by that lovely vanilla. Now for the dry stuff: whisk your flour, baking powder, and salt in a separate bowl so everything is evenly distributed. You’ll add this dry mixture to the wet stuff slowly, mixing on low speed. The second everything just comes together? Stop! Seriously, stop mixing. Overmixing develops gluten, and that makes cookies tough instead of wonderfully soft.
Chilling and Rolling Out Your **Cut Out Sugar Cookies Soft**
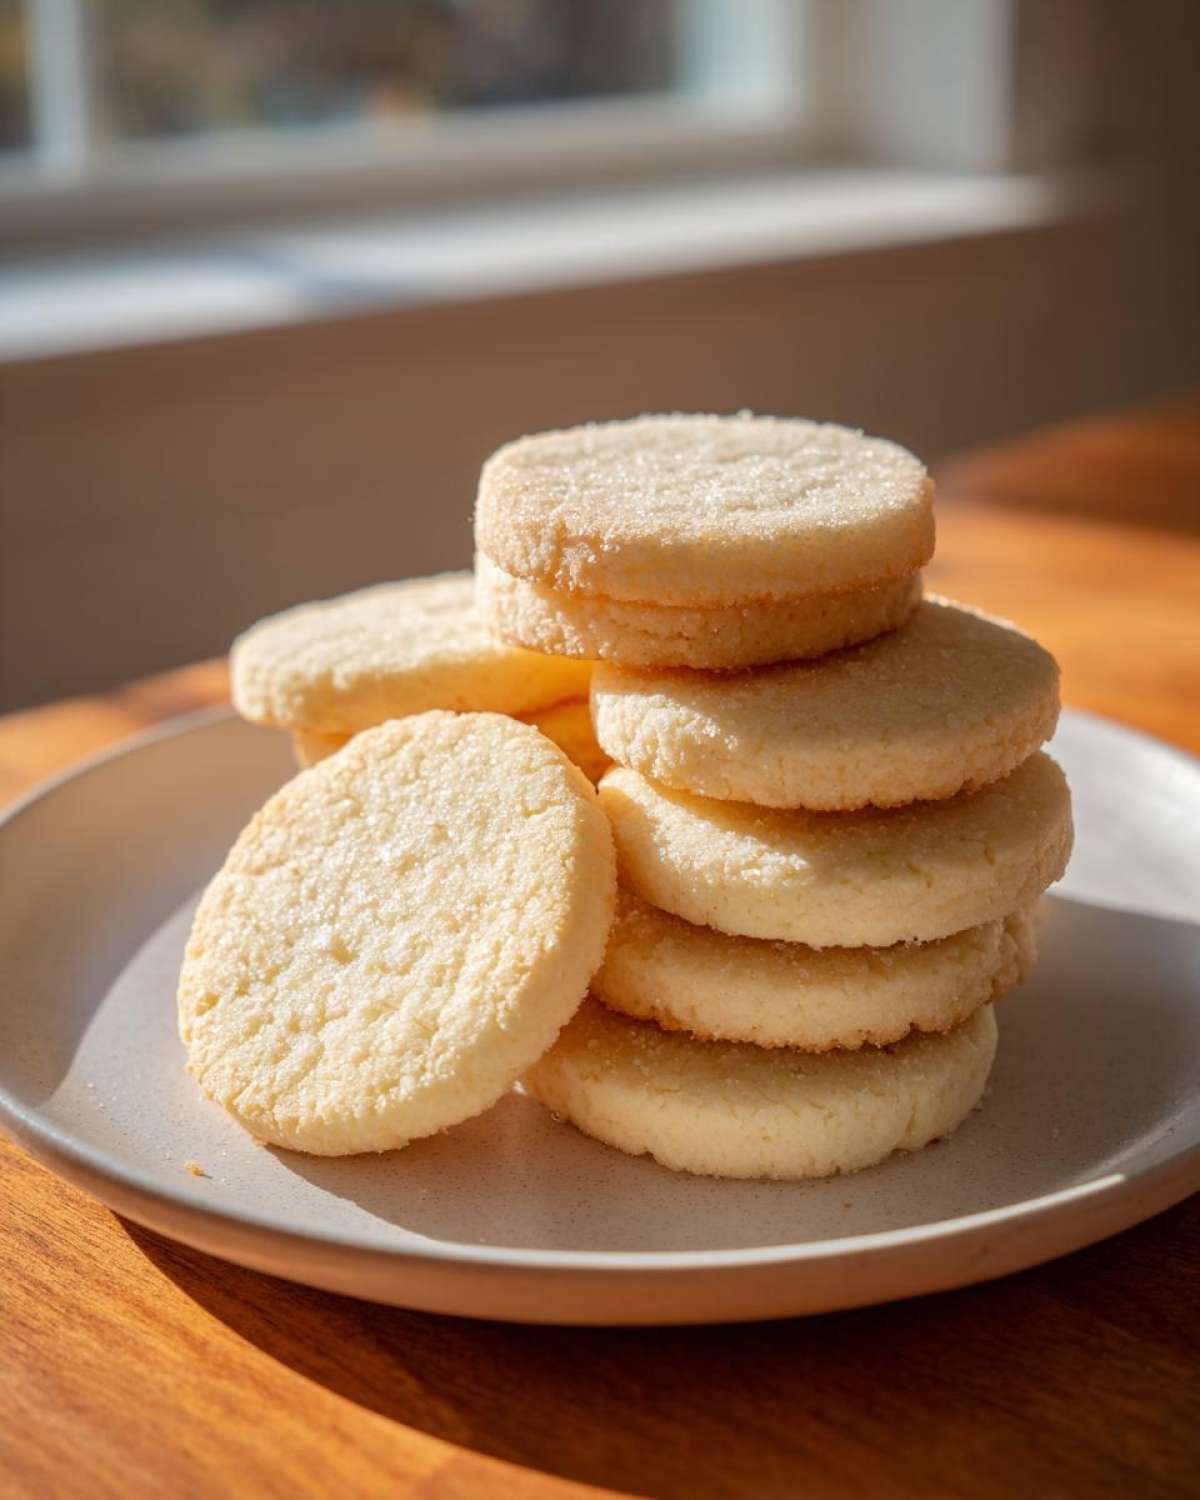
This is where the magic (and patience!) happens. Take that beautiful, slightly sticky dough and divide it into two rounds. Wrap them up snugly in plastic wrap and send them to the fridge. I insist on a minimum of two hours, but honestly, overnight is even better for the structure. When you pull them out, don’t try to rush the rolling! Roll one disk at a time to a sturdy 1/4 inch thickness. This thickness is essential for those deep, tender center cookies—too thin, and they’ll bake crumbly!
Baking for the Perfect **Tender Center Cookies**
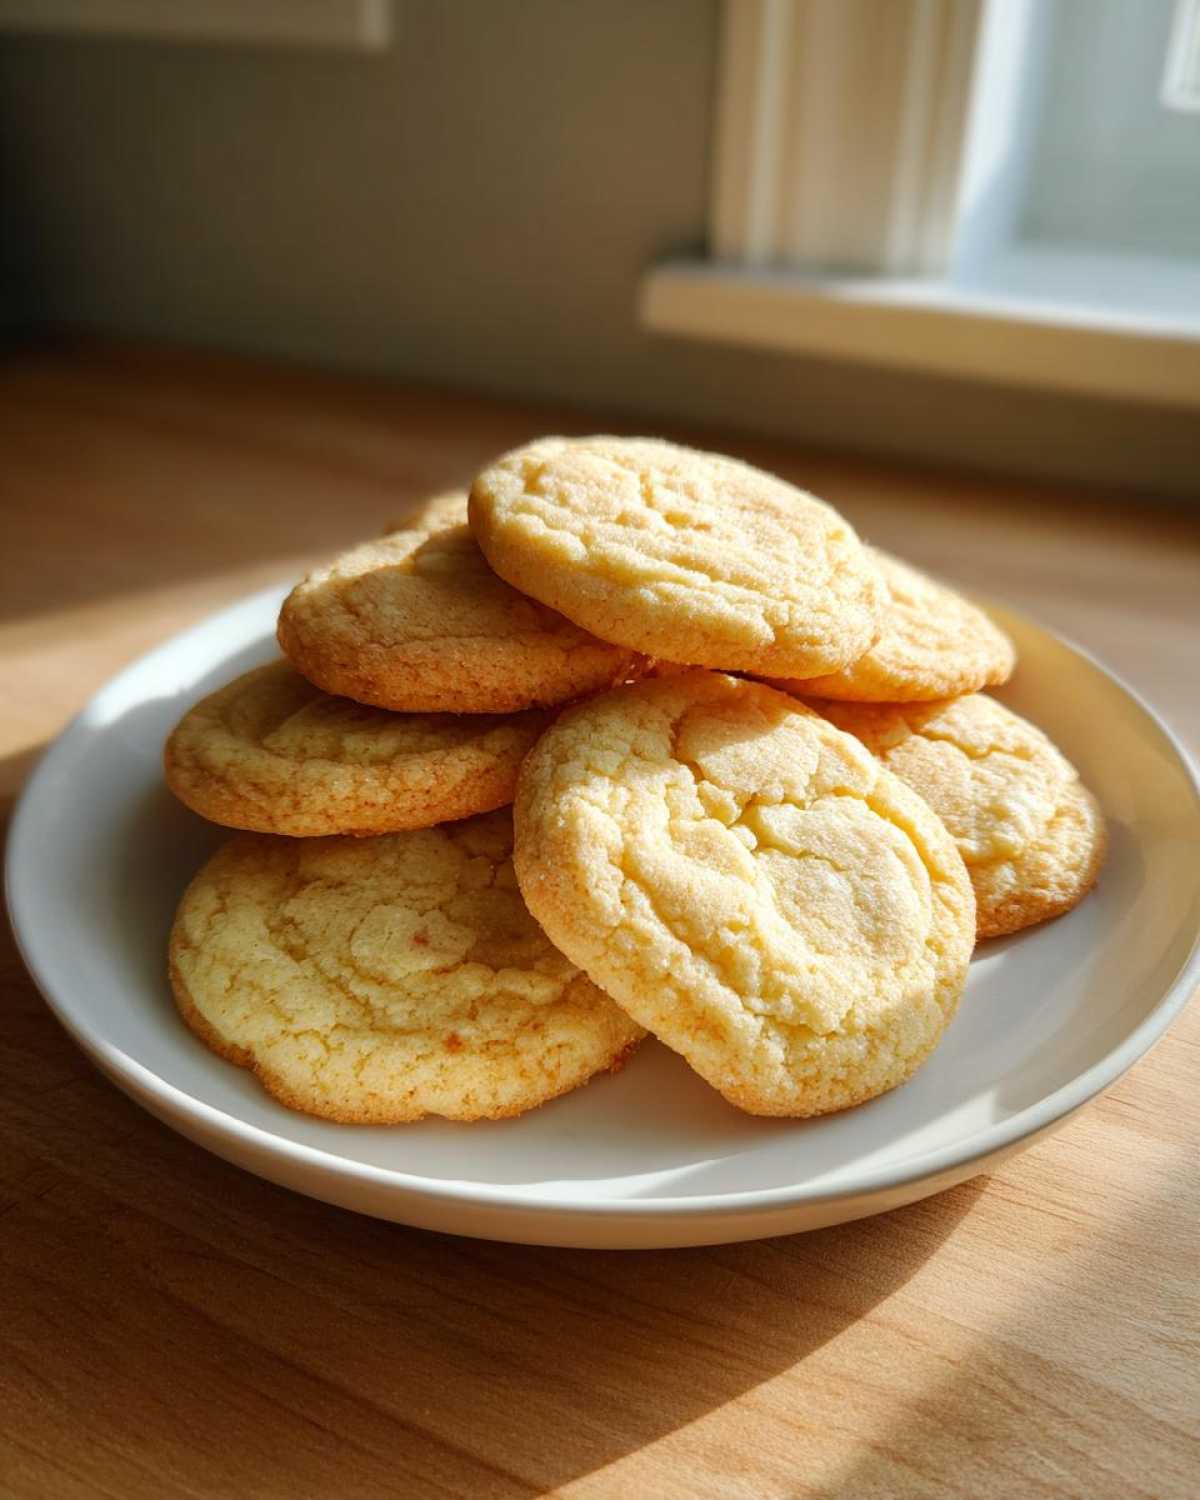
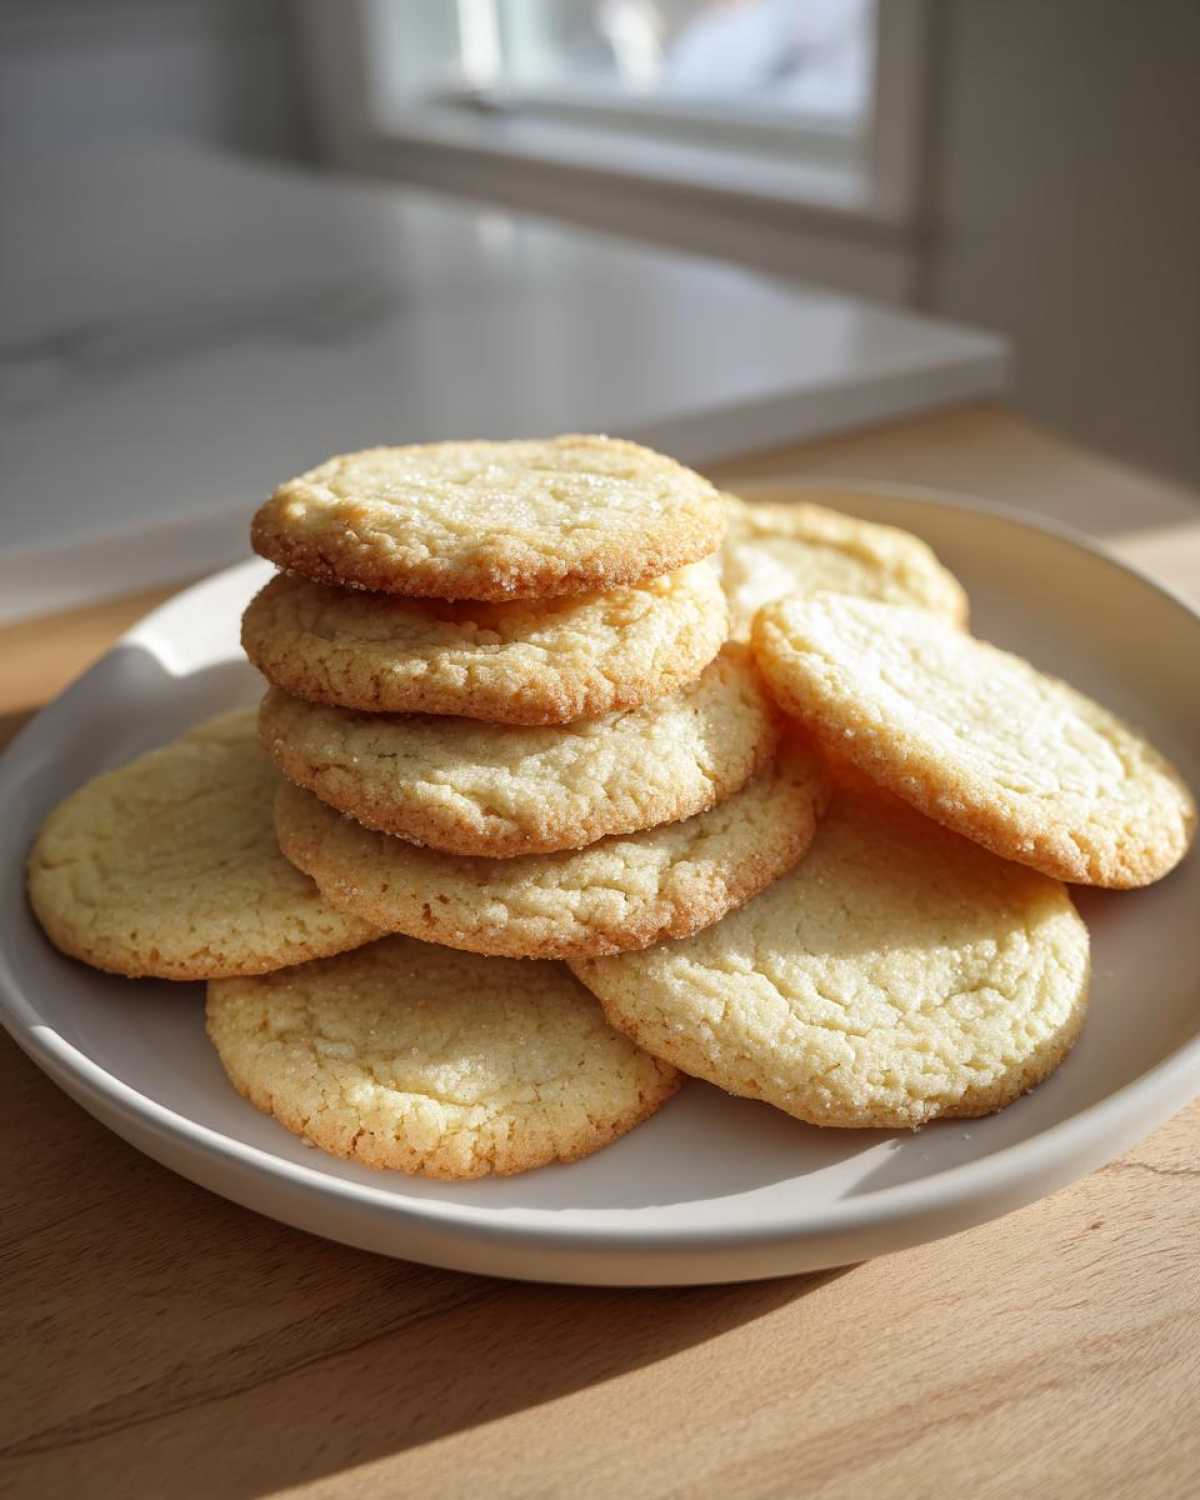
Now we bake! Preheat your oven to 375 degrees F and make sure your trays are lined with parchment paper—no sticking allowed! Place your cut-outs on the sheet, leaving a little space between them. They only need about 8 to 10 minutes. You are looking for the edges to just start looking set, but if you peek in the middle, they should still look a little soft. If they look purely golden brown, they’ve gone too far toward crispy! Let them sit on the hot pan for five minutes once they come out; this finishes cooking them without hardening them up. Then, move them gently to a rack to cool completely.
Tips for Making Bakery Style Sugar Cookies
You want your cookies to taste like you bought them fresh from a lovely little spot downtown, right? I’ve picked up a few tricks over the years to make these home-baked beauties truly shine. The absolute key to that melt-in-your-mouth quality is controlling the heat and time. For the absolute softest result possible, I always pull them out just shy of being done—that little minute where the edges are set but the center looks pale is your sweet spot. They’ll firm up perfectly as they cool on the pan, giving you that desirable tender center cookies experience.
Also, don’t be afraid to experiment slightly with your flour, though the recipe calls for AP flour. If you want a slightly finer crumb and a texture that almost dissolves, try replacing about half a cup of the all-purpose flour with cake flour. Cake flour has lower protein, which means less gluten development, and less gluten equals a more tender bite. It’s a fantastic little trick for achieving that beautiful, soft, melt-y feel! You can see how I use different flours to achieve specific textures in my persimmon cookie recipe, too.
Remember that vanilla extract we added? Splurge on a good quality one here. Since these are simple vanilla cookies, that flavor note really sings. And honestly, if you are making these for a holiday, make a double batch and freeze some cut-outs—you can bake fresh cookies anytime!
Making Chewy Sugar Cookies Ahead of Time
One of my favorite things about this recipe is that it’s a total lifesaver when you need to get ahead of the game. I always feel so much calmer when I’ve got cookie dough stashed away in the fridge, ready to go! Thankfully, this dough is fantastic for making ahead, which means you can prep everything on a calm Tuesday and be baking fresh cookies for guests on Friday!
The key here is that crucial chilling step we already talked about. Once you’ve mixed your dough, divided it into those two flat disks, and wrapped it tight, it doesn’t just have to go straight into the oven. You can absolutely stash it away for later. My notes say you can safely keep it stored in the refrigerator for up to three days. That’s seriously the perfect window for holiday baking when stress levels usually climb!
When you are ready to bake your fresh, chewy sugar cookies the next day (or two days later!), just pull the disk you need out of the fridge. You don’t want to roll it rock hard, so let it sit on the counter for maybe 10 to 15 minutes—just until you can roll it out without major struggle, but it still feels cool to the touch. If you plan on freezing the dough instead of just chilling it, make sure to wrap it extra tight in a layer of plastic wrap and then a layer of foil. You can freeze those flat disks for up to two months!
When baking frozen dough, I recommend adding about 5 minutes to the baking time, but keep a close eye on the edges! For more tips on making meals and treats ahead of time, check out my easy guide on make ahead cheesy egg cups for kids—same principle, different bake!
Being able to make ahead sugar cookies like these means you spend less time kneading and rushing when company is due, and more time enjoying the delicious smells wafting from the oven!
Serving and Storing Your Soft Sugar Cookies
You did it! The smell in your kitchen right now must be amazing. Before you dive in, you have to let these beauties cool down properly, and I mean *completely* cool. If you try to put icing on them or stack them up when they are even slightly warm, you’re just asking for a sticky, sad mess. The residual heat will melt your frosting in no time flat!
Once they are totally cool, you can stack them up for storage. The secret to keeping these soft sugar cookies soft for days is simple: an airtight container. Seal them in something that locks the moisture in. Honestly, they stay unbelievably soft for a solid three to four days on the counter—sometimes longer if it’s dry where you live. They are just too good to last that long anyway, right?
If you’re worried about the texture softening too much after icing them, try placing just a tiny square of wax paper between the layers. It keeps them from sticking together while still protecting that beautiful, soft edge we worked so hard to achieve. These are perfect for packaging up to take somewhere because they are sturdy, yet satisfyingly soft to eat!
Frequently Asked Questions About Soft Sugar Cookies Recipe
I know you probably have a few last little questions buzzing around when you’re about to start baking! It happens to me every time, even with recipes I’ve made a hundred times. Here are the things I get asked most often about making sure these easy sugar cookies come out perfectly soft and chewy every single time. If you can’t find your answer here, just leave a comment below—I love chatting baking tips!
Can I skip chilling the dough?
Oh dear, please don’t! This is the answer to why people end up with flat, crisp cookies instead of soft ones. If you skip the required two-hour chill, those butter molecules melt too fast in the oven, and your cookies will spread out thin before they have a chance to set. Chilling is the secret handshake for getting those beautifully thick cookies we’re aiming for.
Why do my cookies spread even after chilling?
If you chilled them and they *still* spread, there are usually two culprits. First, check your butter temperature before chilling—if it was too soft to begin with, it won’t firm up enough. Second, check your flour measurement! Did you scoop directly into the bag? That packs the flour in too tightly, meaning you actually have too little fat for that much flour, which messes up the structure. For more simple tricks, go check out my other guide on easy sugar cookies—it covers precise measuring techniques!
What kind of vanilla should I use?
I highly recommend pure vanilla extract or even clear vanilla if you want a pure white cookie color for super vibrant icing. Imitation vanilla just doesn’t have the depth of flavor needed when you are relying on just flour, butter, and sugar for your base flavor profile.
What is the secret to **melt in your mouth cookies**?
That ‘melt in your mouth cookies’ texture is all about two things we discussed: keeping the fat cold and slightly underbaking them. Make sure you cream your butter and sugar until they are truly light and fluffy; that incorporates lots of air. Then, when you bake, pull them out when they look just barely done. That little bit of residual heat will softly finish them, ensuring they are absolutely tender and almost instantly dissolve once they hit your tongue!
Estimated Nutritional Breakdown for Soft Sugar Cookies
When we’re baking up a big batch of these glorious, soft treats, I think it’s always good to have a rough idea of what’s in them, even though I’m usually too busy reaching for a second one to actually count! Remember, these numbers are just estimates based on the ingredients listed—your actual results will change a tiny bit depending on the exact brands of butter or sugar you use.
We’re aiming for the best cookie texture possible, and sometimes that means a little bit more fat and sugar, just how Grandma used to say! So, for one standard cookie serving, here’s a general look at what the nutrition breakdown looks like:
- Serving Size: 1 cookie
- Calories: 160
- Fat: 8g
- Saturated Fat: 5g
- Trans Fat: 0g (That’s a win!)
- Cholesterol: 30mg
- Carbohydrates: 20g
- Sugar: 15g
- Protein: 2g
- Fiber: 0g
- Sodium: 90mg
See? Pretty standard for a delicious homemade treat! The fact that they are so soft and enjoyable means they won’t last long enough in the pantry for nutritional value to even matter much, right? Just make sure you’re eating them with a big smile!
Share Your Soft Sugar Cookies Creations
Well, that’s it! You now have the very best recipe for soft sugar cookies that hold their shape beautifully. I truly hope your kitchen smells as incredible as mine does right now. I put so much love into perfecting this texture—it’s a delicate balance of cold dough and quick baking time, and I’m so excited for you to taste the difference!
Now that you’ve baked a batch of these gorgeous chewy sugar cookies, I absolutely need to hear what you think! Did they turn out soft and thick just like you wanted? Did you try any fun cookie cutters? Let me know!
Please, please, please leave a star rating right down there below the recipe card for me. It helps so many other bakers find this reliable recipe! And if you have five minutes, drop a comment telling me about your experience. I read every single one, and answering your questions is genuinely my favorite part of running this little cooking corner!
If you want to learn more about what inspires these recipes, you can always pop over and read my little story on the About Me page. Happy baking, and don’t forget to share photos!
Print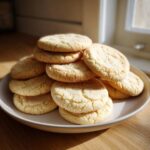
Soft and Chewy Cut-Out Sugar Cookies
- Total Time: 135 min
- Yield: 3 dozen 1x
- Diet: Vegetarian
Description
A simple recipe for soft sugar cookies that hold their shape well for cutting and decorating, resulting in a tender center.
Ingredients
- 1 cup unsalted butter, softened
- 1 1/2 cups granulated sugar
- 2 large eggs
- 1 teaspoon vanilla extract
- 3 3/4 cups all-purpose flour
- 1 teaspoon baking powder
- 1/2 teaspoon salt
Instructions
- Beat the softened butter and sugar together until light and fluffy.
- Add the eggs one at a time, mixing well after each addition. Stir in the vanilla extract.
- In a separate bowl, whisk together the flour, baking powder, and salt.
- Gradually add the dry ingredients to the wet ingredients, mixing on low speed until just combined. Do not overmix.
- Divide the dough in half, flatten each half into a disk, wrap in plastic wrap, and chill for at least 2 hours.
- Preheat your oven to 375 degrees F. Line baking sheets with parchment paper.
- On a lightly floured surface, roll out one disk of dough to 1/4 inch thickness. Cut into desired shapes.
- Place the cut-outs onto the prepared baking sheets.
- Bake for 8 to 10 minutes, or until the edges are set but the centers look slightly soft.
- Let the cookies cool on the baking sheet for 5 minutes before transferring them to a wire rack to cool completely.
Notes
- For the softest cookies, slightly underbake them by one minute.
- Chilling the dough is essential for preventing spread.
- You can store the chilled dough disks for up to 3 days.
- Prep Time: 25 min
- Cook Time: 10 min
- Category: Dessert
- Method: Baking
- Cuisine: American
Nutrition
- Serving Size: 1 cookie
- Calories: 160
- Sugar: 15
- Sodium: 90
- Fat: 8
- Saturated Fat: 5
- Unsaturated Fat: 3
- Trans Fat: 0
- Carbohydrates: 20
- Fiber: 0
- Protein: 2
- Cholesterol: 30