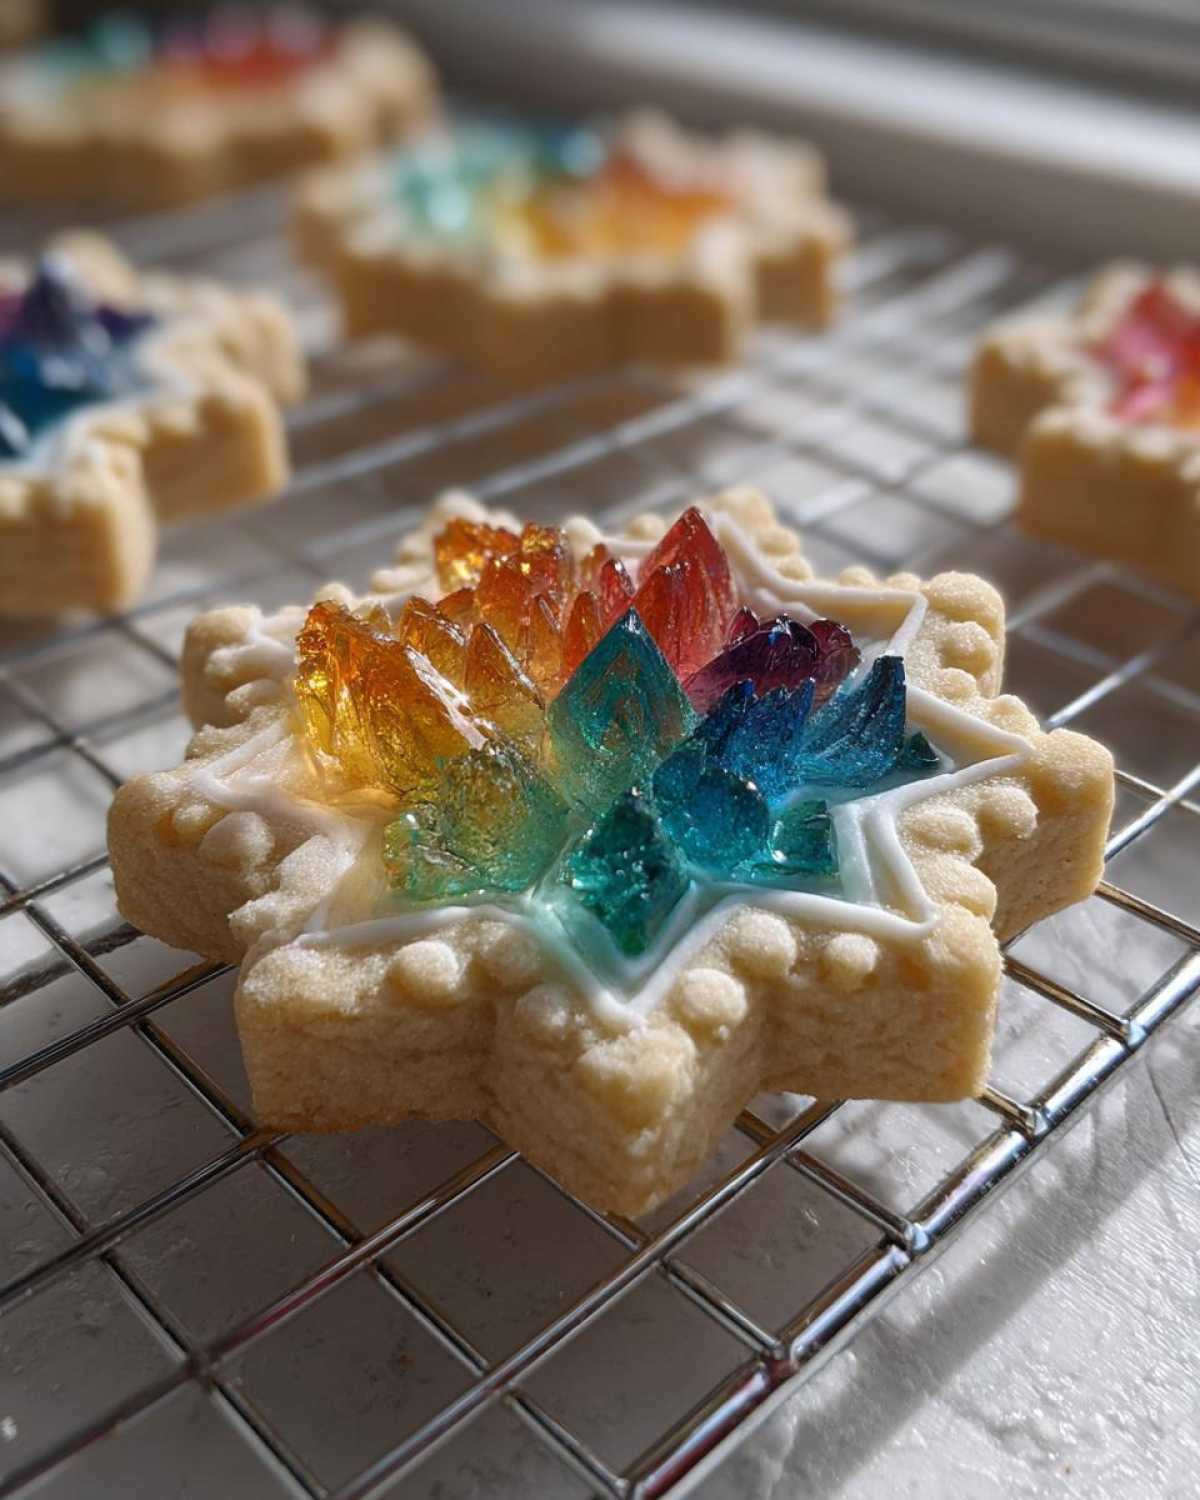
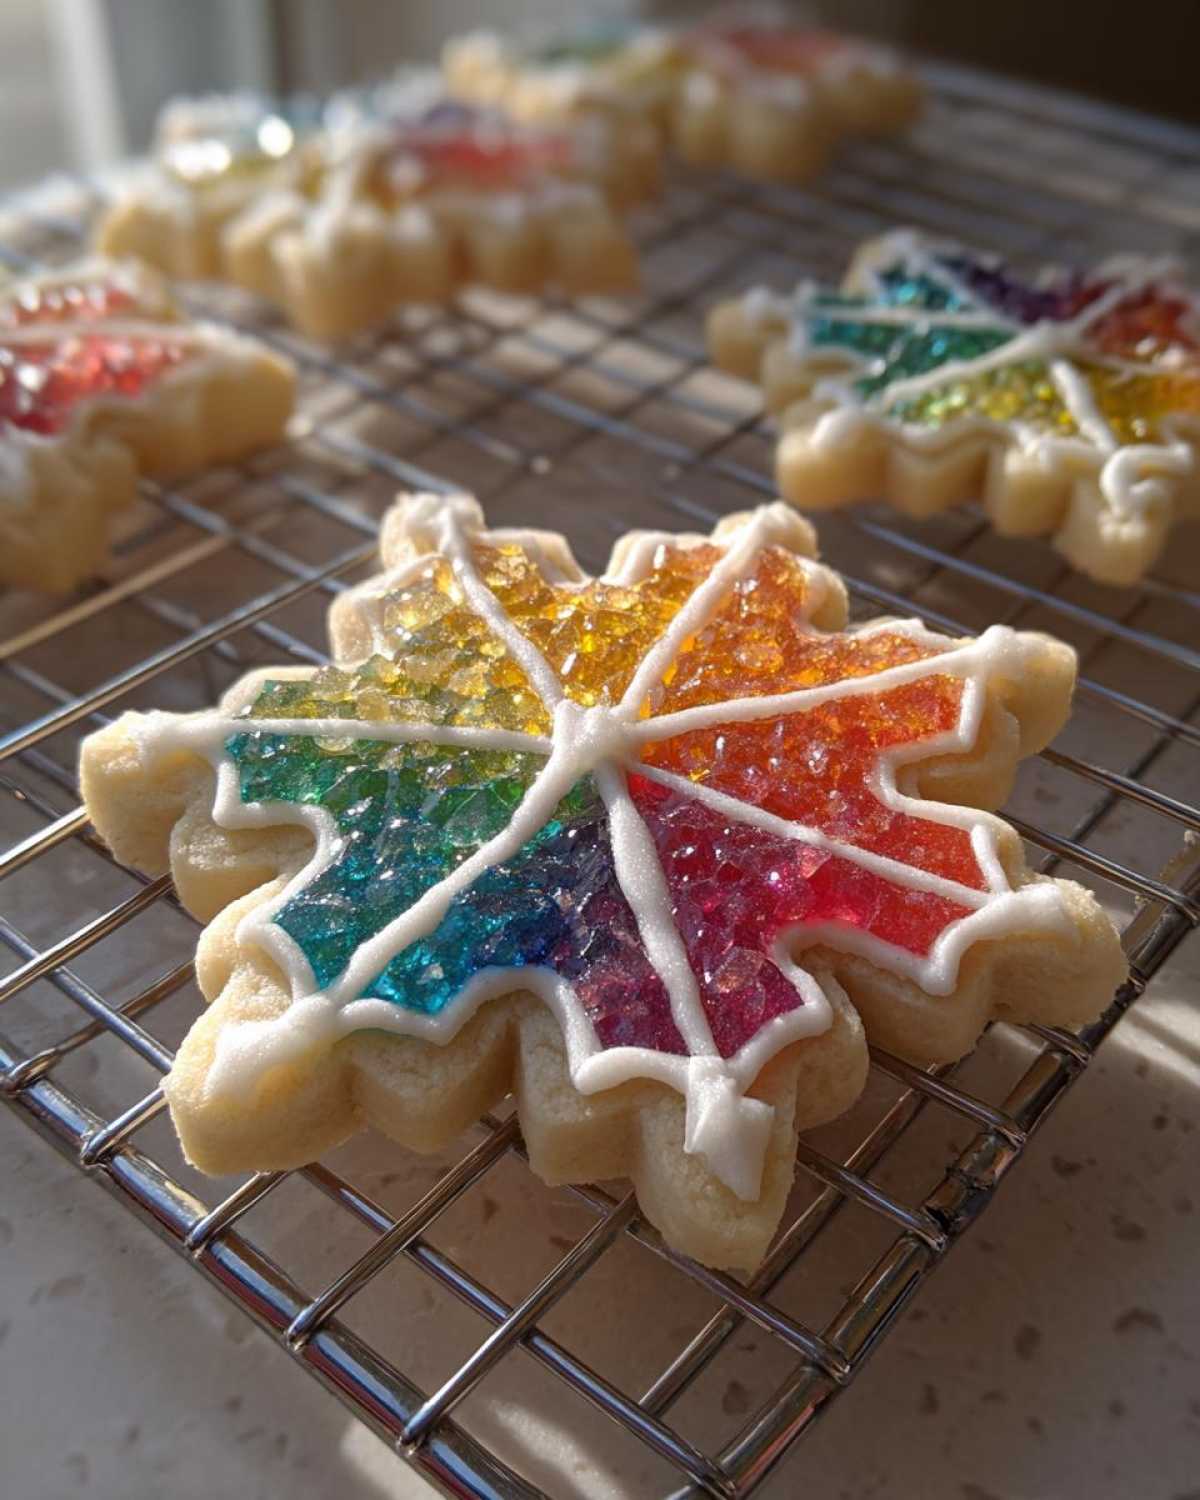
Rediscover Kitchen Joy with Snowflake Sugar Cookies with Stained Glass
Are your holiday bakes feeling a bit too serious lately? I get it. Sometimes the pressure to be perfect steals the fun. That’s why I’m so thrilled to share these beautiful Snowflake Sugar Cookies with Stained Glass. They truly turn simple baking into edible art!
Liam usually focuses on precision, but these cookies let us play. They bring that needed sparkle back. We want you to rediscover that joy in your own kitchen with every colorful window you create.
Our Journey to Edible Art: A Child Recipe Story
When I met Liam, his cooking was stiff. Everything was perfect. Boring, even. I’m Sara, the muse, remember? I remind him to loosen up a bit.
Our “Child Recipe” concept is about that freedom. It means cooking without fear. We ditch the rigid rules sometimes. This recipe lets you be messy and artistic. That’s how we build trust in the kitchen. We learn by doing, not just by following.
These cookies show our belief. Food should feel fun. It should tell a story. Let your inner child guide your cookie decorating!
Essential Ingredients for Snowflake Sugar Cookies with Stained Glass
Getting ready to make these stunning Snowflake Sugar Cookies with Stained Glass? You only need a few pantry staples. Don’t stress over fancy items here. We keep the base simple.
Gathering everything first makes the process smooth. It helps Liam stay focused!
Dry Components and Flavor Base
These form the structure of our cookie frames. They need to hold up nicely.
- 1 cup unsalted butter, softened
- 1 cup granulated sugar
- 1 large egg
- 1 teaspoon vanilla extract
- 3 cups all-purpose flour
- 1 teaspoon baking powder
- 1/2 teaspoon salt
The Secret to the Stained Glass Effect
This is where the magic happens, friends. This part requires color!
- 1/2 cup crushed hard candies (various colors)
Use lots of different colors for the best look. Think jewel tones shining through the snow.
Preparing Your Snowflake Sugar Cookies with Stained Glass Dough
Now we move from ingredients to action. Making the dough for our Snowflake Sugar Cookies with Stained Glass is fun. It’s the foundation for our edible art.
Don’t rush this part. A great dough makes cutting shapes easier later. I promise it’s worth the small wait.
Creaming Butter and Sugar
Start by beating that soft butter and sugar. Use your mixer for this step. You want it really light and fluffy. This process adds air. Air makes the cookies tender, not tough.
Once airy, mix in your egg and vanilla. Just beat them until they blend in smoothly. Don’t overmix here at all.
Combining Wet and Dry Mixtures
In another bowl, whisk your flour, baking powder, and salt. This keeps things even. Now, add the dry stuff slowly. Add it to the wet ingredients gradually. Mix just until a cohesive dough forms. Stop mixing right then.
The Crucial Chilling Step
We must chill this dough. Divide the dough in two parts. Wrap each piece well in plastic. Put them in the fridge for at least one hour. This chilling is not optional. Cold dough cuts cleanly. It stops your snowflakes from spreading too much while baking.
Equipment Needed for This Recipe
Setting up your stage is important. You need a few simple tools.
These items will help you create beautiful cookies easily. Gather these before you start rolling.
- Electric mixer (for creaming)
- Mixing bowls
- Whisk
- Rolling pin
- Snowflake cookie cutter
- Small cutter or sharp knife (for centers)
- Baking sheets
- Parchment paper
- Wire cooling rack
Having these ready keeps the kitchen flowing smoothly. It prevents little interruptions later on.
Creating the Stained Glass Effect in Your Snowflake Sugar Cookies with Stained Glass
The fun really starts now. We move to shaping our pretty Snowflake Sugar Cookies with Stained Glass. This stage takes patience. Remember, we are making art here.
Don’t worry if your first few shapes aren’t perfect. My first attempts looked lopsided! Just keep practicing your technique.
Rolling and Cutting the Snowflake Shapes
Lightly flour your work surface. Grab one chilled dough portion. Roll it out evenly. Aim for about 1/4 inch thickness. Thinner dough breaks easily later.
Use your snowflake cutter firmly. Press straight down for a clean cut. Place these shapes onto your parchment-lined baking sheets. Now, we make the window part.
Use a smaller cutter or a small knife. Cut out the center area. Leave a border of about 1/2 inch all the way around. This border is your cookie frame.
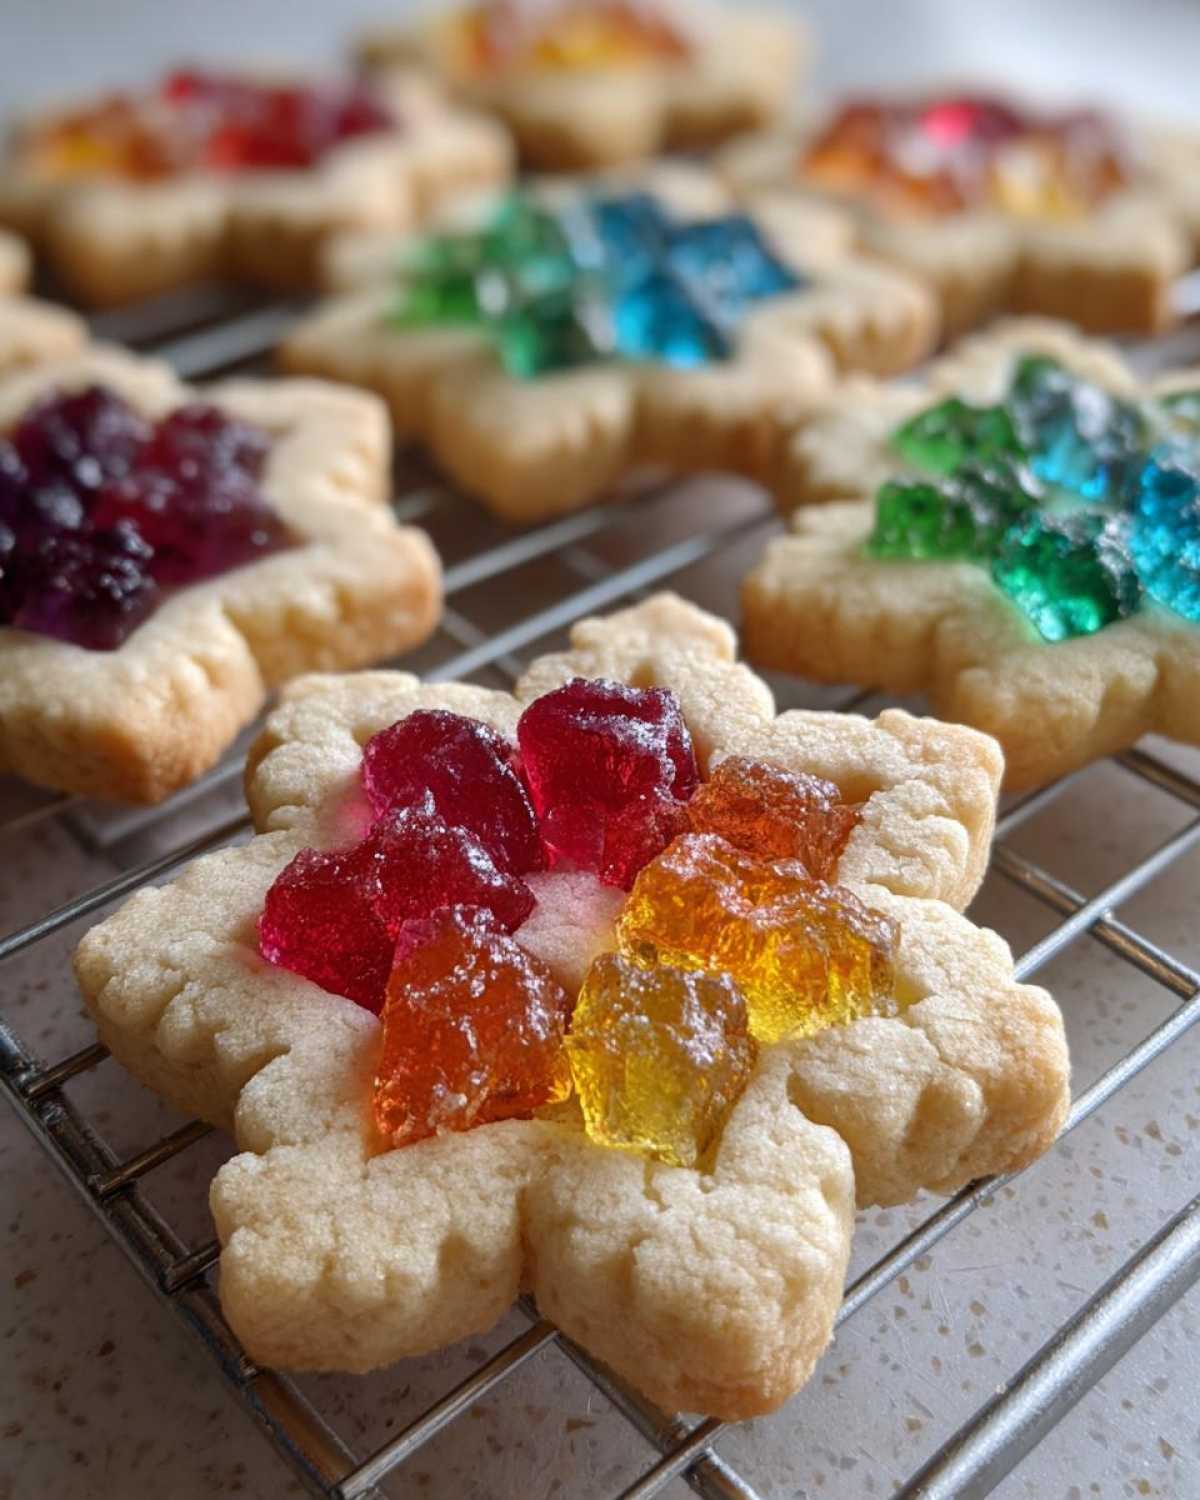
Filling the Centers with Crushed Candy
This step creates the jewel-like glass. Take your crushed hard candies. Fill the empty center cutout completely. You want the candy to touch the edges of the hole.
I love mixing all the colors together. Red, blue, green—let them swirl! This gives a beautiful, varied stained glass look when melted. Make sure the candy layer is even.
Baking and Cooling Snowflake Sugar Cookies with Stained Glass Perfectly
We’ve shaped these beauties. Now it’s time for some heat! Baking these cookies is quick. Watch them closely though. We don’t want burnt edges.
The sugar centers melt fast. That’s what we want for that clear look. This part needs your full attention, just like a good performance.
Oven Temperature and Bake Time Guidance
Preheat your oven before you even start cutting. Set the temperature to 350 degrees F. That equals 175 degrees C.
Bake them for only 8 to 10 minutes total. You’ll see the edges turn light golden brown. The candy in the middle should look fully melted. It will be bubbly, like lava!
If they look pale, give them another minute. Don’t let them get dark brown, though.
Cooling Process for Hardening the Candy
This cooling is a two-step dance. Don’t move them right away. Let the cookies sit on the baking sheet for 5 minutes. This lets the melted candy firm up slightly.
After 5 minutes, gently slide them onto a wire rack. They need to cool completely there. This final cooling hardens the candy glass. Be super gentle when moving them.
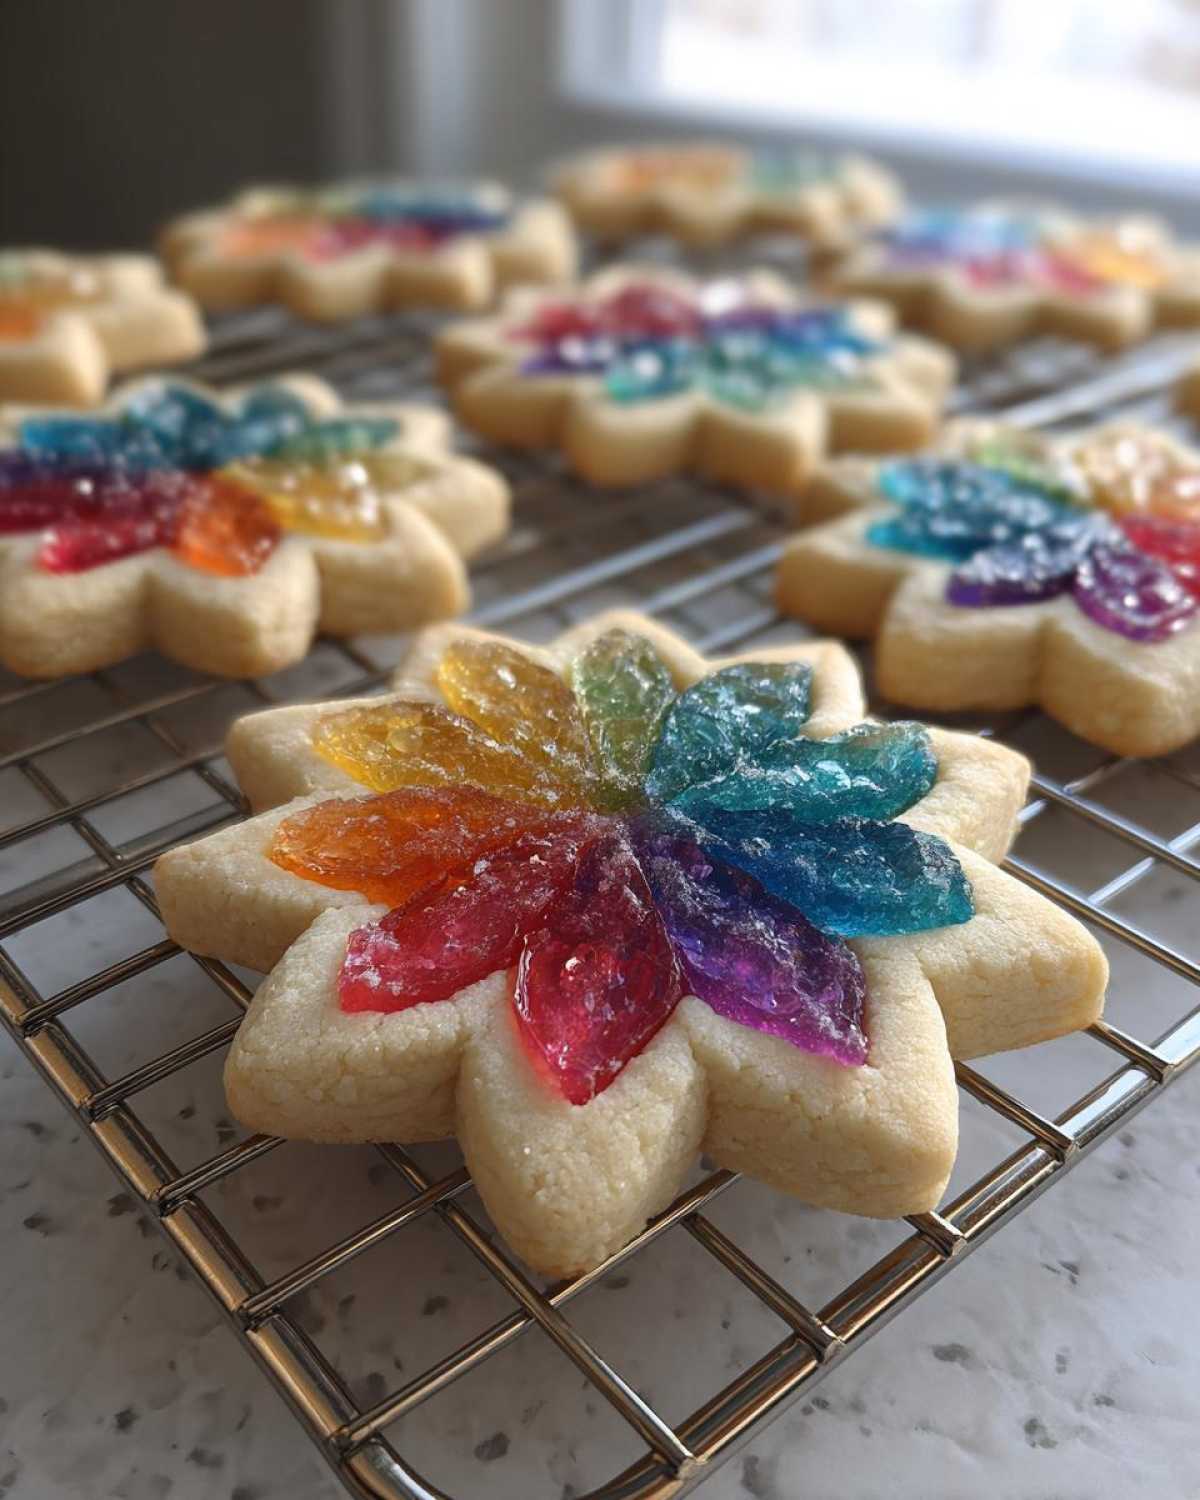
They will look dull at first. They shine once fully cool and set!
Tips for Success with Your Snowflake Sugar Cookies with Stained Glass
Even the best artists sometimes hit a snag. Don’t let minor issues stop your fun! These tips help keep your Snowflake Sugar Cookies with Stained Glass looking sharp.
I learned these tricks the hard way, trust me. A little preparation saves a lot of frustration later on.
Handling Soft Dough and Candy Swaps
Sometimes the kitchen gets too warm. Your cookie dough might get soft quickly. If this happens, stop cutting shapes. Put the dough back in the fridge. A short break works wonders.
This keeps those nice sharp snowflake edges. Soft dough looks messy when baked.
You asked about candy swaps. You can use other clear, colorful candies. Melted Jolly Ranchers work great too. Just make sure they are crushed small. We need them to melt evenly.
Remember, these finished cookies are delicate. They are edible art, after all! Handle them gently when storing them away.
Frequently Asked Questions About Snowflake Sugar Cookies with Stained Glass
Got questions about making your beautiful Holiday Cookies? That’s great! I love talking shop about baking. Here are a few things people often ask about these specific cookies.
Getting these details right makes your final edible art shine. Let’s clear up any confusion now.
Can I make these Snowflake Sugar Cookies ahead of time?
Yes, you absolutely can make them early! Store the finished cookies carefully. Keep them in an airtight container. Place wax paper between layers if you stack them. They stay fresh for about one week. Keep them in a cool, dry spot. Humidity is the enemy of the “glass.”
What is the best way to crush the hard candies?
Crushing candies takes a little muscle. I use a heavy-duty zip-top bag. Put the candies inside the bag. Seal it tightly, pushing out most of the air. Then, use a rolling pin or the bottom of a heavy saucepan. Gently tap or roll them. You want a mix of fine powder and small pieces. This variation adds texture to your stained glass.
Watch your fingers when handling the crushed candy. It can be a bit sharp before baking.
Storage and Handling for Your Delicate Edible Art
Once cooled, these cookies are truly stunning. They look like little frosted windows. But remember, they are delicate edible art. Handling them needs care.
We want these beauties to last through the holidays. Proper storage keeps them looking perfect. Liam always handles the final stacking.
The candy centers harden up well. However, a hard bump can crack them. Treat them like fine glassware.
- Use an airtight container for storage.
- Place wax paper between layers of cookies. This stops sticking.
- Avoid stacking them too high. Keep the layers shallow.
- Store them at room temperature. Do not refrigerate them. Cold air makes the candy slightly sticky.
Keep the container away from heat sources. Direct sunlight is also bad. A cool pantry shelf is ideal. Enjoy watching them sparkle!
Estimating the Nutrition in Your Snowflake Sugar Cookies with Stained Glass
Let’s talk briefly about the numbers for our gorgeous cookies. I’m Sara, not a nutritionist. I focus on flavor and fun, remember?
Since we use various candies, exact counts are tricky. These estimates are just a starting point. They help you see the general picture of these Snowflake Sugar Cookies with Stained Glass.
We base this on one serving size, which is one cookie. Treat these figures as guidelines, not gospel. Food is meant to be enjoyed! Learn more about our philosophy here.
- Serving Size: 1 cookie
- Calories: Estimate based on ingredients
- Fat: Estimate based on ingredients
- Carbohydrates: Estimate based on ingredients
- Protein: Estimate based on ingredients
The sugar content will vary wildly. It depends on what hard candies you crushed up. Don’t stress too much about it. Just enjoy the artistry!
Share Your Culinary Performance
We’ve shared our script for these cookies. Now it’s your turn to take the stage! Did you try our recipe? Contact us if you have questions!
We absolutely love seeing your results. Show us your unique stained glass windows. Tell us about your kitchen performance!
Did you improvise with colors? Maybe you tried a different cookie shape? That’s the spirit of Child Recipe! Review our privacy policy before sharing photos.
We want to see your edible art creations. Share photos of your beautiful cookies online. Tag us in your posts.
Don’t forget to tell us what made your process joyful. What was your spark of inspiration today? We can’t wait to see your amazing work!
Print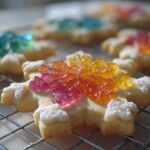
3 Gorgeous Snowflake Sugar Cookies with Stained Glass
- Total Time: 95 minutes (includes chilling time)
- Yield: About 2 dozen cookies 1x
- Diet: Vegetarian
Description
Create stunning Snowflake Sugar Cookies that look like stained glass windows. This recipe brings artistry and fun to your holiday baking, perfect for rediscovering joy in the kitchen.
Ingredients
- 1 cup unsalted butter, softened
- 1 cup granulated sugar
- 1 large egg
- 1 teaspoon vanilla extract
- 3 cups all-purpose flour
- 1 teaspoon baking powder
- 1/2 teaspoon salt
- 1/2 cup crushed hard candies (various colors)
Instructions
- Beat the softened butter and sugar together until light and fluffy.
- Mix in the egg and vanilla extract until combined.
- In a separate bowl, whisk together the flour, baking powder, and salt.
- Gradually add the dry ingredients to the wet ingredients, mixing until a dough forms.
- Divide the dough in half, wrap each half in plastic wrap, and chill for at least one hour.
- Preheat your oven to 350 degrees F (175 degrees C). Line baking sheets with parchment paper.
- On a lightly floured surface, roll out one portion of the dough to about 1/4 inch thickness.
- Use a snowflake cookie cutter to cut out shapes. Place them on the prepared baking sheets.
- Use a smaller cutter or a sharp knife to cut out the centers of the snowflakes, leaving a border of about 1/2 inch. You are creating a frame.
- Fill the center cutout area of each cookie with the crushed hard candies. Use a mix of colors for a stained glass effect.
- Bake for 8 to 10 minutes, or until the edges are lightly golden brown and the candy centers are melted and bubbly.
- Remove from the oven and let the cookies cool on the baking sheet for 5 minutes.
- Carefully transfer the cookies to a wire rack to cool completely. The candy centers will harden as they cool.
Notes
- Use different colored hard candies for a more colorful stained glass look.
- If the dough becomes too soft while cutting, return it to the refrigerator briefly.
- You can substitute the crushed hard candies with melted Jolly Ranchers or other clear, colorful candies.
- These cookies are delicate once cooled; handle them gently when decorating or storing.
- Prep Time: 45 minutes
- Cook Time: 10 minutes
- Category: Dessert
- Method: Baking
- Cuisine: American
Nutrition
- Serving Size: 1 cookie
- Calories: Estimate based on ingredients
- Sugar: Estimate based on ingredients
- Sodium: Estimate based on ingredients
- Fat: Estimate based on ingredients
- Saturated Fat: Estimate based on ingredients
- Unsaturated Fat: Estimate based on ingredients
- Trans Fat: Estimate based on ingredients
- Carbohydrates: Estimate based on ingredients
- Fiber: Estimate based on ingredients
- Protein: Estimate based on ingredients
- Cholesterol: Estimate based on ingredients