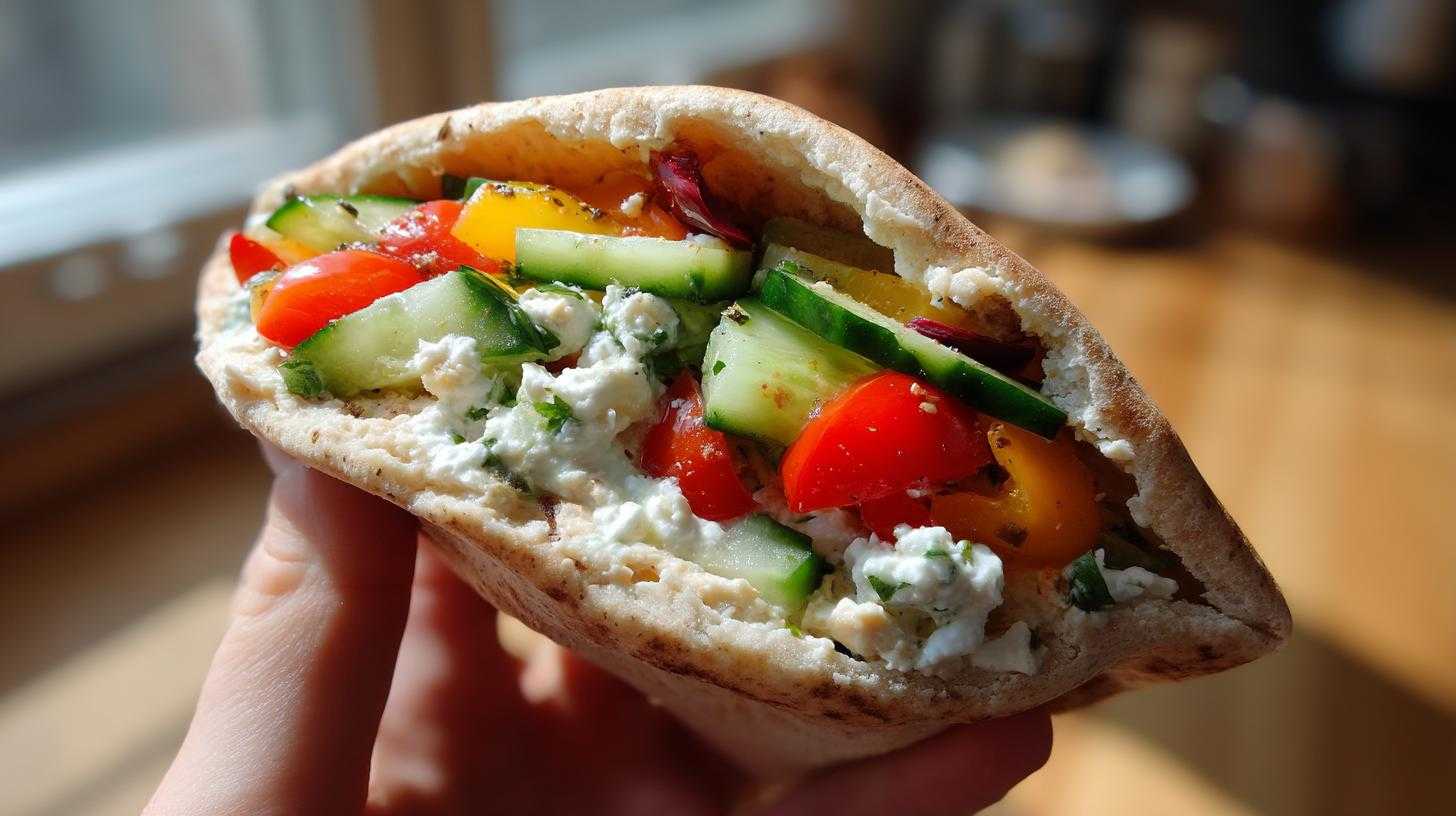
Oh, friends, let me tell you about the never-ending quest for easy kids’ lunch ideas! Some days, packing school lunches feels like a marathon before the day even starts. I used to stare into the fridge, completely blank, wondering what I could possibly put together that wasn’t the same old thing. Then I discovered the magic of no-cook Greek pita pockets for kids’ lunch: fresh & easy! Seriously, these little wonders saved my mornings. They are so simple to throw together, packed with fresh goodness, and even my sometimes-picky eaters, Leo and Mia, gobble them up. It’s a win-win for everyone!
This recipe is perfect for busy parents who want something healthy and quick. No cooking means less mess and more time back in your day. Plus, you can totally customize them based on what your kids love. As a fellow parent in the trenches of lunch packing, trust me, this one is a keeper.
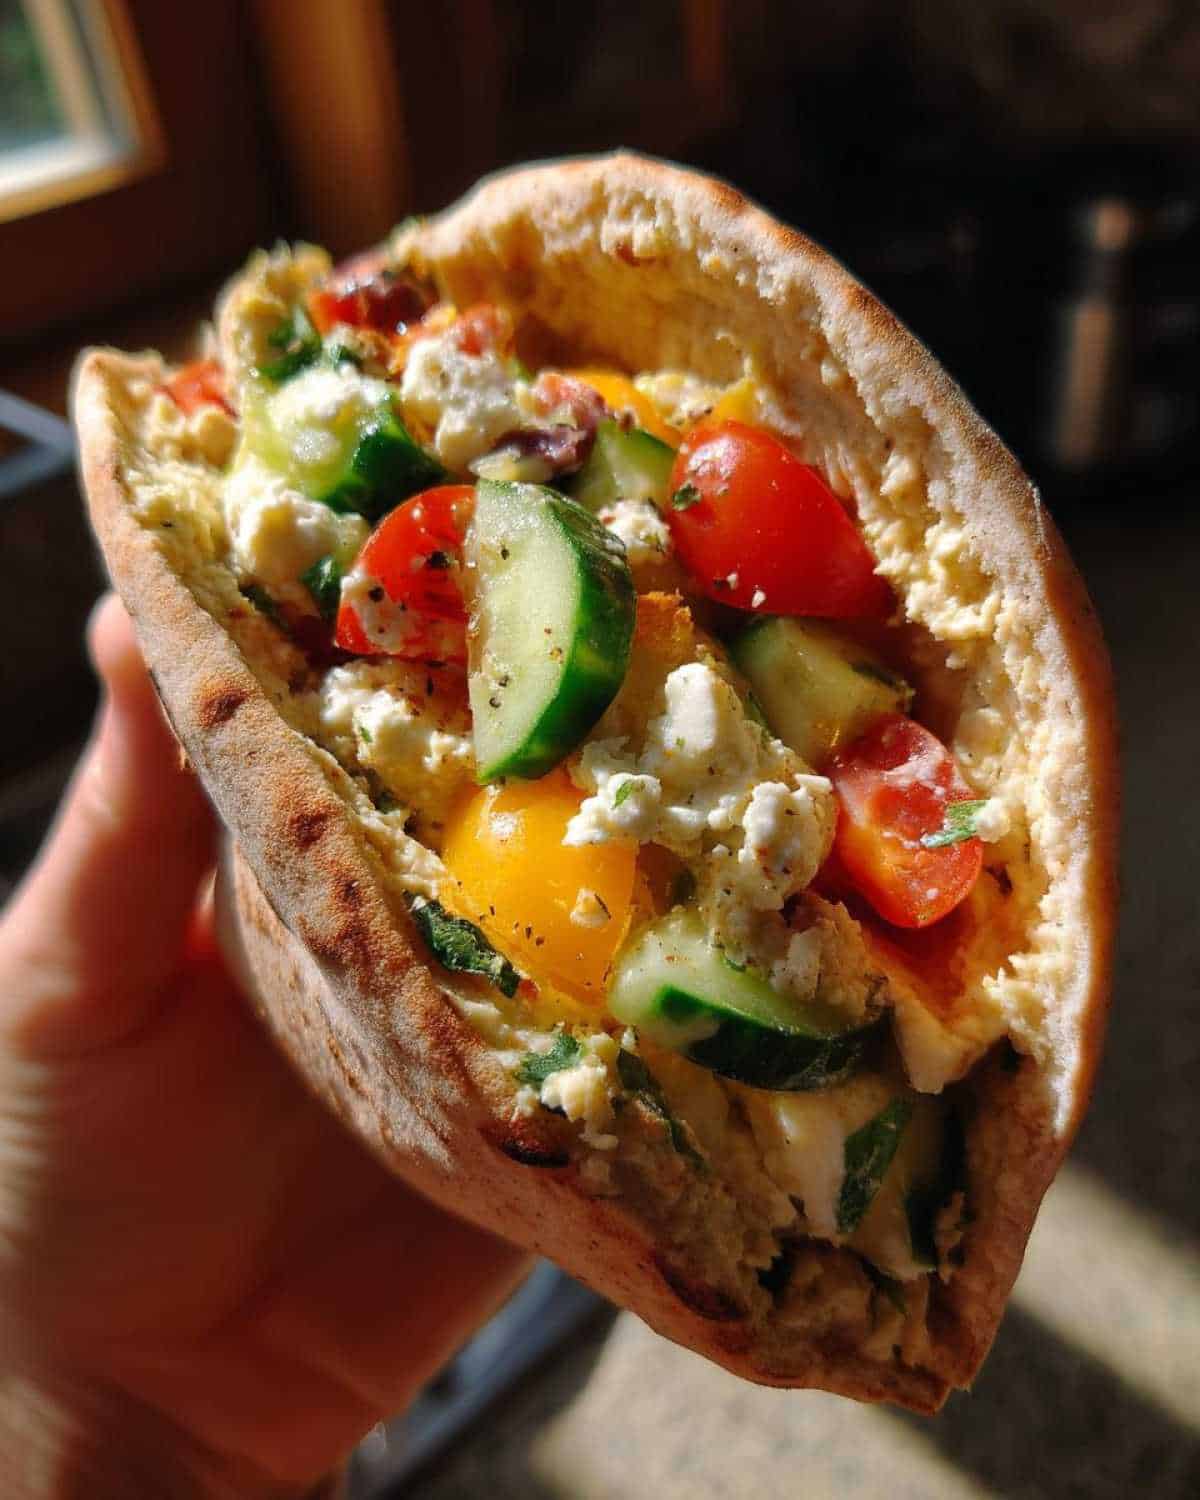
Why You’ll Love These No-Cook Greek Pita Pockets
I know how hectic mornings can be when you’re trying to get everyone out the door. That’s why these no-cook Greek pita pockets are such a game-changer for kids’ lunch boxes. They are incredibly fast to make, which is exactly what you need on those crazy school days.
- They are super speedy – ready in minutes!
- So easy, even little hands can help.
- Packed with healthy, fresh veggies and protein.
- Kids love them because they can pick their fillings.
- Perfect for picky eaters – offer just the things they like.
Seriously, these tick all the boxes for a busy parent!
The Appeal of No-Cook Greek Pita Pockets
A no-cook lunch option is like finding a twenty-dollar bill in your coat pocket – a total win! Skipping the stove means less time standing around and more time for other things. These pita pockets are full of bright, fresh Greek flavors that feel light and yummy. They make packing lunch so much less of a chore.
Gathering Your Ingredients for No-Cook Greek Pita Pockets
Okay, let’s talk ingredients! The beauty of these no-cook Greek pita pockets is how simple and fresh everything is. You don’t need anything fancy here. Just some good quality basics you can easily find at the grocery store. Getting everything prepped and ready to go before you start assembling makes the whole process even faster, which is key for those busy mornings.
I like to think of this as building a little flavor treasure chest inside the pita. Each ingredient adds something special!
Key Ingredients for Delicious No-Cook Greek Pita Pockets
Here’s exactly what you’ll need to make these yummy pita pockets:
- Whole wheat pita pockets (as many as you need!)
- 1/2 cup creamy hummus
- 1 large cucumber, thinly sliced
- 2 small tomatoes, diced small
- 1/2 cup crumbled feta cheese
- 1/4 cup pitted and sliced Kalamata olives
- 1 small bell pepper, thinly sliced (any color works!)
- A handful of fresh spinach leaves
- Optional: 1/2 cup cooked chicken or canned chickpeas, rinsed and drained
I always reach for whole wheat pitas for extra fiber. Make sure your veggies are washed and prepped before you start. The feta adds that classic salty tang, and the olives give a nice little bite. If you want extra protein, cooked chicken or chickpeas are great additions that still keep it no-cook!
How to Assemble Your No-Cook Greek Pita Pockets
Putting these no-cook Greek pita pockets together is seriously easy. It’s so simple, you might even find your little helpers want to jump in and lend a hand! This is where the magic happens, stuffing all that fresh goodness inside.
The key is to be a little gentle with the pita pockets so you don’t tear them. Think of them like little envelopes for all your yummy fillings. Don’t worry if it seems a bit full at first; you can usually give it a little squish to make everything fit nicely.
I always set up a little assembly line on the counter. Pita, then hummus, then the veggies and feta. It makes the process go super fast, especially if you’re making a few at once.
Just be mindful not to overstuff them. That’s the main thing that can make them tricky to close or cause things to fall out later. A good rule of thumb is to fill them until they look nicely plump, but not ready to burst!
Simple Steps for Perfect No-Cook Greek Pita Pockets
Follow these steps, and you’ll have delicious pita pockets ready in no time!
- Carefully open each pita pocket to create a space inside.
- Spread a thin layer of hummus inside the pocket.
- Layer in your cucumber, tomatoes, feta, olives, and bell peppers.
- Add a few spinach leaves next.
- If using, pop in the cooked chicken or chickpeas.
- Gently press the pita pocket closed to seal everything inside.
- Pack it up in your lunchbox!
See? That’s all there is to it! Quick, easy, and ready to go.
Tips for Success with No-Cook Greek Pita Pockets for Kids
Making these no-cook Greek pita pockets is already easy, but I’ve got a few tricks up my sleeve to make them even better, especially when tiny taste buds are involved. Getting the kids involved can make a huge difference!
Leo, for example, loves helping me pick out the veggies. He feels so proud when he gets to choose the bell pepper color. Mia is all about the feta cheese; she adds extra to hers every time! Letting them participate gives them ownership and makes them more likely to try what’s inside.
Another tip? Don’t be afraid to simplify. If your child won’t touch olives, just leave them out! These are meant to be flexible. Offer a little bowl of each filling and let them build their own. It’s like a mini pita pocket bar!
Prep your veggies the night before! Chopping cucumber and dicing tomatoes takes minutes and saves you precious time in the morning rush.
Making No-Cook Greek Pita Pockets Kid-Approved
The best way to get kids to eat something is to make it fun and let them have some control. For these no-cook Greek pita pockets, set out all the yummy fillings in separate bowls. Let your child choose what goes into their pita. Maybe they just want hummus and cucumber today, and that’s totally okay!
Offering choices empowers them and makes mealtime less of a battle. It’s a simple step that can make these a regular hit in their lunchbox.
Frequently Asked Questions About No-Cook Greek Pita Pockets
I get lots of questions about packing lunches, and these no-cook Greek pita pockets often spark a few! Here are some common ones folks ask me.
Can I make these ahead of time?
You absolutely can prep the fillings ahead! Chop your veggies the night before and store them in separate containers in the fridge. Assembly in the morning is then super fast. I don’t recommend assembling the whole pita pocket too far in advance though.
What are some substitutions for feta?
If feta isn’t your child’s favorite, you could try a mild goat cheese or even some cubed mozzarella. For a dairy-free option, skip the cheese or use a plant-based crumble.
How do I keep the pita from getting soggy?
The best way is to spread the hummus first, as it acts a little barrier. Also, make sure your veggies are well-drained, especially the tomatoes. Packing a sturdy lunchbox helps keep it from getting squished.
Your Questions About No-Cook Greek Pita Pockets Answered
I hope these answers help make packing these easy pita pockets even smoother for you! It’s all about finding what works best for your family and your busy schedule.
Have more questions about these yummy no-cook Greek pita pockets for kids’ lunch: fresh & easy? Don’t be shy! Leave a comment below, and I’ll do my best to help you out.
Estimated Nutritional Information
Just a quick note about nutrition for these no-cook Greek pita pockets. Please remember that any nutritional info here is just an estimate. The actual values can change depending on the specific brands you use for your pitas, hummus, and feta, and how much of each ingredient you add. It’s always best to calculate based on the products you have at home if you need precise numbers.
Ready to Make No-Cook Greek Pita Pockets?
So there you have it! My go-to recipe for easy, fresh, and totally kid-friendly lunch. These no-cook Greek pita pockets really are a lifesaver on busy days. I hope you give them a try for your own little ones. If you do, I’d absolutely love to hear how they turn out! Leave a comment below and let me know how your kids liked them.
Print
No-Cook Greek Pita Pockets Save 5 Lunch Stressors
- Total Time: 10 minutes
- Yield: Varies
- Diet: Vegetarian
Description
Quick and easy, no-cook Greek pita pockets perfect for kids’ lunches. Filled with fresh ingredients, they are simple to assemble and great for picky eaters.
Ingredients
- Whole wheat pita pockets
- Hummus
- Cucumber, thinly sliced
- Tomatoes, diced
- Feta cheese, crumbled
- Kalamata olives, pitted and sliced
- Bell peppers, thinly sliced (any color)
- Spinach leaves
- Optional: Cooked chicken or chickpeas for added protein
Instructions
- Open each pita pocket carefully to create a pocket.
- Spread a layer of hummus inside each pita pocket.
- Layer in cucumber slices, diced tomatoes, crumbled feta cheese, sliced olives, and bell pepper slices.
- Add a few spinach leaves.
- If using, add cooked chicken or chickpeas.
- Gently press the pita pocket closed.
- Pack in your child’s lunchbox.
Notes
- Prep ingredients ahead of time for even faster assembly in the morning.
- Let your child customize their fillings based on their preferences.
- These pita pockets are best enjoyed the same day they are made.
- Prep Time: 10 minutes
- Cook Time: 0 minutes
- Category: Lunch
- Method: No-Cook
- Cuisine: Greek
Nutrition
- Serving Size: 1 pita pocket