The Easiest No-Bake Gingerbread Icebox Cake for Instant Holiday Cheer
Hello there! I’m Sara, and I’m so glad you joined us.
Is your Christmas kitchen feeling a bit too serious? Liam used to cook like a scientist. Now? We cook with feeling!
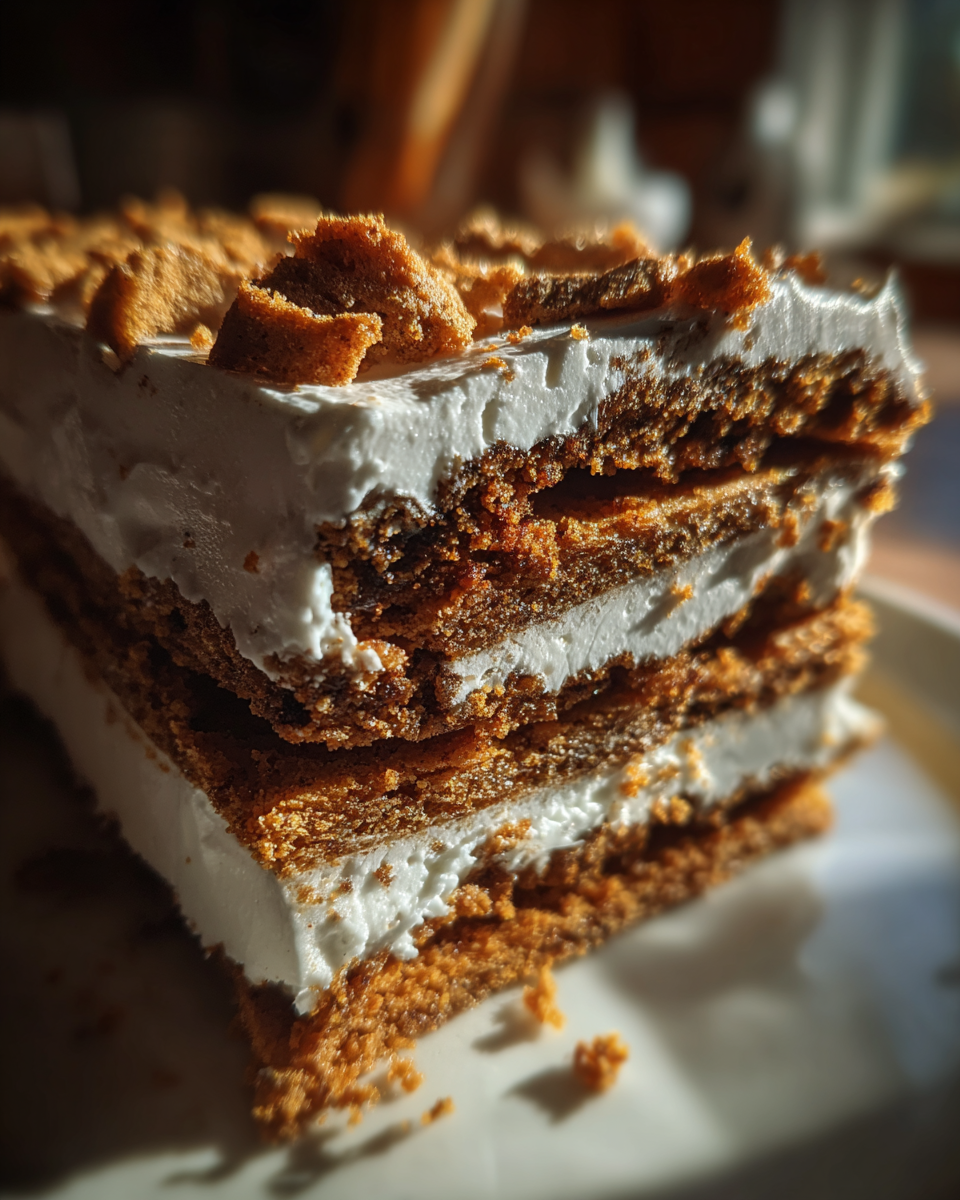
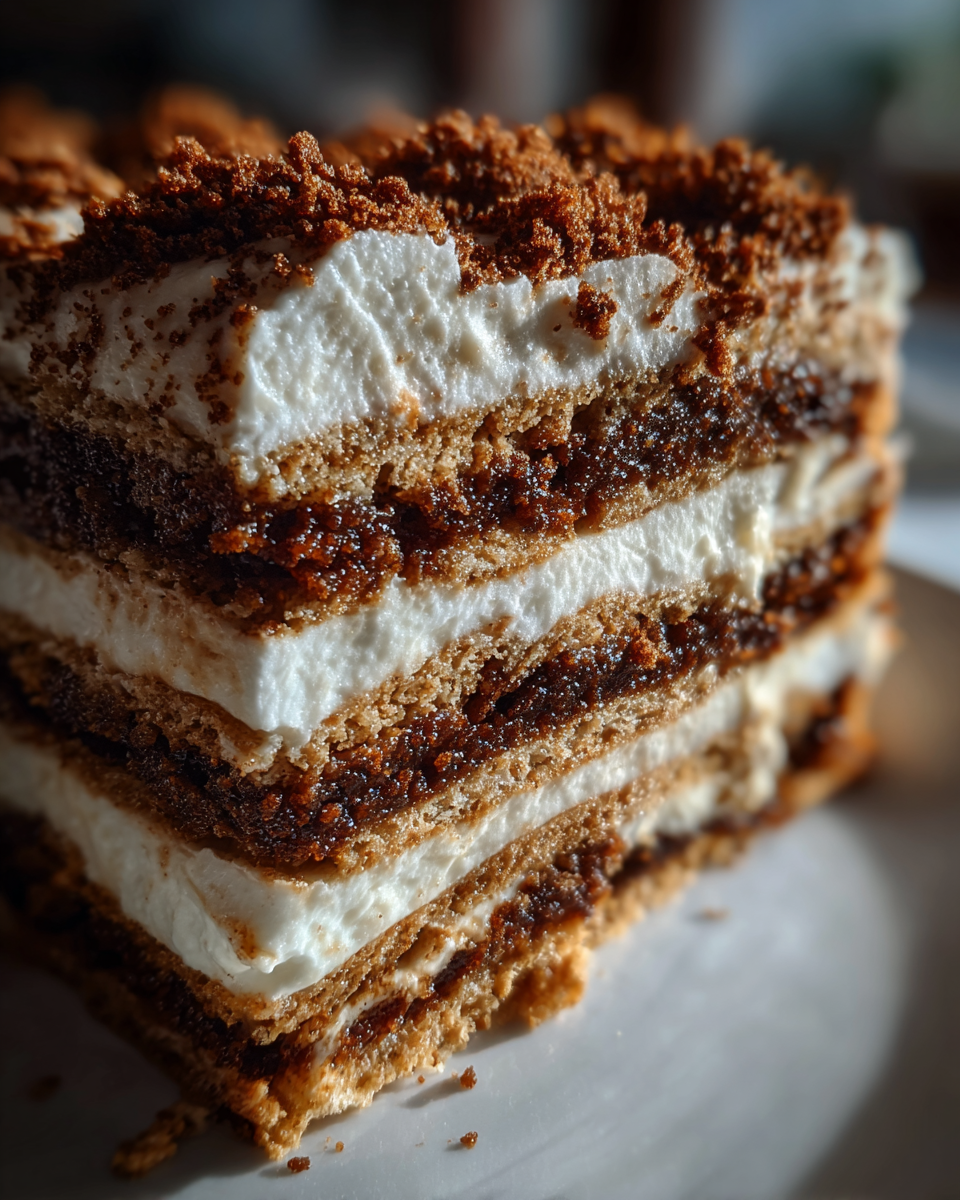
This No-Bake Gingerbread Icebox Cake is pure magic. It brings all that cozy holiday spice. Best part? You skip the hot oven entirely. It’s the perfect easy Christmas dessert.
No heading needs to be written for the introduction. We are all about joy here at Child Recipe. Let’s get this simple, festive treat started!
Why This No-Bake Gingerbread Icebox Cake is Your Go-To Christmas Dessert
When the holidays hit, who wants to heat up the house? Not me!
This cake lets us focus on fun. It captures the warmth of gingerbread spice. Plus, it fits right into our “Child Recipe” spirit. We love food that makes happy memories.
Forget complicated baking steps. This treat is pure assembly magic.
- Zero oven time means a cooler kitchen.
- It sets up fast with just chilling time.
- The flavor screams cozy Christmas magic.
It’s simple, festive, and truly satisfying.
Quick Facts About Our No-Bake Gingerbread Icebox Cake
We keep timing straightforward for you.
Here is what you need to know upfront:
- You need only 20 minutes for prep work.
- The total time is about 6 hours, 20 minutes.
- This recipe yields 8 delightful servings.
Essential Ingredients for Your No-Bake Gingerbread Icebox Cake
Gathering ingredients for this cake feels like sorting holiday ornaments. Every piece matters for flavor.
We keep the ingredient list short and sweet. You want quality here. This ensures your No-Bake Gingerbread Icebox Cake shines.
Here is what you must gather for success:
- One package of cream cheese, softened well.
- One cup of fine powdered sugar.
- One teaspoon of pure vanilla extract.
- One cup of heavy whipping cream, very cold.
- Graham crackers or vanilla wafers for layers.
- One cup of crushed gingerbread cookie crumbs.
- Whipped topping, optional for a light finish.
Using good vanilla makes a big difference, trust me.
Ingredient Notes and Smart Substitutions
Don’t stress about making everything from scratch here. That’s the beauty of this treat!
For those gingerbread crumbs, store-bought cookies work perfectly. Just crush them up finely.
Do you crave that deep, warm spice? I certainly do sometimes!
- Add 1/4 teaspoon of ground ginger to the cream cheese mix. This boosts the flavor instantly.
- If you use vanilla wafers, they give a slightly different, sweeter crunch.
- Remember, we want the heavy cream to be ice cold. That helps it whip up beautifully.
These small tweaks make your dessert truly yours.
The Simple Steps to Assemble Your No-Bake Gingerbread Icebox Cake
Now for the fun part, putting it all together!
Assembly is quick, which I love. We move fast here. This process relies on gentle hands, especially later on.
Follow these steps closely. They ensure your creation sets up just right.
Creating the Cream Filling Base
First, tackle the cream cheese mixture. Use your mixer for this step.
Beat the softened cream cheese until it’s silky smooth. Add the powdered sugar slowly. Mix in the vanilla extract too. You want zero lumps remaining.
Next, grab a separate, clean bowl. Pour in your cold heavy whipping cream.
Whip this cream until those stiff peaks stand up tall. This takes a few minutes of effort.
Now comes the gentle part. Fold the whipped cream into the cream cheese base. Use a spatula carefully. Stop mixing once they are just combined. Overmixing deflates the air we just built in.
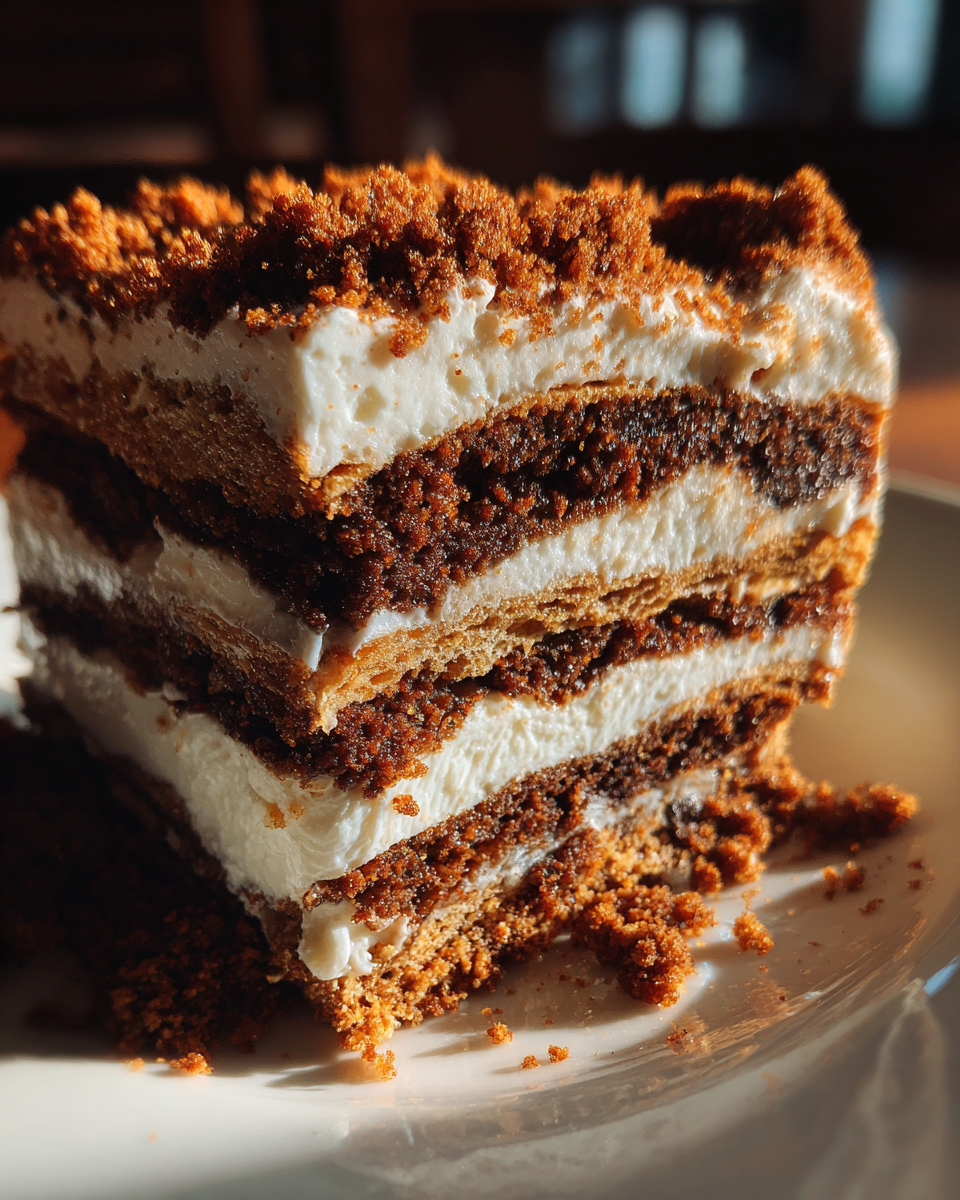
Layering the No-Bake Gingerbread Icebox Cake Perfection
Time to get those crackers ready. This dip must be fast.
Quickly dip each cracker into water or milk. Seriously, just a quick dunk. They should be barely moistened, not soggy.
Lay one layer of dipped crackers in your 8×8 inch pan. Press them in gently.
Spread one-third of your creamy filling over the crackers. Make it even.
Sprinkle a light layer of those delicious gingerbread crumbs on top of the cream.
Repeat this pattern two more times. Cracker, then cream, then crumbs.
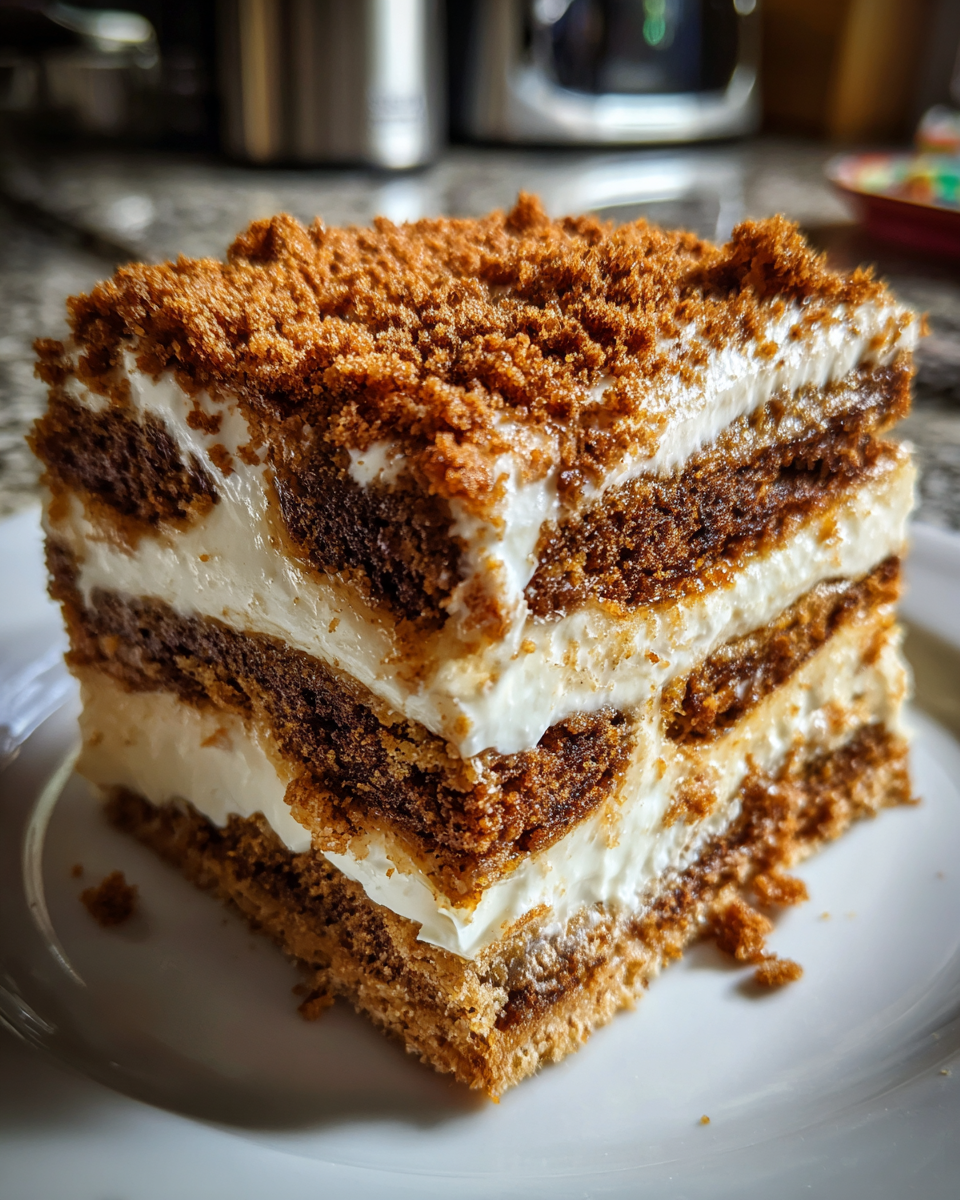
Finish with the last bit of cream mixture. Top it all with the remaining crumbs.
The Mandatory Waiting Game for Setting
This step requires patience, my friends. It’s the hardest part!
Cover the pan tightly with plastic wrap. Pop it into the refrigerator now.
You must chill this for a minimum of six hours. Six hours lets the cookies soften well. Proper chilling is crucial for food safety and texture.
I always push for overnight chilling if I can manage it. Overnight allows the spice flavors to really meld together beautifully. This waiting time transforms the layers.
When you’re ready to serve, add that optional whipped topping. Slice and enjoy your wonderful holiday cake!
Expert Tips for the Best No-Bake Gingerbread Icebox Cake Results
Getting that perfect texture is key here.
A little secret makes this dessert truly shine.
Follow these quick tips for success every time.
- Always use very cold heavy cream. Cold cream whips up higher for a lighter filling.
- Do not skip the overnight chill if possible. Time equals flavor development here.
- When dipping crackers, think quick flick, not a long bath. Soggy crackers ruin the structure.
- If your cream cheese is too cold, it will lump up. Make sure it’s truly softened.
These small checks prevent common icebox cake issues.
Your final layers will be firm and creamy.
Serving Suggestions for Your Holiday Centerpiece
This rich, spiced dessert deserves a great partner.
What goes best with that deep gingerbread flavor?
I have a couple of favorite pairings.
- A simple tart cranberry sauce cuts the sweetness nicely. The tartness balances the creamy filling.
- Try serving a small scoop of vanilla bean ice cream alongside it. The cold contrast is lovely.
- A drizzle of salted caramel sauce is pure indulgence. It adds another layer of holiday depth.
Keep the sides simple. The cake is the star!
It’s a showstopper on its own, really.
Storing and Reheating Your No-Bake Gingerbread Icebox Cake
This dessert is made to be made ahead.
Storing your creation is very simple.
Keep the cake tightly covered in the fridge.
It stays fresh and delicious for about three days.
The texture actually improves the second day.
The crackers soften perfectly into cake layers.
You never need to reheat this dessert.
It is meant to be served cold, straight from the chill.
Serving it chilled keeps the filling firm.
If it sits out too long, the cream softens.
Bring it out ten minutes before slicing.
This makes cutting those clean slices easier.
Frequently Asked Questions About This Easy Christmas Dessert
We get so many great questions about this Holiday Cake.
It’s always exciting to see your enthusiasm!
Here are some common things readers ask me.
I hope these clear things up for your baking.
Can I make the No-Bake Gingerbread Icebox Cake ahead of time?
Yes, please do make it ahead!
This Cream Cheese Dessert truly benefits from time.
I strongly suggest making it the day before serving.
Six hours is the absolute minimum chilling time.
Overnight chilling lets the layers meld perfectly.
It tastes even better the next day, honestly.
What happens if I soak the crackers too long?
Oh, don’t let that happen, please!
If you soak crackers too long, they turn mushy.
We want them soft, not soupy or falling apart.
A quick dip is all the moisture they need.
They absorb the cream filling as they chill.
Think of it as a very light baptism in liquid.
Can I use a different type of cookie instead of graham crackers?
You absolutely can switch up the base!
Graham crackers work because they absorb moisture well.
Vanilla wafers are a wonderful substitute option.
If you pick a very firm, crisp cookie, it needs more dipping time.
Avoid cookies that crumble too easily before chilling.
Sturdy cookies give you a better final slice structure.
A Note on Nutrition for Your No-Bake Gingerbread Icebox Cake
We focus on joy and flavor here, not strict counting.
Cooking should feel freeing, remember?
We share this recipe because it tastes amazing.
It’s a wonderful treat for the holidays.
Please know that exact nutrition facts vary.
This depends on the brands you select.
Ingredient amounts also play a role.
The numbers shared are just general estimates.
We do not provide precise nutritional data.
Use this recipe for connection, not calculation.
Share Your Culinary Performance
We poured our hearts into this recipe for you.
Now it is your turn to shine brightly!
Did you make this No-Bake Gingerbread Icebox Cake?
We love hearing about your kitchen shows.
Leave a rating and share your thoughts below.
Tell us how you added your own spark!
Print
Amazing No-Bake Gingerbread Icebox Cake: 6 Hour Joy
- Total Time: 6 hours 20 minutes
- Yield: 8 servings 1x
- Diet: Vegetarian
Description
Make an easy, festive No-Bake Gingerbread Icebox Cake for a wonderful Christmas dessert. This recipe brings holiday cheer without turning on the oven. It is simple to put together and tastes amazing.
Ingredients
- 1 package (8 ounces) cream cheese, softened
- 1 cup powdered sugar
- 1 teaspoon vanilla extract
- 1 cup heavy whipping cream, cold
- 1 package (about 10 ounces) graham crackers or vanilla wafers
- 1 cup gingerbread cookie crumbs (about 6–8 cookies, crushed)
- 1/2 cup whipped topping (optional, for topping)
Instructions
- Beat the softened cream cheese, powdered sugar, and vanilla extract together until smooth. You want this mixture creamy.
- In a separate bowl, whip the cold heavy cream until stiff peaks form.
- Gently fold the whipped cream into the cream cheese mixture until just combined. Do not overmix.
- Dip each graham cracker or wafer quickly into a shallow bowl of water or milk, just enough to moisten but not soak.
- Arrange a single layer of moistened crackers in the bottom of an 8×8 inch pan.
- Spread about one-third of the cream mixture evenly over the crackers.
- Sprinkle lightly with gingerbread cookie crumbs.
- Repeat the layering process two more times: crackers, cream mixture, crumbs.
- Finish with a final layer of cream mixture and a generous sprinkle of the remaining gingerbread crumbs on top.
- Cover the pan tightly with plastic wrap.
- Refrigerate for at least 6 hours, or preferably overnight, to allow the cake to set and the cookies to soften.
- Before serving, top with whipped topping if you wish. Slice and serve your delicious creation.
Notes
- You can use store-bought gingerbread cookies for easy crumbling.
- If you want a stronger spice flavor, add 1/4 teaspoon of ground ginger to the cream cheese mixture.
- For a taller cake, use a smaller pan like a loaf pan.
- This cake is best made ahead of time to let the flavors meld.
- Prep Time: 20 minutes
- Cook Time: 0 minutes
- Category: Dessert
- Method: No-Bake
- Cuisine: American
Nutrition
- Serving Size: 1 slice
- Calories: Approx. 320
- Sugar: Approx. 25g
- Sodium: Approx. 180mg
- Fat: Approx. 18g
- Saturated Fat: Approx. 10g
- Unsaturated Fat: N/A
- Trans Fat: N/A
- Carbohydrates: Approx. 38g
- Fiber: Approx. 1g
- Protein: Approx. 4g
- Cholesterol: Approx. 45mg