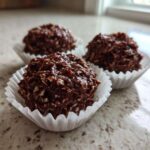
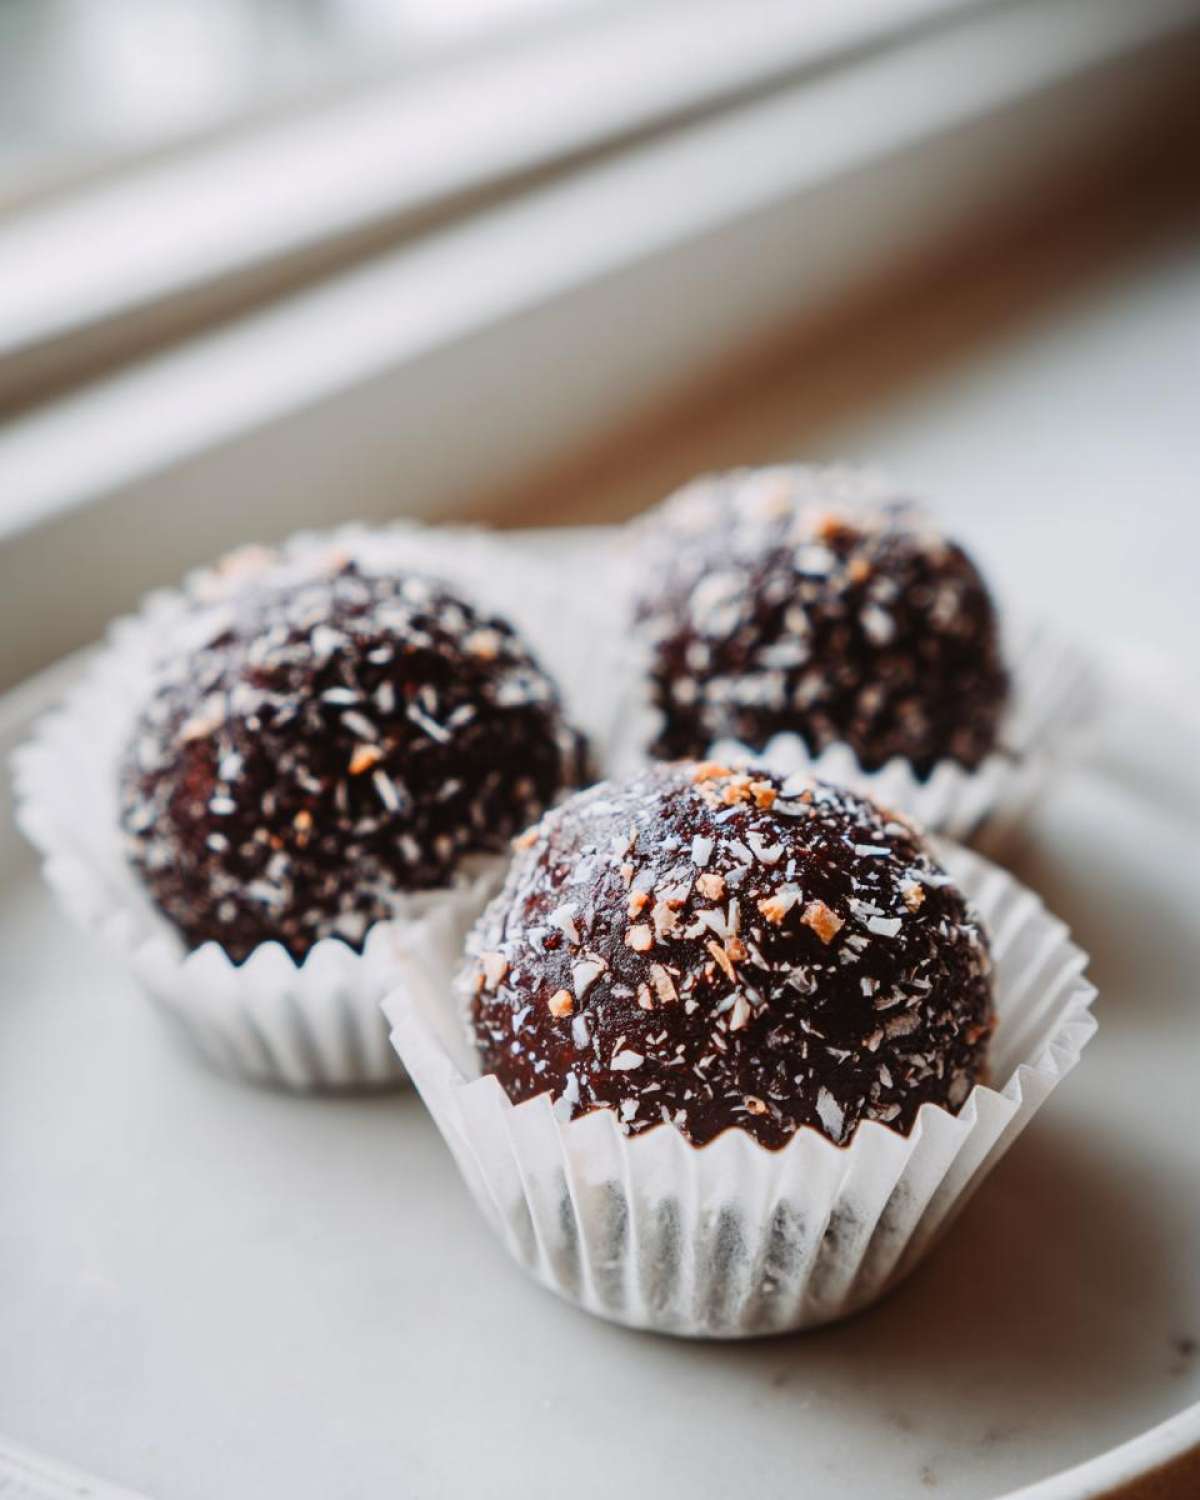
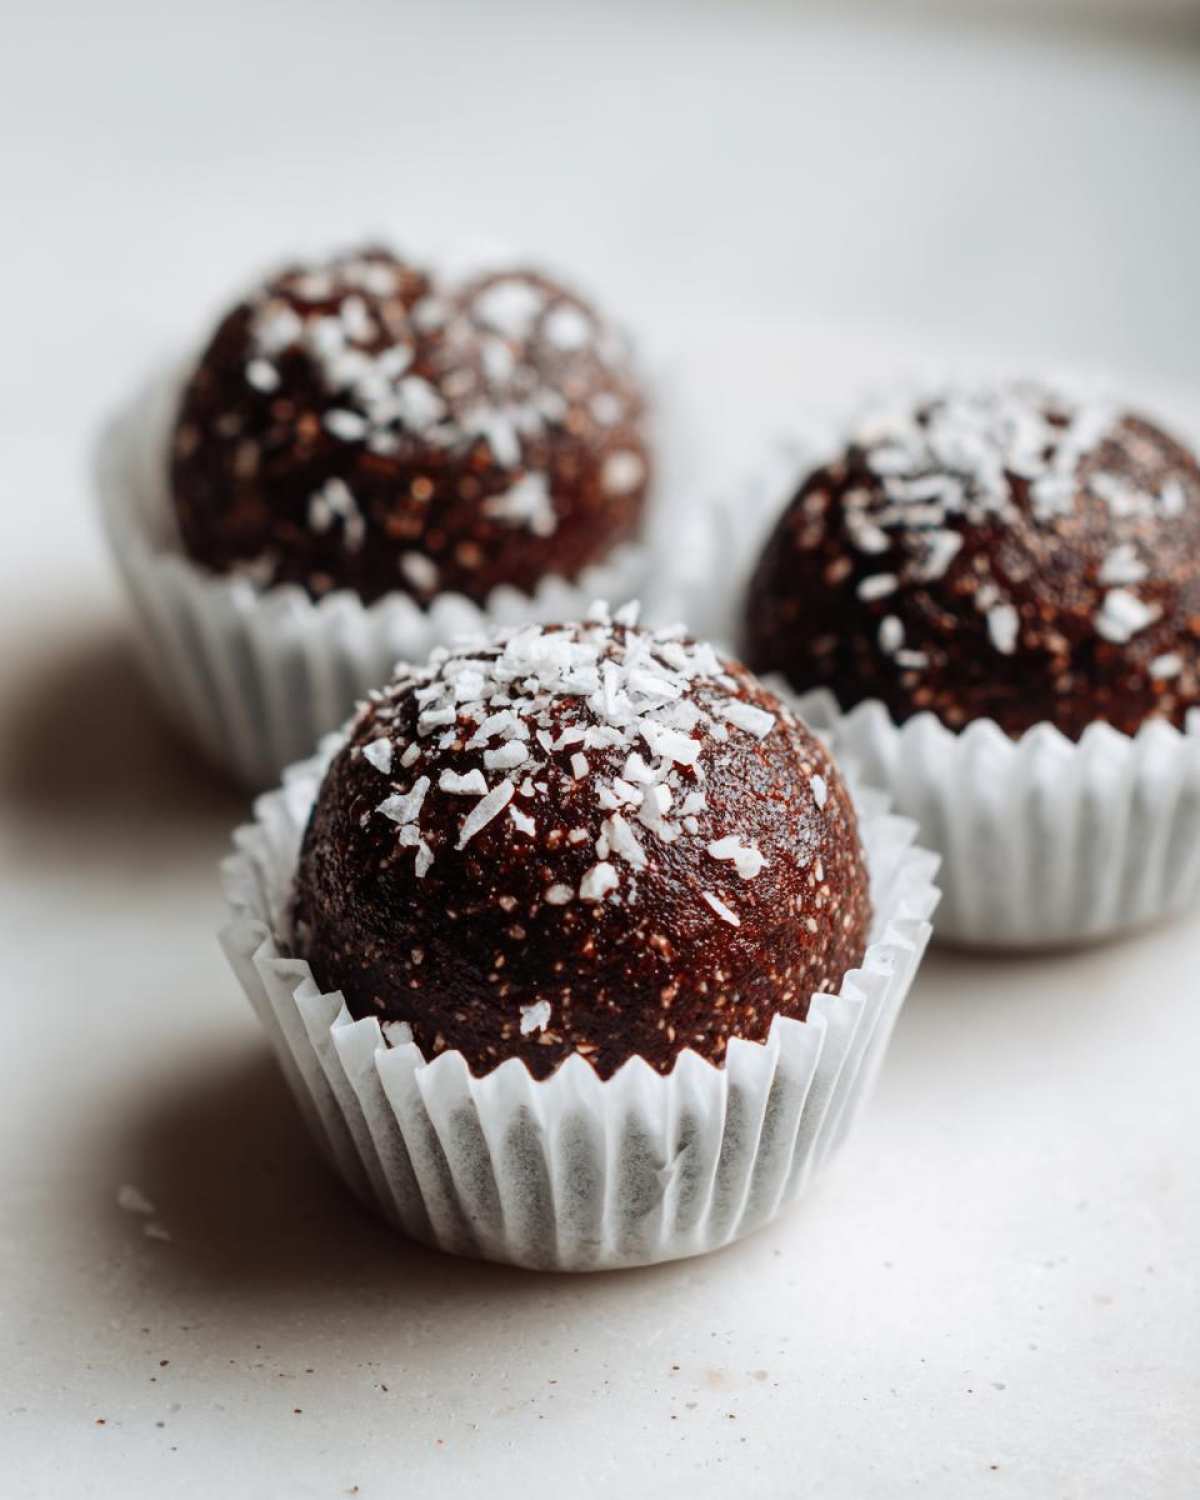
Oh my gosh, you absolutely need these in your life right now! I swear, sometimes I get hit with that mid-afternoon energy crash, or I’m rushing out the door after a workout, and I just *need* something delicious and good for me—fast. That’s why I rely on my stash of No-Bake Chocolate Coconut Protein Cups. Seriously, zero oven time means zero excuses! These little powerhouses hit the spot every single time. They’re dense, they taste like a decadent fudge treat, and they are the ultimate life-saver for busy people trying to keep their macros on point. I keep a giant batch in the freezer at all times. You’re going to love how ridiculously quick these come together!
Why You Need These No-Bake Chocolate Coconut Protein Cups
Honestly, what’s not to love? These are the ultimate easy no bake protein treats. If you’re trying to eat healthier but hate standing over a hot stove, these are your new best friends. They solve every problem: they’re fast, portable, and they taste way better than anything you’d buy pre-packaged.
- No Oven Required: Seriously, just mix and chill!
- Perfectly Portioned: Keep your mindless snacking under control with these bite-sized cups.
- Maximum Protein Punch: Great for fueling your workouts or skipping that afternoon sugar craving.
- They Taste Like Dessert! Check out how simple the cleanup is when you make energy bites too!
Essential Ingredients for Perfect No-Bake Chocolate Coconut Protein Cups
Okay, the best part about these cups is that you probably have most of this stuff in your pantry already! We are working with simple basics here, which is why they’re my go-to quick pantry staple protein treats. Don’t stress about fancy equipment; a bowl and a spatula are pretty much all you need.
- 1 cup vanilla or unflavored protein powder (this is the base!)
- 1/2 cup unsweetened shredded coconut
- 1/4 cup unsweetened cocoa powder
- 1/4 cup natural peanut butter or almond butter
- 2 tablespoons maple syrup or honey (I usually skip this unless my protein powder is super bland!)
- 2 tablespoons coconut oil, melted (Must be melted!)
- 2-4 tablespoons water or unsweetened almond milk (The liquid you use to bring it all together.)
Ingredient Notes and Substitutions for Your No-Bake Chocolate Coconut Protein Cups
Now, let’s talk tweaks. If you need these to be strictly vegan, just make sure you swap the honey for maple syrup—easy peasy! Also, the protein powder is key here. I usually grab vanilla whey, but if you use a plant-based powder, you might notice it sucks up a little more liquid. Keep those 2-4 tablespoons of milk handy!
If you want to boost that tropical vibe, you can totally use coconut extract instead of one tablespoon of the liquid. It makes these healthy chocolate coconut bites sing! Remember, the nut butter you choose will slightly change the macro count, but any creamy nut or seed butter works in a pinch.
Step-by-Step Instructions for Making No-Bake Chocolate Coconut Protein Cups
This is where the magic happens, and trust me, it barely counts as cooking! We’re aiming for a thick, pliable mixture similar to cookie dough. First things first: get your mini muffin tin ready! Line it with those little paper liners—it saves your sanity later on, I promise. If you don’t have liners, just give the cups a good spritz of cooking spray.
In a medium bowl, we mix the dry stuff: protein powder, coconut, and cocoa. Make sure those powders are fully blended before adding anything wet. Next, plop in the peanut butter, your melted coconut oil, and that tiny drizzle of maple syrup if you’re using it. Stir that messy pile together until it looks like coarse crumbs. Now, listen closely for the most important part!
You’re going to add your water or almond milk just one tablespoon at a time. We want this mixture to stick together when you squeeze it, not turn into a puddle. Stop as soon as it holds its shape! Scoop the dough evenly into those prepared cups and press it down hard with the back of a spoon or your fingers. Compact them tight! Slide the whole tray into the freezer for a solid 30 minutes. That chilling time sets them up perfectly. You can check out how I make no-bake oat bars—the chilling step is just as important there!
Tips for Success When Making No-Bake Chocolate Coconut Protein Cups
I mentioned this before, but texture control is everything with these low effort high protein desserts. The biggest issue people run into is the liquid! If you dump in too much water or milk at once, you end up with soup instead of dough, and then they take forever to set up right! Remember: add your liquid in tiny increments—one tablespoon, mix, check. You want a thick dough that leaves your fingers slightly tacky, not sticky.
When you scoop them into the muffin tin, really pack them down. Pressing firmly is key to getting that dense, almost truffle-like feel when they chill. If you leave them airy, they tend to crumble when you pull them out. Also, don’t be afraid to mix up your protein flavor! I tried a chocolate peanut butter powder the other day, and they were amazing, though I had to use a touch less cocoa powder to balance it out. If you need more ideas for boosting your protein intake in a way that’s easy for meal prep, check out my guide on Greek yogurt oats!
Variations: Customizing Your No-Bake Chocolate Coconut Protein Cups
While these are already perfect as they are—a solid base for any make ahead fitness snack—I always encourage people to play around! Customizing them is half the fun, especially when you’re trying to hit specific fitness goals or just shake up the flavor profile.
You can totally switch up the nut butter. I’ve used sunflower seed butter instead of peanut butter, which gives them a nice, slightly saltier edge. If you’re looking for more healthy fats, toss in a quarter cup of finely chopped walnuts or pecans when you’re mixing everything up. They add a fantastic little crunch!
For the chocolate lovers out there, you can’t go wrong with adding mini dark chocolate chips. I fold those in right at the end before pressing them into the liners. It makes them a truly guilt-free treat that feels like cheating! If you’re interested in other low-carb tweaks, you might want to see how I play with fats in my Avocado Smoothie recipe for a different vibe.
Storage and Make-Ahead Tips for Your No-Bake Chocolate Coconut Protein Cups
Since these cups are so perfect for meal prepping, storage is a big deal! I always make sure mine are completely set in the freezer—that usually takes about 30 minutes. Once they are firm, you can move them into an airtight container. They last beautifully in the refrigerator for about a week if you’re eating them fast.
But honestly, for long-term stashing, go straight to the freezer! They store flawlessly in the freezer for up to two months. When you need a snack, just pull out two or three cups. They thaw really fast, especially if you leave them on the counter for five minutes. This makes them the perfect grab-and-go option for my crazy work week. For other great ideas on making food ahead of time, you should peep my tips on breakfast burritos!
Serving Suggestions for These Healthy Chocolate Coconut Bites
So, you’ve got your batch of no bake protein cups ready. Great job! While they are amazing straight out of the freezer as your quick pre-workout hit, these chocolate coconut bites shine when paired with something warm. I love having one or two alongside my morning coffee—they make the perfect addition to that caffeine boost!
They work just as well at the end of the day. If you’re looking for something truly satisfying but light, these absolutely count as a guilt free chocolate protein snack dessert. They’re so rich and fudgy! Seriously, try one popped into a blender with a splash of milk for an instant chocolatey protein shake—check out my protein coffee smoothie recipe for more shake fun!
Frequently Asked Questions About No-Bake Chocolate Coconut Protein Cups
I get so many questions about these cups because they are just so easy! People want to know how versatile they are, especially when they are looking for the perfect quick homemade protein snacks to fit their diet. Let me clear up a few things I hear all the time!
Can I make these No-Bake Chocolate Coconut Protein Cups Keto Friendly?
Yes, you absolutely can switch these up if you’re watching carbs! Since this recipe calls for maple syrup or honey, to make them truly keto-friendly, you’ll want to skip those sweeteners. Instead, use a granulated monk fruit blend or liquid stevia drops until they taste sweet enough for you. Be careful, though, because liquid zero-calorie sweeteners sometimes don’t bind as well as honey, so you might need slightly less milk or add a tiny bit more protein powder to keep that dough firm.
What is the best protein powder to use for these quick homemade protein snacks?
Honestly, whatever you like best will work! I usually default to vanilla whey because it mixes really smoothly. If you use a plant-based or casein powder, you might find they absorb liquid faster. If your mixture looks too crumbly or dry right away—which can happen with certain vegan powders—just slowly add that extra tablespoon of almond milk until it clumps up nicely. You want that perfect dough consistency so they hold their shape.
If you are curious about other ways to keep your desserts low-carb, you might want to check out my recipe for my keto chocolate mug cake—it’s another totally oven-free winner!
Nutritional Information Estimate for No-Bake Chocolate Coconut Protein Cups
I always like to share the numbers because that’s half the reason we make these, right? Getting that big dose of protein without all the added junk is why these no bake protein cups are a staple in my kitchen. I pulled the estimates below based on the recipe using vanilla whey protein and almond butter, since those are my usual go-tos for this batch.
Keep in mind, these numbers are just an estimate—your brand of protein powder, the specific nut butter you use, or whether you add maple syrup can change things quite a bit! For the absolute most precise details about how my recipes are calculated, make sure you check out my full disclaimer page.
- Serving Size: 1 cup
- Calories: 130
- Protein: 12g
- Fat: 7g (Including 3g Saturated Fat)
- Carbohydrates: 10g
- Sugar: 4g
- Fiber: 2g
See? Twelve grams of protein in a tiny, chocolatey bite! That’s the kind of quick satisfaction I’m talking about when I say these are perfect make ahead fitness snacks. Enjoy!
Print
No-Bake Chocolate Coconut Protein Cups
- Total Time: 40 min
- Yield: 12 cups 1x
- Diet: Vegetarian
Description
Make simple, high-protein snack cups using chocolate and coconut that require no oven time.
Ingredients
- 1 cup vanilla or unflavored protein powder
- 1/2 cup unsweetened shredded coconut
- 1/4 cup unsweetened cocoa powder
- 1/4 cup natural peanut butter or almond butter
- 2 tablespoons maple syrup or honey (optional, for sweetness)
- 2 tablespoons coconut oil, melted
- 2–4 tablespoons water or unsweetened almond milk
Instructions
- Line a mini muffin tin with paper liners or lightly grease the cups.
- In a medium bowl, combine the protein powder, shredded coconut, and cocoa powder. Mix well.
- Add the peanut butter, melted coconut oil, and maple syrup (if using) to the dry ingredients.
- Mix everything together using a spatula until a thick, crumbly dough forms.
- Add the water or almond milk one tablespoon at a time, mixing until the dough holds together when pressed. Do not over-moisten.
- Scoop the mixture evenly into the prepared muffin cups, pressing down firmly to compact the mixture.
- Place the tin in the freezer for at least 30 minutes to set completely.
- Store the finished cups in an airtight container in the refrigerator or freezer.
Notes
- For a vegan option, use maple syrup instead of honey and ensure your protein powder is plant-based.
- If you prefer a stronger coconut flavor, substitute 1 teaspoon of coconut extract for 1 tablespoon of the liquid.
- If the mixture is too dry, add liquid slowly; if it is too wet, add 1 tablespoon more protein powder.
- Prep Time: 10 min
- Cook Time: 0 min
- Category: Snack
- Method: No-Bake
- Cuisine: American
Nutrition
- Serving Size: 1 cup
- Calories: 130
- Sugar: 4
- Sodium: 45
- Fat: 7
- Saturated Fat: 3
- Unsaturated Fat: 4
- Trans Fat: 0
- Carbohydrates: 10
- Fiber: 2
- Protein: 12
- Cholesterol: 5