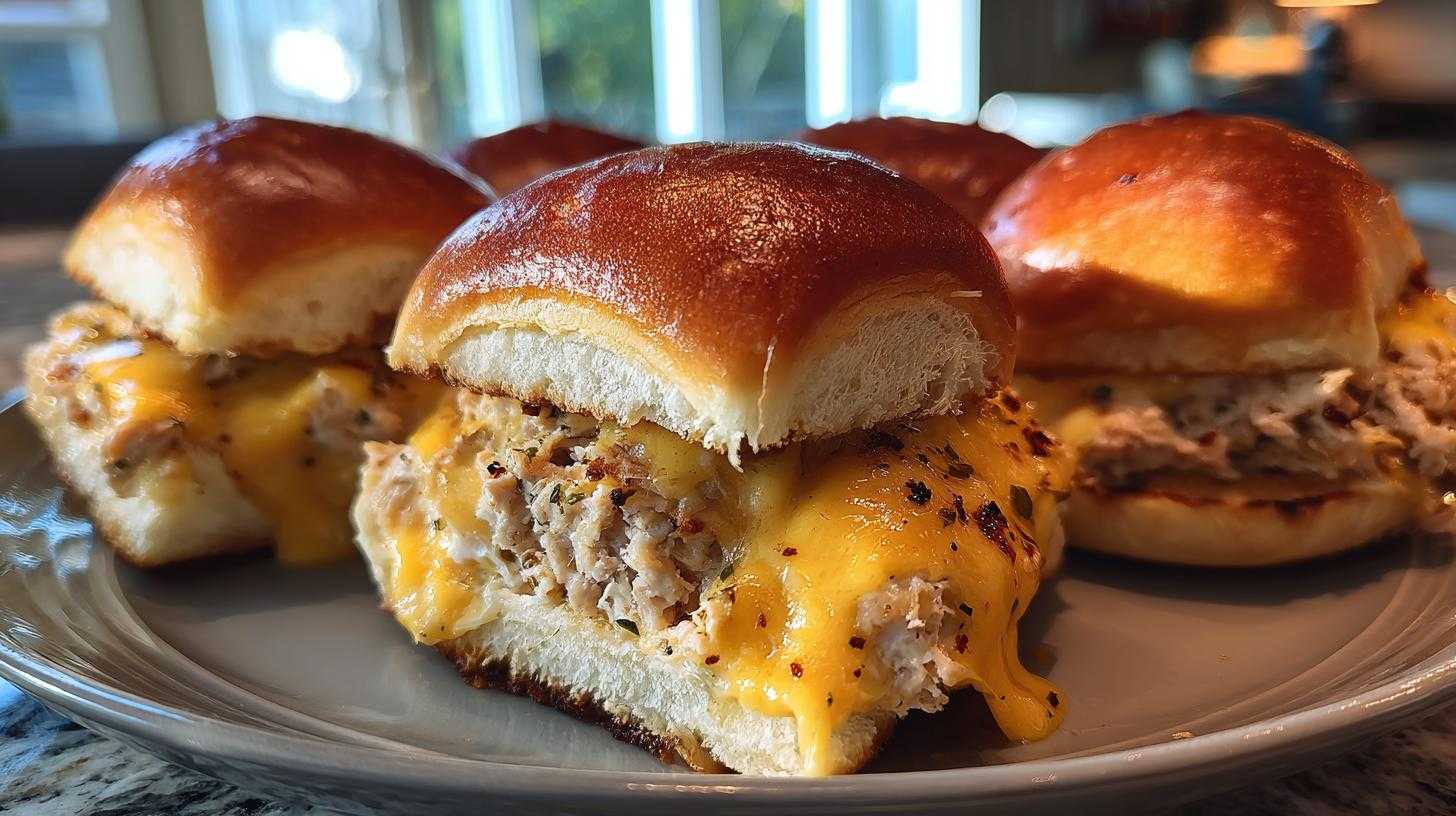
Okay, busy parents, let’s talk about a mealtime winner that actually gets eaten! Finding recipes that are quick, easy, and truly kid-approved can feel like searching for a unicorn sometimes, right? I’ve been there. Between school pickups, homework help, and just trying to keep the house from becoming a total disaster zone, cooking needs to be simple. That’s where these Kid-Friendly Tuna Melt Sliders come in. They’ve become a total lifesaver in my house.
Seriously, these little guys are magic. They take hardly any time to whip up, use ingredients you probably already have on hand, and my two chief taste-testers, Leo and Mia, devour them. It’s one of those rare meals where everyone is happy, and I don’t have to negotiate bites or hide veggies (though you totally could!). I remember the first time I made them, I was bracing myself for the usual “I don’t like it!” chorus, but instead, I got happy munching and requests for more. It was a beautiful moment!
These sliders are perfect for a speedy lunch on a Saturday or even a super laid-back dinner on a busy weeknight. They hit all the right notes – warm, cheesy, and just the right size for little hands. Trust me on this one, this Kid-Friendly Tuna Melt Sliders recipe is about to become a regular in your rotation.
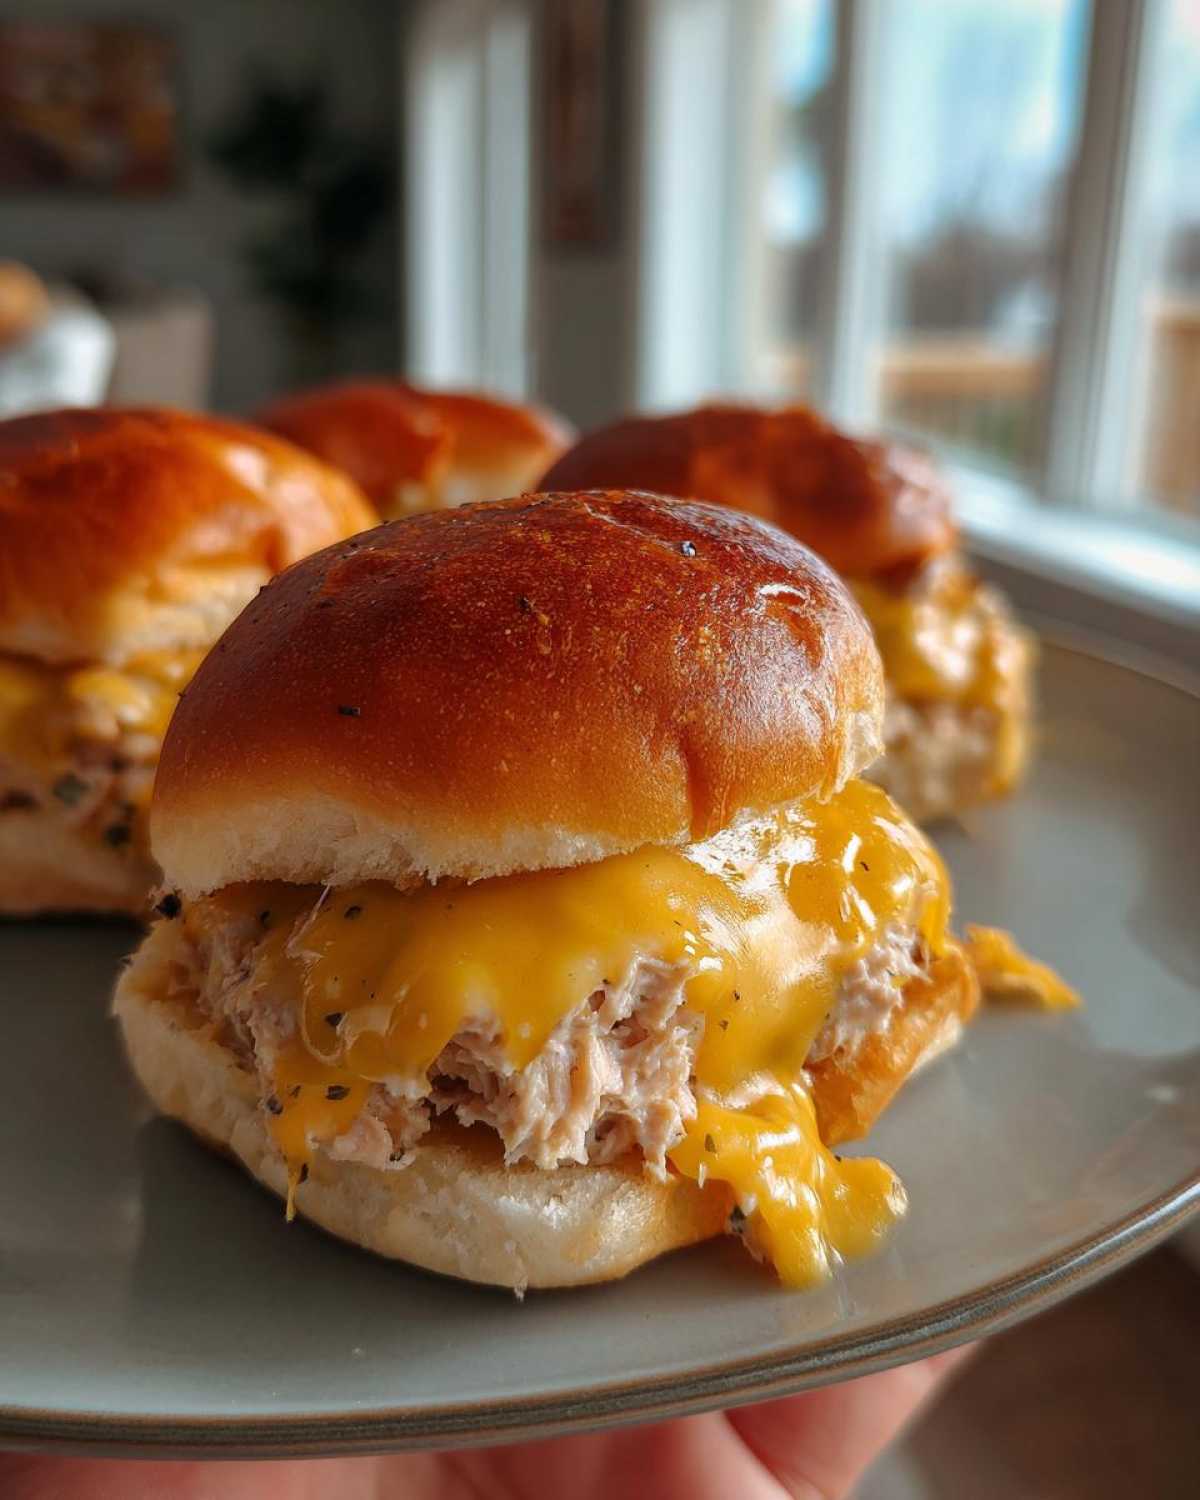
Why You’ll Love These Kid-Friendly Tuna Melt Sliders
As a parent, I know you need recipes that work hard for you. These tuna melt sliders are seriously amazing for so many reasons. They tick all the boxes for an easy, stress-free meal.
- They are super quick to make, saving you precious time.
- You only need a few simple ingredients you likely have.
- Kids absolutely adore them – less mealtime battles!
- They are perfect for small hands to hold and eat.
- Clean up is a breeze.
They make feeding your family simple and enjoyable.
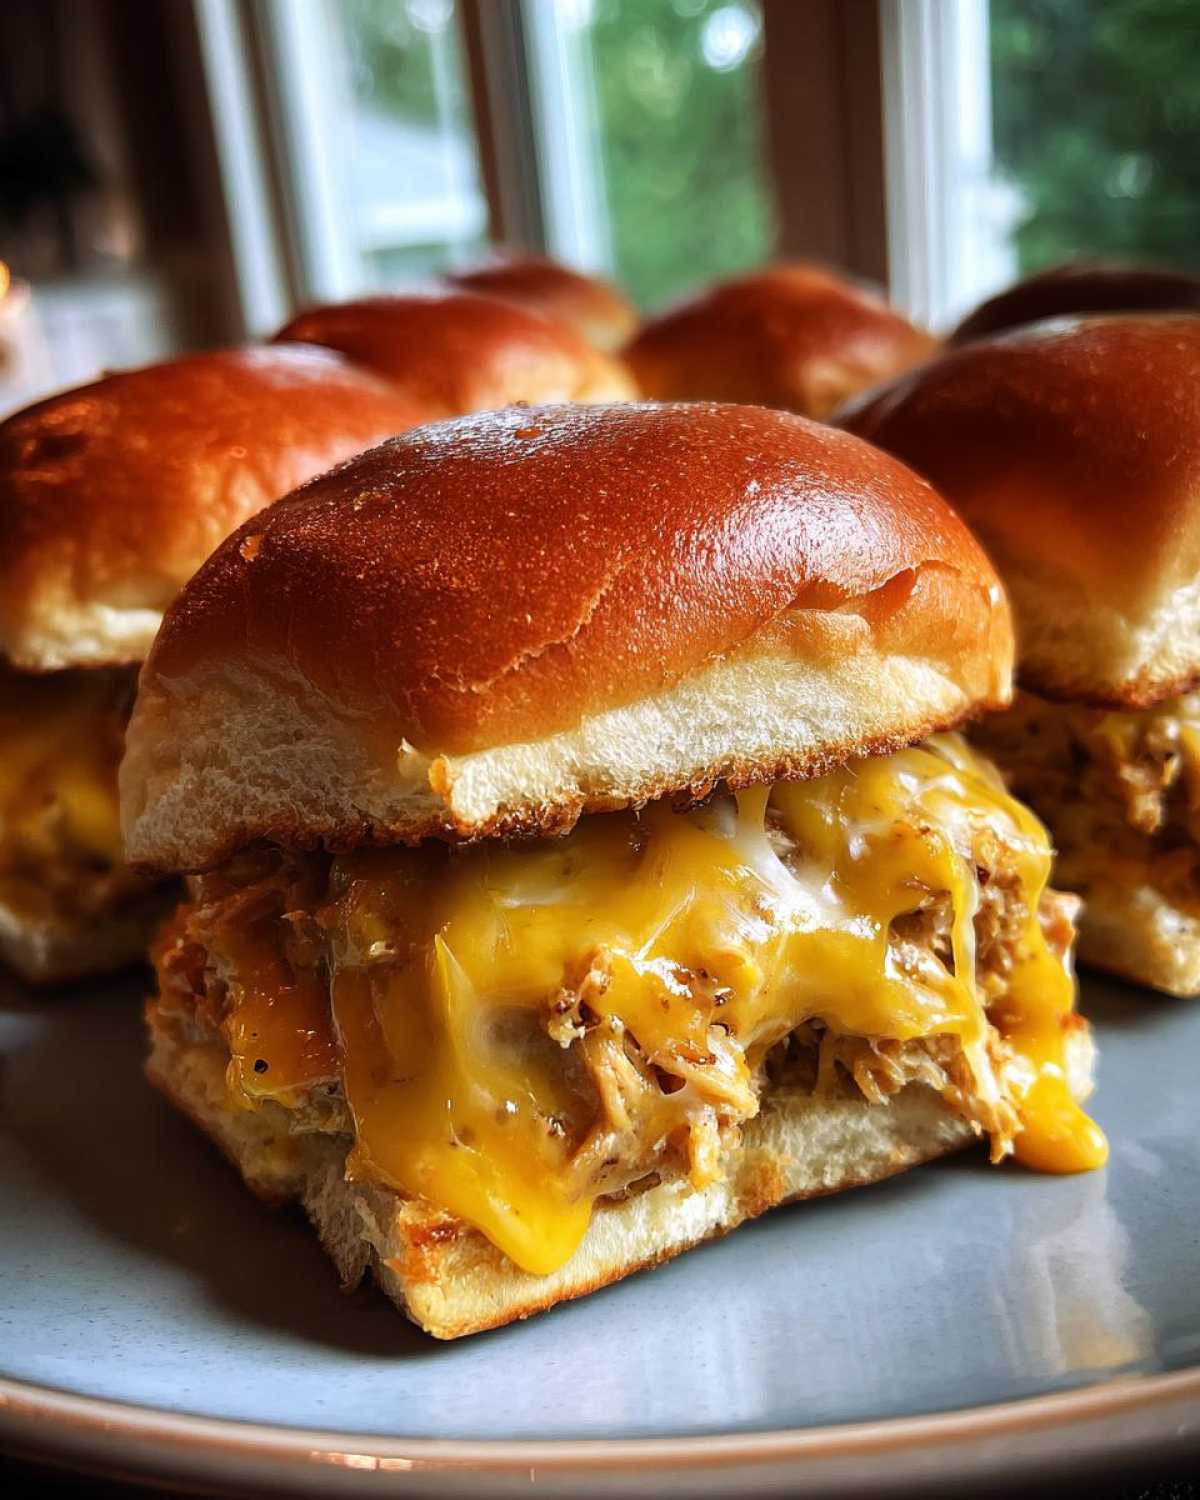
Ingredients for Kid-Friendly Tuna Melt Sliders
Gathering the stuff for these little sandwiches is a snap. You probably have most of it right now! Here’s what you’ll need to make these delicious kid-friendly tuna melt sliders:
- 12 slider rolls
- 2 (5 ounce) cans tuna in water, drained really well
- 1/4 cup mayonnaise
- 2 tablespoons finely chopped celery (totally optional!)
- 1/4 teaspoon black pepper
- 1/4 teaspoon garlic powder
- 6 slices cheddar cheese, halved
- Butter, for toasting
See? Simple ingredients for a simple, yummy meal!
Simple Steps to Make Kid-Friendly Tuna Melt Sliders
Making these kid-friendly tuna melt sliders is honestly so easy. You don’t need any fancy skills, just follow these steps and you’ll have happy eaters in no time. I love recipes like this because they feel foolproof, even on my most chaotic days. Let’s get cooking!
It all starts with a little bit of mixing and then into the oven they go. The whole process takes less than 25 minutes from start to finish. That’s faster than ordering takeout!
Get your oven ready and grab your ingredients. We’re about to make some seriously tasty sliders that your kids will ask for again and again. My kids always get excited when they see me pulling out the slider rolls.
Mixing the Tuna Filling for Your Kid-Friendly Tuna Melt Sliders
Okay, first things first, let’s get that yummy tuna filling ready. Grab a medium bowl. Open and drain those cans of tuna really well. This is important so your filling isn’t watery.
Add the drained tuna to the bowl. Now, scoop in the mayonnaise. If you’re using celery for a little crunch, chop it up super finely and add that too. Sprinkle in the black pepper and garlic powder. Give it all a good mix until everything is combined. It should look like classic tuna salad. Easy peasy!
Assembling and Baking the Kid-Friendly Tuna Melt Sliders
Time to put these little sandwiches together! Preheat your oven to 375°F. Slice all your slider rolls in half horizontally. I find a serrated knife works best for this.
Butter the cut sides of both the tops and bottoms of the rolls. Place the bottom halves in a baking dish or on a baking sheet. Now, spoon a good amount of the tuna mixture onto each bottom roll. Top each one with a half slice of cheddar cheese. Pop the top halves of the rolls back on.
Bake them for about 10 to 12 minutes. You’ll know they’re ready when the cheese is all melty and bubbly, and the rolls are lightly golden brown around the edges. Serve them warm right away!
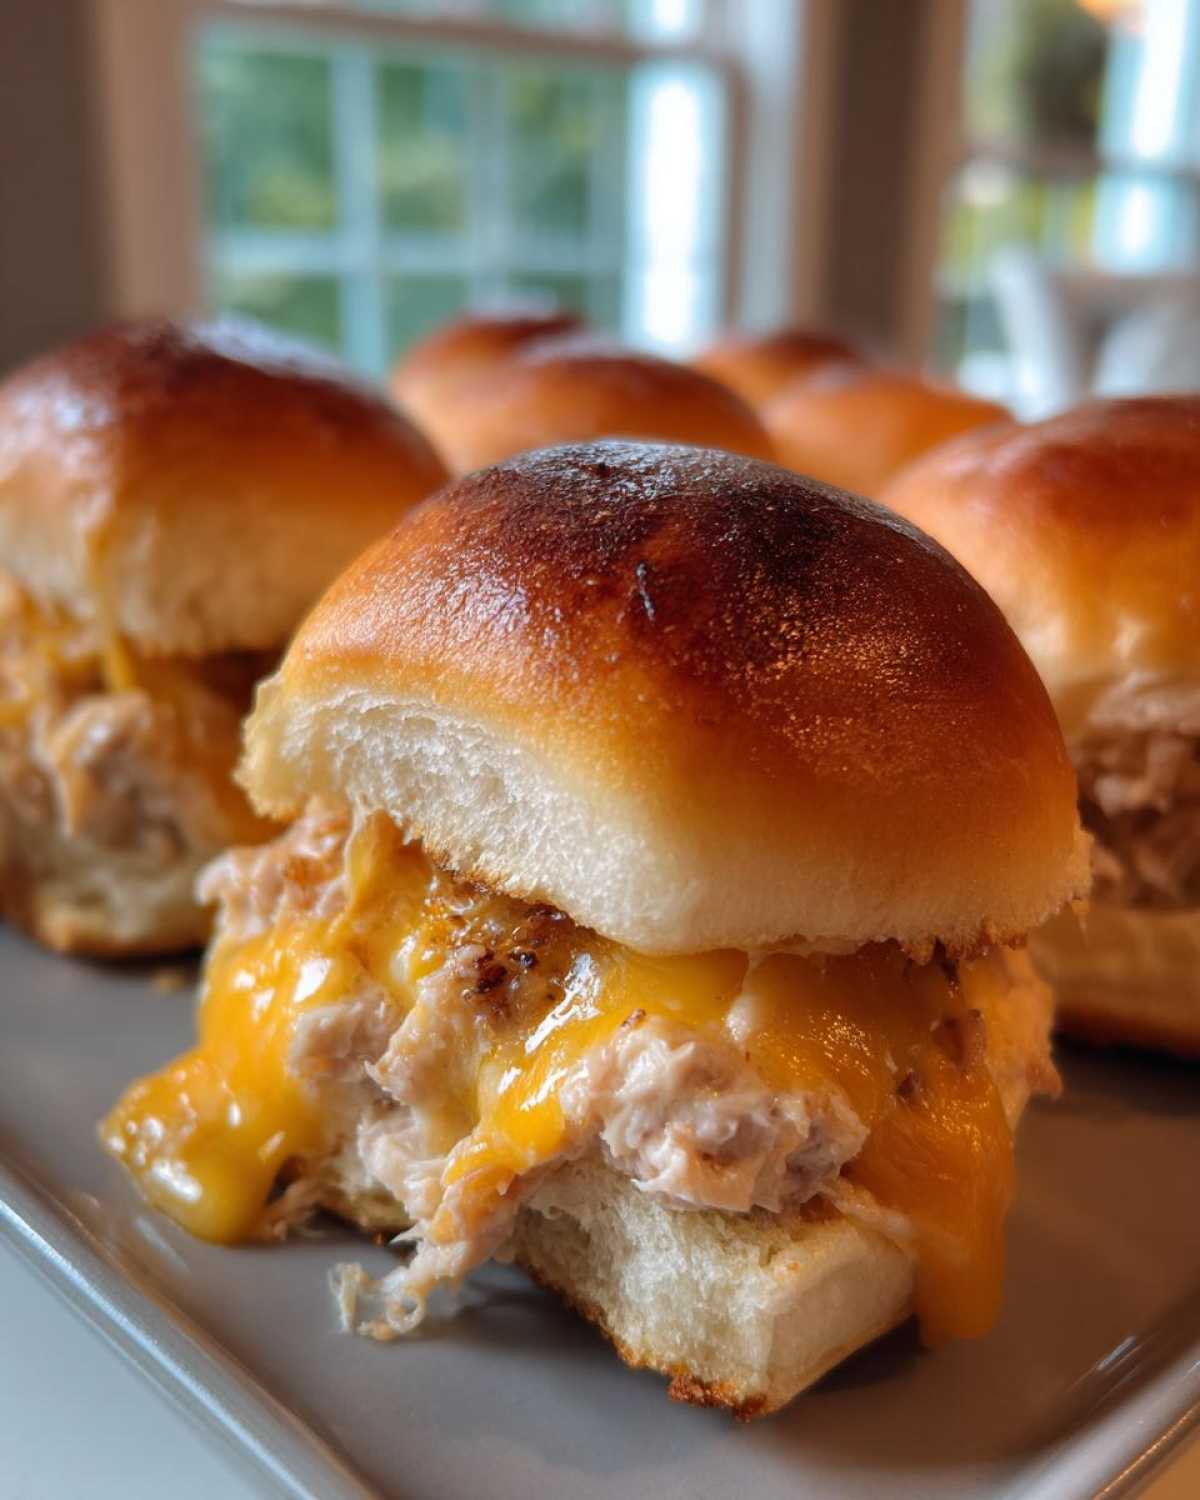
Tips for Perfect Kid-Friendly Tuna Melt Sliders
Over the years of making these kid-friendly tuna melt sliders, I’ve picked up a few little tricks. These tips help make sure they turn out great every time and keep everyone happy.
First, don’t be afraid to customize the filling. If your little ones aren’t fans of celery, just leave it out! Mia prefers hers without it. You could also add a tiny pinch of onion powder if your kids like that flavor.
For picky eaters, sometimes calling them “mini cheese sandwiches” instead of tuna melts helps. And cutting them in half again can make them seem less intimidating for really small kids.
If you don’t have slider rolls, hot dog or hamburger buns work too! Just adjust the amount of filling per bun.
Variations on Kid-Friendly Tuna Melt Sliders
One of the best things about these kid-friendly tuna melt sliders is how easy they are to change up! You can totally play around with the ingredients based on what your kids like or what you have in the fridge.
Try swapping the cheddar for a different cheese. Provolone gets super melty, or a mild Monterey Jack would be yummy. A little sprinkle of paprika on top before baking can add a nice color and hint of flavor, though I usually skip that for Leo and Mia.
Sometimes I’ll add a tiny bit of finely diced pickle to the tuna mix if I know they’re in the mood for something tangy. It’s fun to experiment and find your family’s favorite combo!
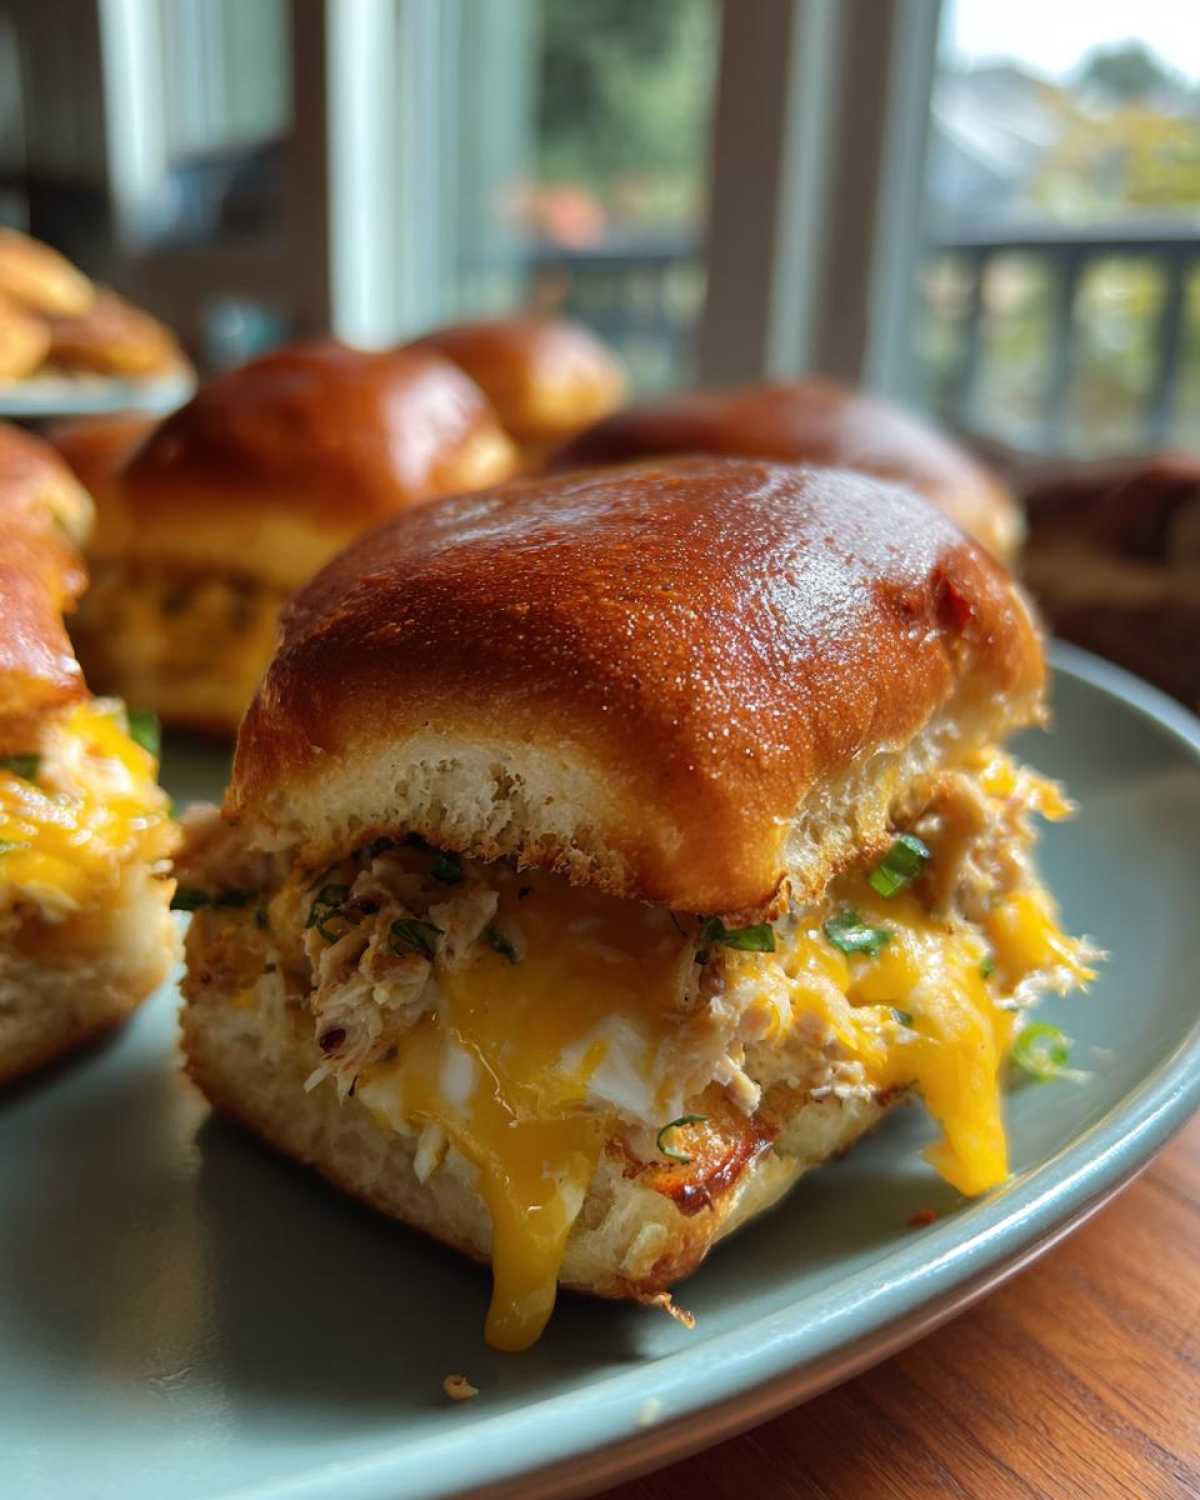
Frequently Asked Questions About Kid-Friendly Tuna Melt Sliders
I get lots of questions about these kid-friendly tuna melt sliders! Here are some of the common ones I hear from other parents:
Can I use different cheese? Absolutely! Cheddar is a favorite, but Swiss or provolone work too. Use whatever cheese your kids love best.
Can I make the tuna mixture ahead of time? Yes, you can mix the tuna filling a day in advance. Keep it covered in the fridge until you’re ready to assemble the sliders.
How should I store leftovers? Let them cool completely, then store any leftover kid-friendly tuna melt sliders in an airtight container in the refrigerator for up to 2 days. Reheat gently in the oven or a toaster oven.
Can I freeze these? I don’t recommend freezing them after baking. The texture of the rolls and filing changes a bit. They are best enjoyed fresh.
What if my child doesn’t like tuna? This recipe is specifically for tuna lovers! If tuna isn’t a hit, maybe try a chicken salad slider instead?
Estimated Nutrition for Kid-Friendly Tuna Melt Sliders
Just a quick note about the nutrition information provided for these kid-friendly tuna melt sliders. The values listed are estimates. They can change quite a bit depending on the exact brands of ingredients you use, like the mayonnaise or the type of bread rolls. Think of it as a helpful guide, not a strict rule!
Share Your Kid-Friendly Tuna Melt Sliders Success!
I really hope your family loves these kid-friendly tuna melt sliders as much as mine does! There’s nothing better than seeing happy little faces enjoying something you made.
If you give this recipe a try, please come back and leave a comment below! Let me know how they turned out and if your kids were fans. You can also rate the recipe here on the blog.
And if you snap a picture of your delicious sliders, I’d love to see it! Share it on social media and tag Child Recipe. Happy cooking!
Print
Amazing Kid-Friendly Tuna Melt Sliders Feast
- Total Time: 22 minutes
- Yield: 12 sliders 1x
- Diet: None
Description
Easy, kid-friendly tuna melt sliders perfect for a quick lunch or dinner. They’re simple to make and use readily available ingredients.
Ingredients
- 12 slider rolls
- 2 (5 ounce) cans tuna in water, drained
- 1/4 cup mayonnaise
- 2 tablespoons finely chopped celery (optional, for a little crunch!)
- 1/4 teaspoon black pepper
- 1/4 teaspoon garlic powder
- 6 slices cheddar cheese, halved
- Butter, for toasting
Instructions
- Preheat your oven to 375°F (190°C). Slice the slider rolls in half horizontally.
- In a medium bowl, combine the drained tuna, mayonnaise, chopped celery (if using), black pepper, and garlic powder. Mix until well combined.
- Butter the cut sides of the slider rolls. Place the bottom halves of the rolls in a baking dish or on a baking sheet.
- Spoon the tuna mixture onto the bottom halves of the rolls.
- Top each with a half slice of cheddar cheese.
- Place the top halves of the rolls on top.
- Bake for 10-12 minutes, or until the cheese is melted and bubbly and the rolls are lightly golden.
- Serve warm.
Notes
- You can customize the tuna mixture with other additions your kids like, like finely diced pickles or a pinch of onion powder.
- If your kids aren’t fans of celery, just leave it out!
- These are great for using up leftover hot dog or hamburger buns too – just adjust the recipe accordingly.
- Prep Time: 10 minutes
- Cook Time: 12 minutes
- Category: Sandwiches
- Method: Baked
- Cuisine: American
Nutrition
- Serving Size: 1 slider
- Calories: 180
- Sugar: 2g
- Sodium: 350mg
- Fat: 8g
- Saturated Fat: 3g
- Unsaturated Fat: 4g
- Trans Fat: 0g
- Carbohydrates: 18g
- Fiber: 1g
- Protein: 10g
- Cholesterol: 25mg