Oh, friend, let me tell you about my latest kitchen win! If you’re anything like me, you’re always on the hunt for snacks that are *actually* good for your kids but also feel like a special treat. Enter the wonderful world of Kid-Friendly Homemade Berry Gummies!
Making these gummies has become a little ritual in our house. I remember the first time I made them. Mia, my sweet but sometimes skeptical little girl, took one look at the jiggly shapes and her eyes lit up. Leo, ever the adventurer, popped one in his mouth and asked for ten more!
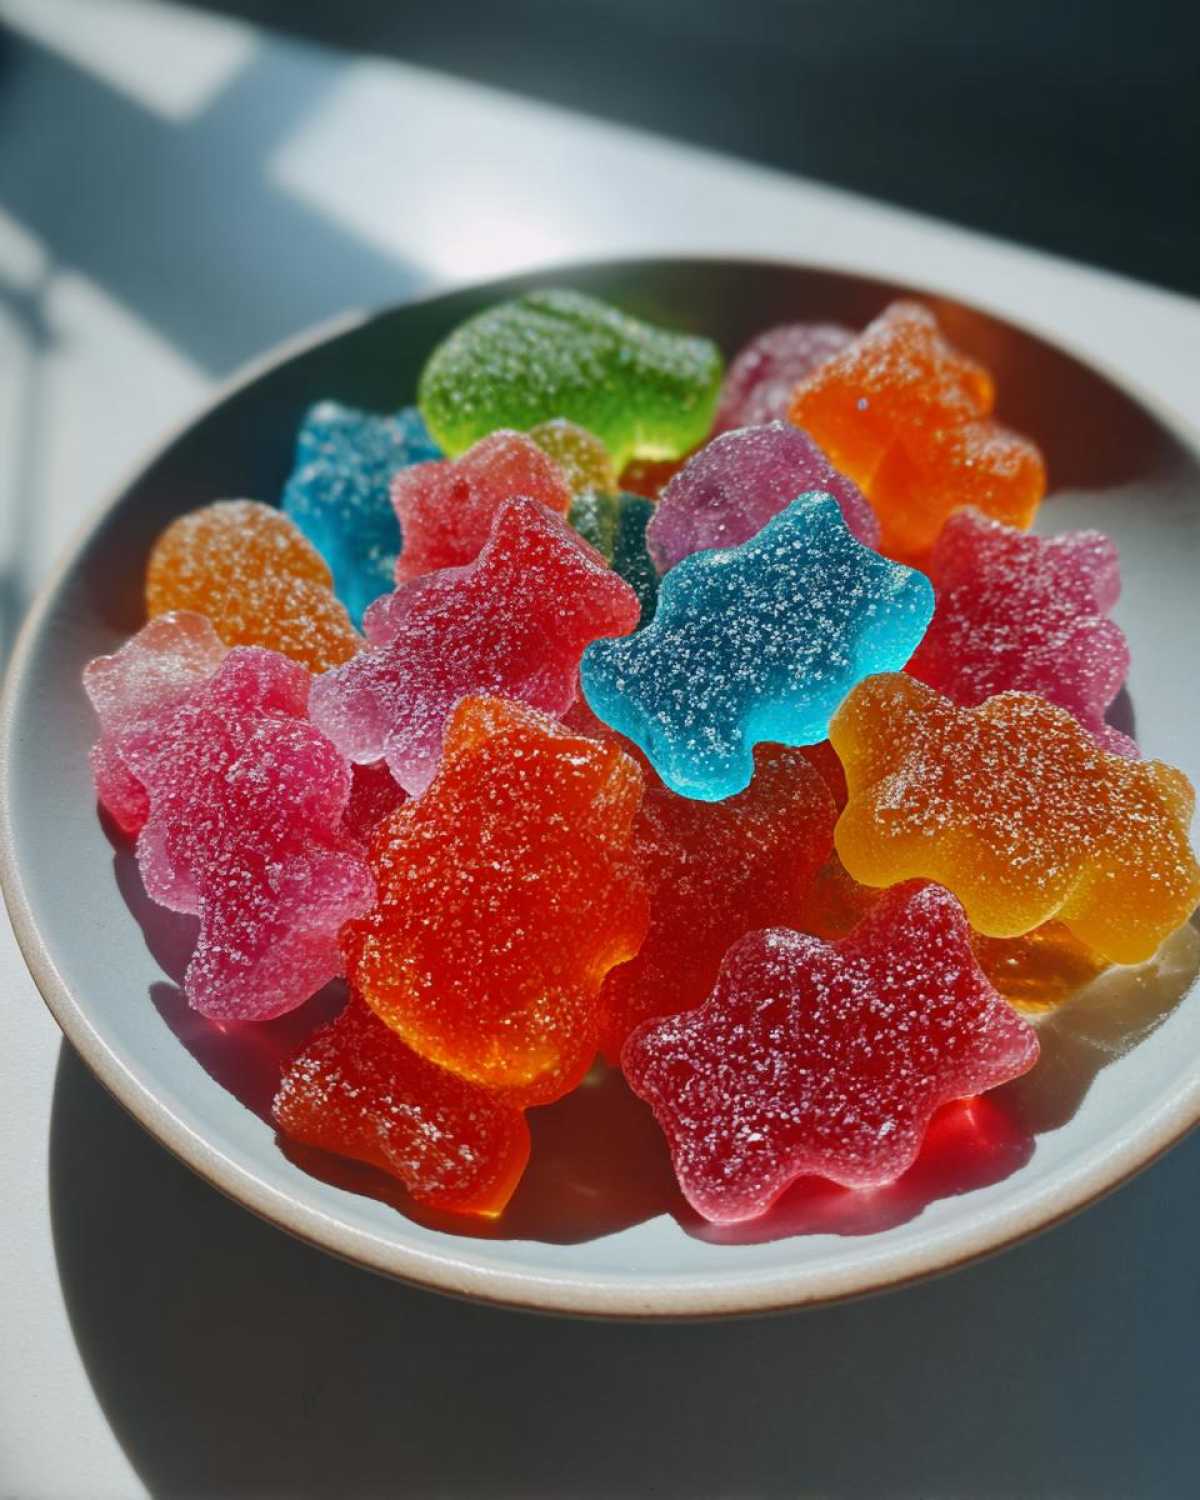
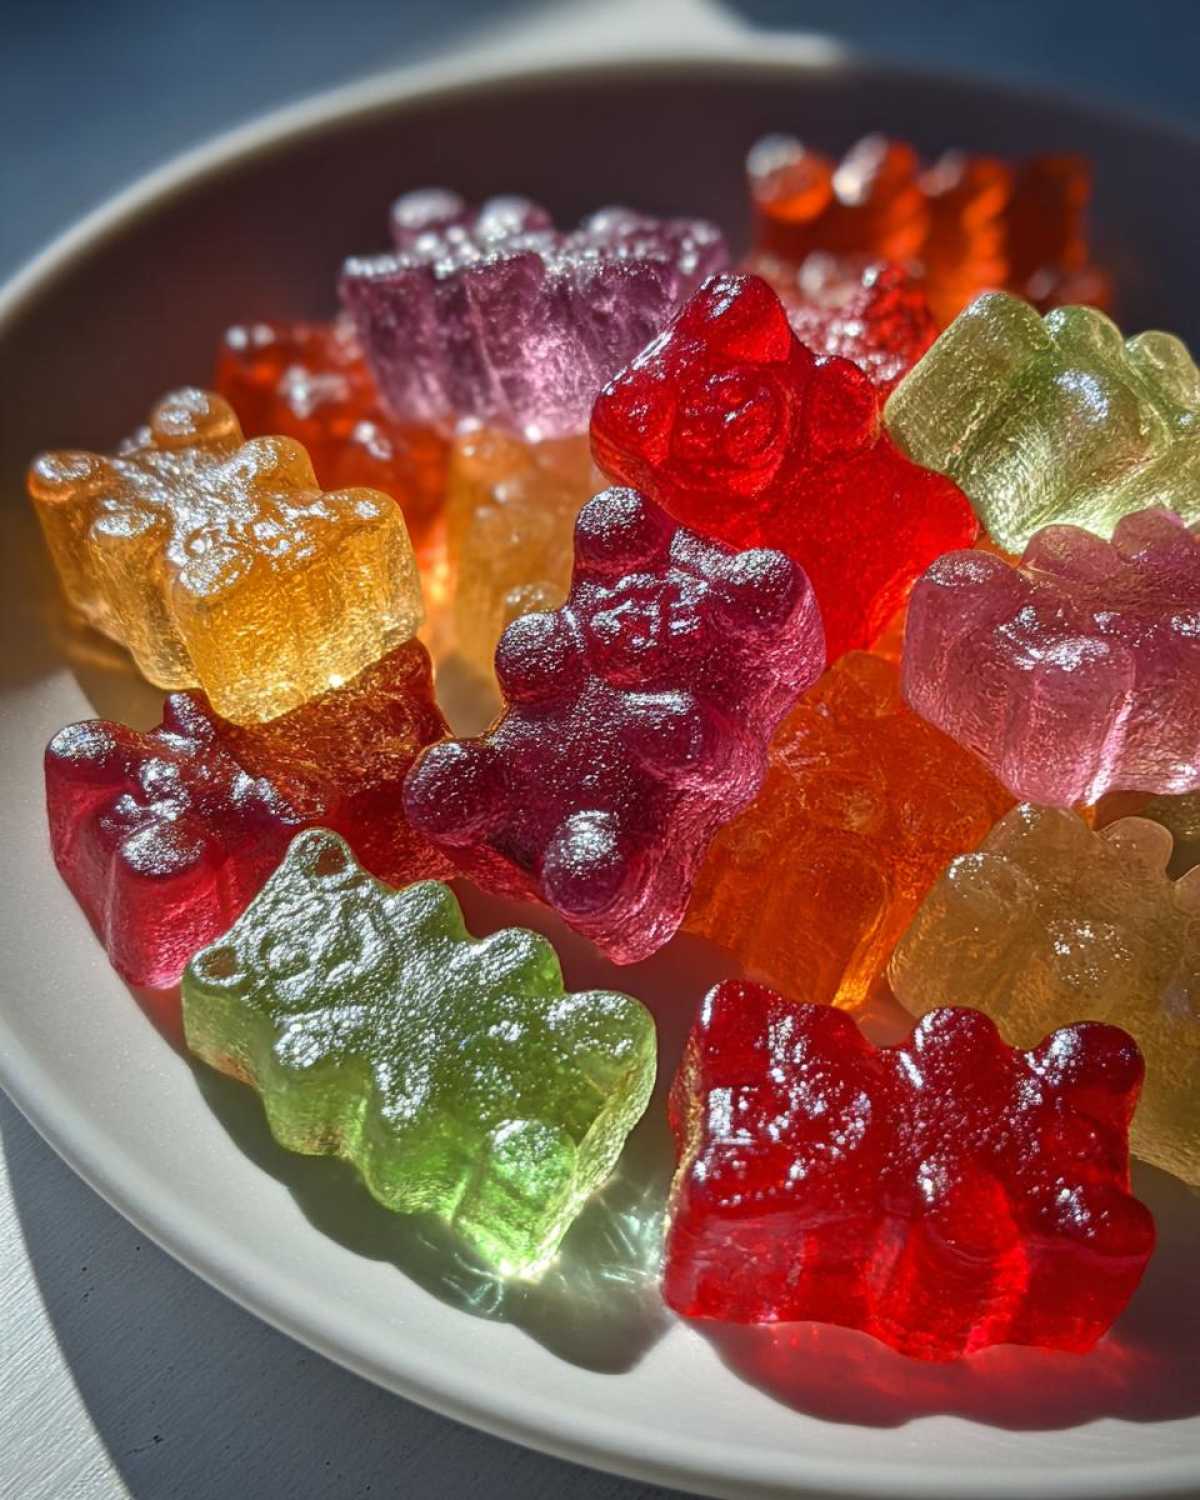
It felt so good knowing they were munching on something made with real fruit, not a bunch of weird stuff from a package. These Kid-Friendly Homemade Berry Gummies are such a fantastic, healthy alternative to those brightly colored store-bought candies. Plus, they are surprisingly easy to whip up!
It’s a fun activity to do together, and the payoff is a batch of delicious, chewy little bites that you can feel great about giving to your kiddos. Trust me, these are going to be a new favorite in your home too.
Why You’ll Love These Kid-Friendly Homemade Berry Gummies
So, why are these Kid-Friendly Homemade Berry Gummies a total game-changer? Let me count the ways!
- They are seriously easy to make. You don’t need fancy equipment.
- You know exactly what goes into them – just real fruit and gelatin.
- They are a healthier option than most store-bought candies. Less sugar, more goodness!
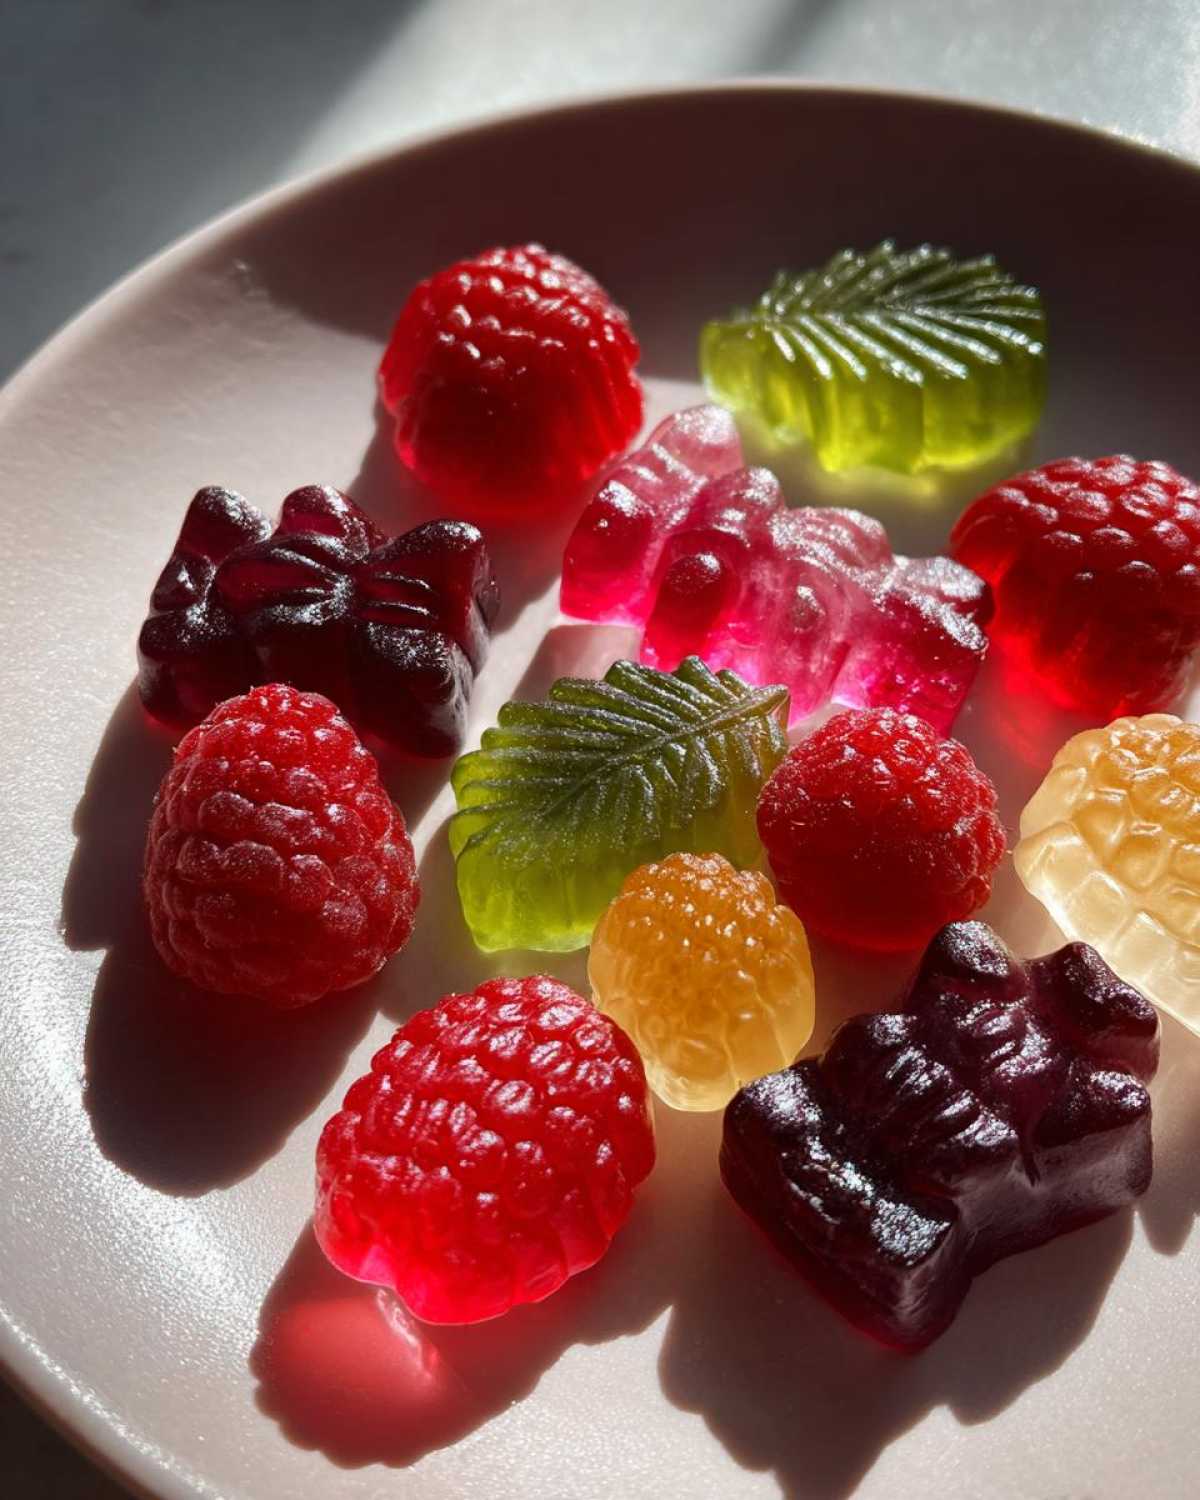
- Kids think they are super fun, especially if you use cute molds.
- It’s a great way to get a little extra fruit into tiny tummies.
Making these is a win for everyone!
Ingredients for Kid-Friendly Homemade Berry Gummies
Ready to gather your goodies? Making these Kid-Friendly Homemade Berry Gummies only needs a few simple things you probably have right now. We’re focusing on real, wholesome stuff to make the best little treats.
Using good quality ingredients really makes a difference in how your gummies turn out. It’s worth it!
Essential Ingredients
- 1 cup mixed berries (fresh or frozen)
- 1/4 cup cold water
- 2 tablespoons grass-fed gelatin powder
- 1-2 tablespoons honey or maple syrup (optional, adjust to taste)
- 1 tablespoon fresh lemon juice (optional)
How to Make Kid-Friendly Homemade Berry Gummies
Alright, let’s get to the fun part! Making these Kid-Friendly Homemade Berry Gummies is super straightforward. Just follow these steps, and you’ll have a batch of bouncy berry goodness in no time.
I remember the first time I did this with Leo. He loved watching the berries bubble. It’s a simple process, but seeing it transform is pretty neat!
Preparing the Berry Base
First, grab a small saucepan. Toss in your cup of mixed berries. Fresh or frozen works great here, use what you have!
Pour in the quarter cup of cold water too. Put the pan over medium heat.
Now, just stir it every so often. You’ll see the berries start to soften and break down. Their beautiful juices will release into the water.
This usually takes about 5 to 7 minutes. You want the berries to be nice and soft, almost like a thick sauce.
Take the pan off the heat and let it cool down a bit. You don’t want it steaming hot for the next step.
Blending and Straining
Carefully pour your berry mixture into a blender or food processor. This is where you can add the honey or maple syrup if you like.
Add the optional lemon juice here too. It brightens the flavor!
Blend everything until it’s really smooth. You want no big chunks left.
Now for the straining part. This makes your Kid-Friendly Homemade Berry Gummies nice and smooth.
Place a fine-mesh sieve over a clean bowl. Pour the blended berry mix into the sieve.
Use a spoon to press down on the solids. This pushes all that lovely juice through.
You want to get as much liquid out as possible. The pulp and seeds stay behind.
Discard the stuff left in the sieve.
Blooming and Dissolving Gelatin
Pour the strained berry juice back into your saucepan. Make sure the pan is clean.
Now, sprinkle the gelatin powder evenly over the top of the juice. Don’t stir it in yet!
Let it sit there for about 5 minutes. This is called “blooming” the gelatin.
It will look a little wrinkly and softened. This step is important for smooth gummies.
After it’s bloomed, put the saucepan over very low heat. Stir constantly.
Keep stirring gently until all the gelatin is completely dissolved. You won’t see any grainy bits.
This takes just a few minutes. The liquid will be smooth.
It’s really important not to let it boil. Just warm it gently.
Molding and Setting
Now for the fun part! If you have silicone molds, arrange them on a tray.
Carefully pour the warm liquid into the molds. Fill them up but don’t overflow.
If you don’t have molds, pour it into a small glass dish.
Pop the tray or dish into the refrigerator.
Let them chill for at least 2 hours. They need this time to get firm and jiggly.
Once they are set, they should pop out of the molds easily.
If you used a dish, cut the sheet of gummies into small squares.
And that’s it! You’ve made Kid-Friendly Homemade Berry Gummies!
Tips for Perfect Kid-Friendly Homemade Berry Gummies
Want to make your Kid-Friendly Homemade Berry Gummies absolutely perfect? Here are a few things I’ve learned along the way.
Don’t be afraid to play with the fruit! We love mixed berries, but strawberries or blueberries on their own work too. You can even try other soft fruits like peaches or mango, just make sure they blend smoothly.
Taste the berry juice after blending but before adding the gelatin. This is your chance to adjust the sweetness. My kids don’t need much, but you know what yours like!
Silicone molds in fun shapes are a total win. Animals, stars, little dinosaurs – they make the gummies extra special for the little ones. If you use a glass dish, lining it with parchment paper first makes cutting easier.
Storing Your Kid-Friendly Homemade Berry Gummies
Once your lovely Kid-Friendly Homemade Berry Gummies are all set and ready, you need to keep them happy. These little guys don’t like sitting out on the counter for long.
They need to stay cool to keep their shape and texture.
The best place for them is in an airtight container.
Pop that container right into the refrigerator. Storing them this way keeps them fresh and firm.
They will get melty if they get too warm, so the fridge is their best friend!
Frequently Asked Questions About Kid-Friendly Homemade Berry Gummies
Got questions about making your Kid-Friendly Homemade Berry Gummies? No problem! Here are a few common things people ask.
Can I Use Different Fruits?
Absolutely! While berries are fantastic, you can totally experiment. Pomegranate juice works well, just skip the blending part. Pureed mango, peaches, or even strained citrus juice can make yummy gummies. Just be mindful of the liquid content; you might need to adjust the water slightly.
Why Didn’t My Gummies Set?
This usually happens if the gelatin wasn’t fully dissolved. Make sure you sprinkle it over the cold liquid first to bloom. Then, heat it gently while stirring constantly until there are no grainy bits left. Also, double-check that you used the right amount of gelatin powder!
How Long Do They Last?
When stored properly in an airtight container in the fridge, your Kid-Friendly Homemade Berry Gummies should last for about 1 to 2 weeks. But honestly? They disappear way faster than that in my house!
Nutritional Information
Okay, let’s talk about what’s in these little gems. We all want to know that our Kid-Friendly Homemade Berry Gummies are good for our kids, right?
Based on the ingredients, here’s a rough idea of the nutritional breakdown per serving (about 5 gummies):
Calories: 30
Sugar: 4g
Sodium: 5mg
Fat: 0g
Protein: 2g
Carbohydrates: 6g
Just remember, these are estimates. The exact numbers can change a bit depending on the specific berries you use and if you add sweetener. But generally, they are a low-calorie, low-fat snack with a little protein from the gelatin. Much better than sugary candy!
Enjoying Your Homemade Treat
Now comes the best part! Grab a few of your Kid-Friendly Homemade Berry Gummies and share them with your kiddos.
Watching their faces light up when they pop one in their mouth is pure magic.
There’s such satisfaction in making healthy, yummy snacks right in your own kitchen.
These little treats are perfect for lunchboxes, after-school snacks, or just a fun little bite anytime.
I hope you and your family love making and eating these as much as we do! Let me know how they turn out or if you have any questions.
Print
Kid-Friendly Homemade Berry Gummies: 2 Steps to Pure Joy
- Total Time: 2 hours 25 minutes
- Yield: Approx. 30-40 gummies (depending on mold size)
- Diet: Vegetarian
Description
Make these easy and fun homemade berry gummies with your kids. They are a healthy treat made with real fruit and gelatin.
Ingredients
- 1 cup mixed berries (fresh or frozen)
- 1/4 cup cold water
- 2 tablespoons grass-fed gelatin powder
- 1–2 tablespoons honey or maple syrup (optional, adjust to taste)
- 1 tablespoon fresh lemon juice (optional)
Instructions
- Combine the berries and cold water in a small saucepan.
- Heat over medium heat, stirring occasionally, until the berries break down and release their juices, about 5-7 minutes.
- Remove from heat and let cool slightly.
- Carefully pour the berry mixture into a blender or food processor. Add the honey or maple syrup and lemon juice, if using.
- Blend until smooth.
- Strain the mixture through a fine-mesh sieve into a clean bowl to remove any seeds or pulp. Press down on the solids with a spoon to extract as much liquid as possible.
- Pour the strained berry juice back into the saucepan.
- Sprinkle the gelatin powder evenly over the surface of the berry juice. Let it sit for 5 minutes to ‘bloom’ or soften.
- Heat the mixture over low heat, stirring constantly, until the gelatin is completely dissolved. Do not boil.
- Carefully pour the liquid into silicone molds or a small glass dish.
- Refrigerate for at least 2 hours, or until firm.
- Once firm, pop the gummies out of the molds or cut the sheet into small squares.
- Store in an airtight container in the refrigerator.
Notes
- You can use any berries you like, such as strawberries, blueberries, raspberries, or a mix.
- Adjust the sweetness to your preference. For very young children, you might omit the sweetener entirely.
- Silicone molds in fun shapes make these gummies extra appealing to kids.
- These gummies will melt if left out at room temperature for too long.
- Prep Time: 15 minutes
- Cook Time: 10 minutes
- Category: Snack
- Method: Stovetop
- Cuisine: American
Nutrition
- Serving Size: 5 gummies
- Calories: 30
- Sugar: 4g
- Sodium: 5mg
- Fat: 0g
- Saturated Fat: 0g
- Unsaturated Fat: 0g
- Trans Fat: 0g
- Carbohydrates: 6g
- Fiber: 1g
- Protein: 2g
- Cholesterol: 0mg