Okay parents, let’s talk dessert! Finding a sweet treat that’s easy to make, doesn’t require firing up the oven, and that the kids will actually eat can feel like finding a unicorn. Trust me, I’ve been there, navigating the never-ending requests for “something sweet” from Leo and Mia. That’s why I’m so excited to share these Kid-Friendly No-Bake Strawberry Cheesecake Cups with you today. They are an absolute lifesaver! I first whipped these up one hot summer afternoon when the thought of turning on the oven was just too much. The kids watched, fascinated, as the layers came together in little cups. And the best part? Both Leo, who can be a bit picky with textures, and Mia, who adores anything pink and fruity, devoured them. Seriously, clean cups all around! They are creamy, sweet, and packed with fresh strawberry goodness. As a mom who tests every recipe on her own little crew, I can confidently say these are a winner in our house, and I think they’ll be a hit in yours too.
Why You’ll Love These Kid-Friendly No-Bake Strawberry Cheesecake Cups
I know you’re busy, and that’s exactly why these Kid-Friendly No-Bake Strawberry Cheesecake Cups are going to become your new best friend in the kitchen. They check all the boxes for both you and the little ones!
- Super Quick Prep: We’re talking minutes, not hours. Perfect for those spontaneous treat moments.
- No Oven Required: Keep your kitchen cool, especially during warm weather. It’s a game-changer!
- Little Hands Can Help: My kids love helping press the crumbs and spoon in the filling. It’s a fun activity!
- Kid-Approved Flavors: Creamy, sweet, and with yummy strawberries. Mia asks for these constantly!
- Perfect Portions: Individual cups mean no cutting, less mess, and built-in portion control.
- Great for Picky Eaters: Sometimes a fun cup and sweet strawberries are all it takes to encourage a bite.
Seriously, these are a win-win for everyone.
Gathering Your Ingredients for Kid-Friendly No-Bake Strawberry Cheesecake Cups
Getting ready to make these yummy Kid-Friendly No-Bake Strawberry Cheesecake Cups is simple. You likely have most things already! Here’s what you’ll need:
- 1 and a half cups of graham cracker crumbs
- A quarter cup of melted unsalted butter
- 8 ounces of cream cheese, make sure it’s soft
- Half a cup of powdered sugar
- 1 teaspoon of vanilla extract
- 1 cup of whipped topping or some fresh whipped cream
- 1 cup of fresh strawberries, diced small
That’s it! Just a few simple things for a delicious treat.
Ingredient Notes and Simple Swaps
A couple of things to keep in mind for the best results! Having the cream cheese nice and soft is key. It makes the filling super smooth and easy to mix without lumps. Just leave it out on the counter for a bit before you start. For the whipped topping, store-bought is totally fine and easy, but fresh whipped cream is lovely too if you have a little extra time. And if you don’t have strawberries, or the kids prefer something else, feel free to swap them out! Blueberries, raspberries, or even diced peaches work beautifully. I’ve used blueberries when Mia was going through a “blue food only” phase, and they were still a hit!
Easy-to-Follow Steps for Making Kid-Friendly No-Bake Strawberry Cheesecake Cups
Alright, let’s get to the fun part – putting these delicious Kid-Friendly No-Bake Strawberry Cheesecake Cups together! It’s really simple, I promise. You don’t need any fancy skills here, just a willingness to make something sweet for your little ones.
- First, grab a medium bowl. Dump your graham cracker crumbs in there.
- Pour in the melted butter. Mix everything up with a spoon until all the crumbs look like wet sand.
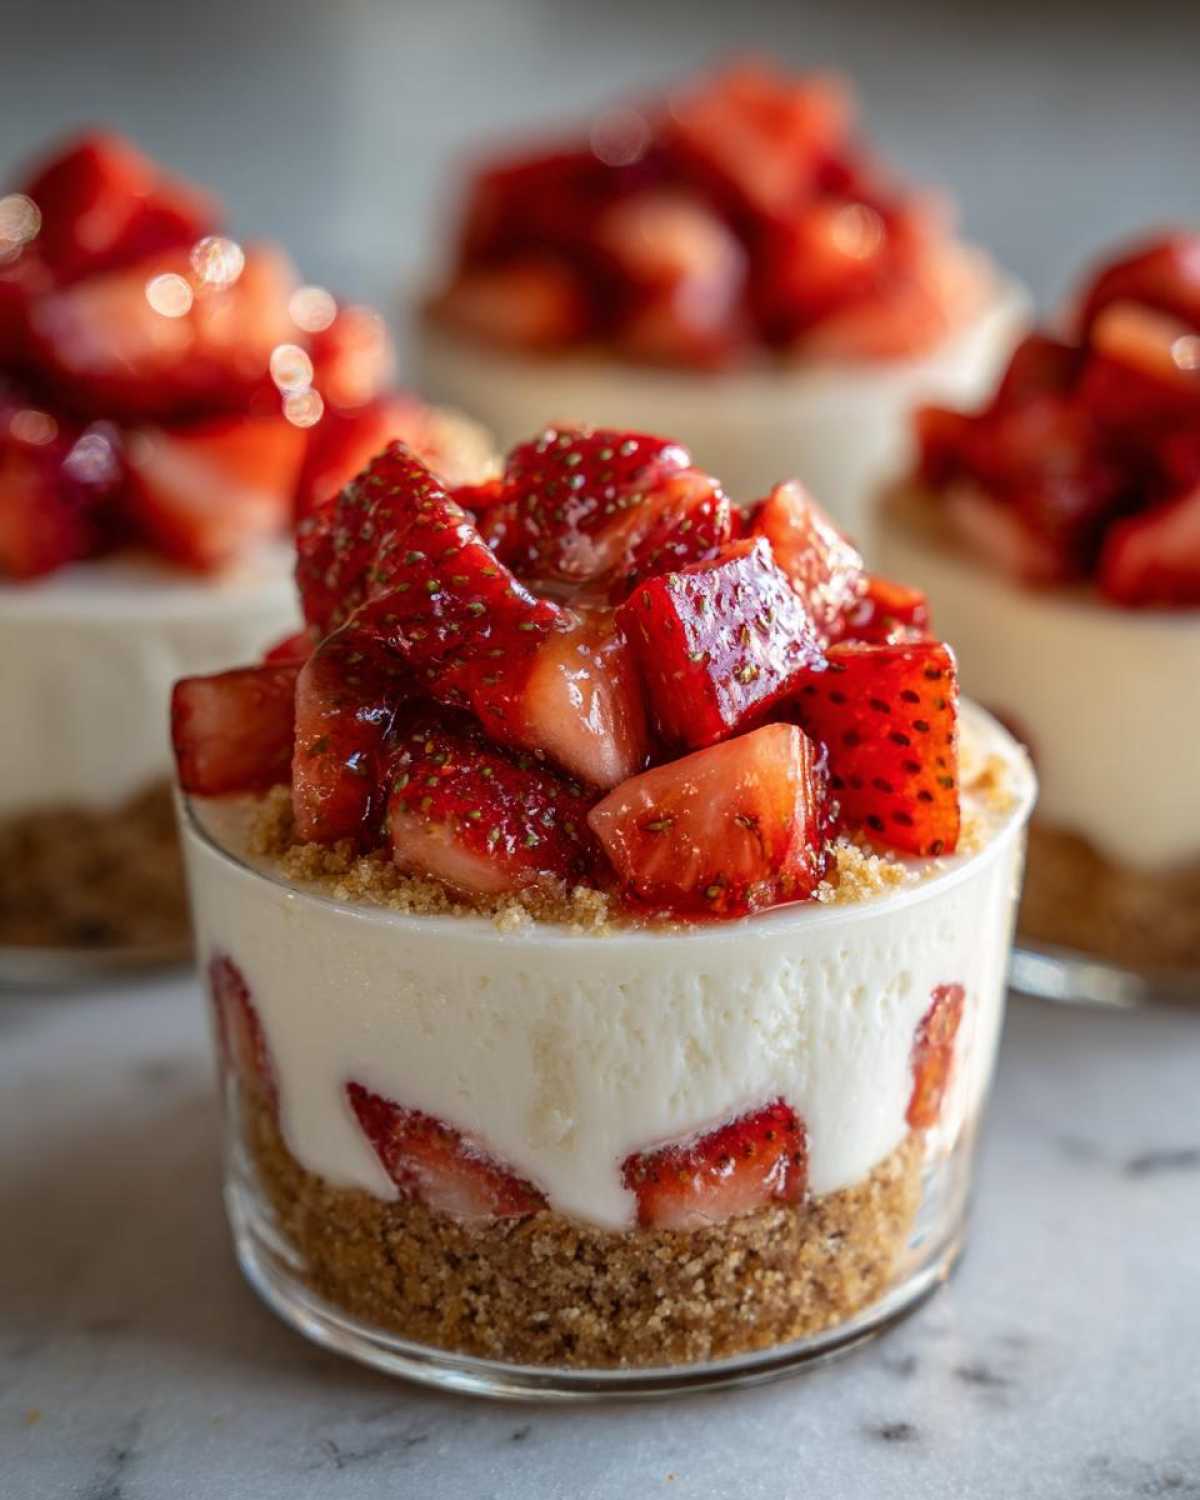
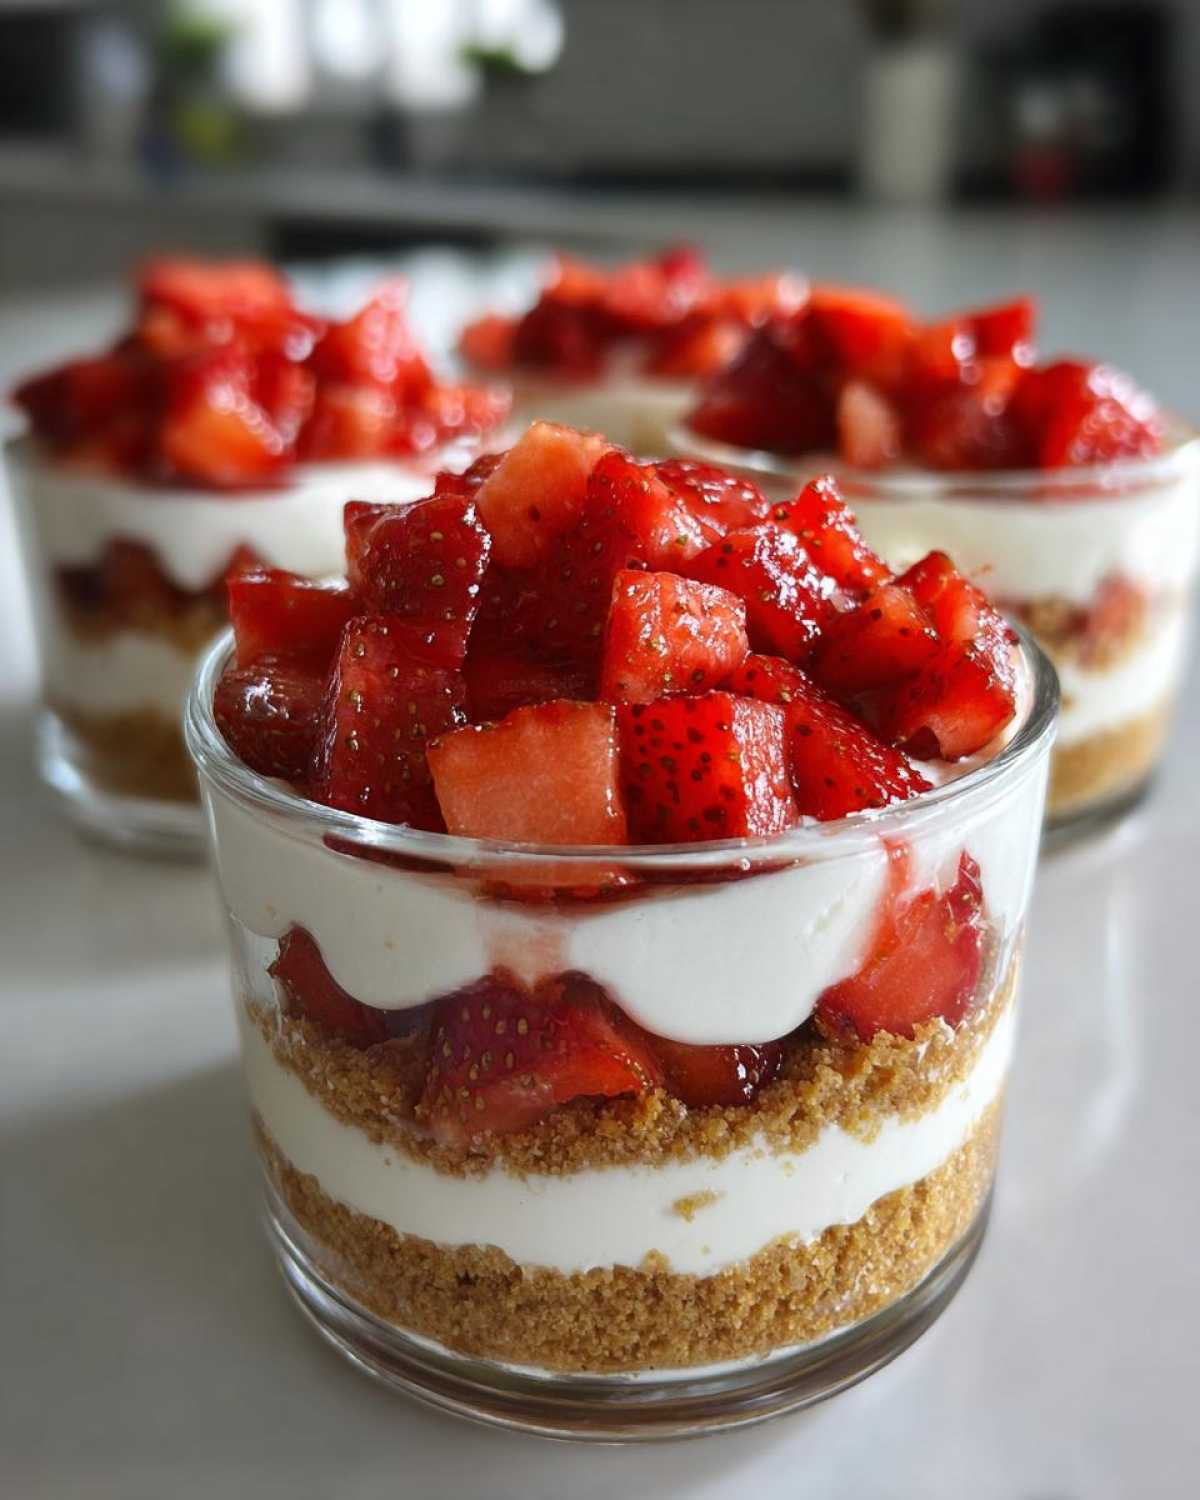
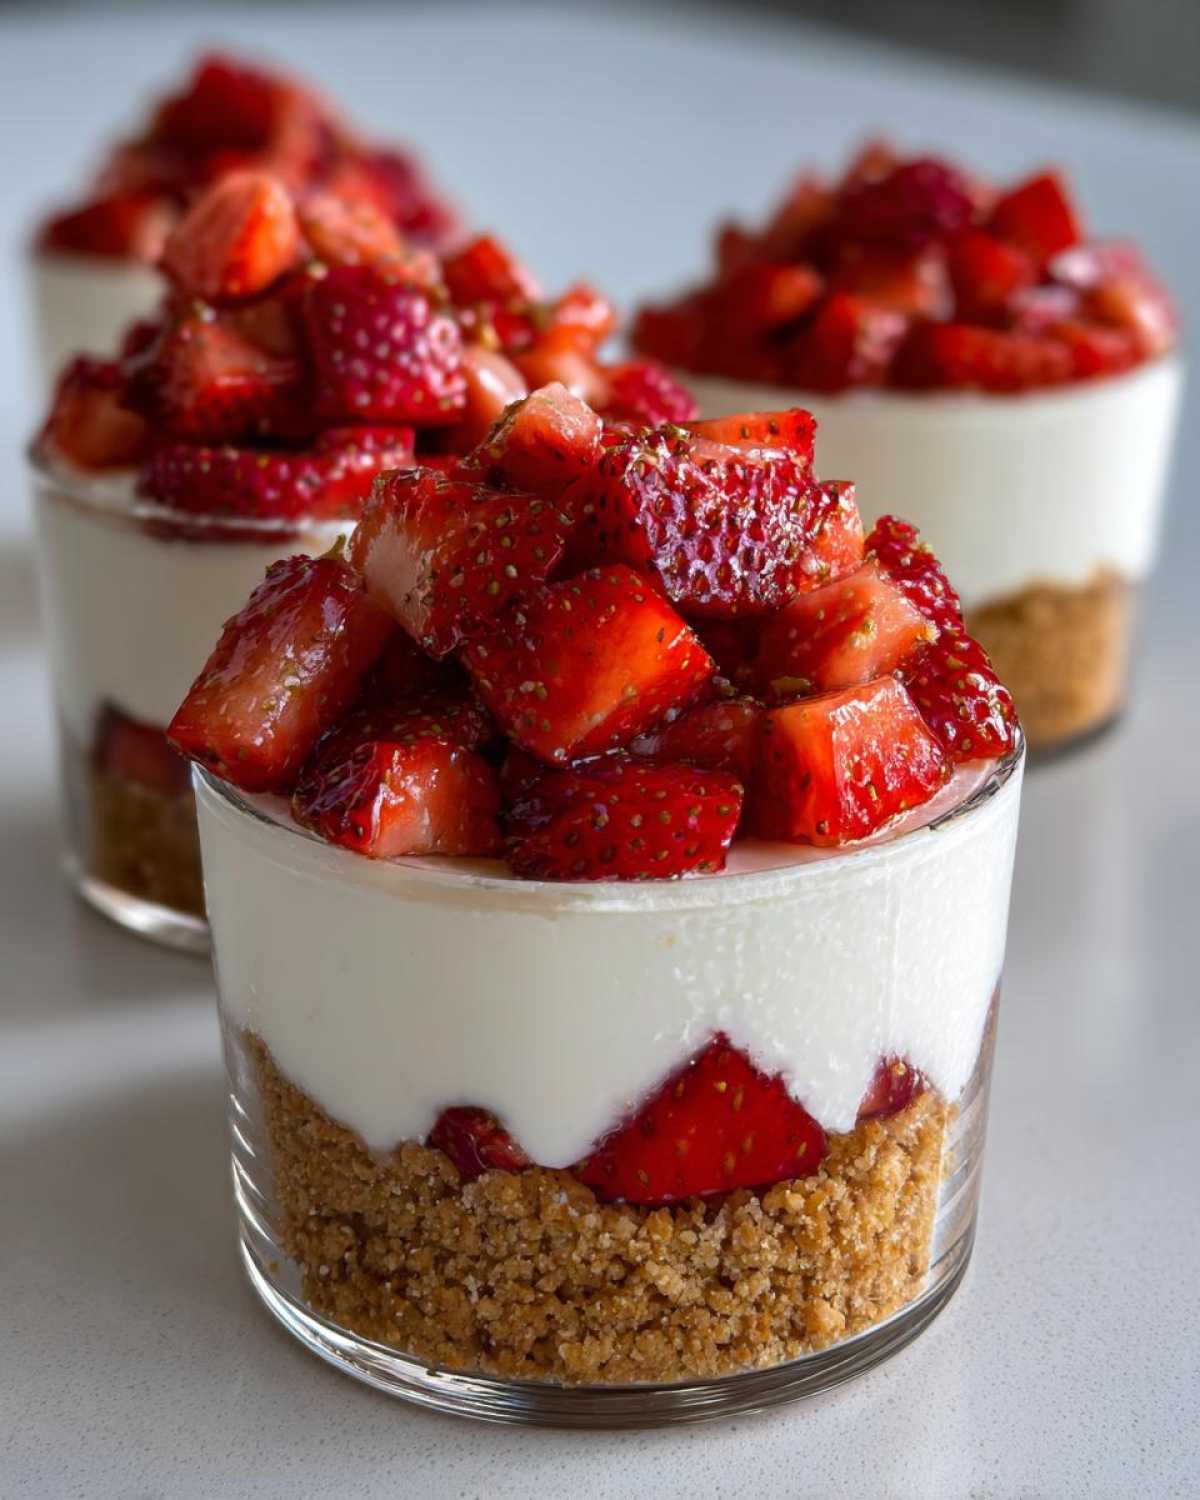
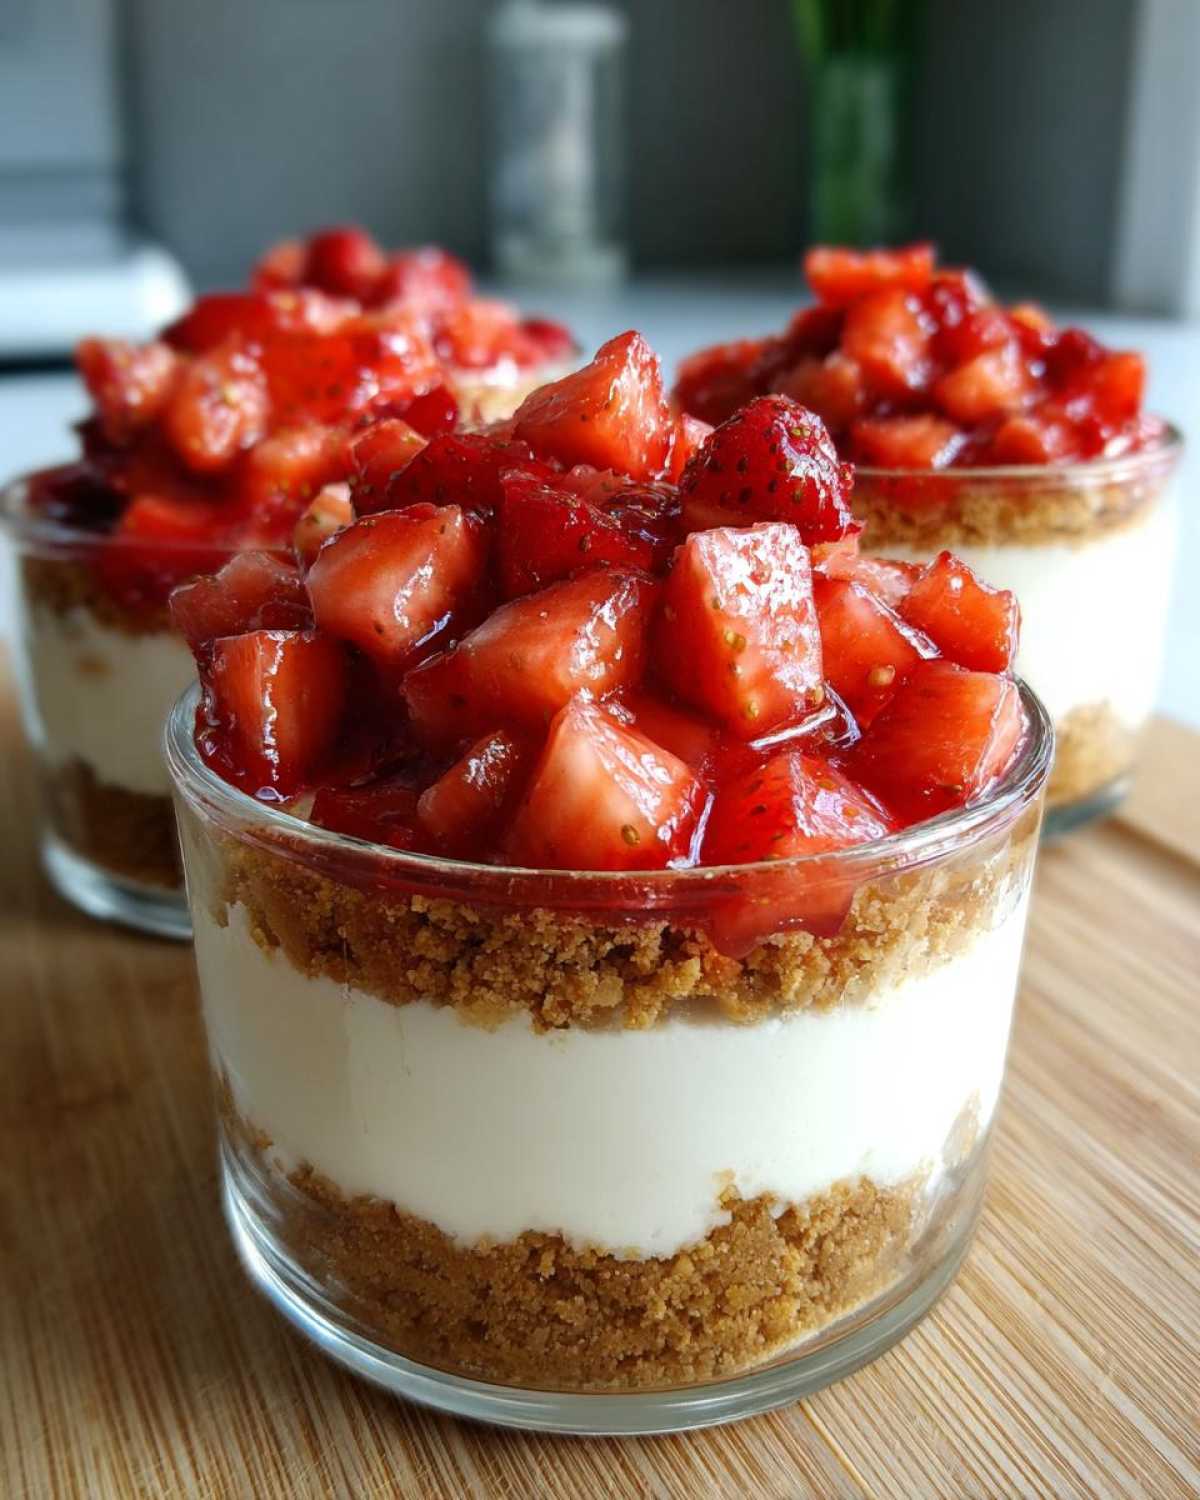
- Now, get your serving cups ready. I usually use small clear cups so the kids can see the layers. Spoon about 2 to 3 tablespoons of the crumb mixture into the bottom of each cup. Press it down gently with the back of your spoon or even just your fingers.
- In a separate bowl, put your softened cream cheese and powdered sugar. Beat them together until it’s really smooth and creamy. No lumps allowed!
- Stir in that vanilla extract. It adds such a nice flavor.
- This next part is important: gently fold in your whipped topping or whipped cream. Use a spatula and be careful not to mix too much. You want to keep that lovely airy texture.
- Spoon or even pipe (if you’re feeling fancy, but a spoon is just fine!) the cheesecake filling over the crumb layer in each cup.
- Finally, top each cup with those yummy diced strawberries. Load ’em up!
- Cover the cups. Plastic wrap works great. Pop them in the fridge for at least an hour. This lets everything set up nicely.
And that’s it! Easy peasy.
Tips for Perfect Kid-Friendly No-Bake Strawberry Cheesecake Cups Every Time
Making sure your cream cheese is super soft before you start mixing is the number one tip I can give you. It makes such a difference in the texture of the filling. If you’re in a hurry, you can even zap the cream cheese in the microwave for just 10-15 seconds, but watch it carefully! When you fold in the whipped topping, be gentle. Overmixing can make the filling lose its fluffiness. I learned that the hard way the first time I made these for Leo and Mia. We like to press the graham cracker crumbs down pretty firmly so they don’t fall apart when you eat them. If you don’t have graham cracker crumbs, you can pop full graham crackers into a food processor for a few seconds, and you’ll have perfect crumbs!
Equipment Needed for Your Kid-Friendly No-Bake Strawberry Cheesecake Cups
You won’t need a lot of special gadgets to make these Kid-Friendly No-Bake Strawberry Cheesecake Cups. The beauty is in their simplicity! Here’s what I usually grab from my kitchen:
- A couple of medium-sized mixing bowls
- Measuring cups and spoons
- A spoon for mixing
- A spatula for folding
- Serving cups or small jars (about 4 to 6)
That’s really all you need! Just basic kitchen stuff that most of us have on hand. Easy, right?
Serving Suggestions for Kid-Friendly No-Bake Strawberry Cheesecake Cups
Once your yummy Kid-Friendly No-Bake Strawberry Cheesecake Cups are chilled and ready, it’s time for the fun part – serving them up! They look adorable just as they are with the strawberries on top. But if you want to make them extra special, a little extra dollop of whipped cream on top is always a hit with Leo and Mia. You could also sprinkle a few more graham cracker crumbs over the whipped cream for a little crunch. Sometimes, I’ll put a whole strawberry on the side of the cup as a little garnish. Simple touches make them feel like a real treat!
Storage and Making Ahead: Kid-Friendly No-Bake Strawberry Cheesecake Cups
One of the best things about these Kid-Friendly No-Bake Strawberry Cheesecake Cups is that they are fantastic for making ahead! This is a lifesaver for busy weeknights or if you’re planning a little party. Once you’ve assembled them and they’ve had their hour to chill, just keep them covered in the refrigerator. They will stay fresh and delicious for up to two days. This means you can whip them up the night before and have a ready-to-go dessert when you need it. Easy peasy!
Frequently Asked Questions About Kid-Friendly No-Bake Strawberry Cheesecake Cups
I get lots of questions from other parents about making easy treats, and these Kid-Friendly No-Bake Strawberry Cheesecake Cups are a popular one! Here are some things people often ask:
Can I use frozen strawberries instead of fresh ones?
You can, but fresh are really best for this recipe. Frozen strawberries tend to release a lot of water as they thaw, which can make the topping a bit watery. If you do use frozen, make sure they are completely thawed and drained really well before dicing them up.
Can I make one big cheesecake instead of individual cups?
Yes, you absolutely can! You’ll need a small pie dish or a springform pan. Just press all the graham cracker crumbs into the bottom of the pan, then spread the filling over the top. You’ll still top it with strawberries and chill it. It might need a little longer to set up, maybe 2-3 hours.
How long do these no-bake cheesecake cups need to chill?
They need at least one hour in the refrigerator to set up properly. This lets the filling firm up nicely so it’s not too soft. If you have more time, chilling them for 2-3 hours is even better!
Can I use different kinds of berries?
Definitely! That’s one of the fun things about these easy cheesecake cups. Blueberries, raspberries, or a mix of berries would be delicious. Just make sure they are diced small enough for little mouths.
Are these good for parties?
Oh yes, they are perfect for parties! Since they are individual servings, they are easy for kids to grab. Plus, you can make them ahead of time, which is always a win when you’re getting ready for a party!
Estimated Nutritional Information Disclaimer
Please know that the nutritional information provided here is just an estimate. It can change a lot based on the specific brands of ingredients you use, like the cream cheese, graham crackers, and whipped topping. This isn’t meant to be a precise calculation, just a general idea. Always check the labels on your own ingredients for the most accurate information.
Okay, now that you’ve made these Kid-Friendly No-Bake Strawberry Cheesecake Cups, it’s time to enjoy the sweet rewards! I really hope your little ones love them as much as Leo and Mia do. There’s something so satisfying about seeing those happy faces digging into a homemade treat. If you give this recipe a try, please let me know how it goes! Leave a comment below or even rate the recipe. Hearing from you makes my day and helps other parents too!
Print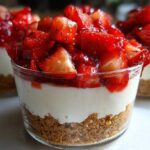
Amazing Kid-Friendly No-Bake Strawberry Cheesecake Cups!
- Total Time: 80 minutes
- Yield: 4-6 servings 1x
- Diet: Vegetarian
Description
Easy individual no-bake cheesecake cups perfect for kids. Layers of graham cracker crust, creamy filling, and fresh strawberries.
Ingredients
- 1.5 cups graham cracker crumbs (about 10–12 full sheets)
- 1/4 cup melted unsalted butter
- 8 ounces cream cheese, softened
- 1/2 cup powdered sugar
- 1 teaspoon vanilla extract
- 1 cup whipped topping or freshly whipped cream
- 1 cup diced fresh strawberries
Instructions
- Combine graham cracker crumbs and melted butter in a bowl. Mix until crumbs are moistened.
- Press about 2-3 tablespoons of the mixture into the bottom of each of 4-6 small serving cups or jars.
- In a separate bowl, beat softened cream cheese and powdered sugar until smooth.
- Stir in vanilla extract.
- Gently fold in the whipped topping or whipped cream until just combined. Do not overmix.
- Spoon or pipe the cheesecake filling over the graham cracker crust in each cup.
- Top each cup with diced fresh strawberries.
- Cover and chill in the refrigerator for at least 1 hour before serving to allow the layers to set.
Notes
- You can use a food processor to make graham cracker crumbs quickly.
- Ensure the cream cheese is fully softened for a smooth filling.
- Try other fruit toppings like blueberries, raspberries, or peaches.
- Cheesecake cups can be made ahead and stored in the refrigerator for up to 2 days.
- Prep Time: 20 minutes
- Cook Time: 0 minutes
- Category: Dessert
- Method: No-Bake
- Cuisine: American
Nutrition
- Serving Size: 1 cup
- Calories: Approx. 400
- Sugar: Approx. 30g
- Sodium: Approx. 200mg
- Fat: Approx. 25g
- Saturated Fat: Approx. 15g
- Carbohydrates: Approx. 35g
- Fiber: Approx. 1g
- Protein: Approx. 5g
- Cholesterol: Approx. 60mg