Okay, busy parents, let’s talk about snacks! As a mom to Leo and Mia, I totally get the struggle. You want something healthy, but you also want something they’ll actually eat without a fight. I’ve been there, staring into the fridge, wondering how on earth to get a few more veggies into those little bodies. My kitchen has seen its fair share of battles over broccoli, believe me! That’s why I’m always on the hunt for clever ideas, and these Kid-Friendly Mini Veggie Cups are a total game-changer in our house. They’re super simple to whip up, and because they’re mini, they feel like a fun treat, not a chore. It’s my little secret weapon for sneaking in those nutritious bits, and they disappear faster than you can say “eat your peas!” Welcome to ChildRecipe.com, my little corner for sharing recipes that work for real families like ours.
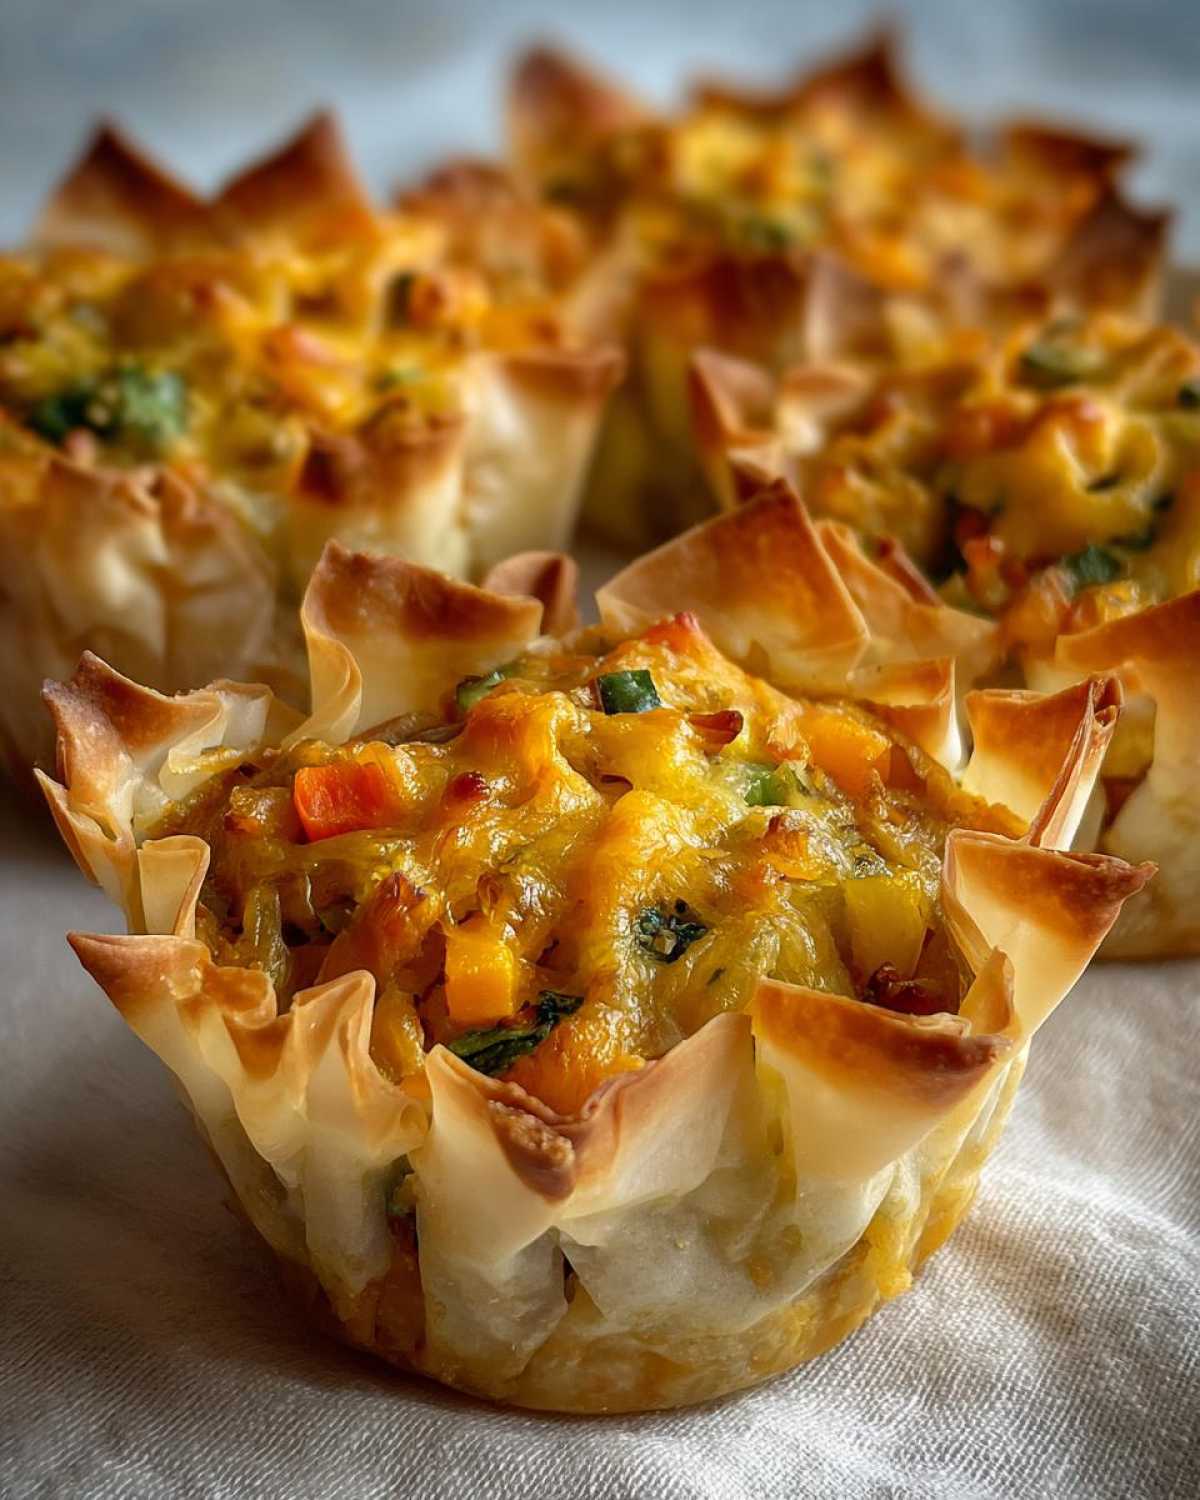
Why You’ll Love These Kid-Friendly Mini Veggie Cups
Let me tell you why these little bites have become a staple in our home. They just make life easier!
- They’re ridiculously quick to make, perfect for those frantic after-school moments.
- So easy, even older kids can help!
- They’re fantastic for picky eaters; the mini size seems less intimidating.
- Totally portable, great for lunchboxes or snacks on the go.
- You can swap out the veggies based on what you have or what your kids like.
- The mini size is just plain fun for little hands!
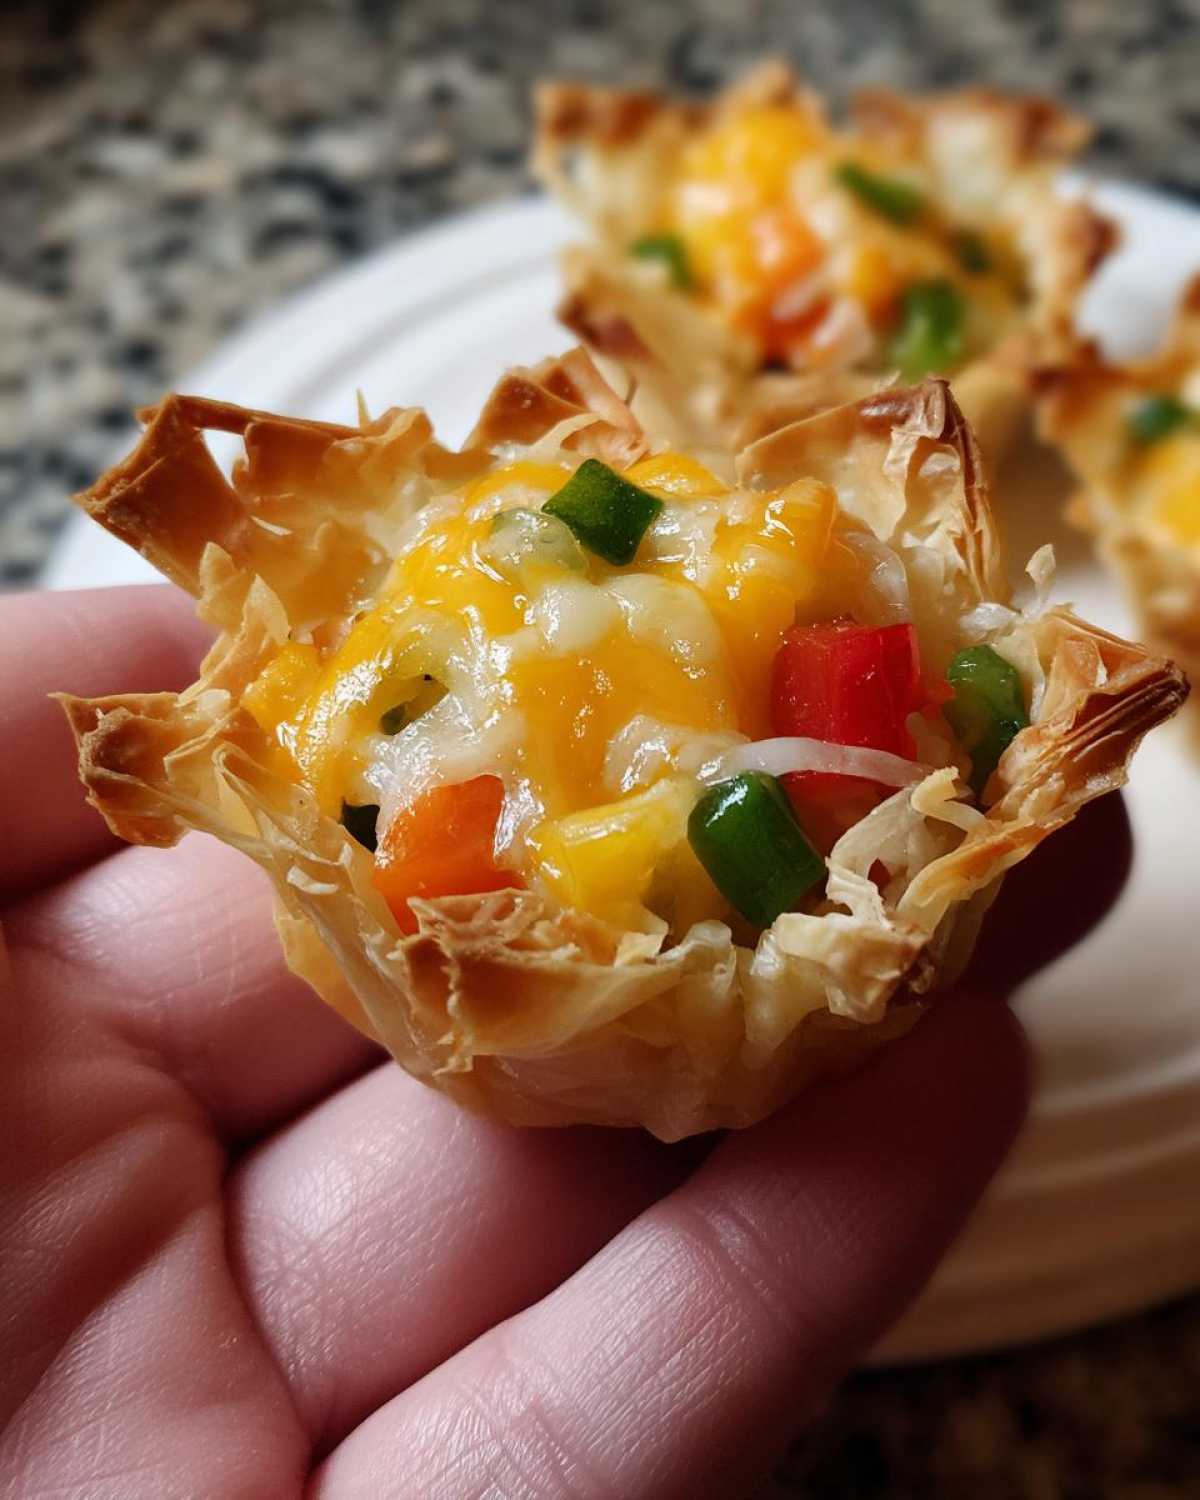
Gather Your Ingredients for Kid-Friendly Mini Veggie Cups
One of the best things about these little cups is that they use stuff you probably already have around. No fancy ingredients needed! Just simple, everyday items that come together easily.
What You’ll Need
Here’s what you’ll gather from your pantry and fridge:
- 1 package (1.9 ounces) mini phyllo pastry shells (about 15 shells)
- 1 cup frozen mixed vegetables, thawed and drained really well
- 1/2 cup shredded cheddar cheese
- 1 large egg
- 2 tablespoons milk
- Salt to taste
- Pepper to taste
Simple Steps to Make Kid-Friendly Mini Veggie Cups
Ready to make these little wonders? It’s really straightforward, almost as easy as counting to three! Just follow these simple steps, and you’ll have delicious kid-friendly mini veggie cups in no time. I promise, it’s not complicated at all.
Getting Started
First things first, let’s get that oven ready. You’ll want to preheat your oven to 375°F. While it’s heating up, grab your mini phyllo shells. They usually come in a little tray. Carefully place each one onto a baking sheet. No need to grease the pan, the shells are already perfect just like they are.
Mixing the Filling for Your Kid-Friendly Mini Veggie Cups
Now for the yummy part! In a medium bowl, combine those thawed and well-drained mixed vegetables. Make sure they aren’t watery! Add the shredded cheddar cheese, the large egg, and the milk. Sprinkle in some salt and pepper to your liking. I usually go light on the salt for the kids. Give it all a good stir until everything is mixed together nicely. You want the cheese and veggies coated in the egg mixture.
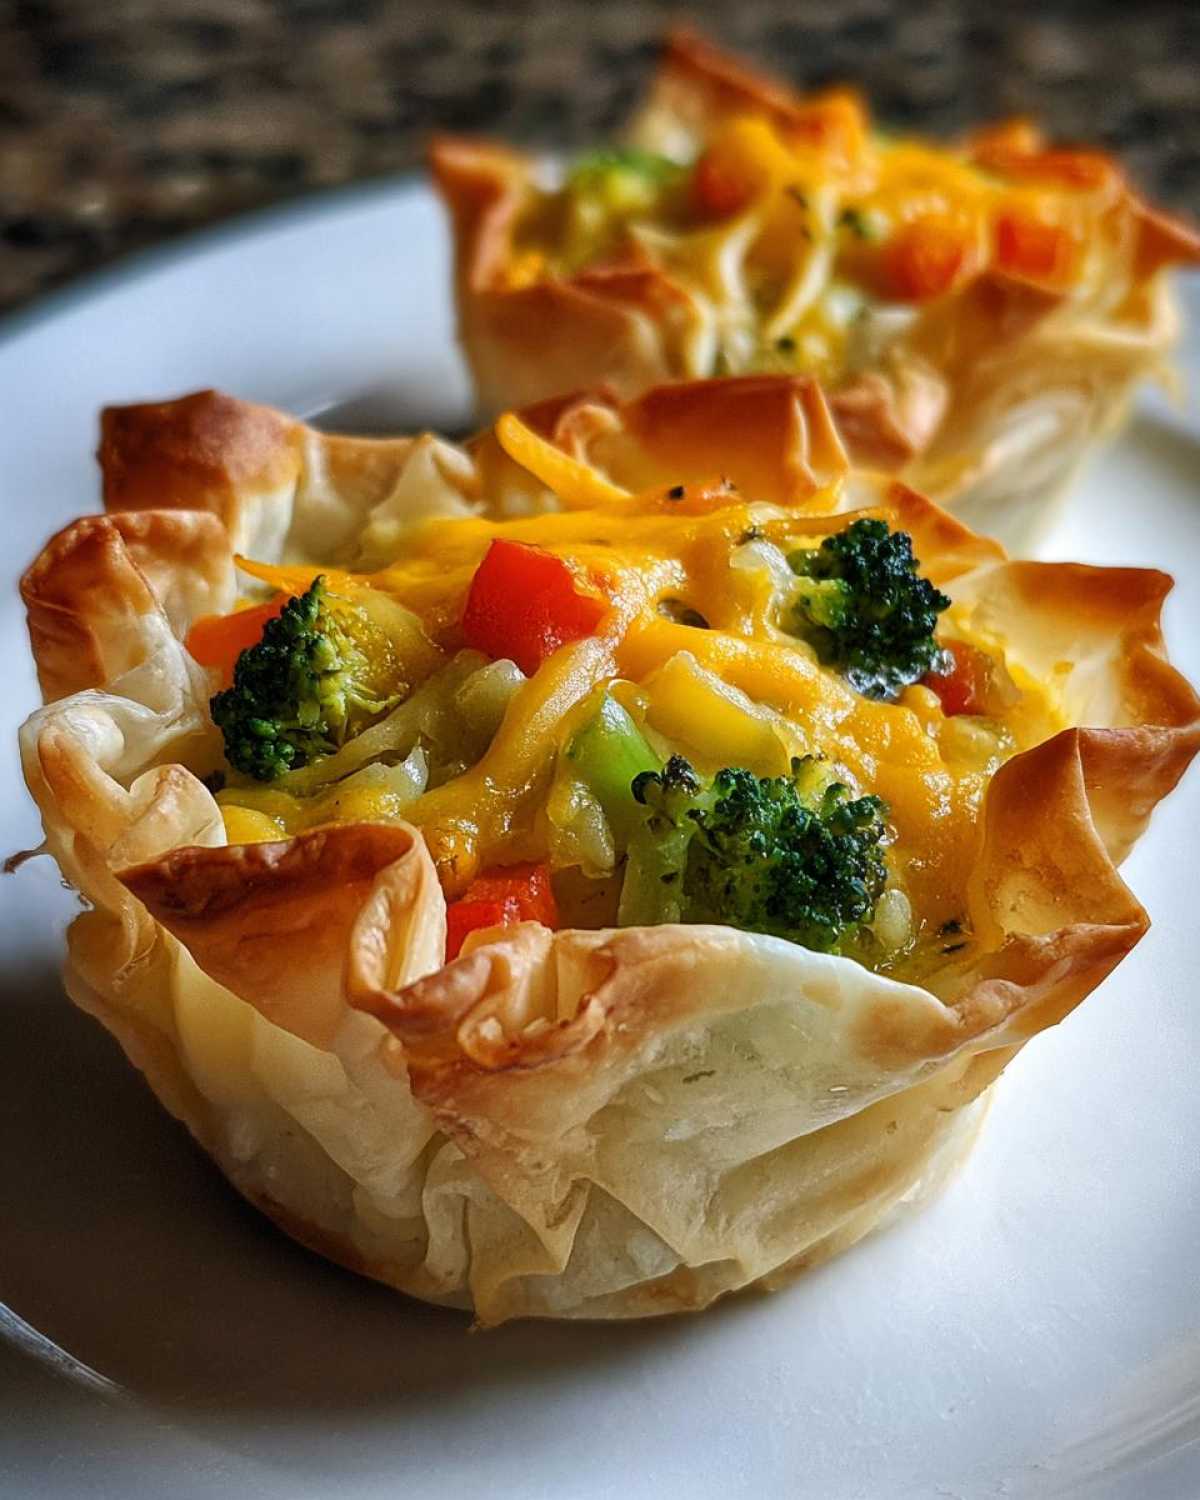
Filling and Baking Your Kid-Friendly Mini Veggie Cups
Time to fill those little shells! Using a spoon, carefully scoop the vegetable and cheese mixture into each phyllo shell. Fill them almost to the top, but don’t overfill or they might bubble over. Pop the baking sheet into your preheated oven. Bake for about 12 to 15 minutes. You’ll know they’re done when the filling looks set and the edges of the shells are golden brown. Let them cool slightly on the baking sheet before moving them. They’ll be hot!
Tips for Perfect Kid-Friendly Mini Veggie Cups
Making these little cups is easy, but a few simple tricks can make them even better! I’ve learned these little things doing it myself with Leo and Mia.
Don’t overfill the shells. Just spoon the mixture in until it’s almost full. Too much and it might spill over while baking.
Make sure your thawed vegetables are really, really well-drained. Extra water can make the filling soggy, and nobody wants that!
Let them cool on the baking sheet for a few minutes after they come out of the oven. The filling needs a moment to set up, and they’ll be easier to handle.
If your kids are lending a hand, let them help spoon the mixture into the shells. It makes it more fun for them!
Ingredient Notes and Swaps for Kid-Friendly Mini Veggie Cups
One of the best things about this recipe is how flexible it is! You can totally play around with the ingredients to suit what your kids like or what you have on hand.
Instead of frozen mixed veggies, feel free to use finely chopped fresh ones, like bell peppers, zucchini, or spinach. Just cook them slightly first so they’re tender.
Don’t have cheddar? Monterey Jack, mozzarella, or even a mix of cheeses works great. Leo loves it with a little Parmesan sprinkled in!
You can also add a pinch of dried herbs like chives or parsley to the filling for a little extra flavor.
Serving Suggestions for Your Kid-Friendly Mini Veggie Cups
Once your Kid-Friendly Mini Veggie Cups are out of the oven and cooled a bit, it’s time to serve them up! They’re great on their own as a snack.
You can also serve them with a side of yogurt or a little ketchup for dipping. Sometimes I put them on a plate with some fruit slices for a complete mini-meal. Mia likes hers lined up like little soldiers!
Storing and Reheating Kid-Friendly Mini Veggie Cups
Got a few of these little cups leftover? Lucky you! They store really well and are super easy to reheat for another snack later.
Let them cool completely first. Then, just pop them into an airtight container. They’ll keep in the refrigerator for about 3 to 4 days. To reheat, you can warm them gently in the microwave for a few seconds. Or, my favorite way, put them back on a baking sheet and warm them in a moderate oven until they’re heated through. This helps the shells stay nice and crispy!

Frequently Asked Questions About Kid-Friendly Mini Veggie Cups
I know you might have a few questions about making these little cups, especially if you’re dealing with picky eaters or different ages! Here are some things folks often ask me.
Can I use fresh vegetables instead of frozen? Absolutely! Just make sure you chop them up really, really small. You might want to lightly steam or sauté harder veggies like carrots or broccoli florets first so they’re tender before mixing them into the filling.
How long do these Kid-Friendly Mini Veggie Cups last in the fridge? If you store them in a good airtight container, they’ll stay fresh in the refrigerator for about 3 to 4 days. They make great make-ahead snacks!
Can I freeze these mini veggie cups? Yes, you can! Once they’re completely cooled, place them in a single layer on a baking sheet and freeze until solid. Then, transfer them to a freezer-safe bag or container. They should be good for about a month. Reheat them from frozen in a moderate oven.
Are these good for toddlers? Yes, they’re fantastic for toddlers! The mini size is perfect for little hands learning to feed themselves. Just be sure the filling has cooled enough before giving them to your little ones.
Estimated Nutritional Information
It’s always helpful to have an idea of what’s in the food we’re giving our kids, right? Here’s an estimated breakdown for these Kid-Friendly Mini Veggie Cups. Please remember that these are just estimates.
The exact numbers can change depending on the specific brands of ingredients you use. Things like the type of cheese or the exact size of the phyllo cups can make a difference. Think of this as a general guide!
- Serving Size: 3 cups
- Calories: 120
- Sugar: 2g
- Sodium: 180mg
- Fat: 8g
- Saturated Fat: 3g
- Unsaturated Fat: 4g
- Trans Fat: 0g
- Carbohydrates: 7g
- Fiber: 1g
- Protein: 5g
- Cholesterol: 45mg
Looking at this, you can see they offer a bit of protein and fiber, plus those hidden veggies! It makes me feel good knowing I’m giving Leo and Mia something tasty that also has some nutritional value.
Get Cooking!
Okay, now that you have the recipe, it’s your turn! Give these Kid-Friendly Mini Veggie Cups a try in your own kitchen. I bet your little ones will love them as much as mine do. Don’t forget to share how it goes!
Print
Kid-Friendly Mini Veggie Cups: 1 Painless Snack
- Total Time: 30 minutes
- Yield: 15 mini cups 1x
- Diet: Vegetarian
Description
Easy and fun mini veggie cups perfect for kids, a great way to sneak in vegetables.
Ingredients
- 1 package (1.9 ounces) mini phyllo pastry shells (15 shells)
- 1 cup frozen mixed vegetables, thawed and drained
- 1/2 cup shredded cheddar cheese
- 1 large egg
- 2 tablespoons milk
- Salt to taste
- Pepper to taste
Instructions
- Preheat oven to 375°F (190°C).
- Place phyllo shells on a baking sheet.
- In a medium bowl, combine the thawed mixed vegetables, shredded cheddar cheese, egg, and milk.
- Add salt and pepper to taste and stir well.
- Spoon the vegetable mixture evenly into each phyllo shell, filling almost to the top.
- Bake for 12-15 minutes, or until the filling is set and the shells are golden brown.
- Let cool slightly before serving.
Notes
- Vary the vegetables based on what your kids like or what you have on hand.
- These can be made ahead and reheated gently.
- Store leftovers in an airtight container in the refrigerator.
- Prep Time: 15 minutes
- Cook Time: 15 minutes
- Category: Snack
- Method: Baking
- Cuisine: American
Nutrition
- Serving Size: 3 cups
- Calories: 120
- Sugar: 2g
- Sodium: 180mg
- Fat: 8g
- Saturated Fat: 3g
- Unsaturated Fat: 4g
- Trans Fat: 0g
- Carbohydrates: 7g
- Fiber: 1g
- Protein: 5g
- Cholesterol: 45mg